OooOoOooo I’m so excited to show you this DIY ghost garland! I drew the little ghost shapes and then I used my xTool M1 Laser Engraver and Laser Cutter to cut out the shapes. I have to admit, after only ONE cute project – followed by a couple of failed laser cut craft projects – I set the machine aside in frustration. But this summer Hubby and I did a little experimenting, figured some things out (got really into it!), and then made a bunch of cute laser cut projects! It suddenly “clicked” and now we’re both brimming with more laser cut project ideas…


DIY Ghost Garland Inspiration
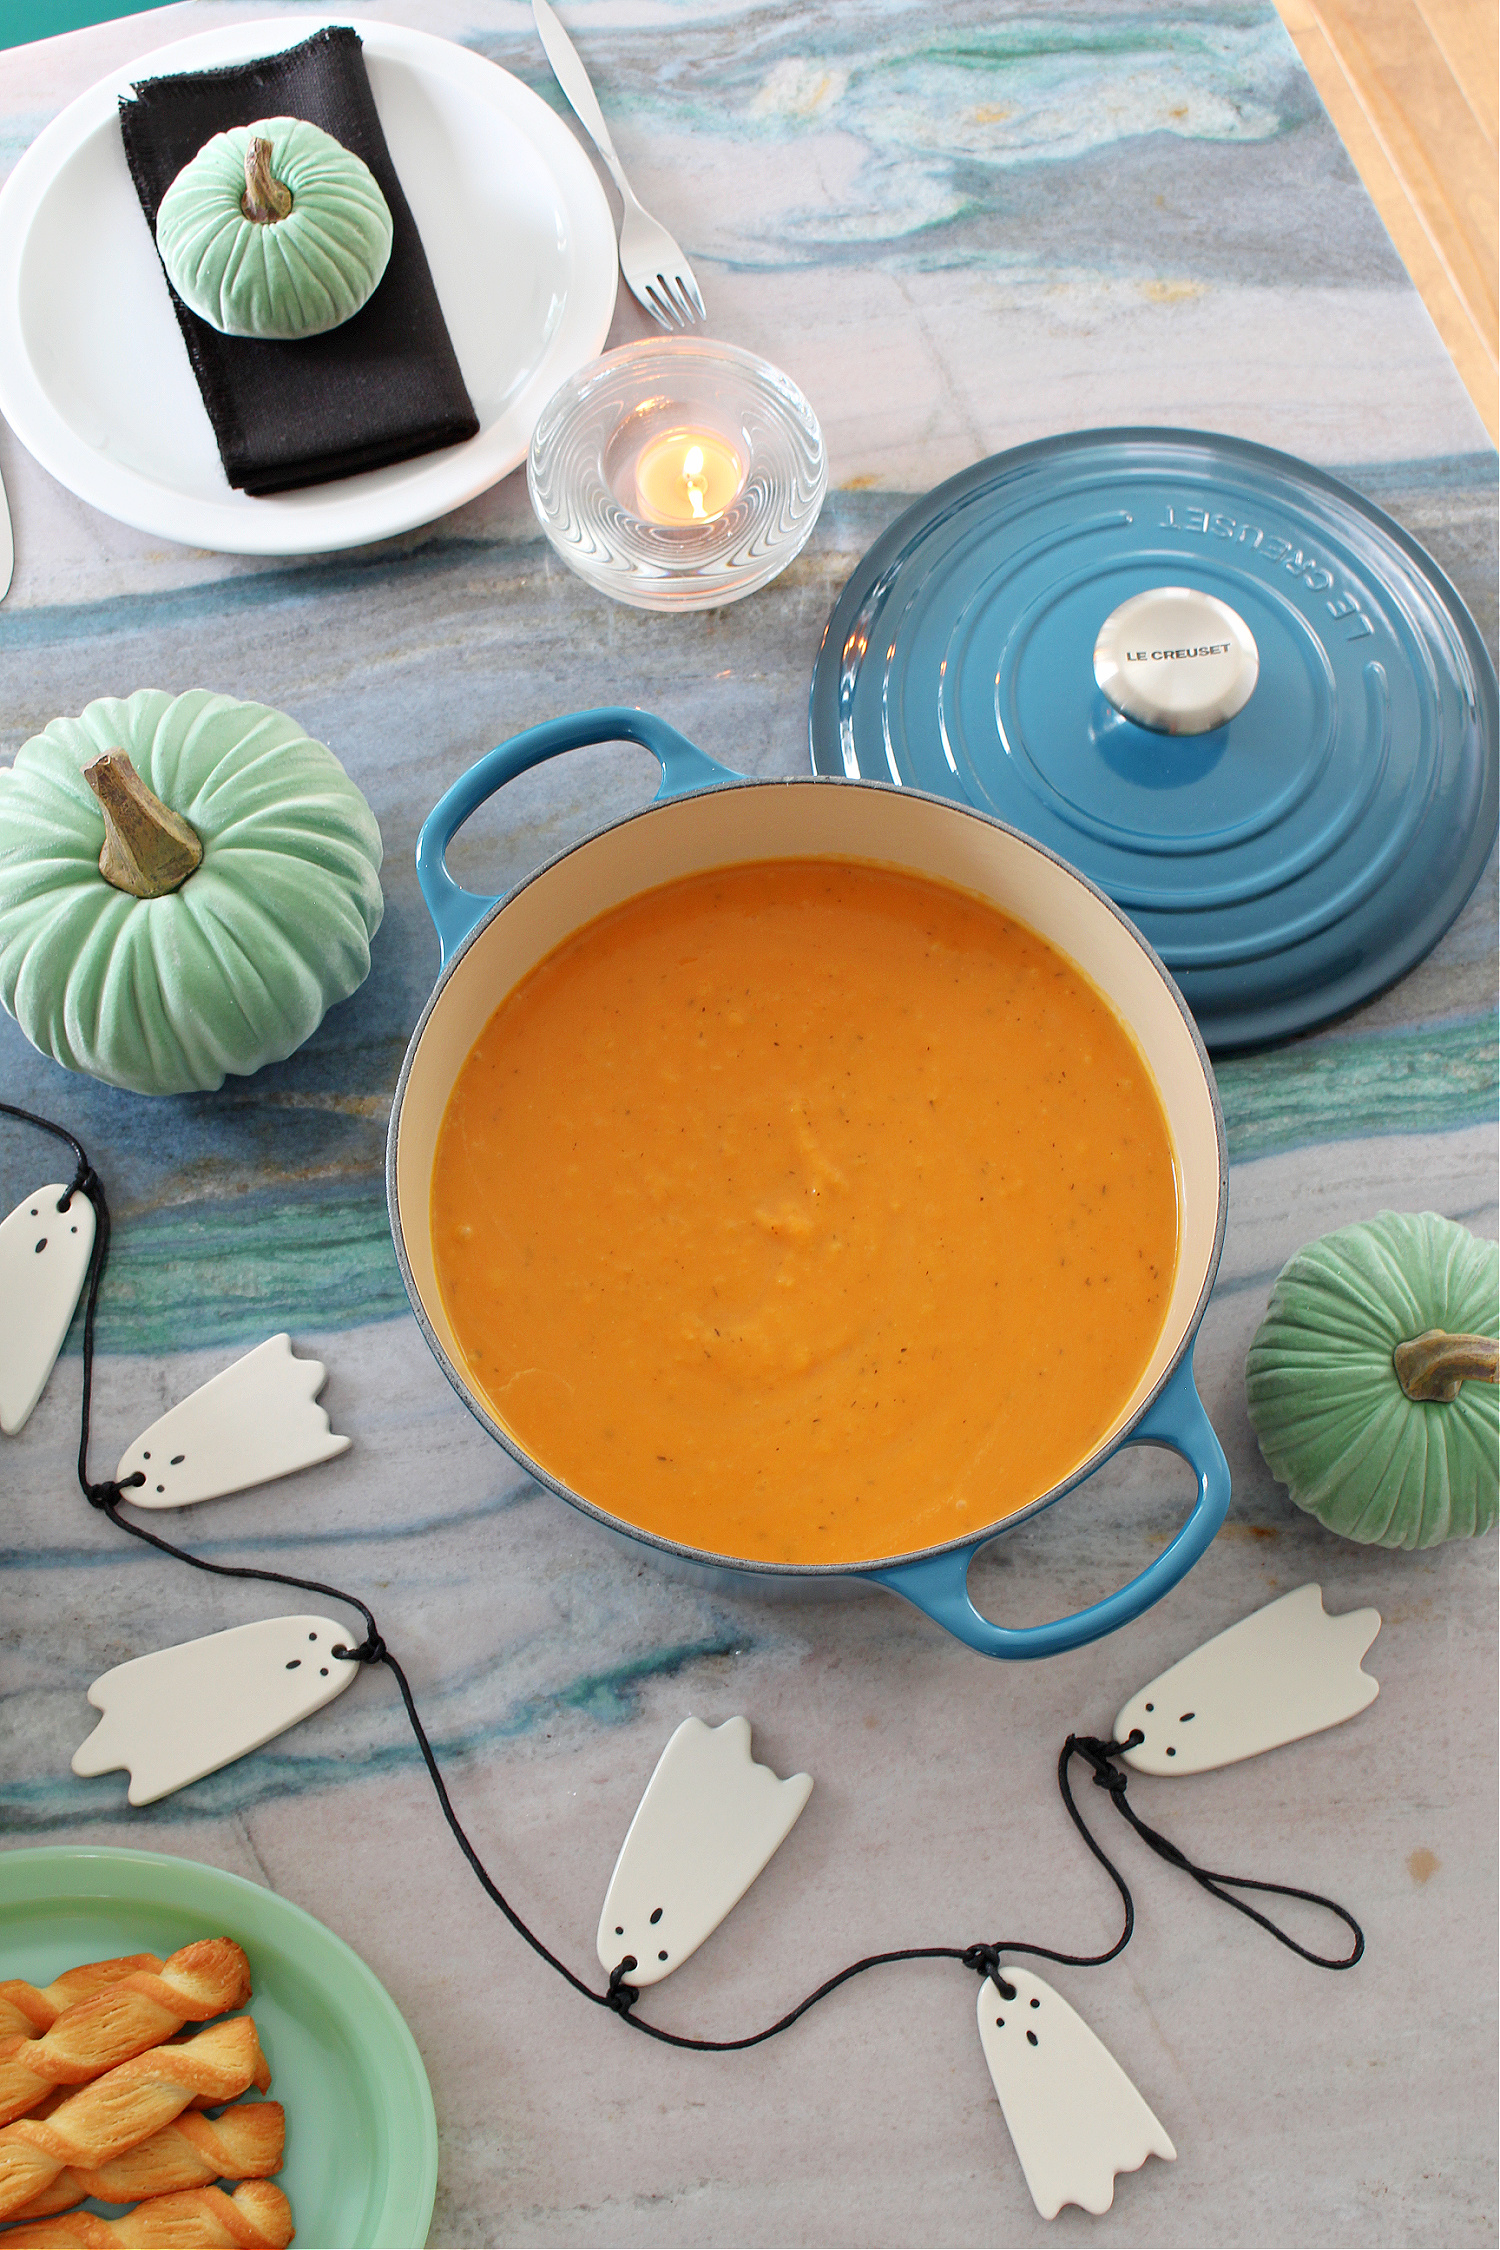
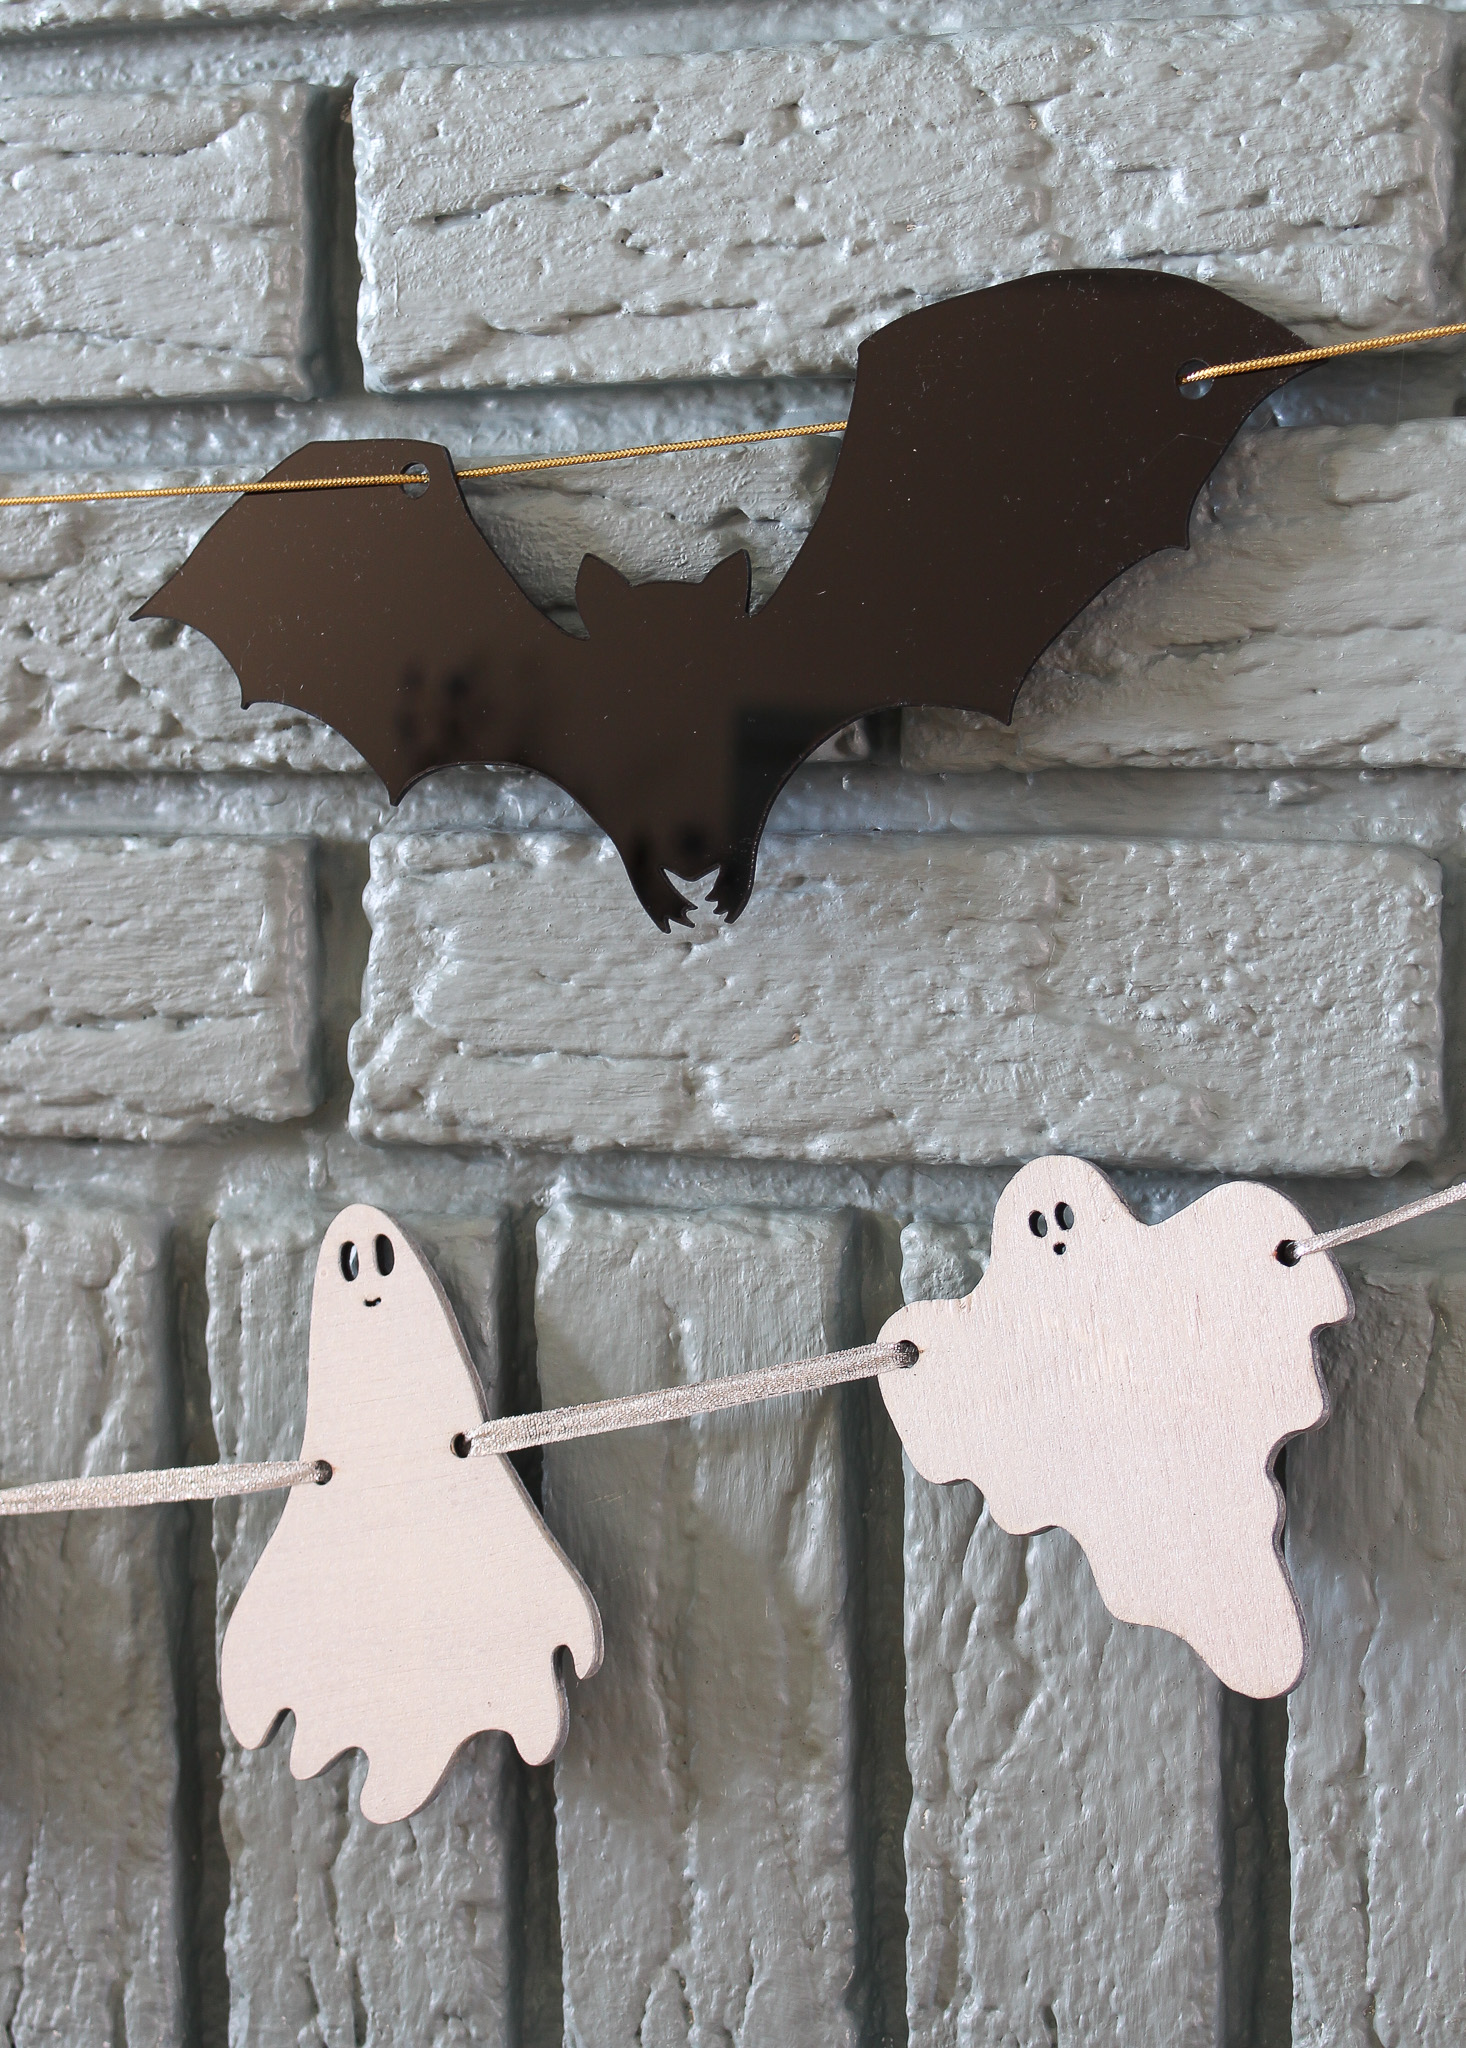
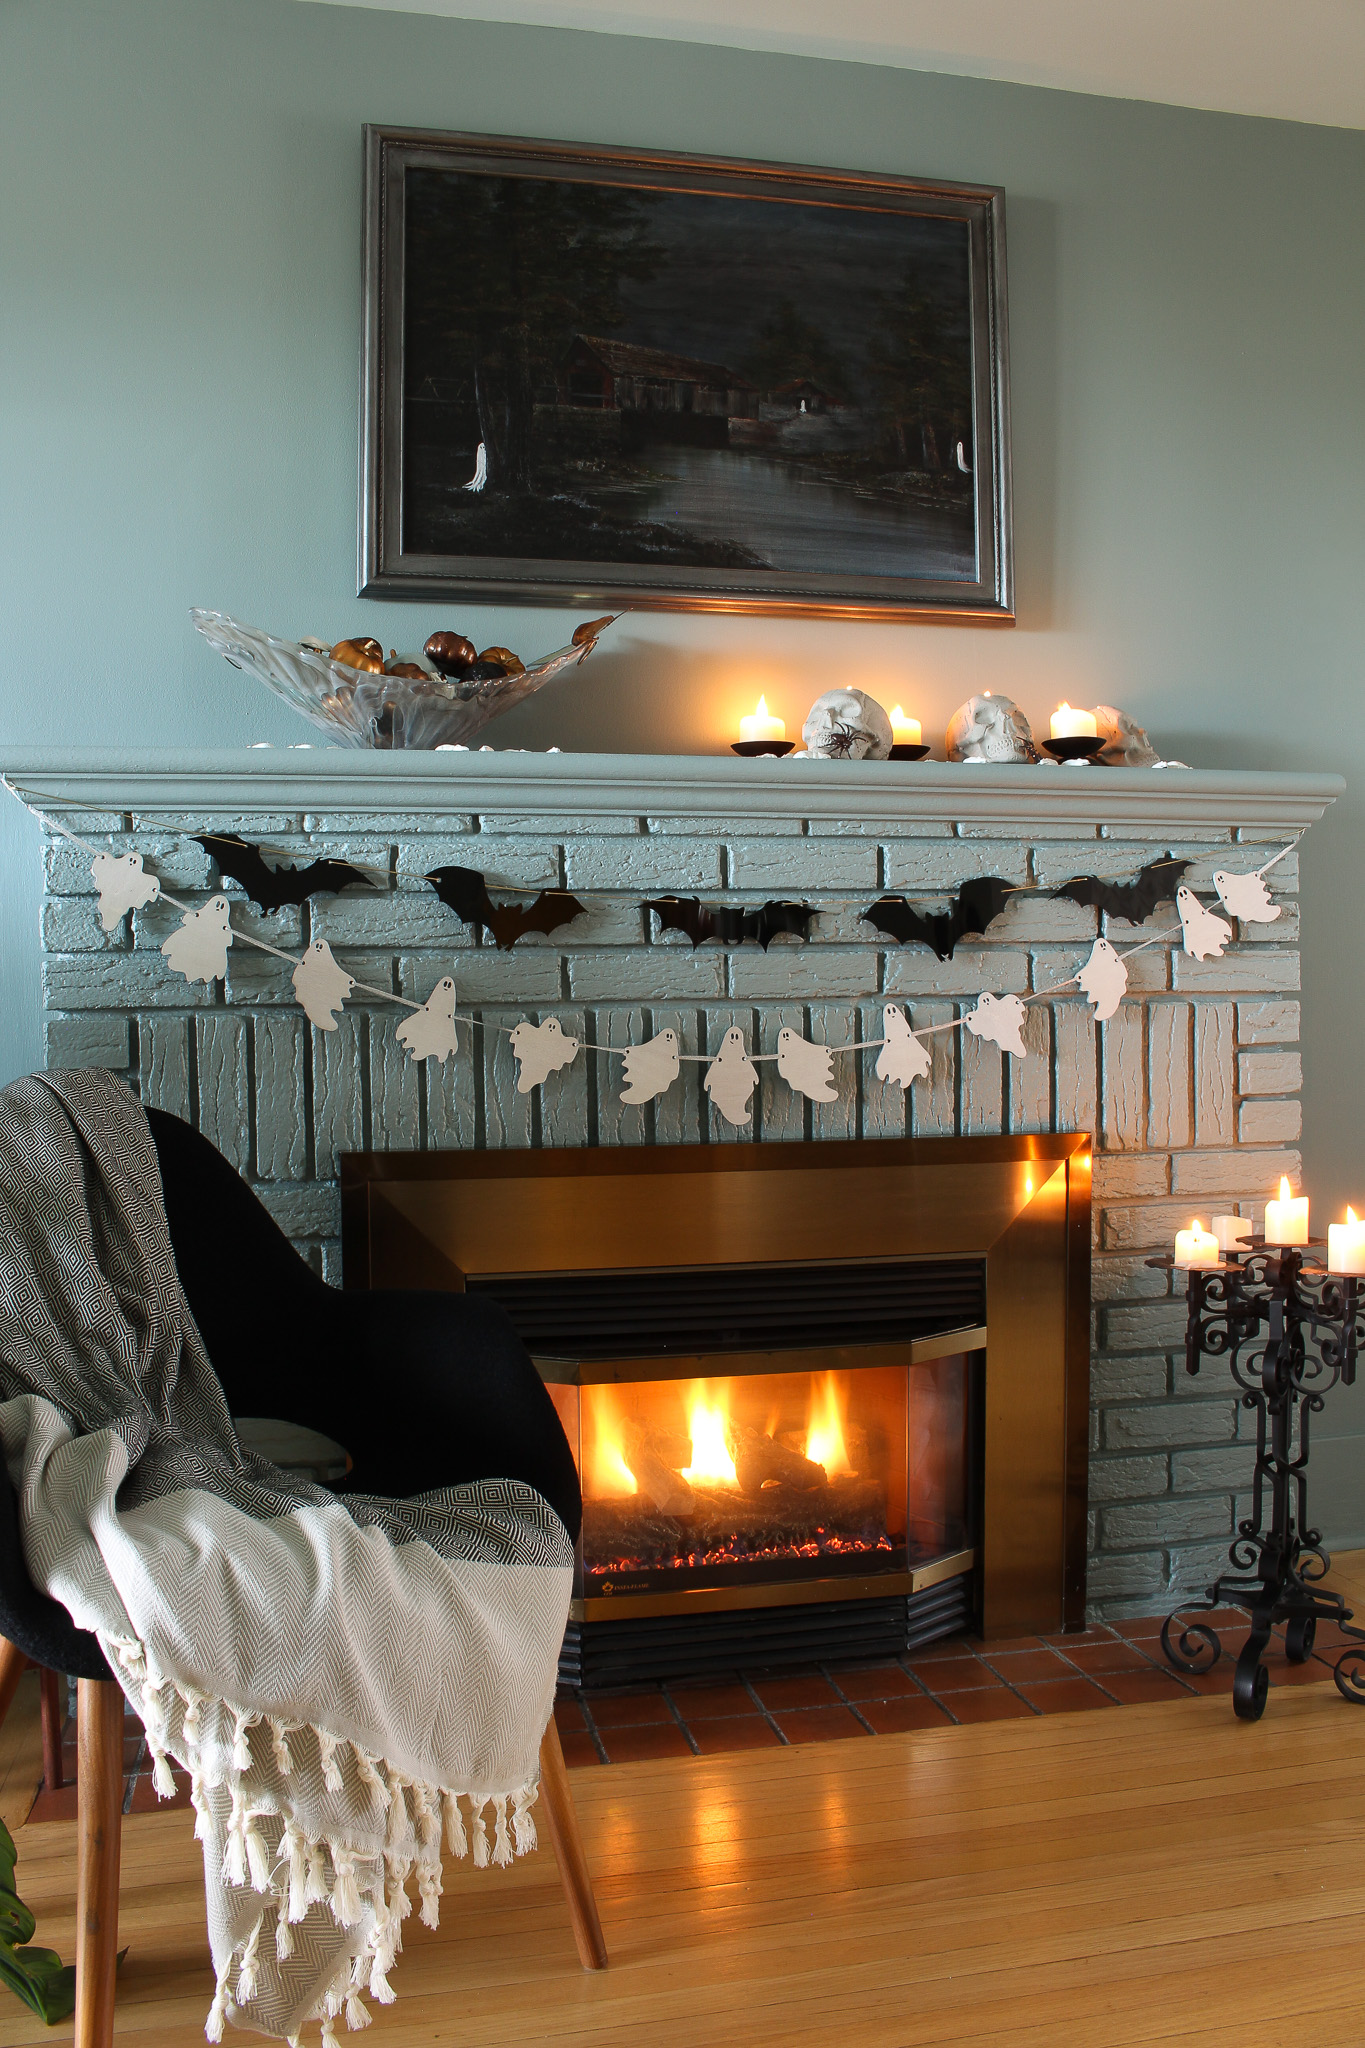
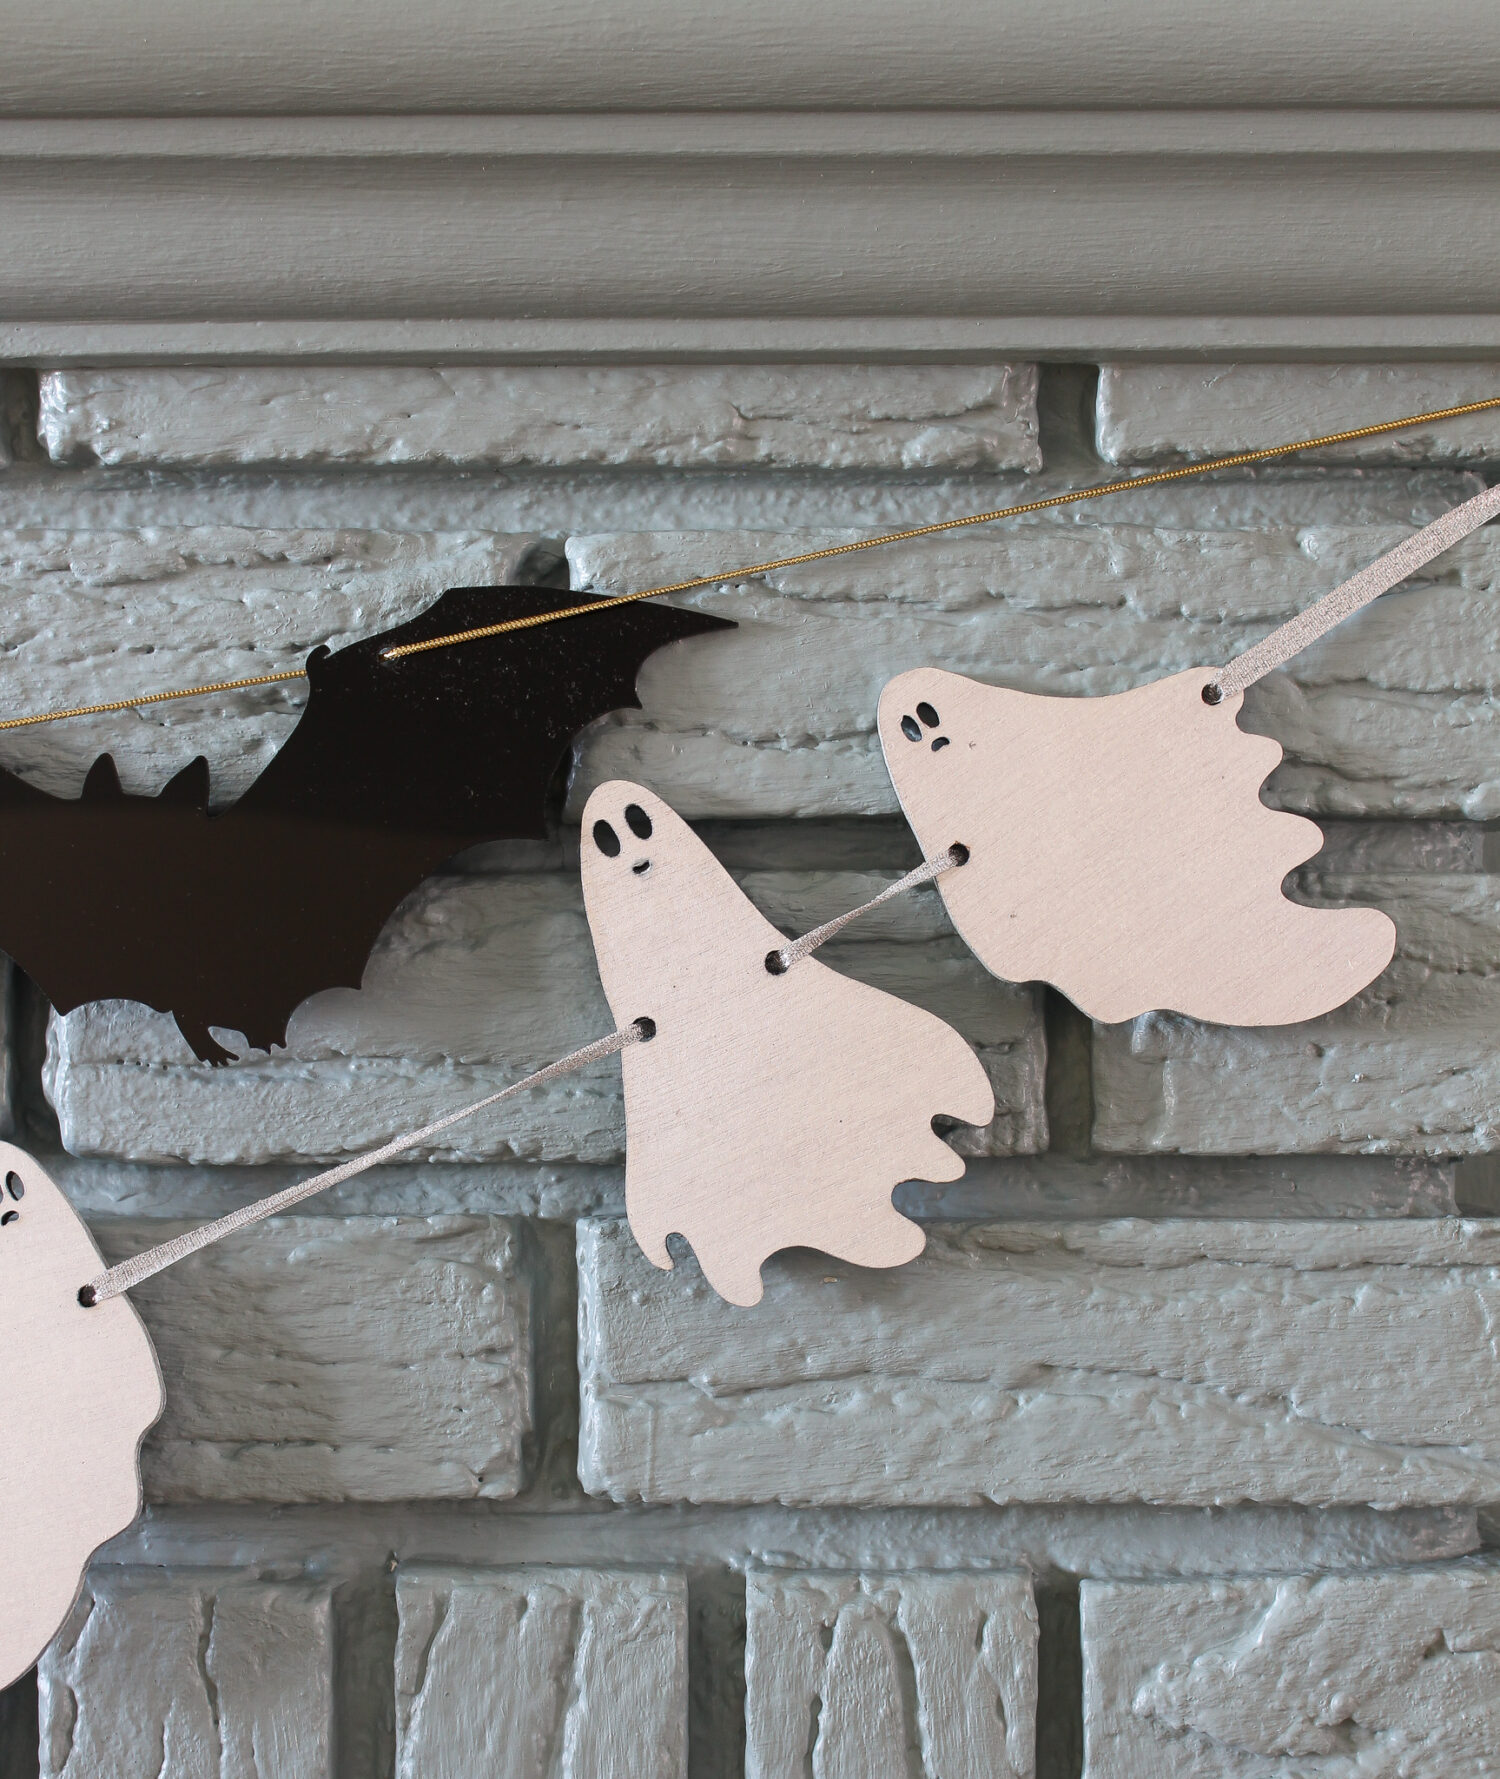
We actually made both of the cute DIY Halloween garlands on the mantel: this plywood laser cut ghost garland and another black acrylic laser cut bat garland. The DIY ghost garland was inspired by this ceramic ghost garland I already have that I LOVE. I’d honestly buy more of these because they’re sooo cute, but I’m always worried about shattering it so I haven’t dared bring it to my Mom’s place to style her mantel. It’s hung up in my house right now, but for years I just artfully arranged it on surfaces to keep it safe. I wanted a more durable ghost garland…
DIY Ghost Garland for a DIY Ghost Painting
Now I have a ghost garland that is very durable – it’s actually cut from scraps of plywood underlayment left over from the kitchen reno! I was so excited to hang this on my Mom’s mantel because the upcycled ghost painting we made is there as well and it definitely needed some ghost garland friends. This was her Halloween mantel look the year before last vs. now:


Supplies for Laser Cut Ghost Garland:
- xTool M1 Laser Engraver and Laser Cutter
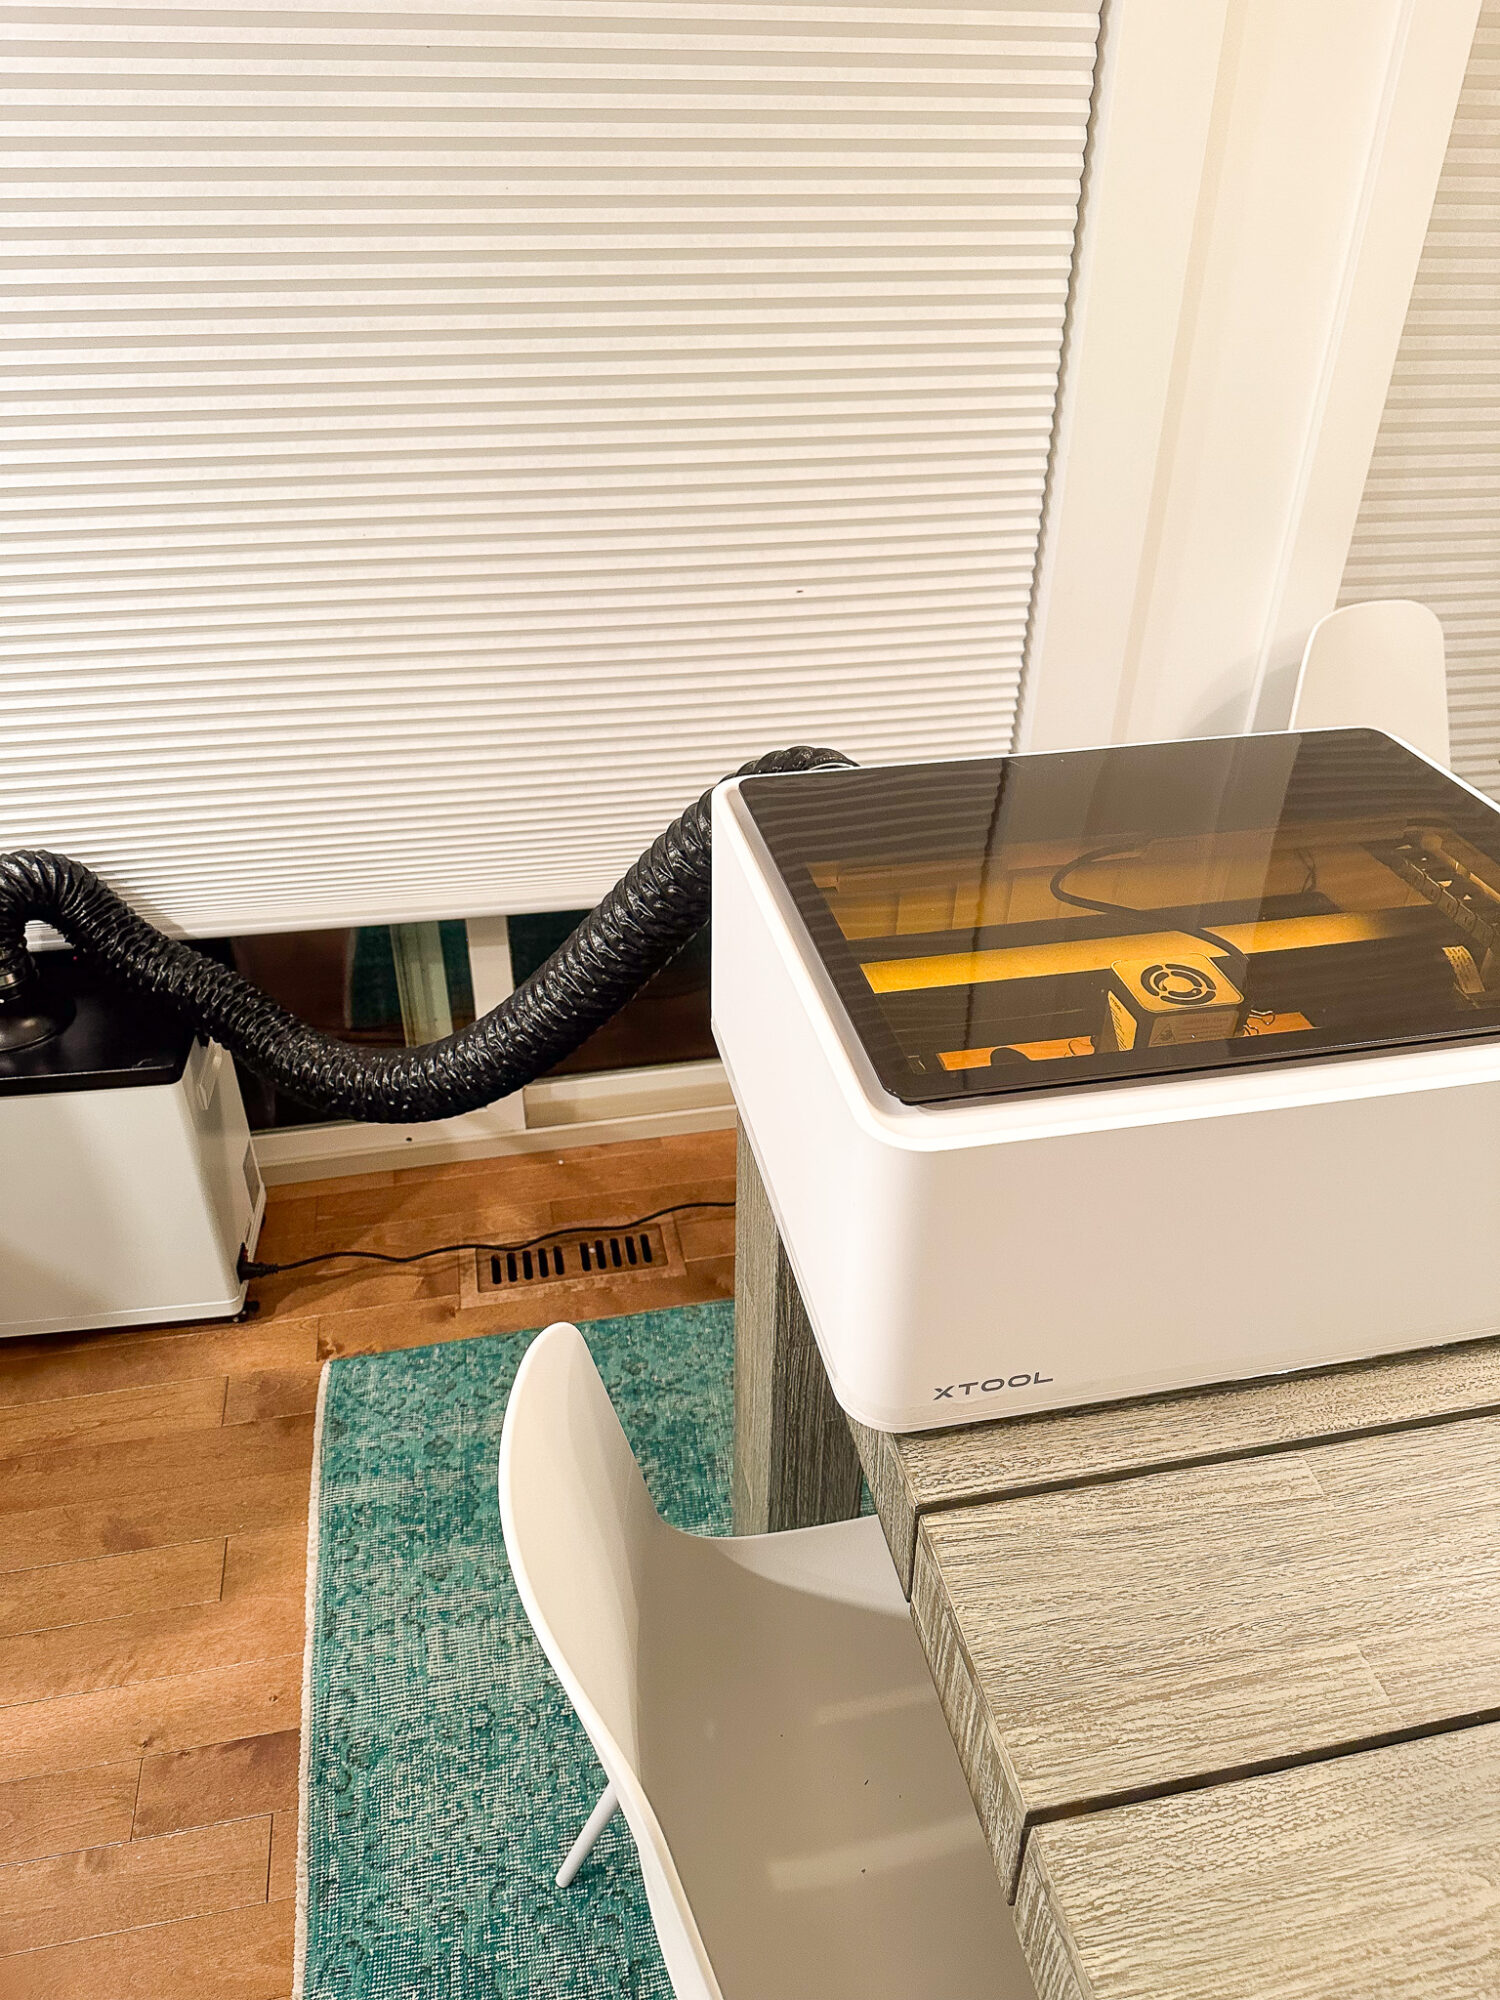
- xTool smoke purifier
- xTool M1 air assist
- Plywood
- Fine tip marker
- Paper
- White wood stain
- Rust-Oleum Pearl Mist spray paint
- Ribbon
If you’d like my ghost files (free for your personal use), you can get them for free by signing up for my monthly newsletter!
How to Make Laser Cut DIY Ghost Garland
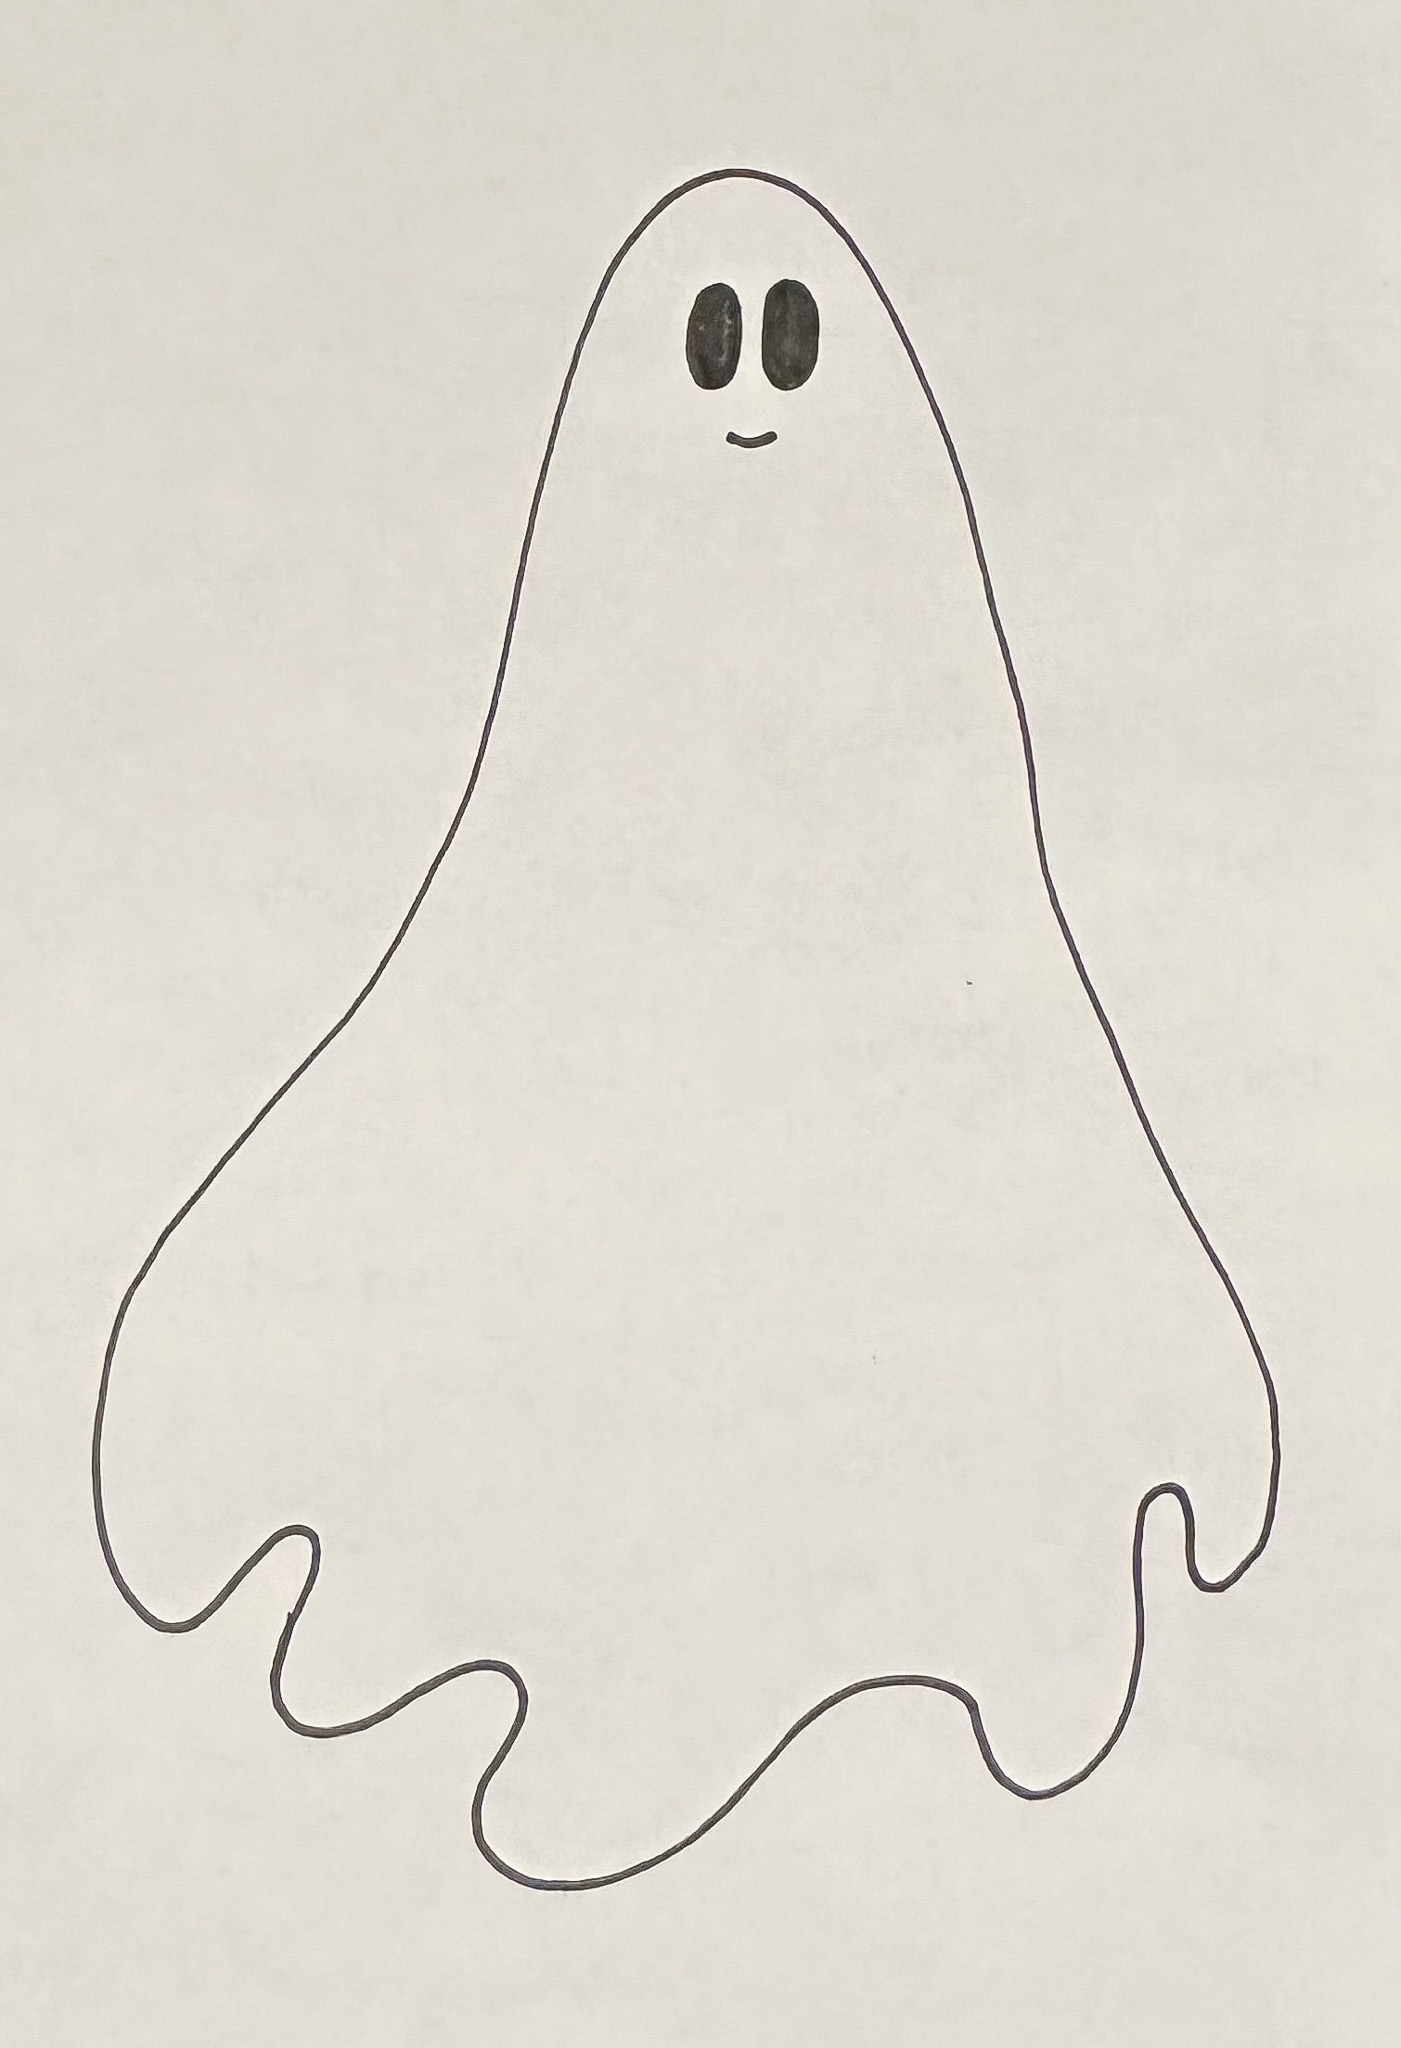
Turn a Doodle into an SVG File:
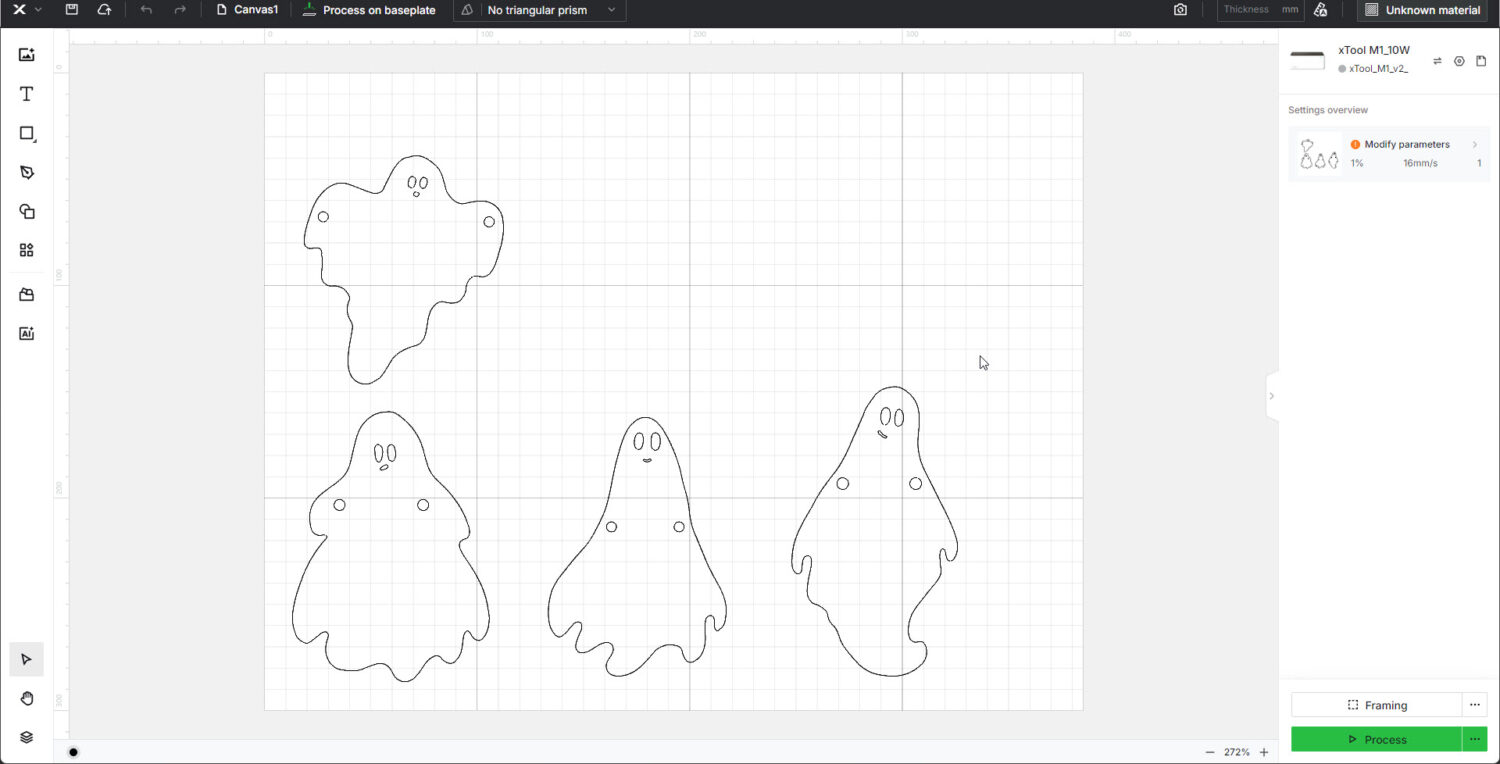
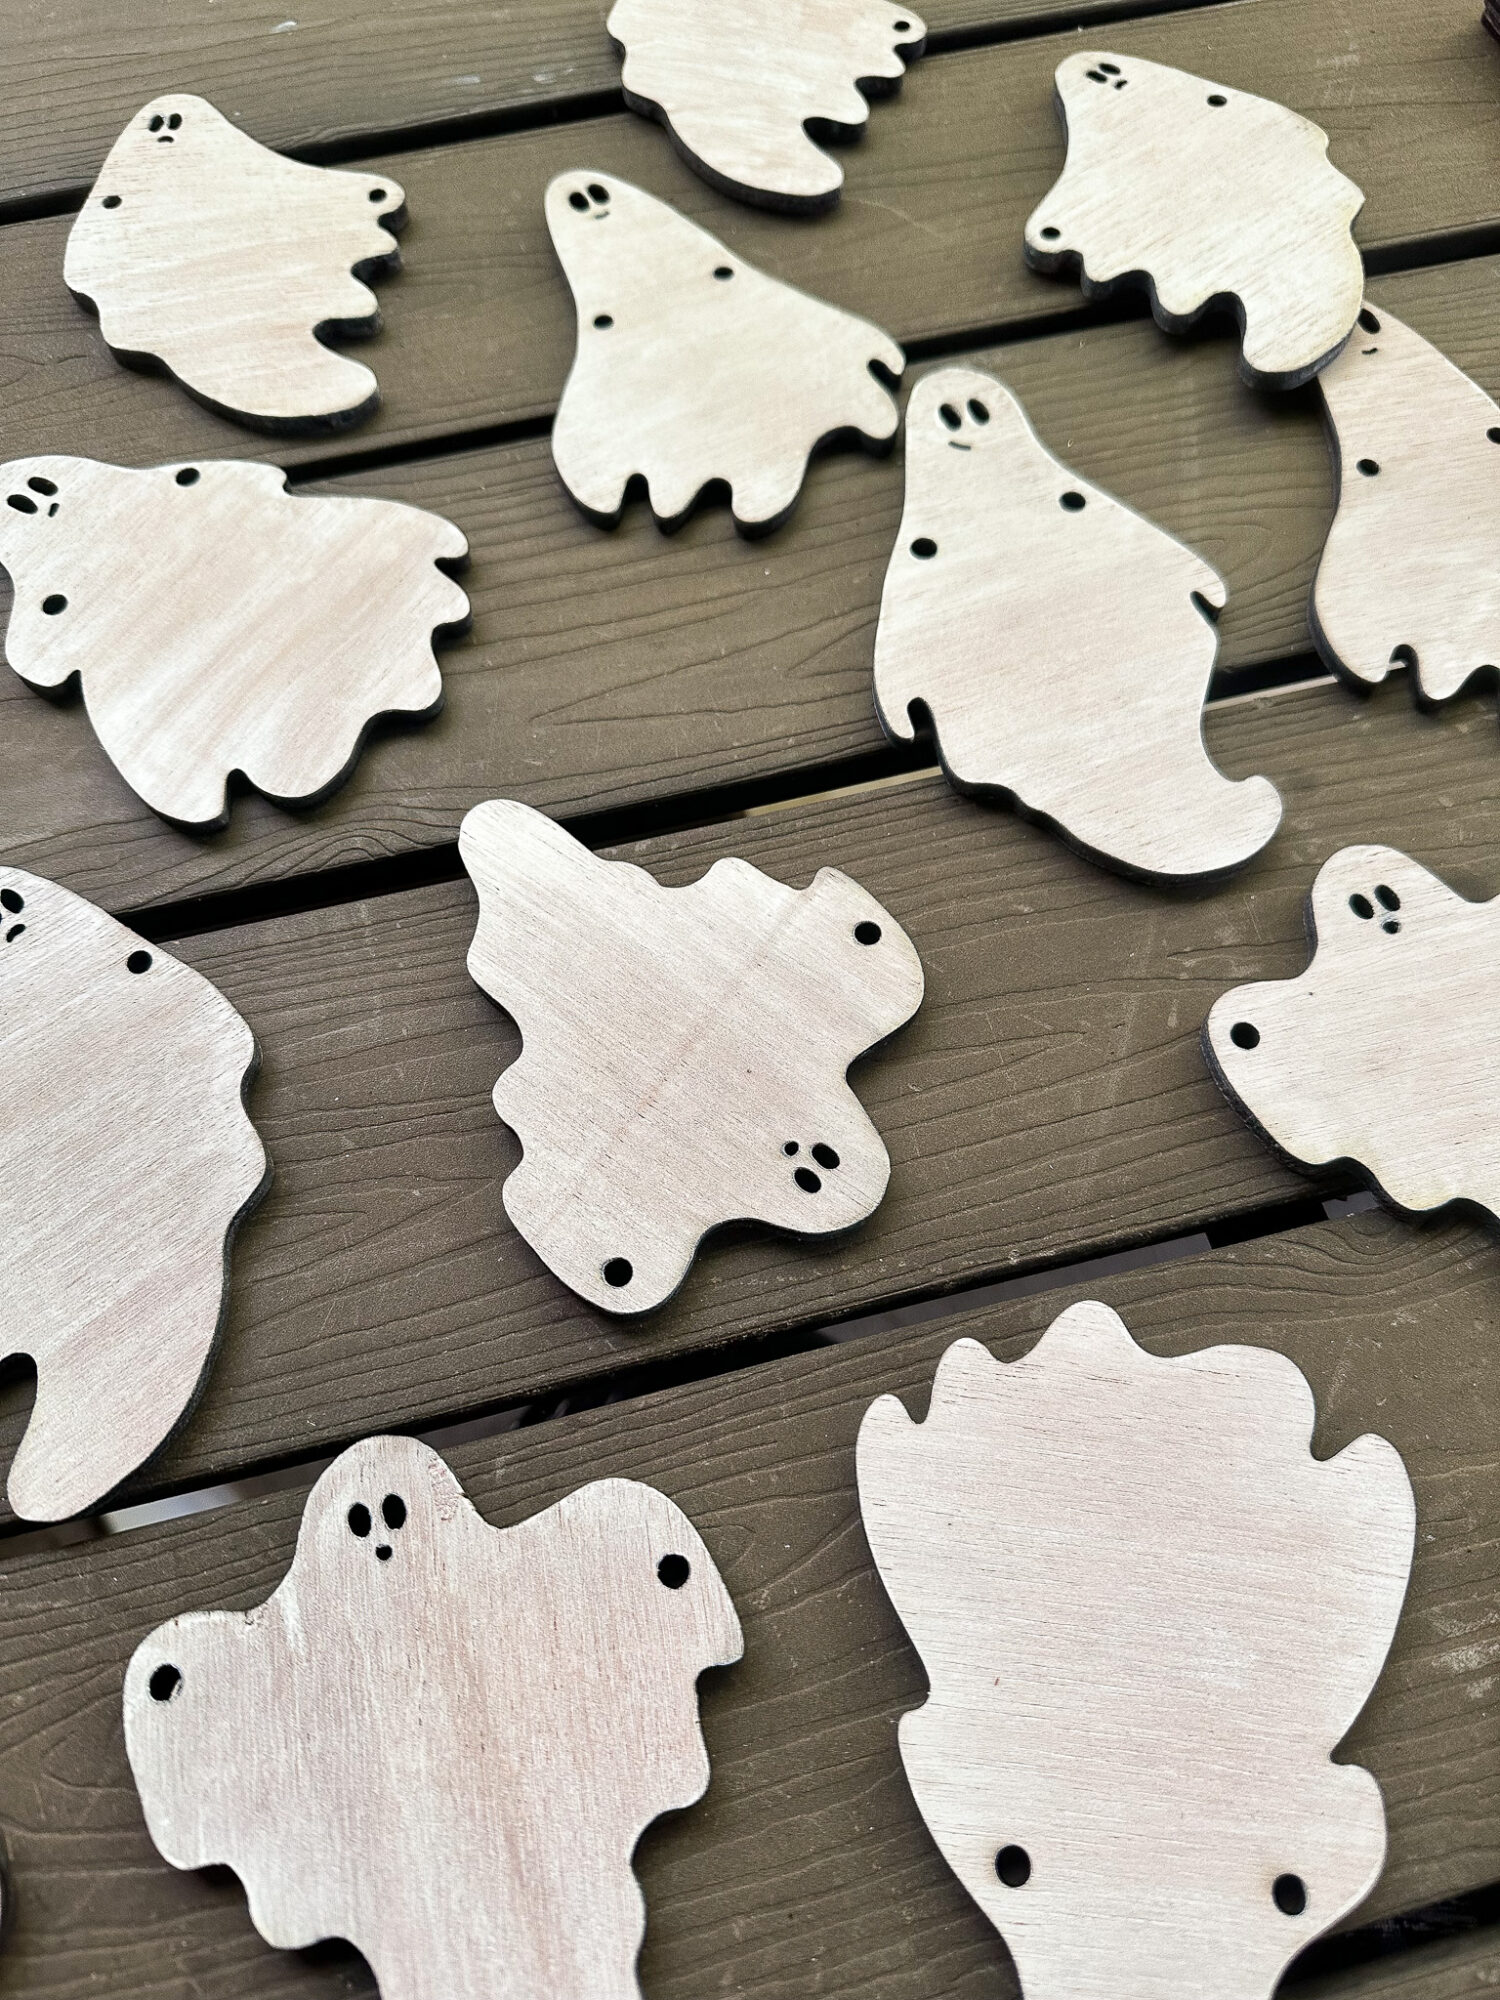
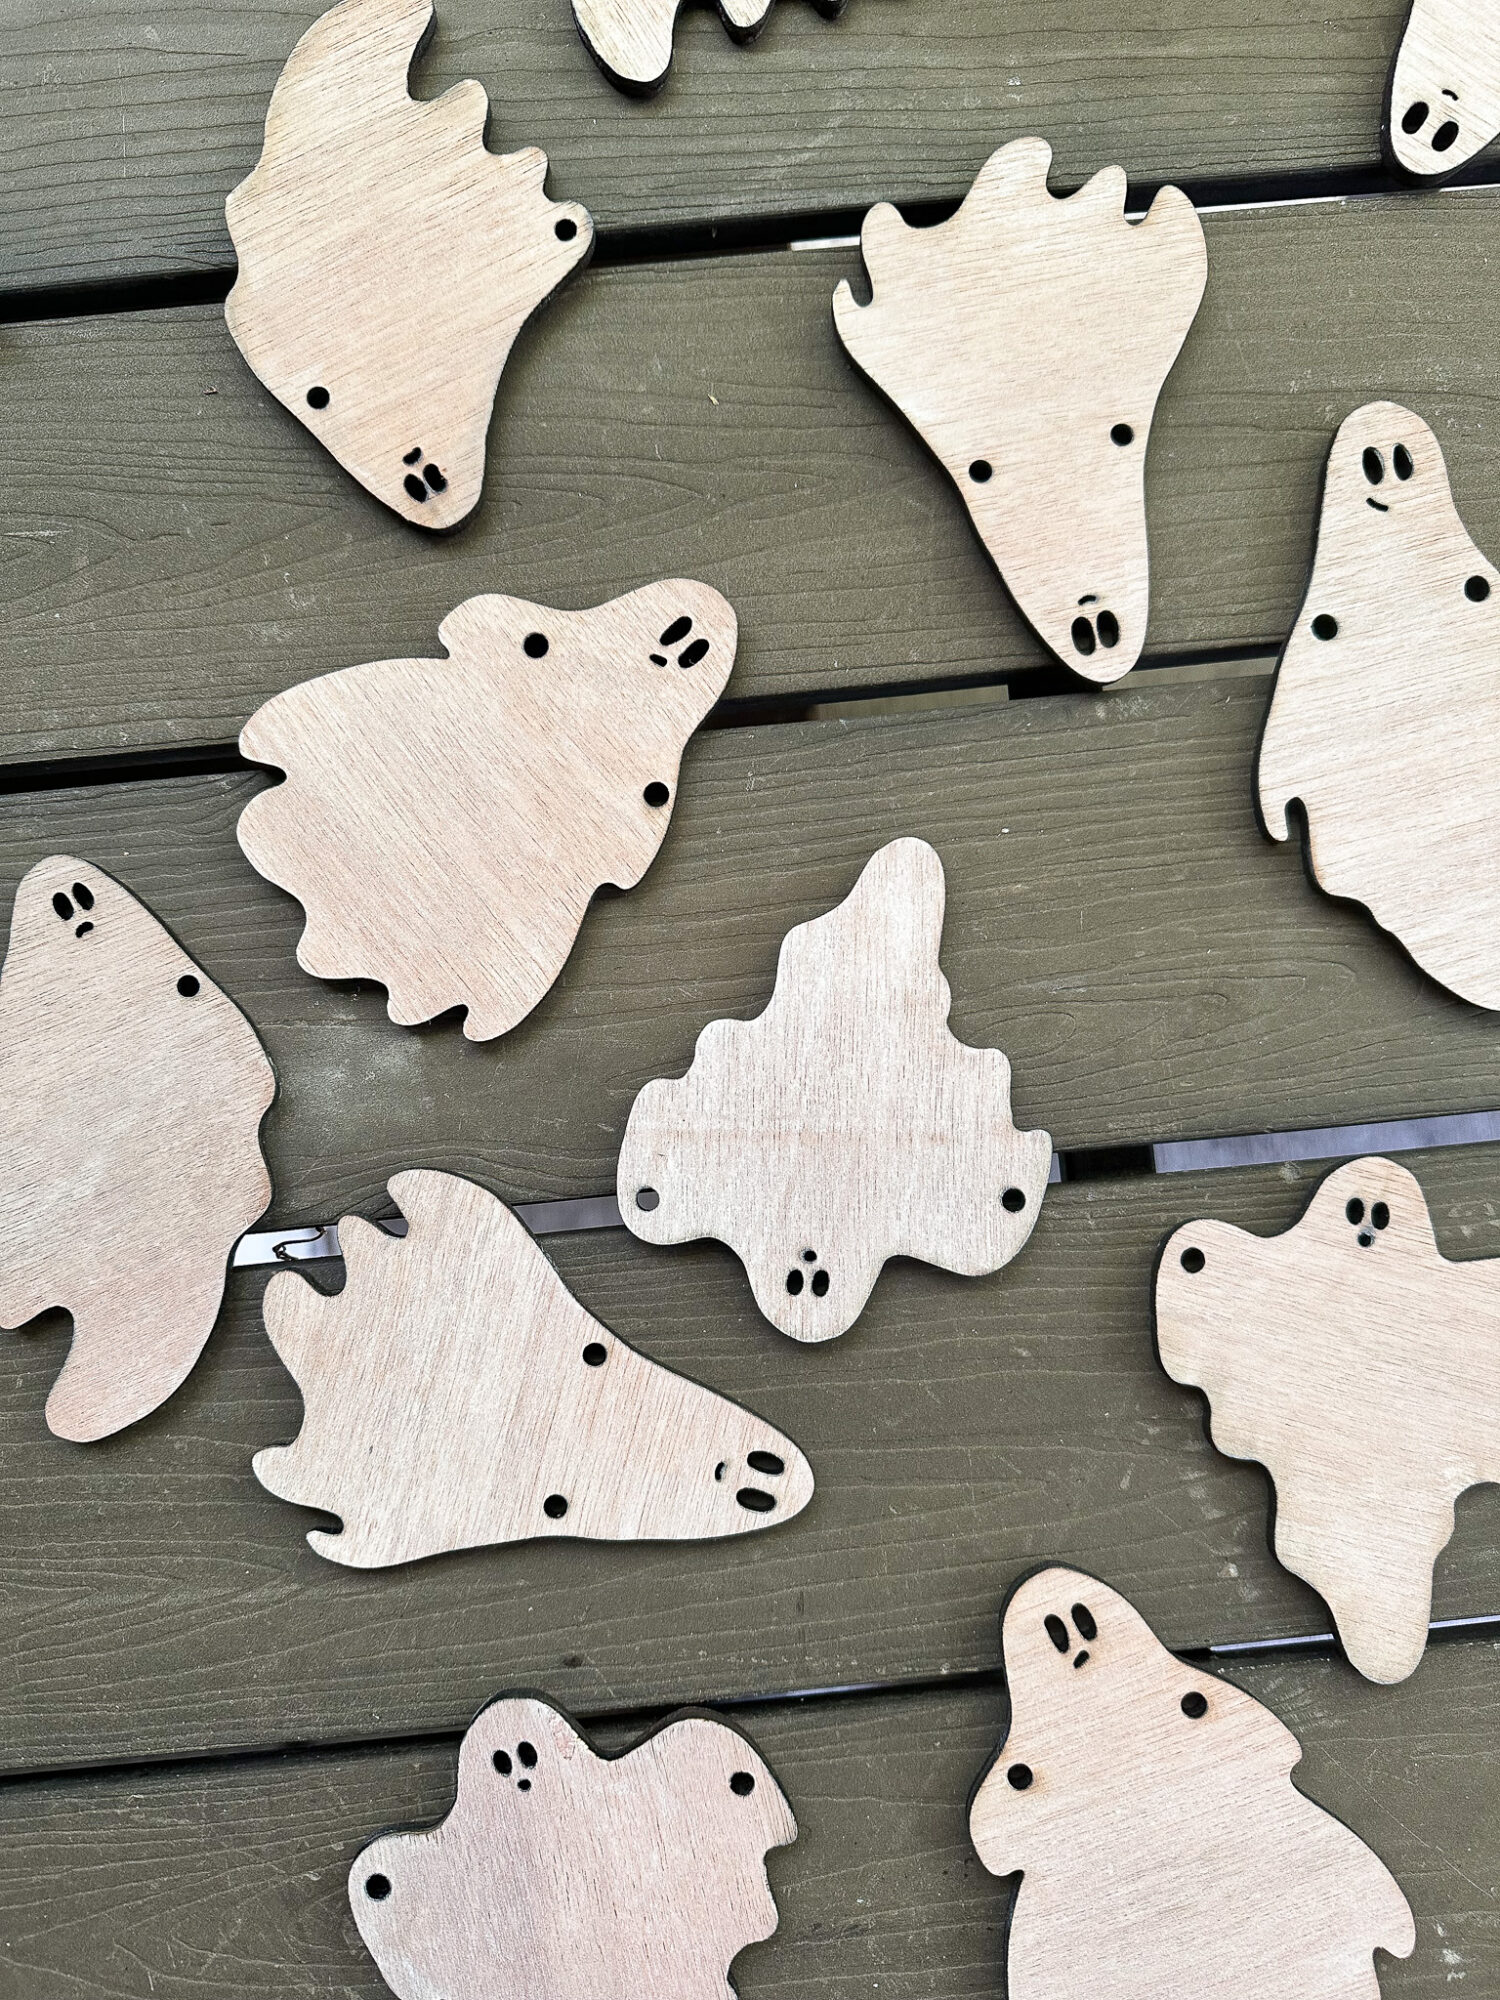
I started with a little doodle, which I tried to draw cleanly with a fine tip marker on white paper. The more crisp and clear the drawing, the better the end result. I took a photograph with my phone and used PNG SVG Converter by Adobe (it’s free) to turn it into an SVG file to import into xTool’s Creative Space. In xTool Creative Space we added holes at the ends for it to be hung on ribbon. I ended up drawing four different ghosts, which I also flipped the direction of to make it seem like they were more unique in the garland line up. I think it would be adorable to make a garland where they’re all one of a kind…
Choose a Plywood Material:
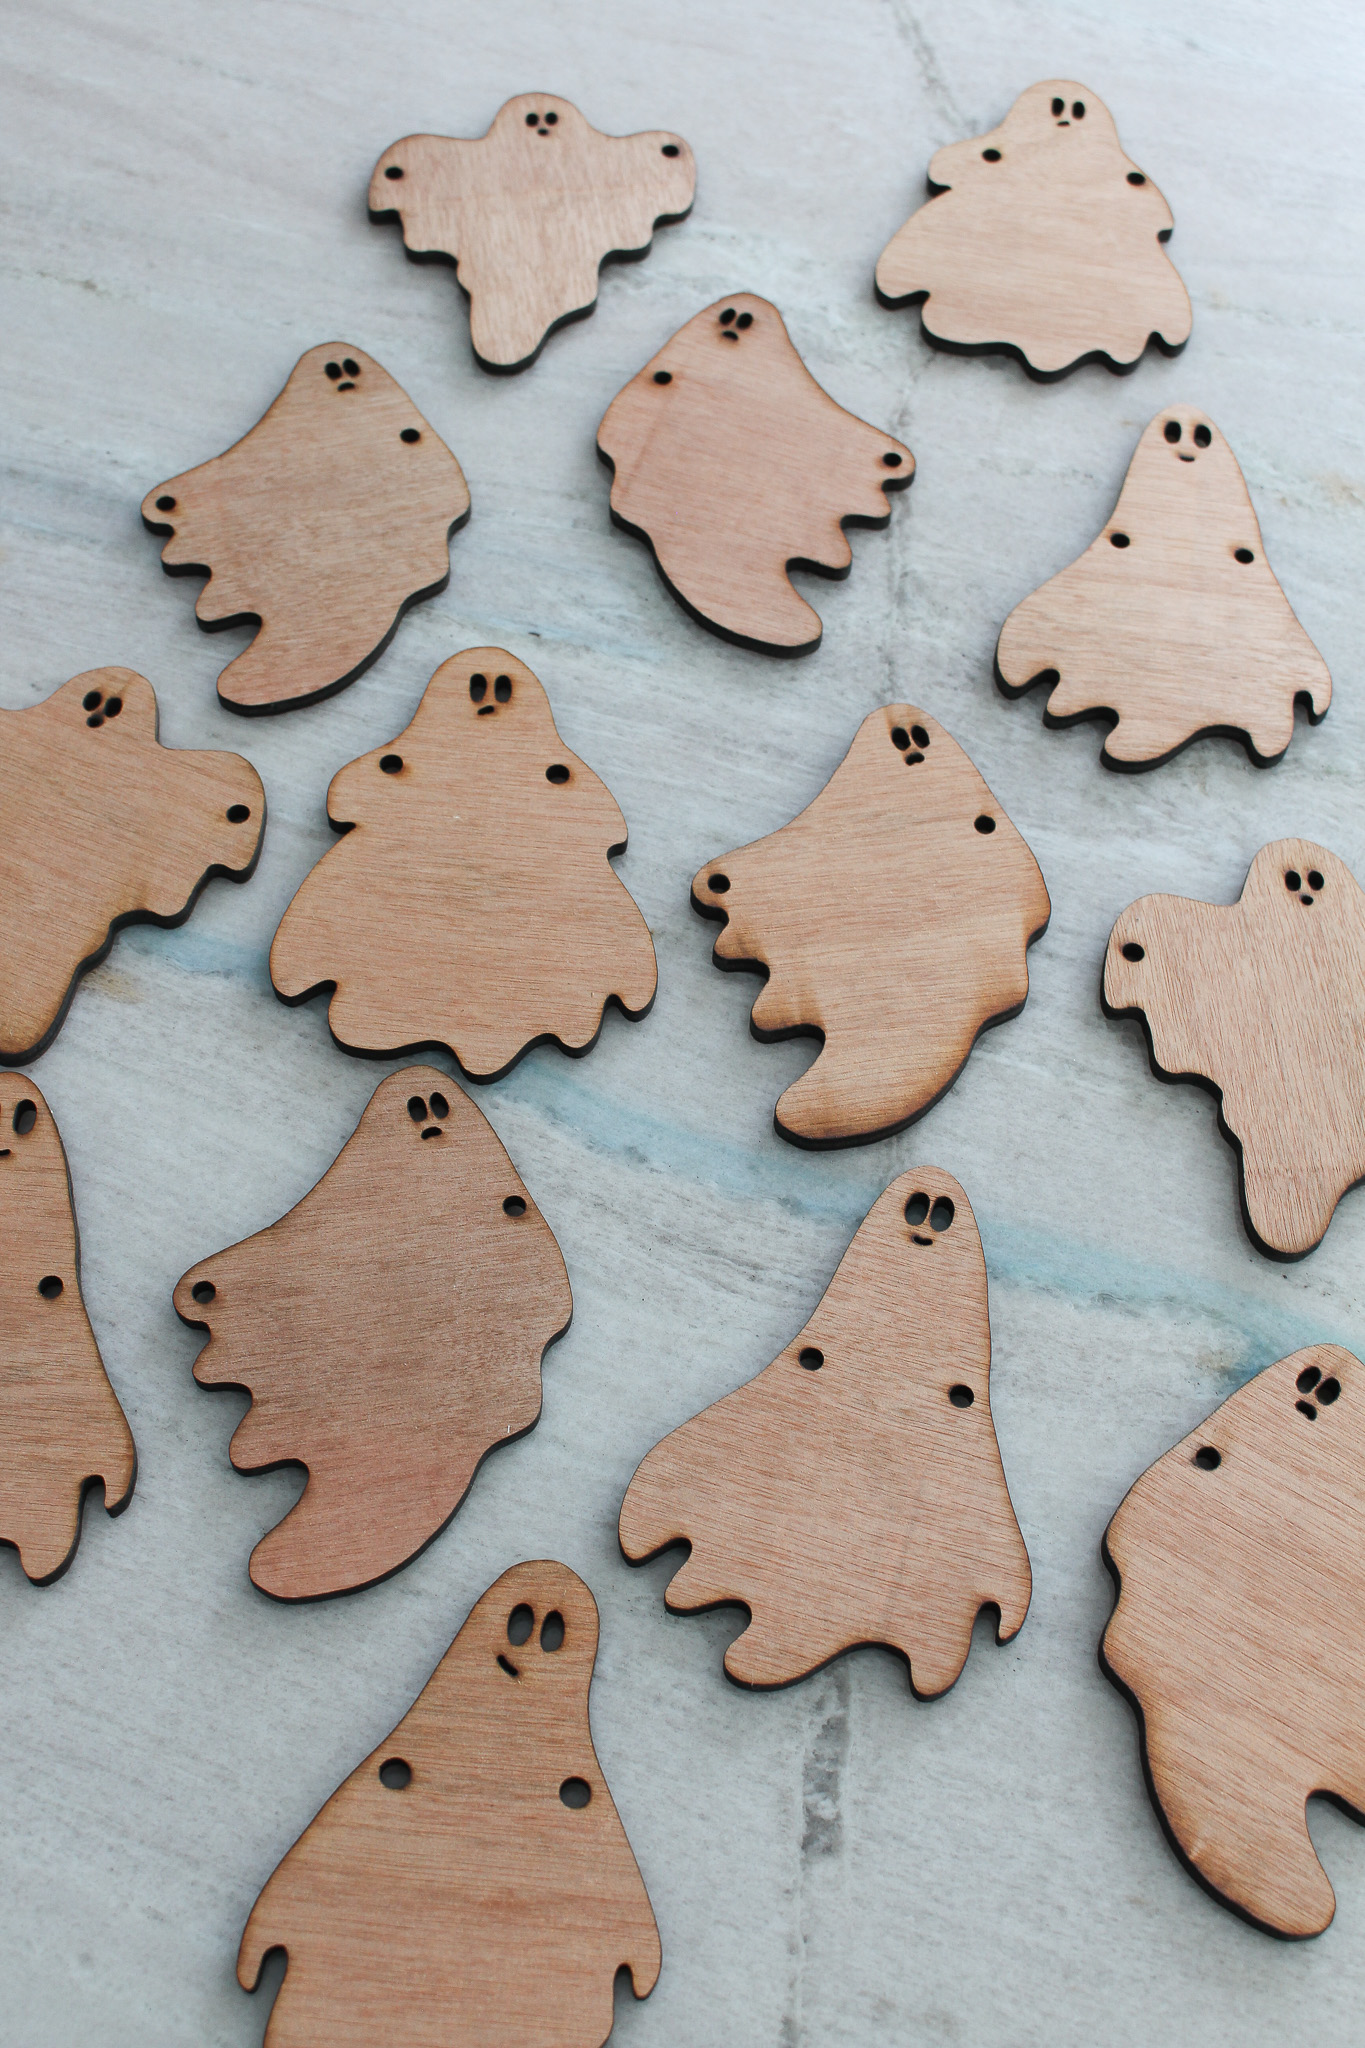
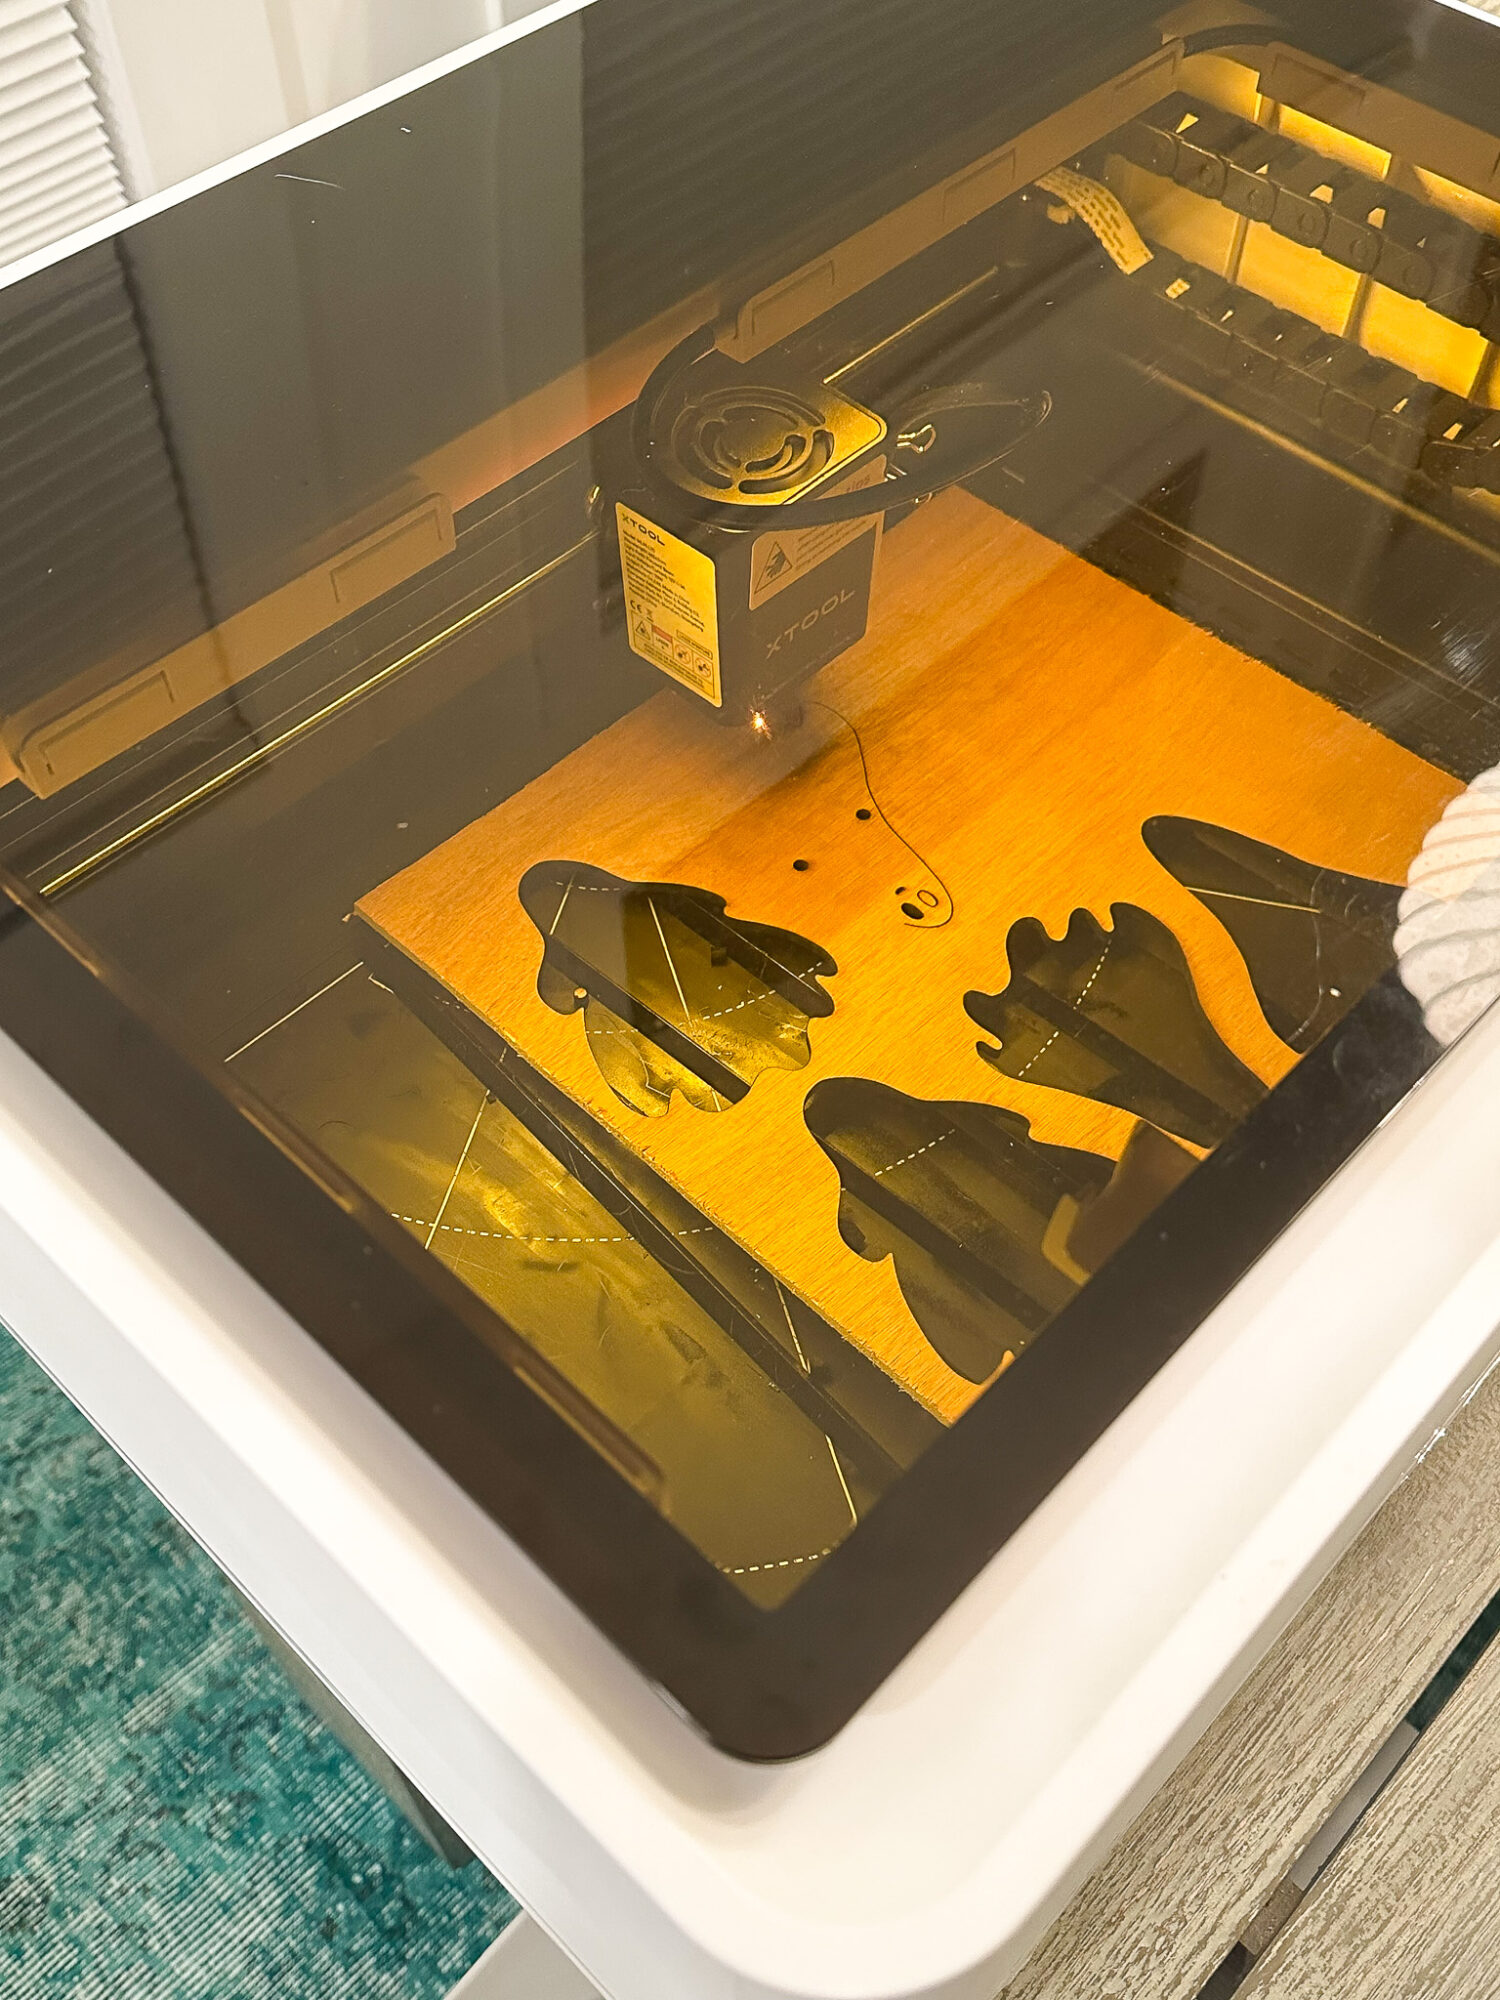
We tested a bunch of plywood scraps and, after some experimentation with cutting settings, the leftover 5mm plywood underlayment from our mid-century meet coastal kitchen renovation cut so nicely! I wanted to save money and use up leftover plywood I had for this project. You probably won’t find this exact material, but you can use any xTool M1 compatible plywood material. My xTool M1 can cut up to 8mm, but thinner plywood will mean fewer passes. Basswood is a popular choice, as it’s budget friendly and this is going to be painted/stained anyway so there’s no reason to invest in a fancier plywood.

This is a test before we figured out the right cutting settings for a clean cut
Cut Out the Ghosts Shapes:
I discovered that using the xTool M1 OUTSIDE was a game changer! It was so enjoyable to sit out on the deck and use this. If you plan to use this machine inside, the xTool smoke purifier is essential. We vented it out the patio doors and cutting plywood inside is okay. It smells a little like a wood fireplace burning, the fumes aren’t terrible. But I will NEVER AGAIN cut acrylic inside because even with the smoke purifier I got such a headache from cutting more than a few shapes. In my opinion, unless you have a studio space with excellent ventilation or you’re just cutting s few small shapes, cutting a larger acrylic project is an outdoor craft because the fumes are just too much.
Our Cutting Settings:
Again, you likely won’t find this exact material to work with, but xTool has recommendations built into the software for cutting settings for different materials. So if you pick a standard thickness plywood designed for this, you’ll find it isn’t difficult to cut successfully. But if you’re using scraps and experimenting like us, for our 5mm plywood underlayment material, below are our cut settings. But please note, the type of plywood is just as important as the thickness as we couldn’t cut other kinds of 5mm plywood with these settings so if you’re using non-xTool materials you may need to just experiment on a scrap piece before diving right into a project.
- 100% power
- 4 mm/s speed
- 6 passes for the outlines
- 3 passes for the eyes and holes
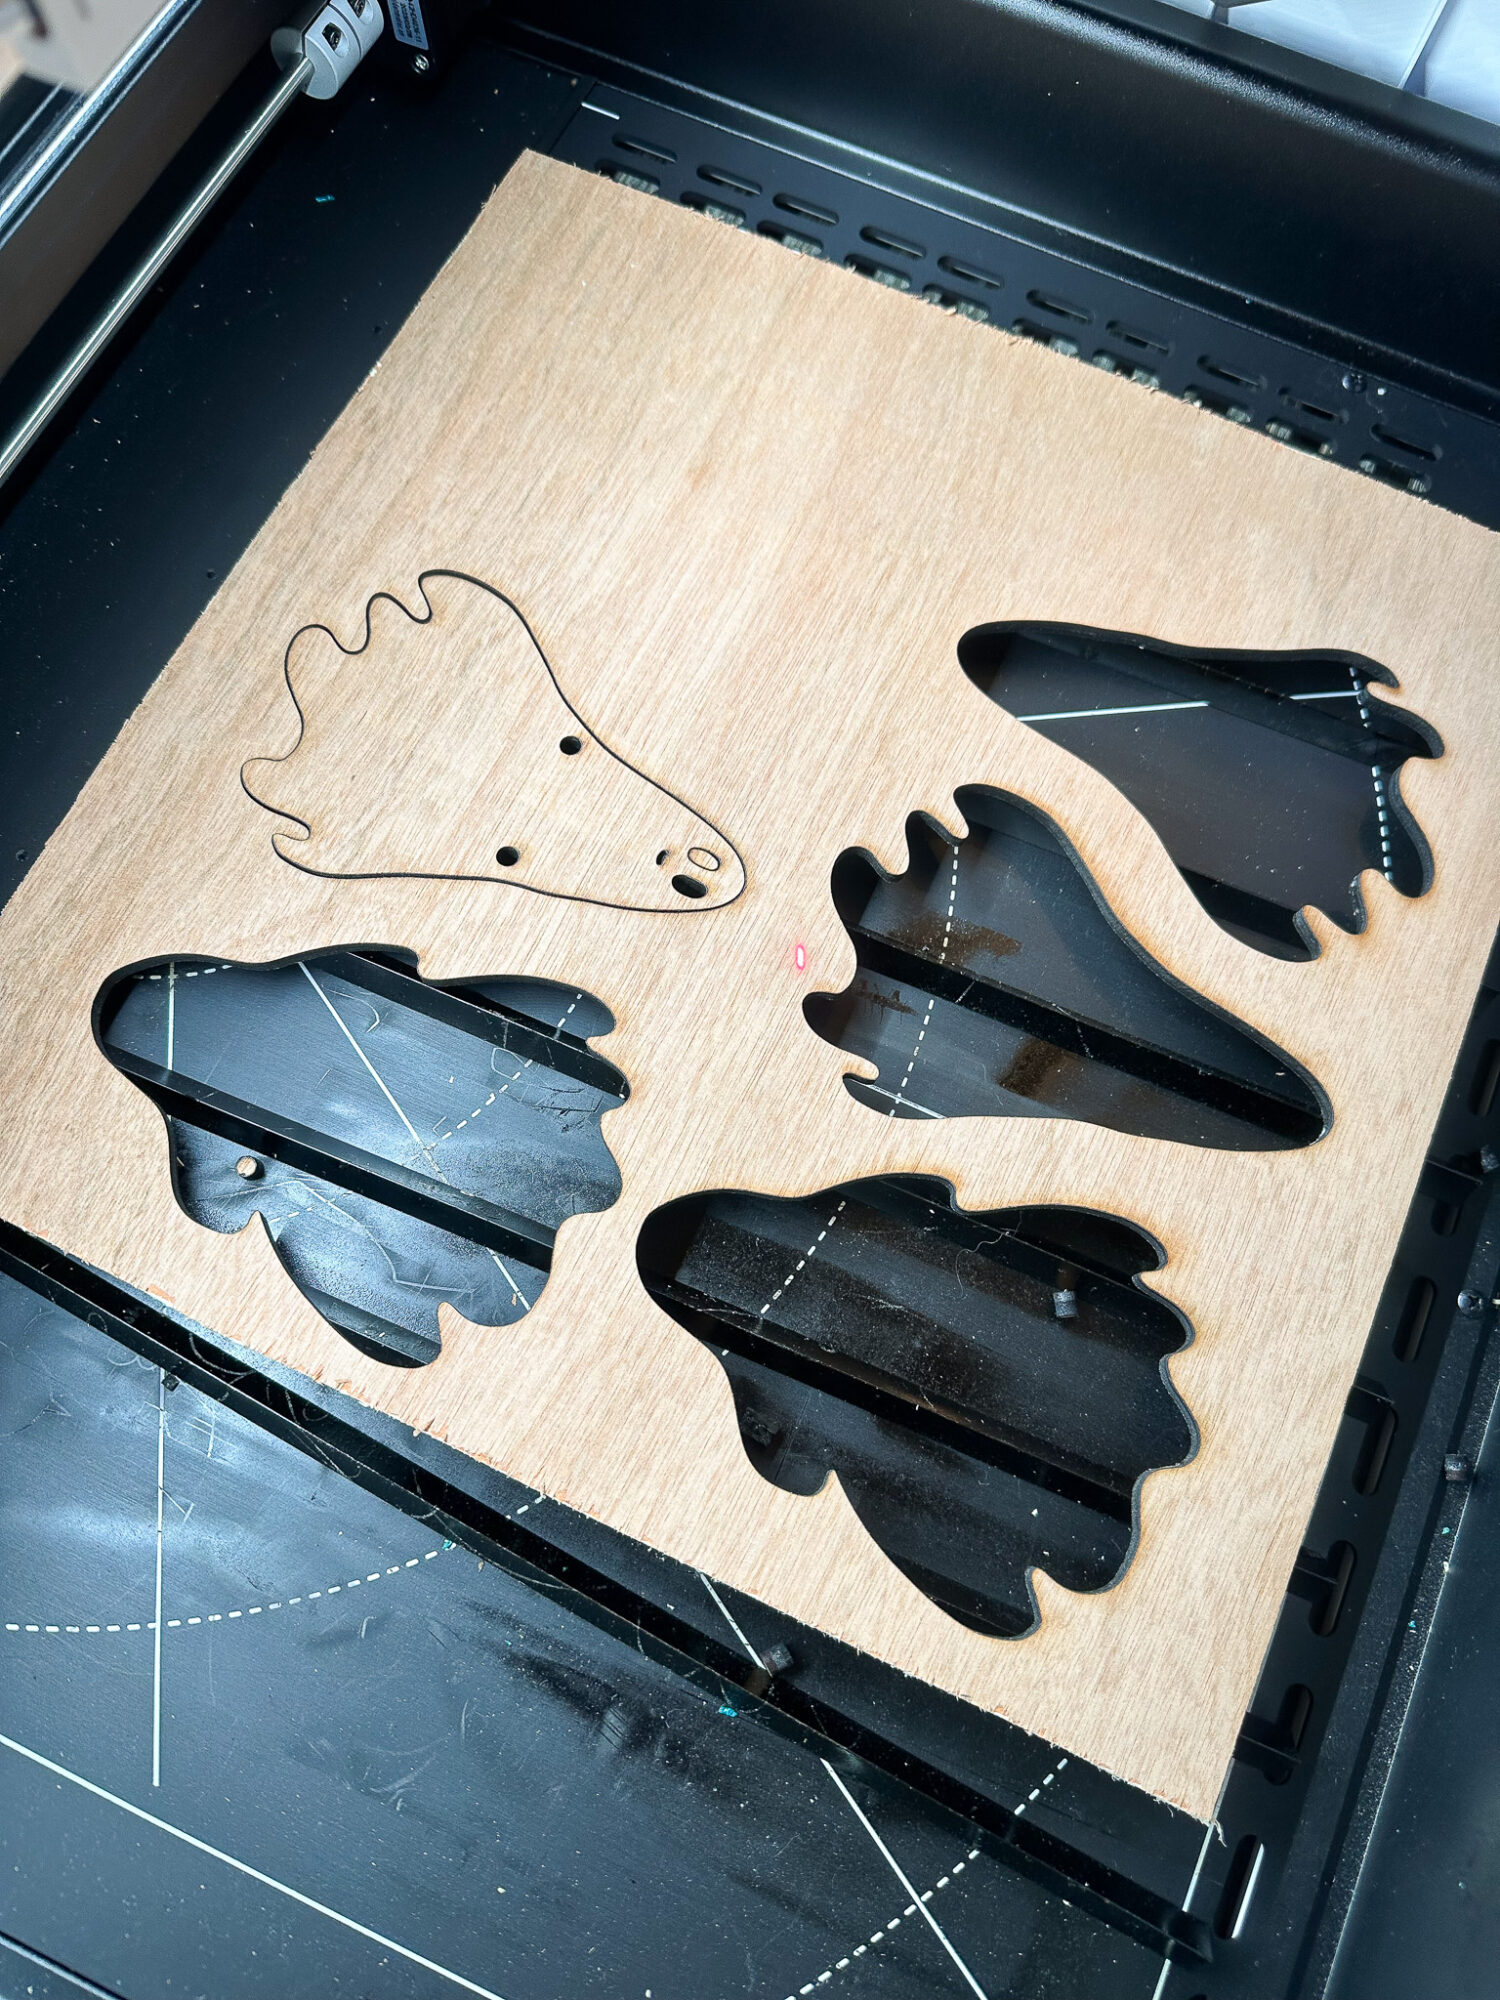
Wipe Clean the Residue:
I used a damp cloth to remove any black residue and the ghosts were ready for staining and painting!
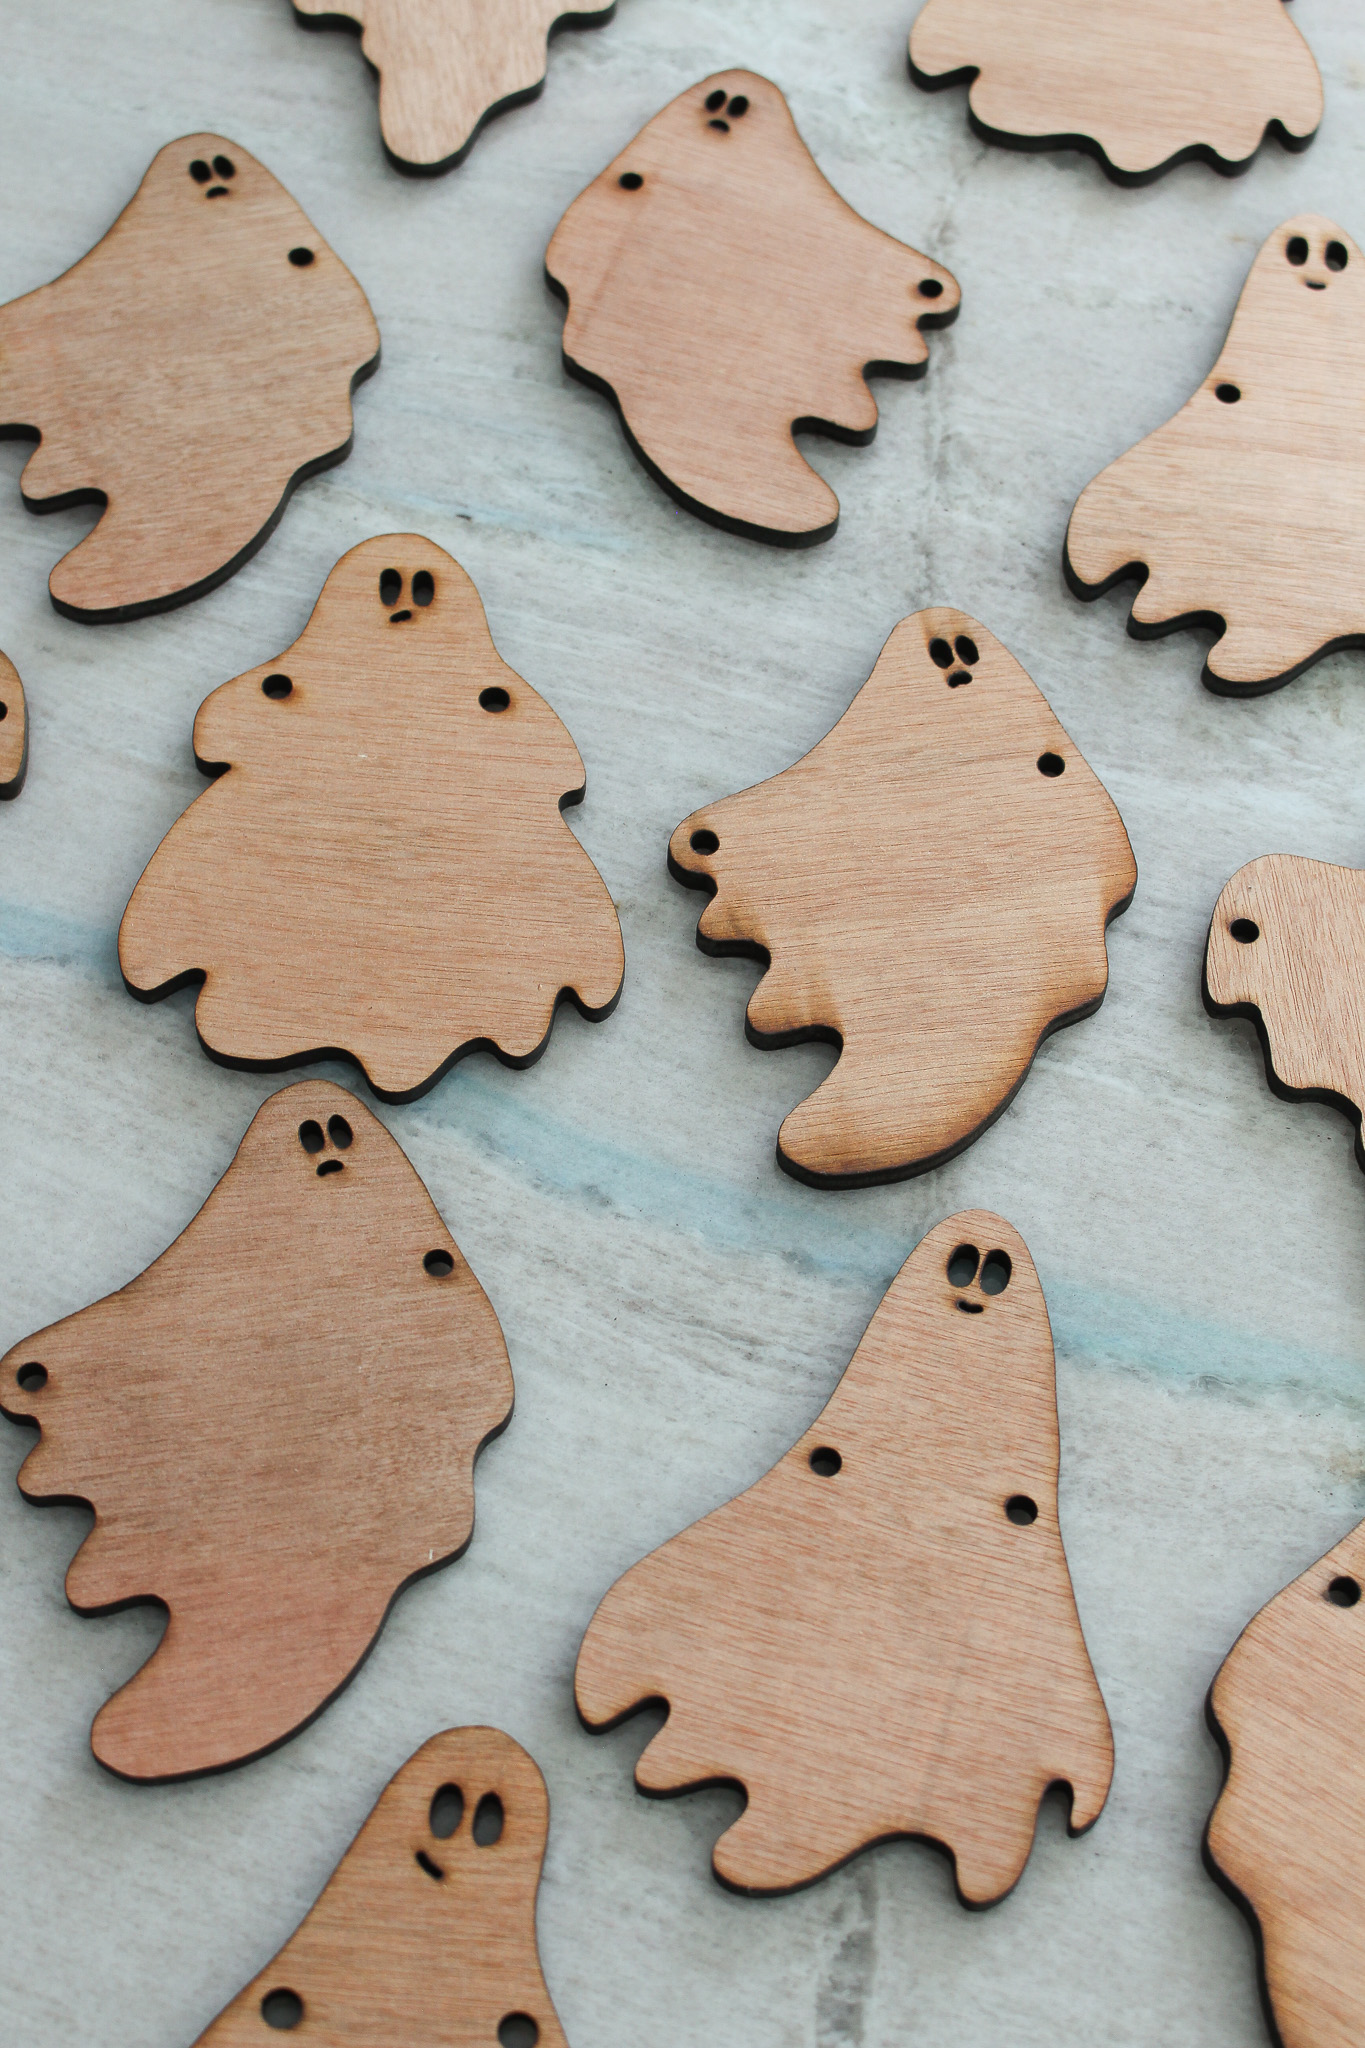
Stain + Paint the Plywood Ghosts:
At first I stained them white, with leftover Saman brand water based stain. But after multiple coats, they just weren’t getting white enough:
So I gave them a topcoat of Rust-Oleum Pearl Mist (which is a very sheer spray paint) and that intensified the color, without covering the wood grain completely, while also adding a shimmery finish and covered the charred edges a bit.

Finished DIY Ghost Garland:
The finished garland is SO cute and I just hung it with some silver ribbon thread through the holes we added to my doodle designs. The ribbon is textured and grippy so it holds the ghosts in place without any knots required. But you could add knots, or beads – or DIY felt balls to really fill out the garland. I love how this DIY ghost garland turned out. If you love the idea but don’t have the laser cutter, you could achieve something similar with clay or even a heavy duty cardboard.


P.S. The DIY concrete skull candle holders and the DIY thrift store ghost painting are also handmade Halloween projects with tutorials!
