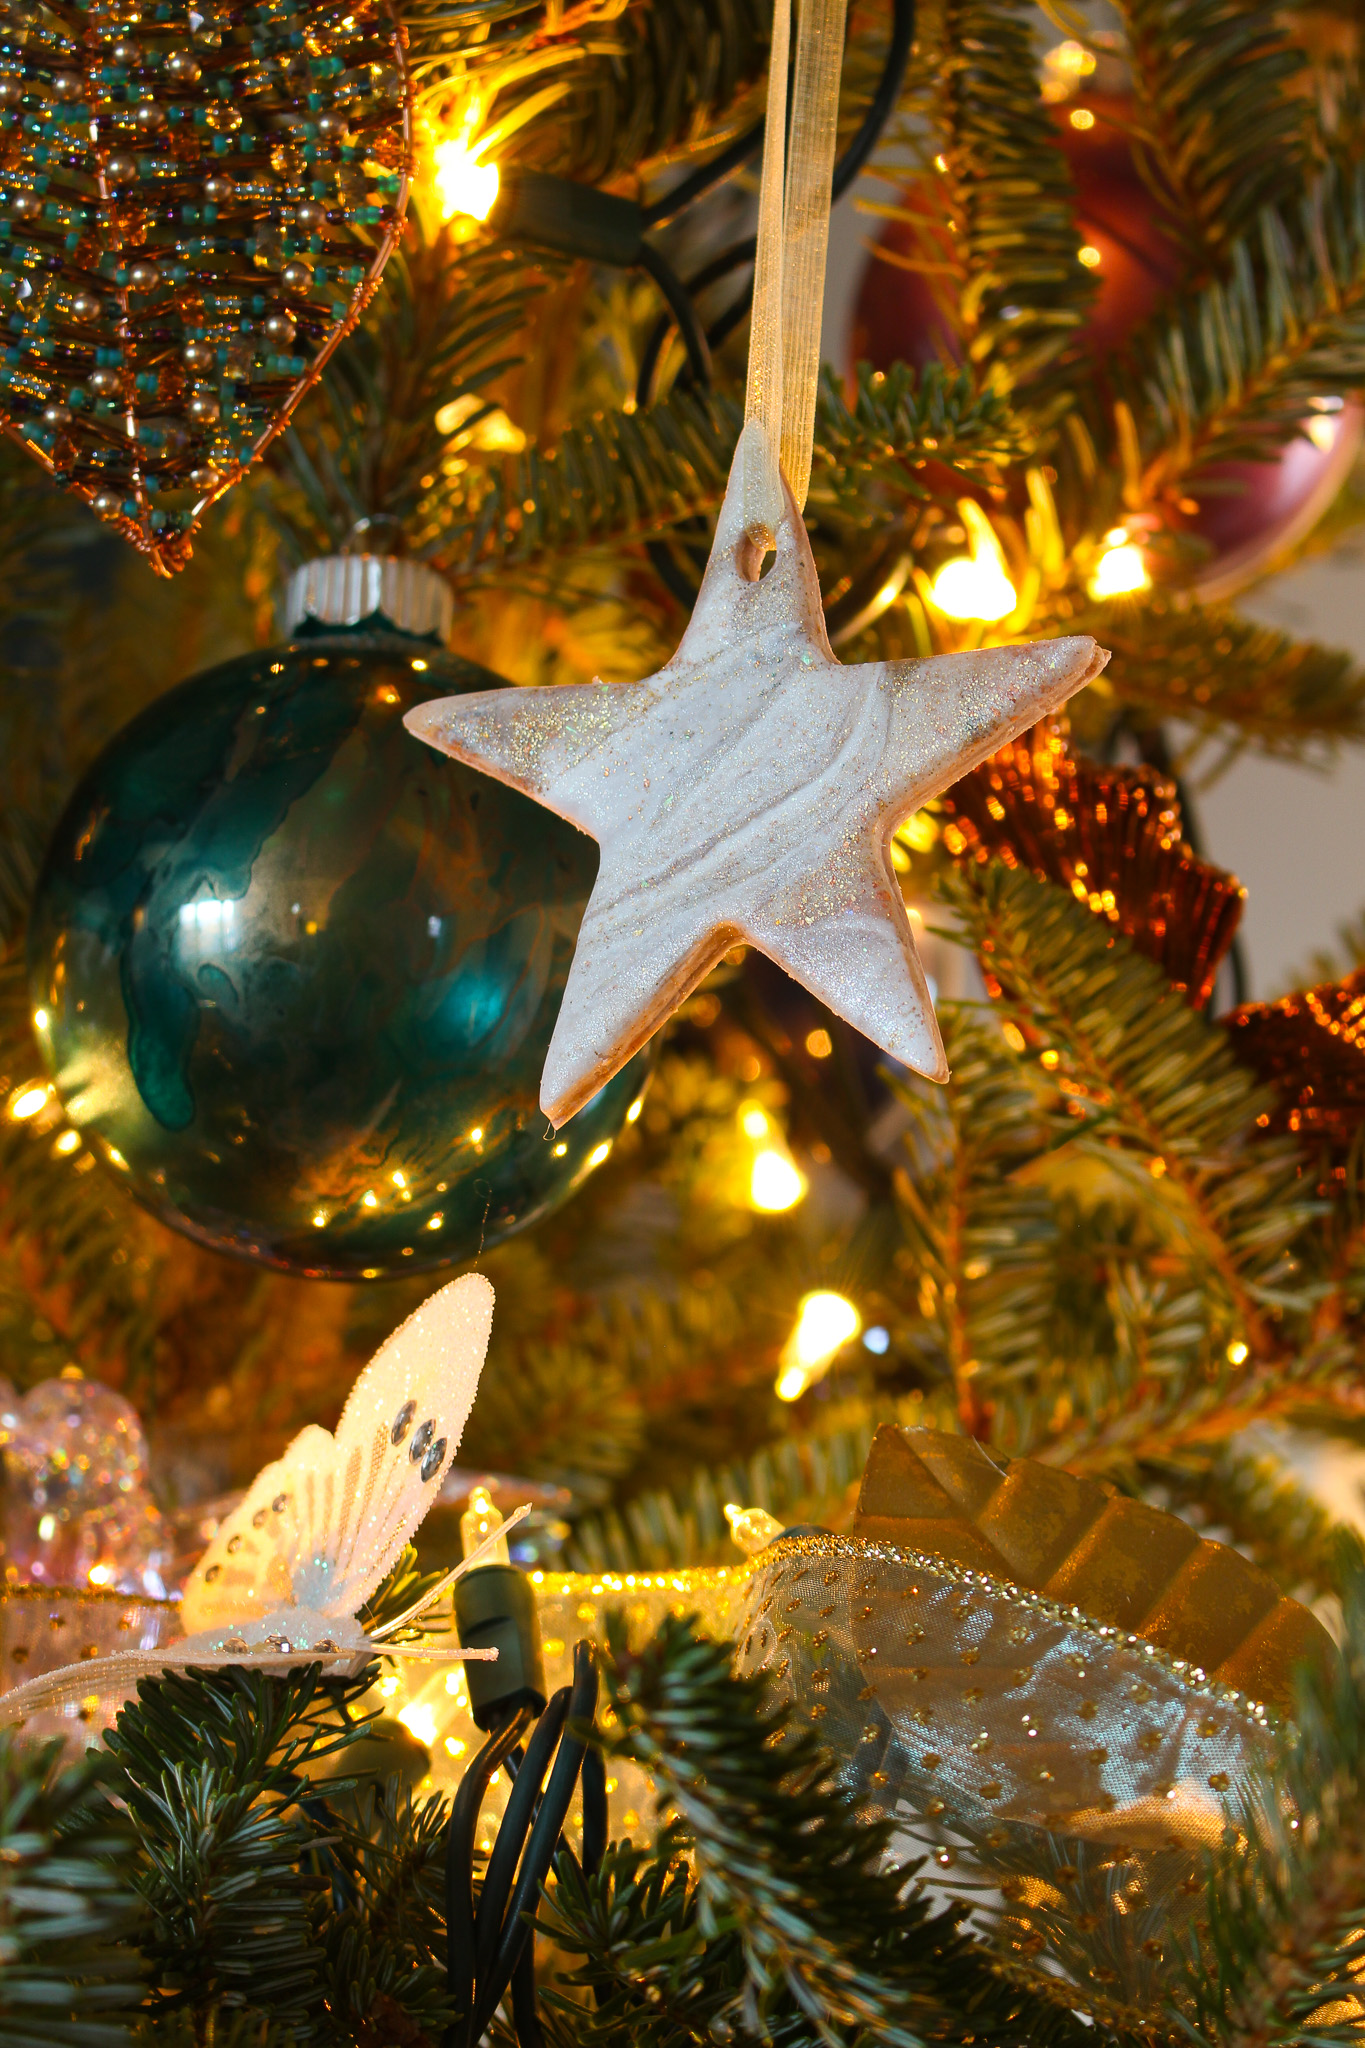
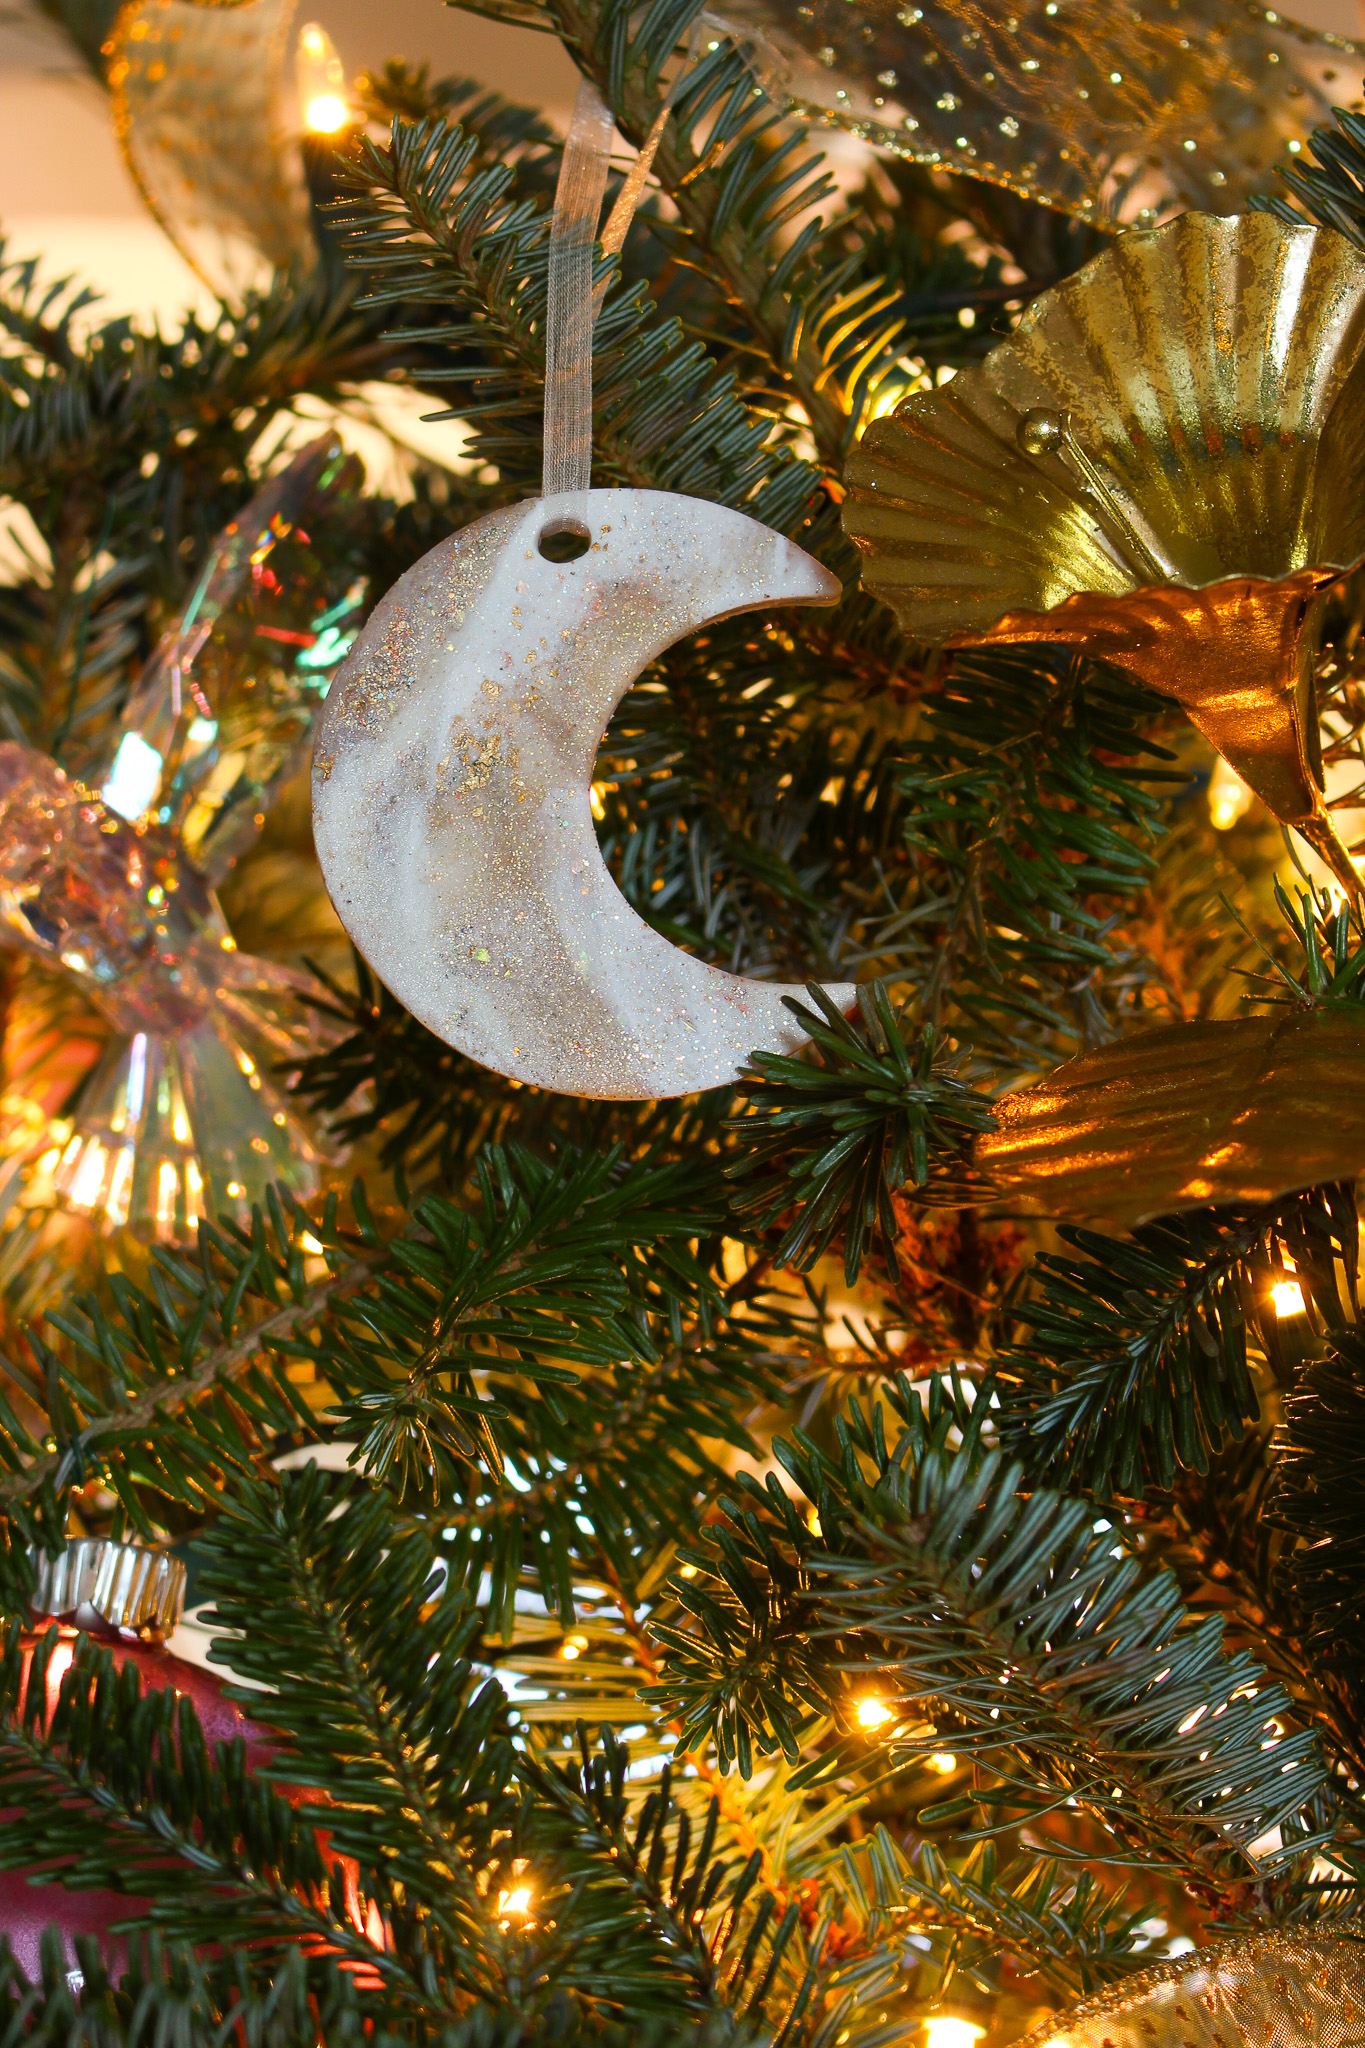
These DIY polymer clay ornaments in star and moon shapes are the most recent creation for my Mom’s “Midsummer Night’s Dream” Christmas tree theme. Keep reading for the supply list and step-by-step photo tutorial or scroll to the bottom of the post for a video tutorial.
When we started the aqua Christmas tree theme (which lives at my house now), I made her a set of DIY marbled polymer clay ornaments in aqua animal shapes and I really liked how they turned out. I wanted to make her something similar for this tree theme, but a little more elegant to pair with the jewel tone Christmas ornaments we’ve created. I had made a lot of DIY moon shaped ornaments (like the DIY beaded felt moon ornaments and DIY beaded wire crescent moon ornaments), but I needed some DIY star ornaments (all I had was the DIY Cricut star ornament balls I made). I think these marbled ornaments turned out super cute, so let me show you how to make your own DIY polymer clay star ornaments!

Supplies:
- Sculpey polymer clay (I used: Frost White Glitter, Pearl, Opal, Translucent)
- Liquid polymer clay (I used pearl for extra shimmer)
- Metal leaf (optional)
- Glitter (optional)
- Cutting board
- Rolling pin (get one meant for clay!)
- Knife
- Cookie cutters (I bought these)
- Straw
- Sandpaper
- Baking sheet
- Parchment paper

HOW DO YOU MAKE POLYMER CLAY ORNAMENTS:
The process for making polymer clay ornaments is easy! Here’s a condensed tutorial, but keep reading for detailed instructions and step by step photos.
- Cut off a couple of rows of clay from each color.
- Condition the clay pieces by rolling them out and kneading in your hands until pliable and flexible.
- Chop the clay into small pieces with a knife.
- Mix the pieces with liquid polymer clay, metal leaf (optional), and glitter (optional).
- Shape the pieces into a squared off tube shape.
- Slice the tube into pieces and lay out the pieces onto a cutting board.
- Roll out the pieces to form one large piece and then smush into a ball.
- Roll out again into approx 1/4″ thick.
- Use cooking cutters to cut out shapes.
- Smush up scraps, form into a ball, roll out and cut again – repeat until clay is all used up.
- Use a straw to create a hole for ribbon or hooks.
- Bake at 275°F for 15 minutes (bake 15 minutes for each 1/4″ of thickness)
- Let cool and sand edges smooth.

DIY Polymer Clay Star and Moon Ornaments
I worked in small batches, and just cut a couple of rows from each block of polymer clay. I used an old cutting board that I only use for arts and crafts (some polymer clay colors can stain surfaces, but these neutral colors did not).

The clay was a bit hard, so I rolled it in my hands and then rolled it with the rolling pin until it was soft and pliable again. Ok, technically my hands are cold as ice, but my husband has hot hands so he helped me make the clay pliable again. So if you can’t get your clay soft, you might need someone with a little body heat to lend a hand. Then I formed each color into a little roll shape:

Using a knife, I chopped the rolls of clay into little pieces:


With the clay chopped up, I poured on some liquid polymer clay (this helps it stick back together):


Then I added some of my metal leaf and gold glitter. I happened to have both of these already, so I decided to add them for more sparkle – but this is totally optional! If you’re worried about the glitter making a mess, the polymer clay was really good at picking up – and holding onto – the glitter, so I found there was very little to clean up afterwards. It was not the disaster my husband thought it would be when I first brandished the bottle of glitter, lol.


I mixed everything together with my hands and formed the polymer clay into one rectangular tube shape:

Then I sliced it into pieces and lined those pieces up into a rough square.


Then I rolled it out with my rolling pin. At this point, you can cut shapes but I wanted it to look a little more marbled and swirled, so I quickly mushed it up into a ball again and then rolled it out one more time.


Then I used my cookie cutters to cut shapes, taking the time to choose the prettiest areas of the marbled polymer clay.


I cut a straw into pieces and use it to cut holes out of the clay to string with ribbon. The polymer clay gets stuck in the straw, which is why I cut it into pieces (I used a fresh nub of straw for each hole).


I mushed up all of the scrap polymer clay, rolled it out again and kept cutting out shapes – like you would cookies! Once the clay because very uniform from this process, I topped those polymer clay star ornaments with extra glitter so they were just as sparkly as the earlier batches. Then I placed them on a parchment paper lined cookie sheet and baked at 275°F for 15 minutes (bake 15 minutes for each 1/4″ of thickness). When they’re cooled, they should still have a little bend to them.

Once the clay cooled, I sanded the edges with sandpaper and added a little sheer ribbon for hanging.

These DIY star ornaments and DIY moon ornaments really catch the light and add a little sparkle – while playing up the moonlit forest theme of this Christmas tree!


More DIY Ornaments:
Here are the rest of the DIY ornaments I have made so far for my Mom’s tree – see this post for more details.
- DIY Beaded Dragonfly Ornaments
- DIY Velvet and Felt Mushroom Ornaments
- DIY Beaded Wire Crescent Moon Ornaments
- DIY Beaded Leaf Ornaments
- DIY Felt Moon Ornaments
- DIY Alcohol Ink Ornaments
- DIY Starry Night Ornaments
- DIY Mini Faux Flower Ornaments


DIY Marbled Polymer Clay Ornament Video Tutorial:
If you’d like to see a video tutorial, you can find one on TikTok, Instagram, or YouTube:
P.S. Don’t Forget to Pin for Later!

