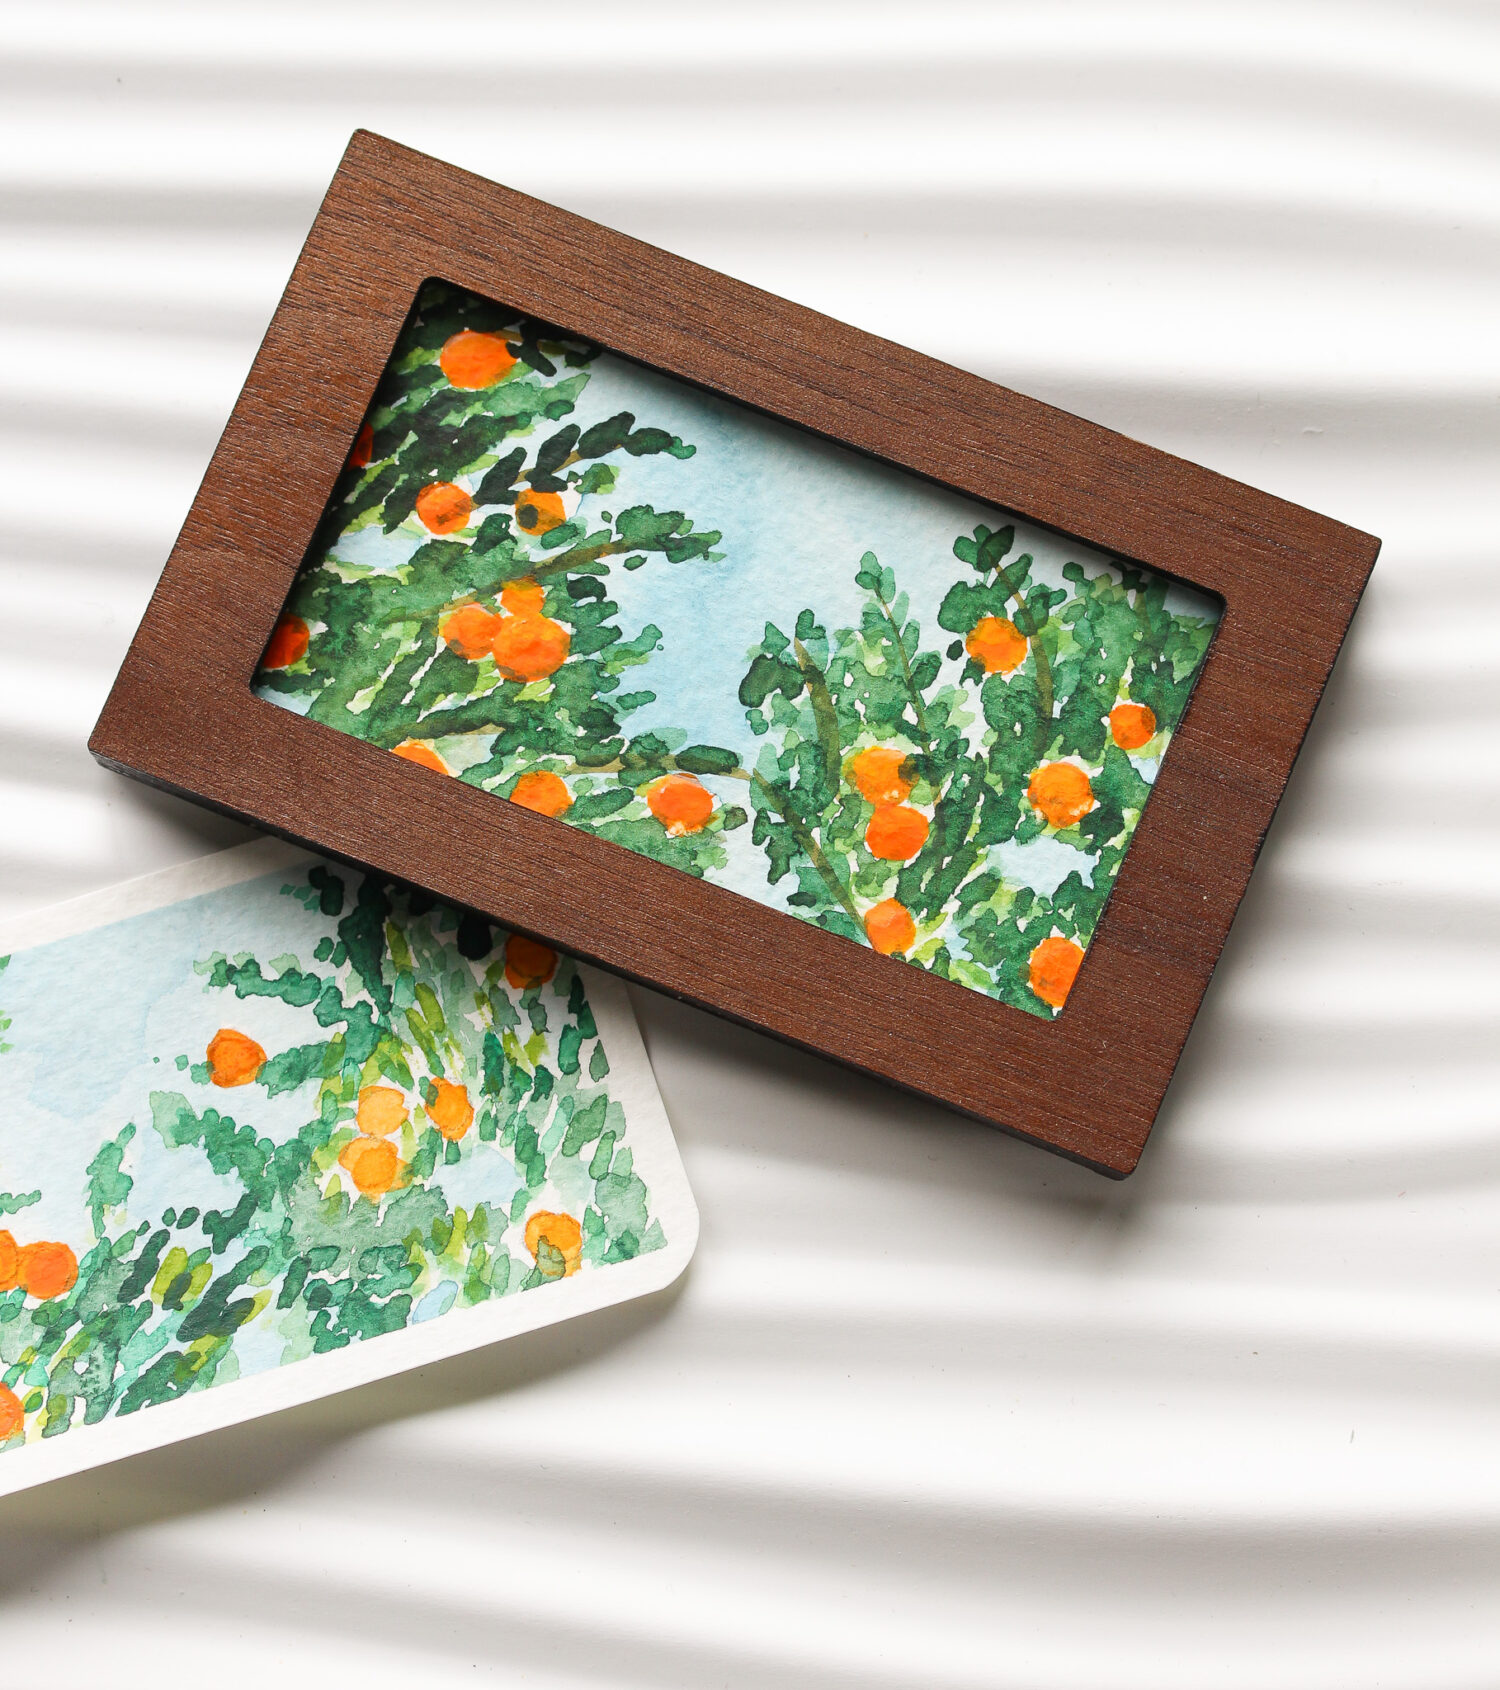
These walnut DIY frame fridge magnets Hubby and I made were inspired by the cutest birthday present I received from my Mom. She assembled mini watercolor kits for her and I – complete with little watercolor paper sheets she cut (rounded corners and all) to fit inside a mint tin! Although I’ve loved alcohol ink art and have dabbled with acrylic painting, I have always struggled with watercolors but now it’s become a fun new hobby. I have quite a few very tiny watercolor paintings stacked up, so I’ve been brainstorming ways to display or enjoy them. I think we came up with something perfect: mini fridge frame magnets cut to the exact size.


Getting into the xTool M1 Laser Engraver and Laser Cutter – Again:
During our holidays last summer Hubby and I decided to haul out my xTool M1 Laser Engraver and Laser Cutter, a machine I was gifted back in 2023. Originally we really liked it! It seemed easy to use (we made these cute black cat magnets for Halloween to start). But after that, we had a bunch of failed, melted and burnt projects that completely frustrated me so I set it aside. With zero pressure to produce anything, we tried it again and we actually made SO MANY cute things with it (like the DIY ghost garland and DIY bat garland I shared last Halloween)! I don’t know why, but it finally “clicked” for me creatively and Hubby took over learning the software (he’s so talented at that) and that “clicked” for him as well. I think using it outside, on the deck, as opposed to inside the house really changed things as well because even though I was sent the xTool Smoke Purifier, I just really don’t have enough ventilation required to use a laser cutter comfortably inside the house.

Mini DIY Frame Fridge Magnet Supplies:
- 1/8″ Walnut Plywood
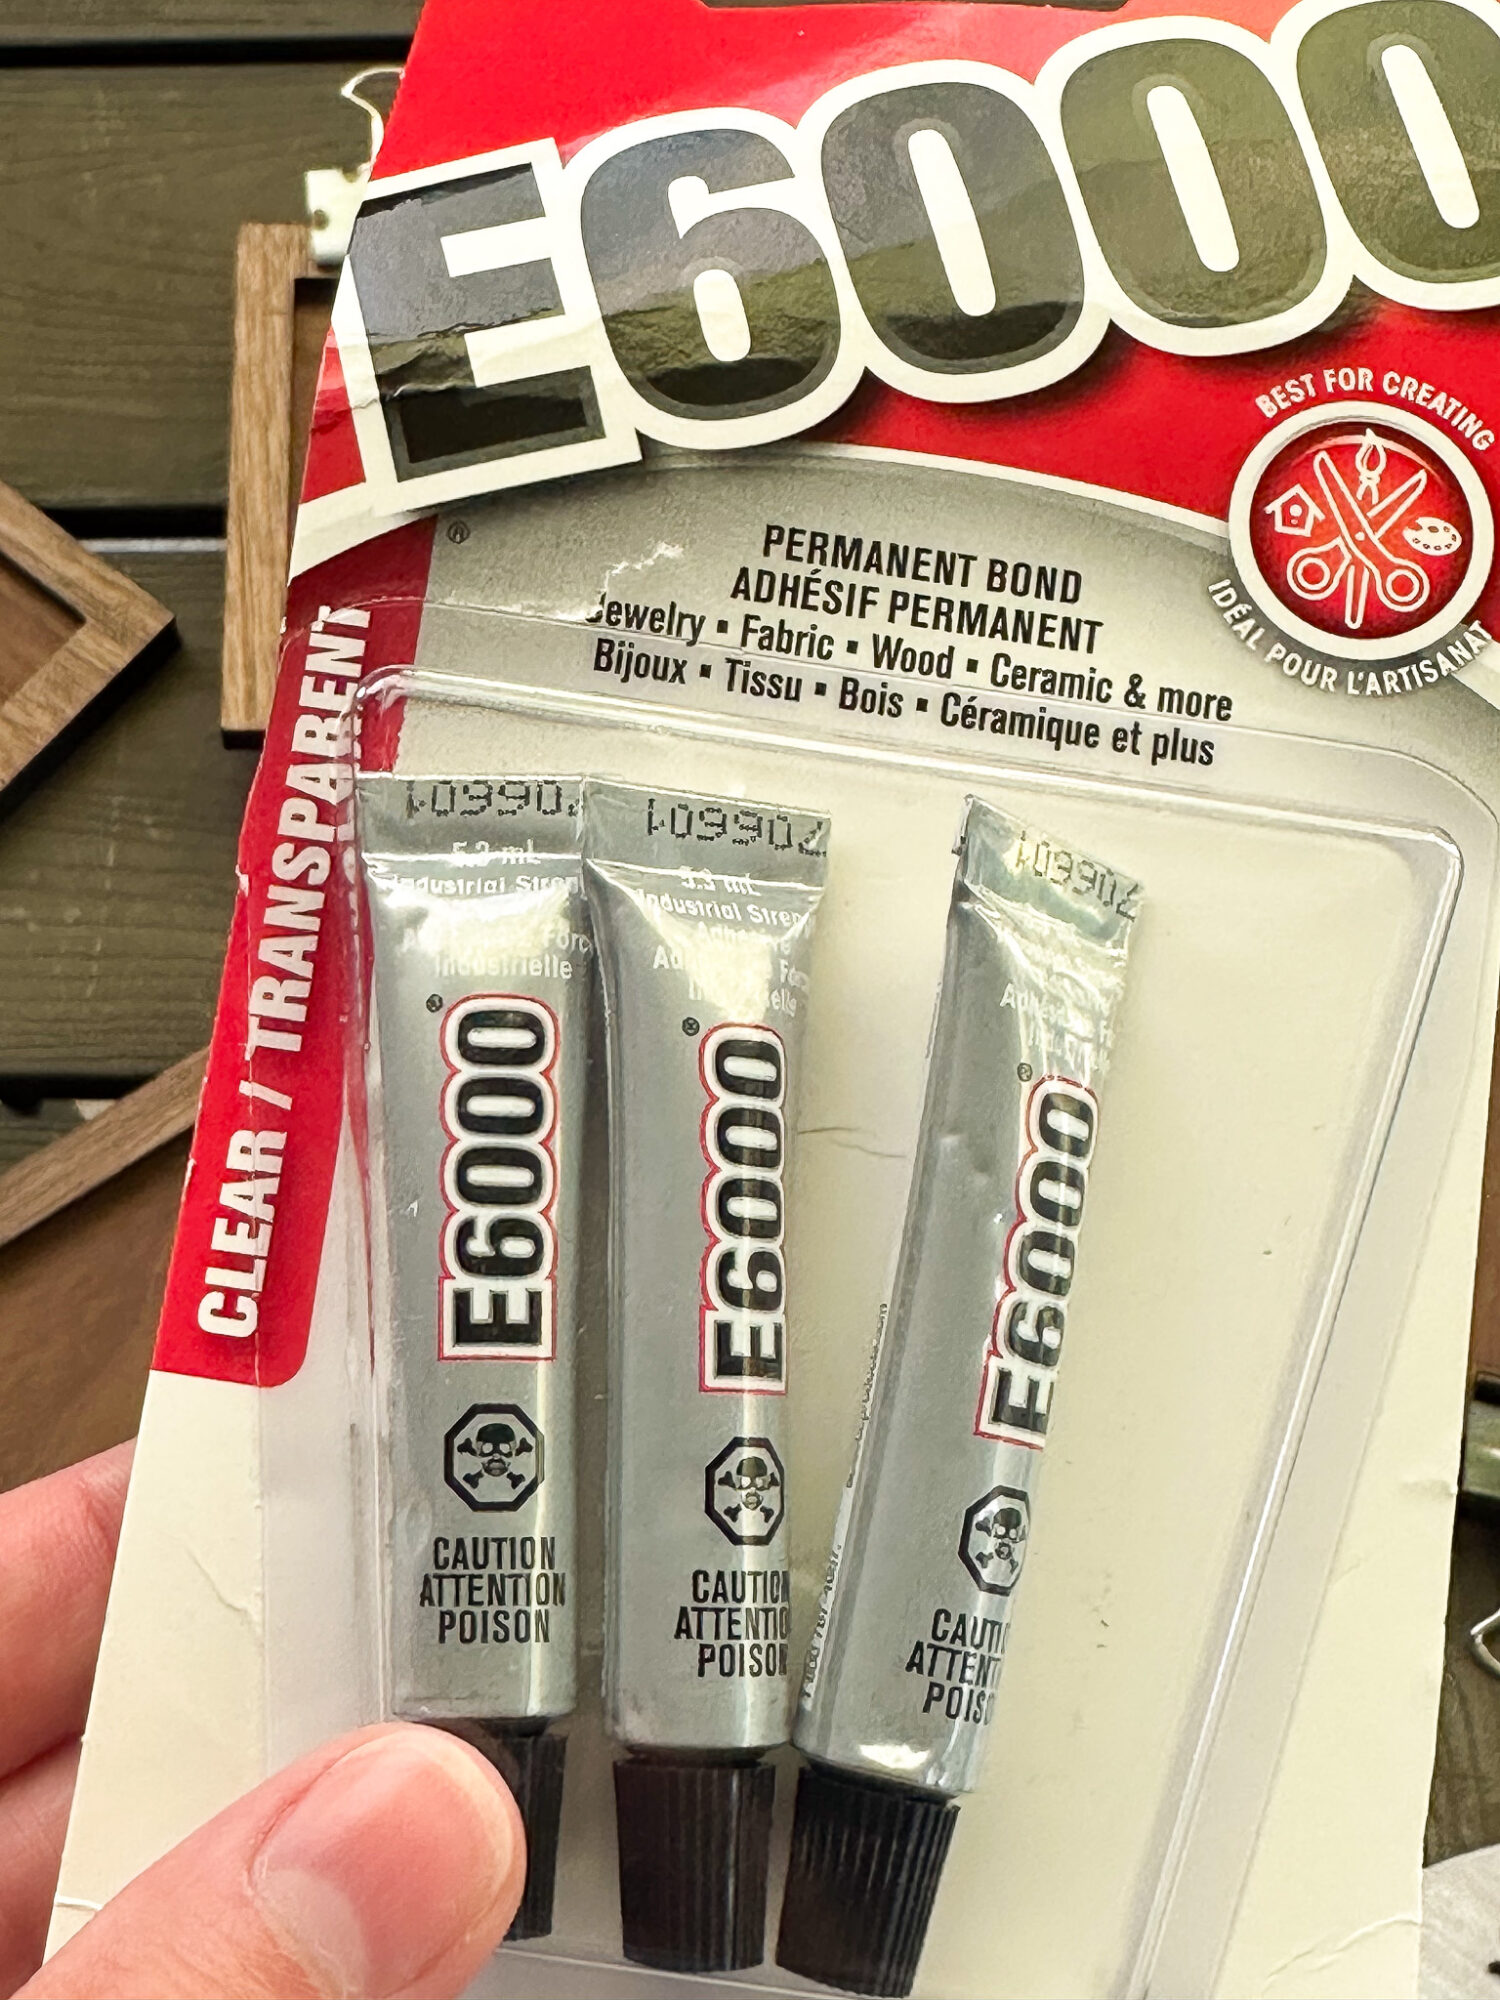
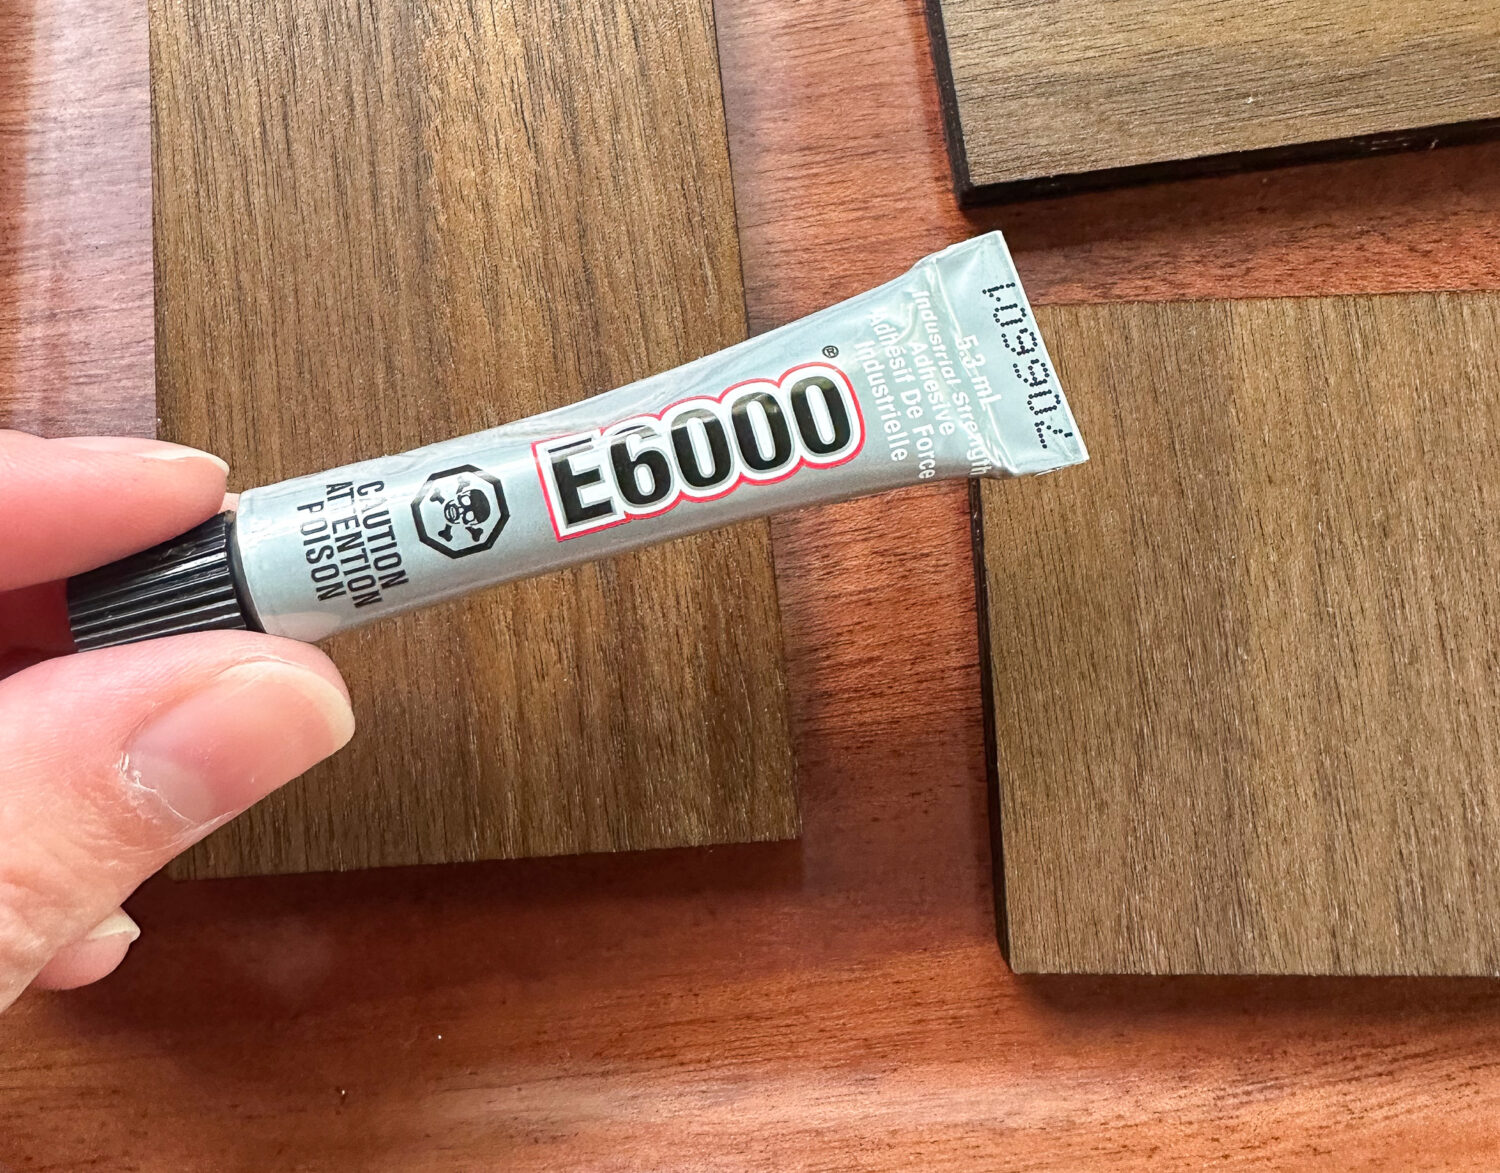
- Glue (this time I used E6000)
- Watco Spray Lacquer
- Small Magnets (mine are 1/2″)
- xTool M1 Laser Engraver and Laser Cutter
- xTool M1 Air Assist*
- Small Clamps (or large binder clips)
*We used the xTool M1 air assist, which helps keep the laser lens clean (keeping smoke/dust away) for a cleaner cut.

Planning DIY Frame Fridge Magnets with the xTool M1 Laser Engraver and Laser Cutter:
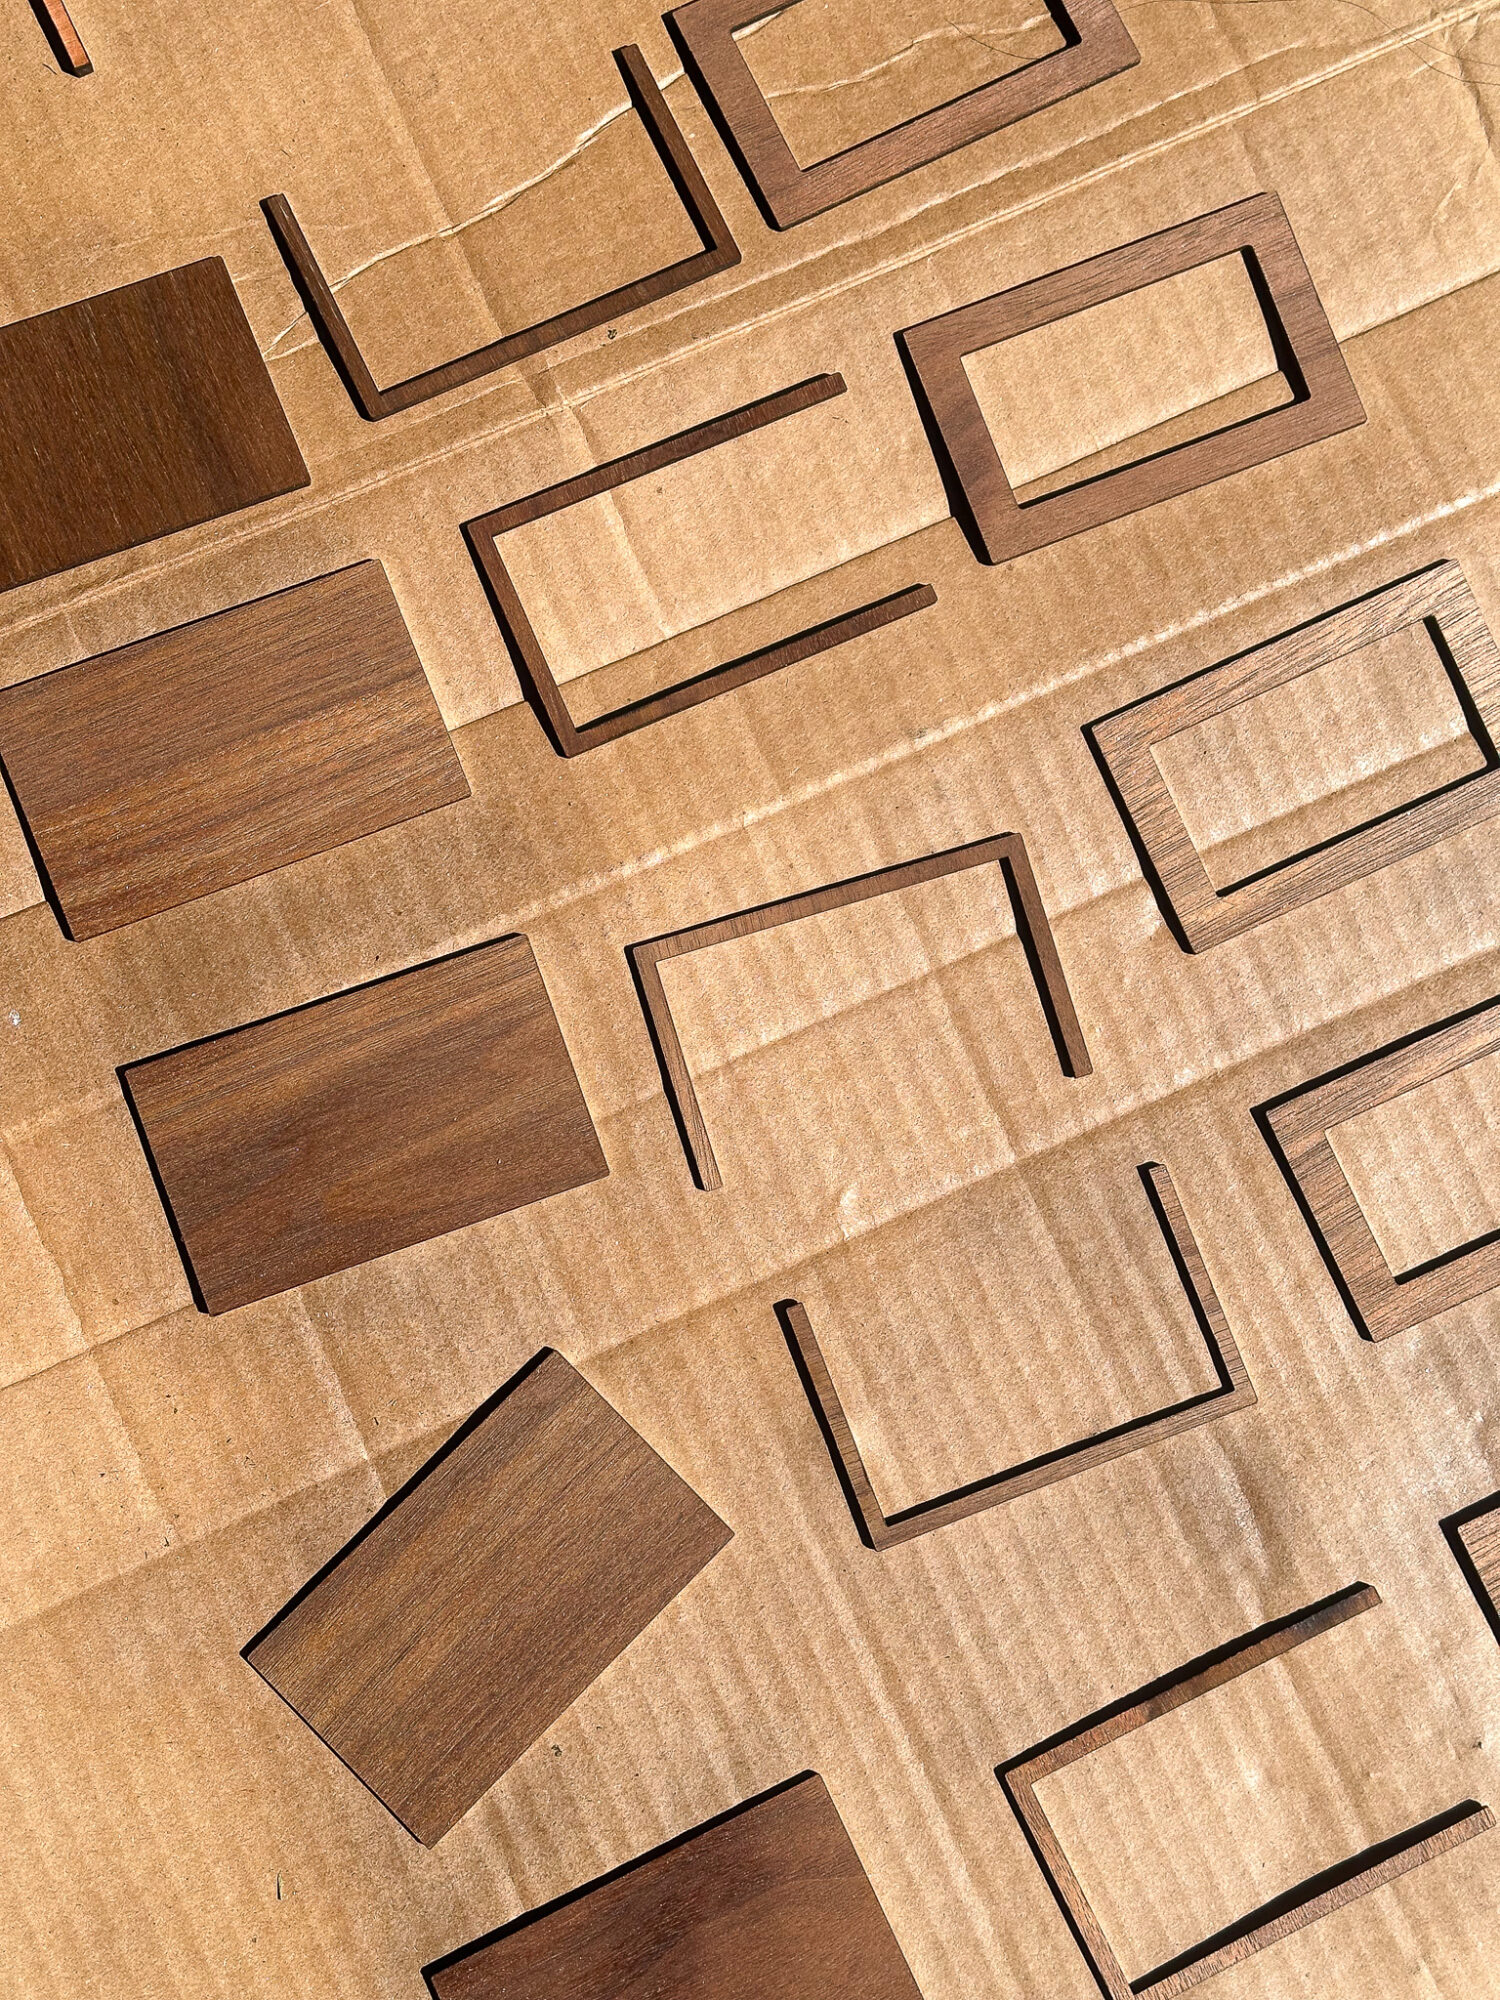
This project was really easy with the xTool M1 Laser Engraver and Laser Cutter. We used the xTool Creative Space to design the pieces. If you don’t want to design your own, you’re more than welcome to use my SVG file – grab it below! Our design is very simple because that complements our mid-century modern inspired kitchen design. We only rounded the corners a touch, but you could do a lot more intricate designs and frame styles. I wanted to be able to change out the mini watercolors, so we added a spacer piece. You could make just a front and back piece and glue in the art, but then it will be attached to the magnet forever. Each DIY frame fridge magnet consists of a solid back, a spacer, and a front with an opening cut out. We also did two orientations: vertical and horizontal – the only difference is the spacer.
How to Make a Fridge Magnet Photo Frame with xTool M1 Laser Engraver and Laser Cutter:
- Design your own frame shape or download my SVG file.
- If designing your own, use the software to position the frame pieces on your sheet of plywood to maximize the wood.
- Choose your cut settings (we did: Power 100%, speed 3mm/s, pass 1).
- Let the machine cut out the pieces.
- Wipe the cut pieces with a damp cloth to remove the laser soot.
- Let dry.
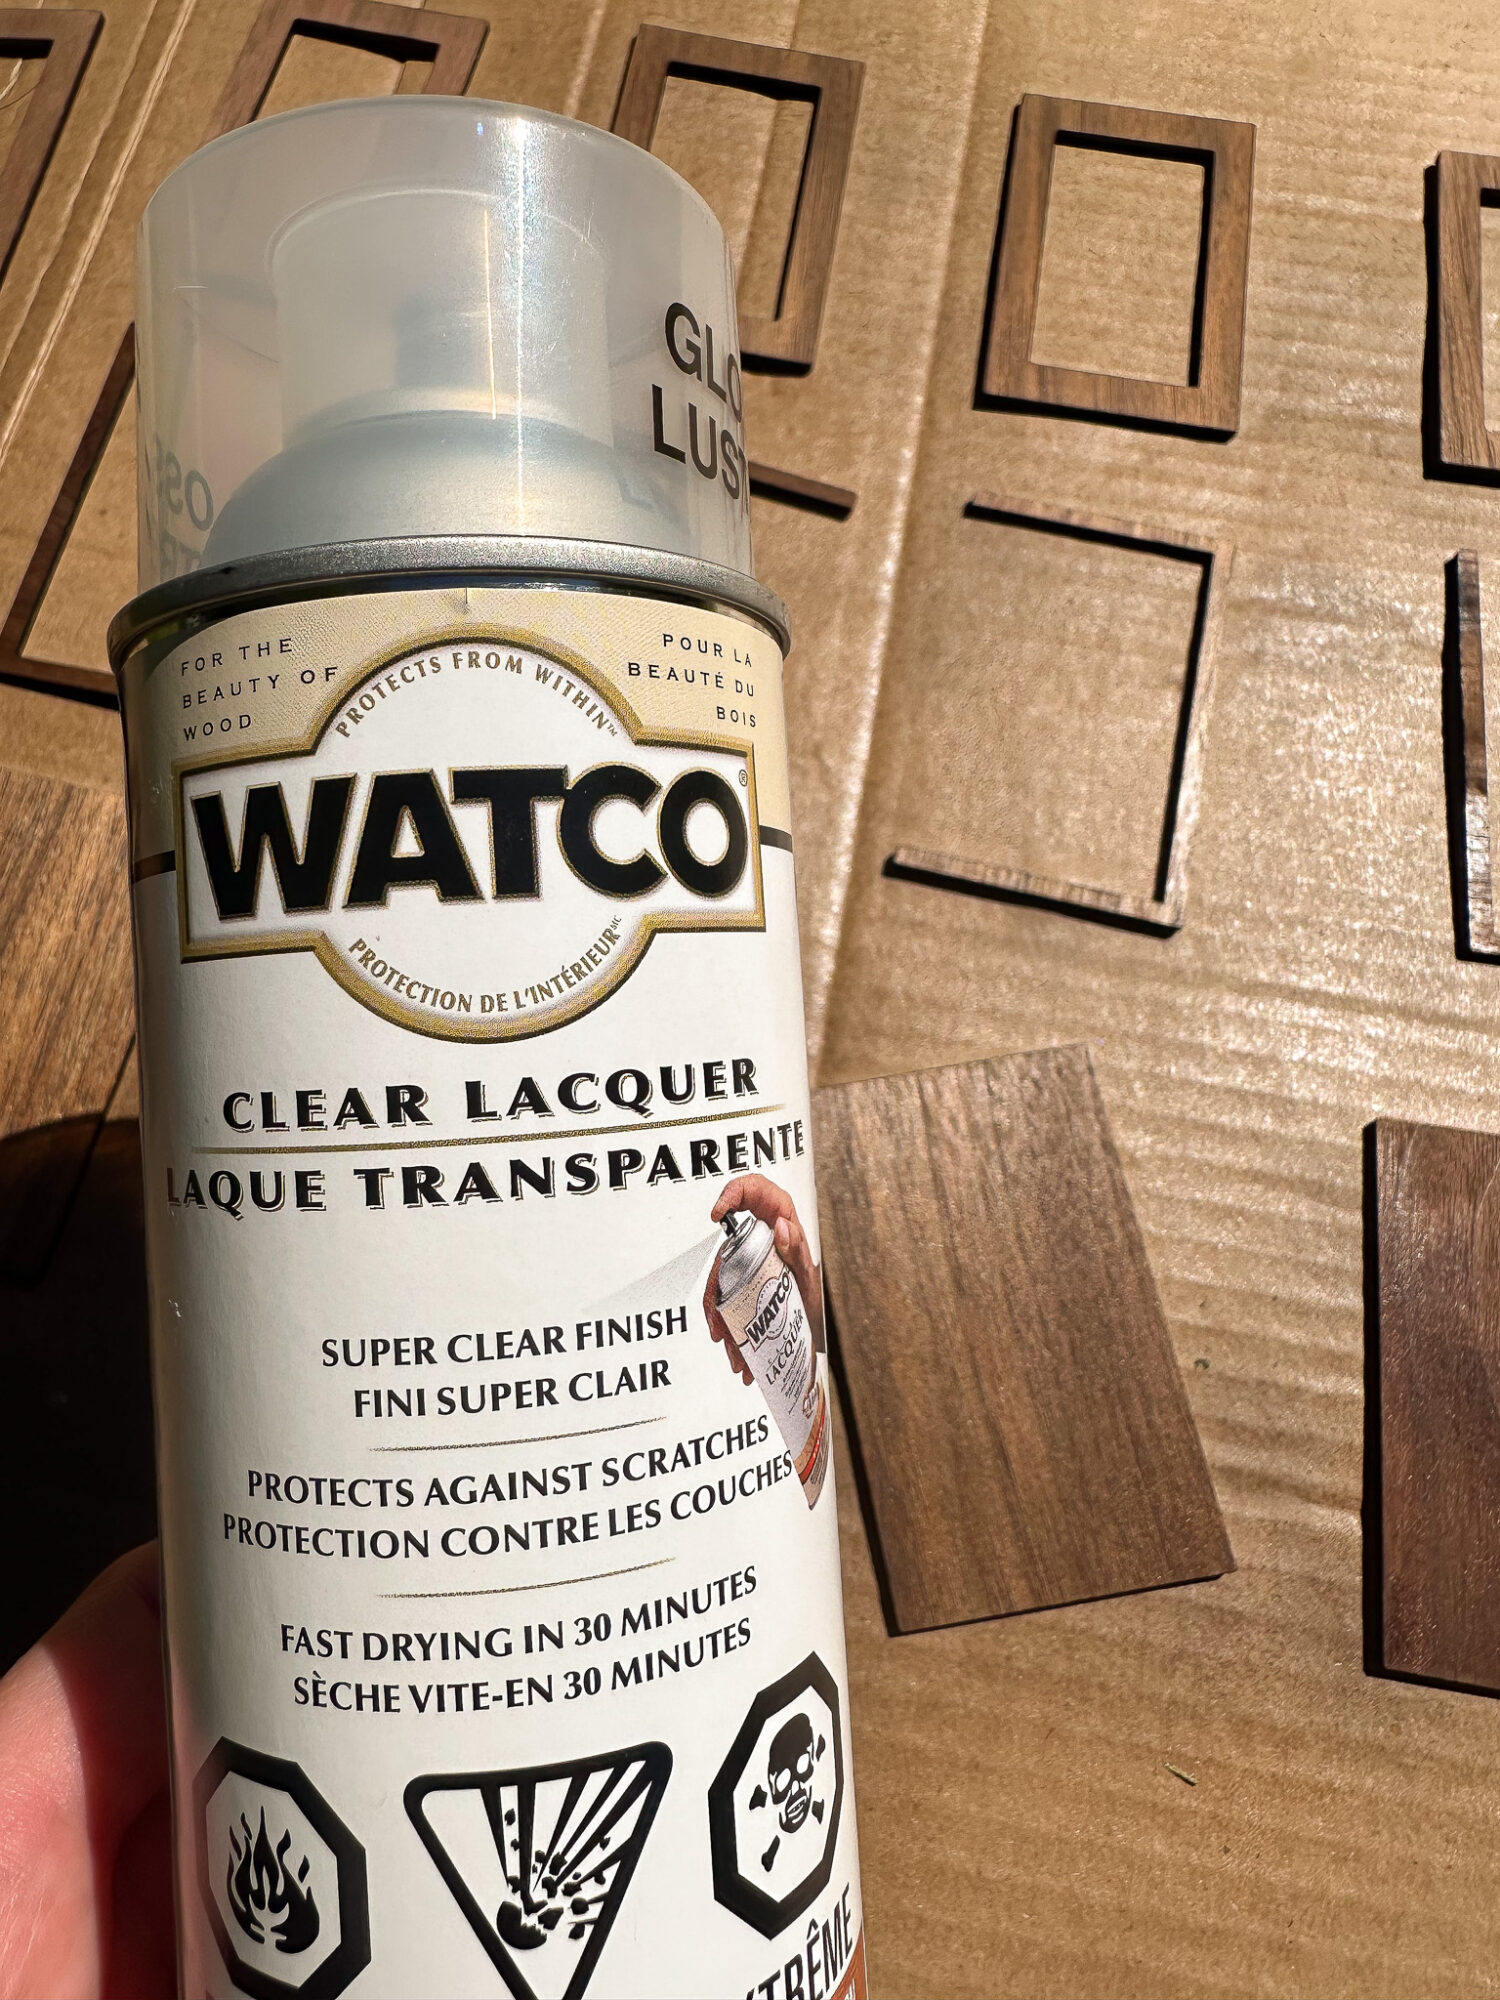
- Spray with Watco Clear Lacquer (or your choice of wood finish).
- Assemble one layer at a time, working from the bottom layers up, and glue together the three pieces.
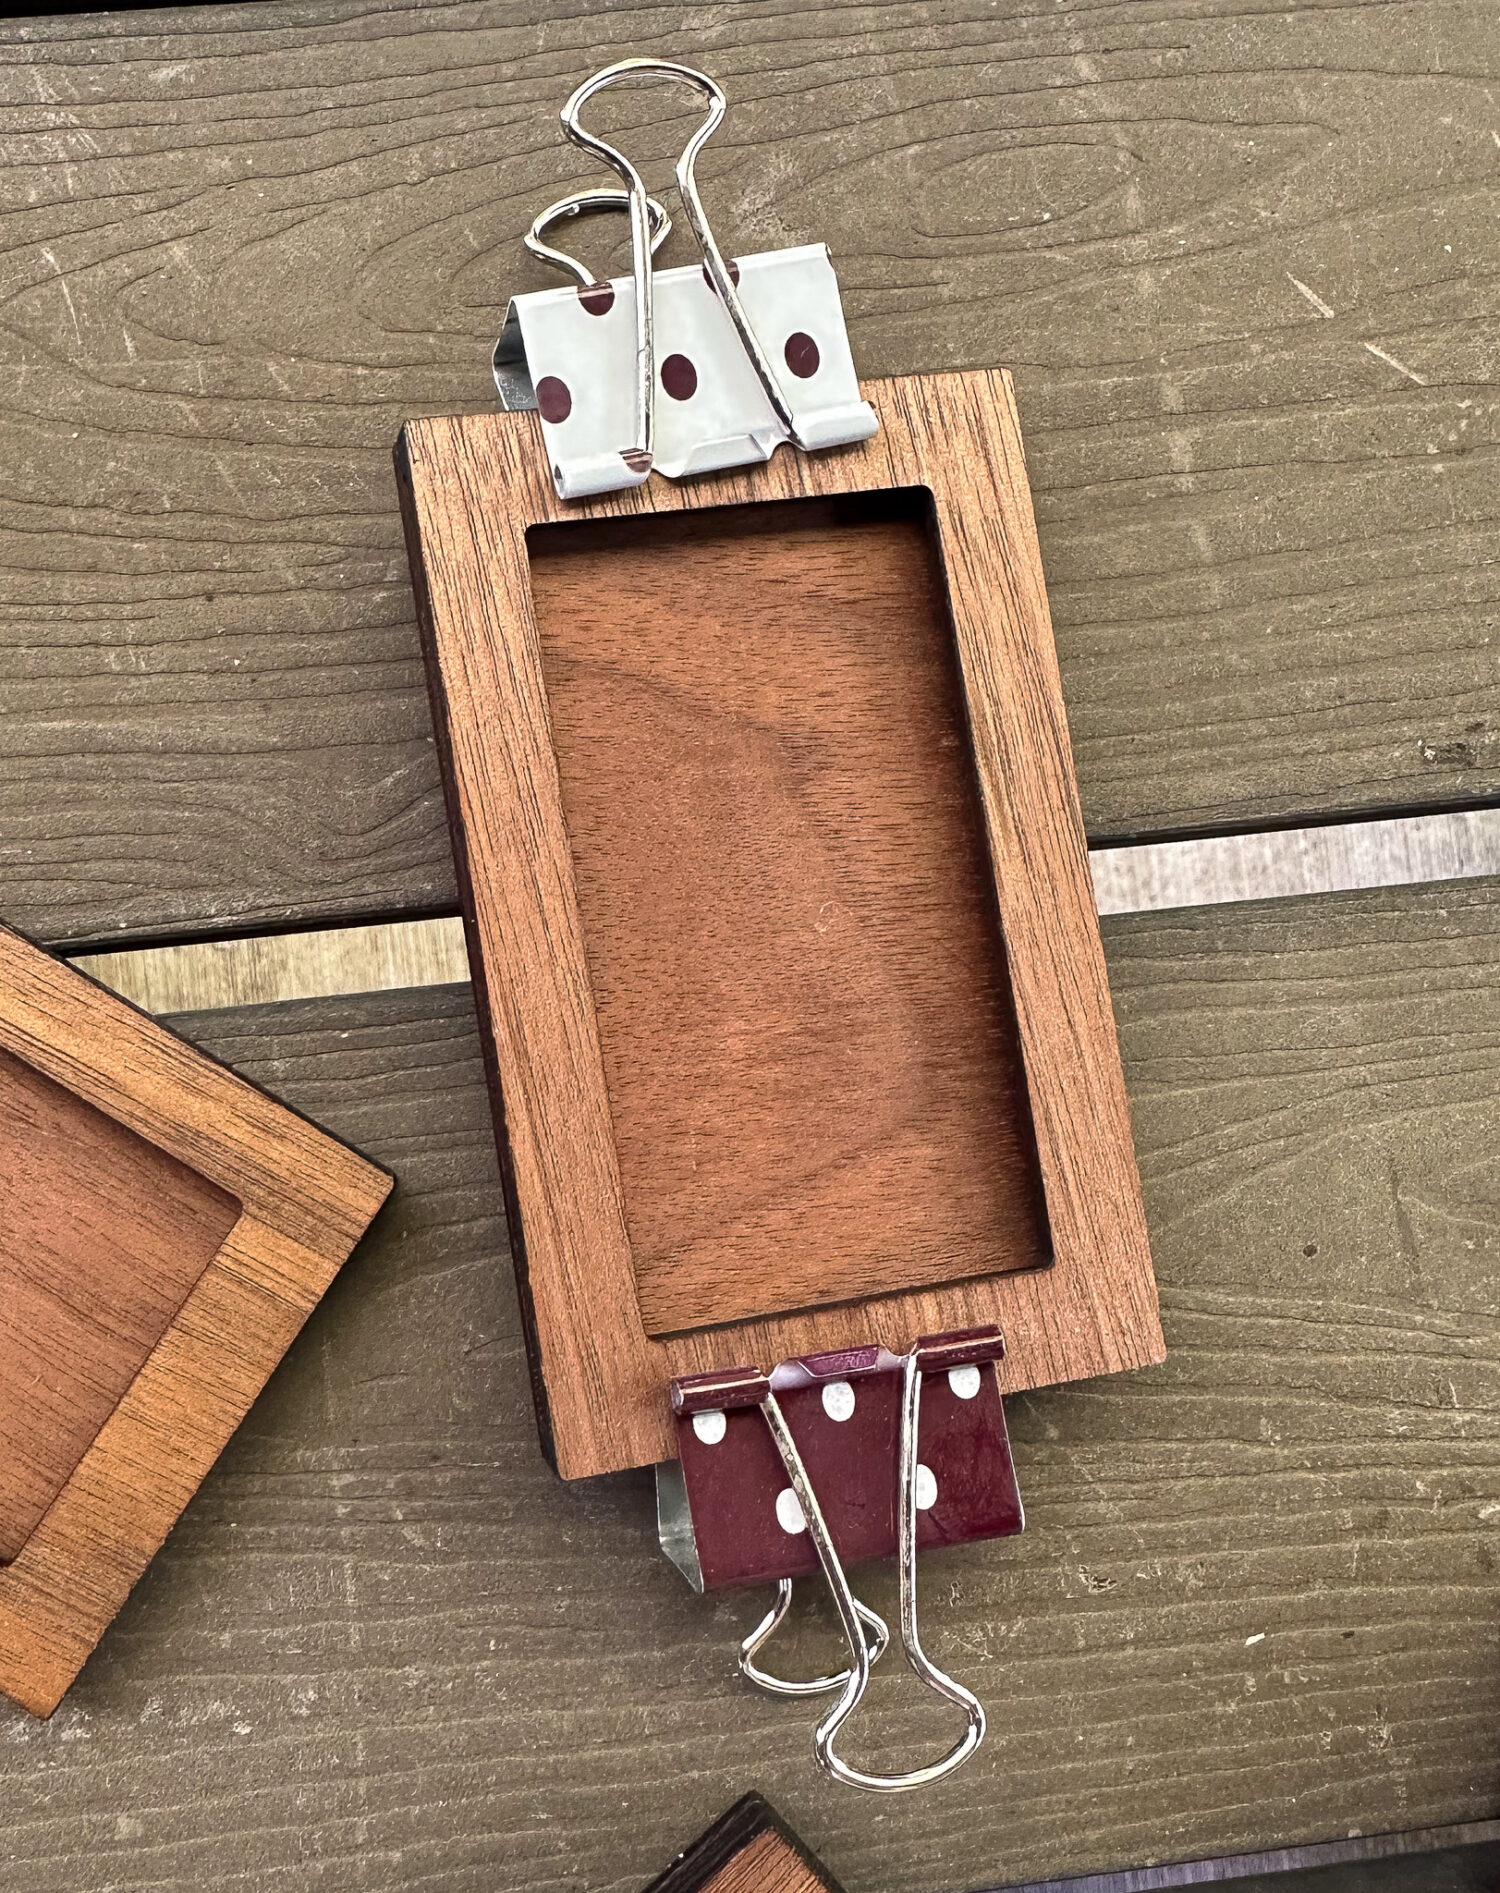
- Hold together with a small clamp (I used a binder clip) while glue dries.
- Affix two magnets to the back (I used the E6000 glue again).

Detailed Tutorial for How to Make xTool Frame Magnets:
You’ll need three pieces: front “frame,” solid back, and spacer piece. You can download my SVG file, or design your own with the xTool software. We used 1/8″ walnut plywood with these cut settings: Power 100%, speed 3mm/s, pass 1. I have found that when using different types of plywood, even if the thickness is the same, some cut better than others. So you may need to adjust the settings. After your xTool Laser Engraver and Laser Cutter cuts out the pieces, wipe the edges with a damp cloth to remove the laser soot/residue. Let the plywood dry.
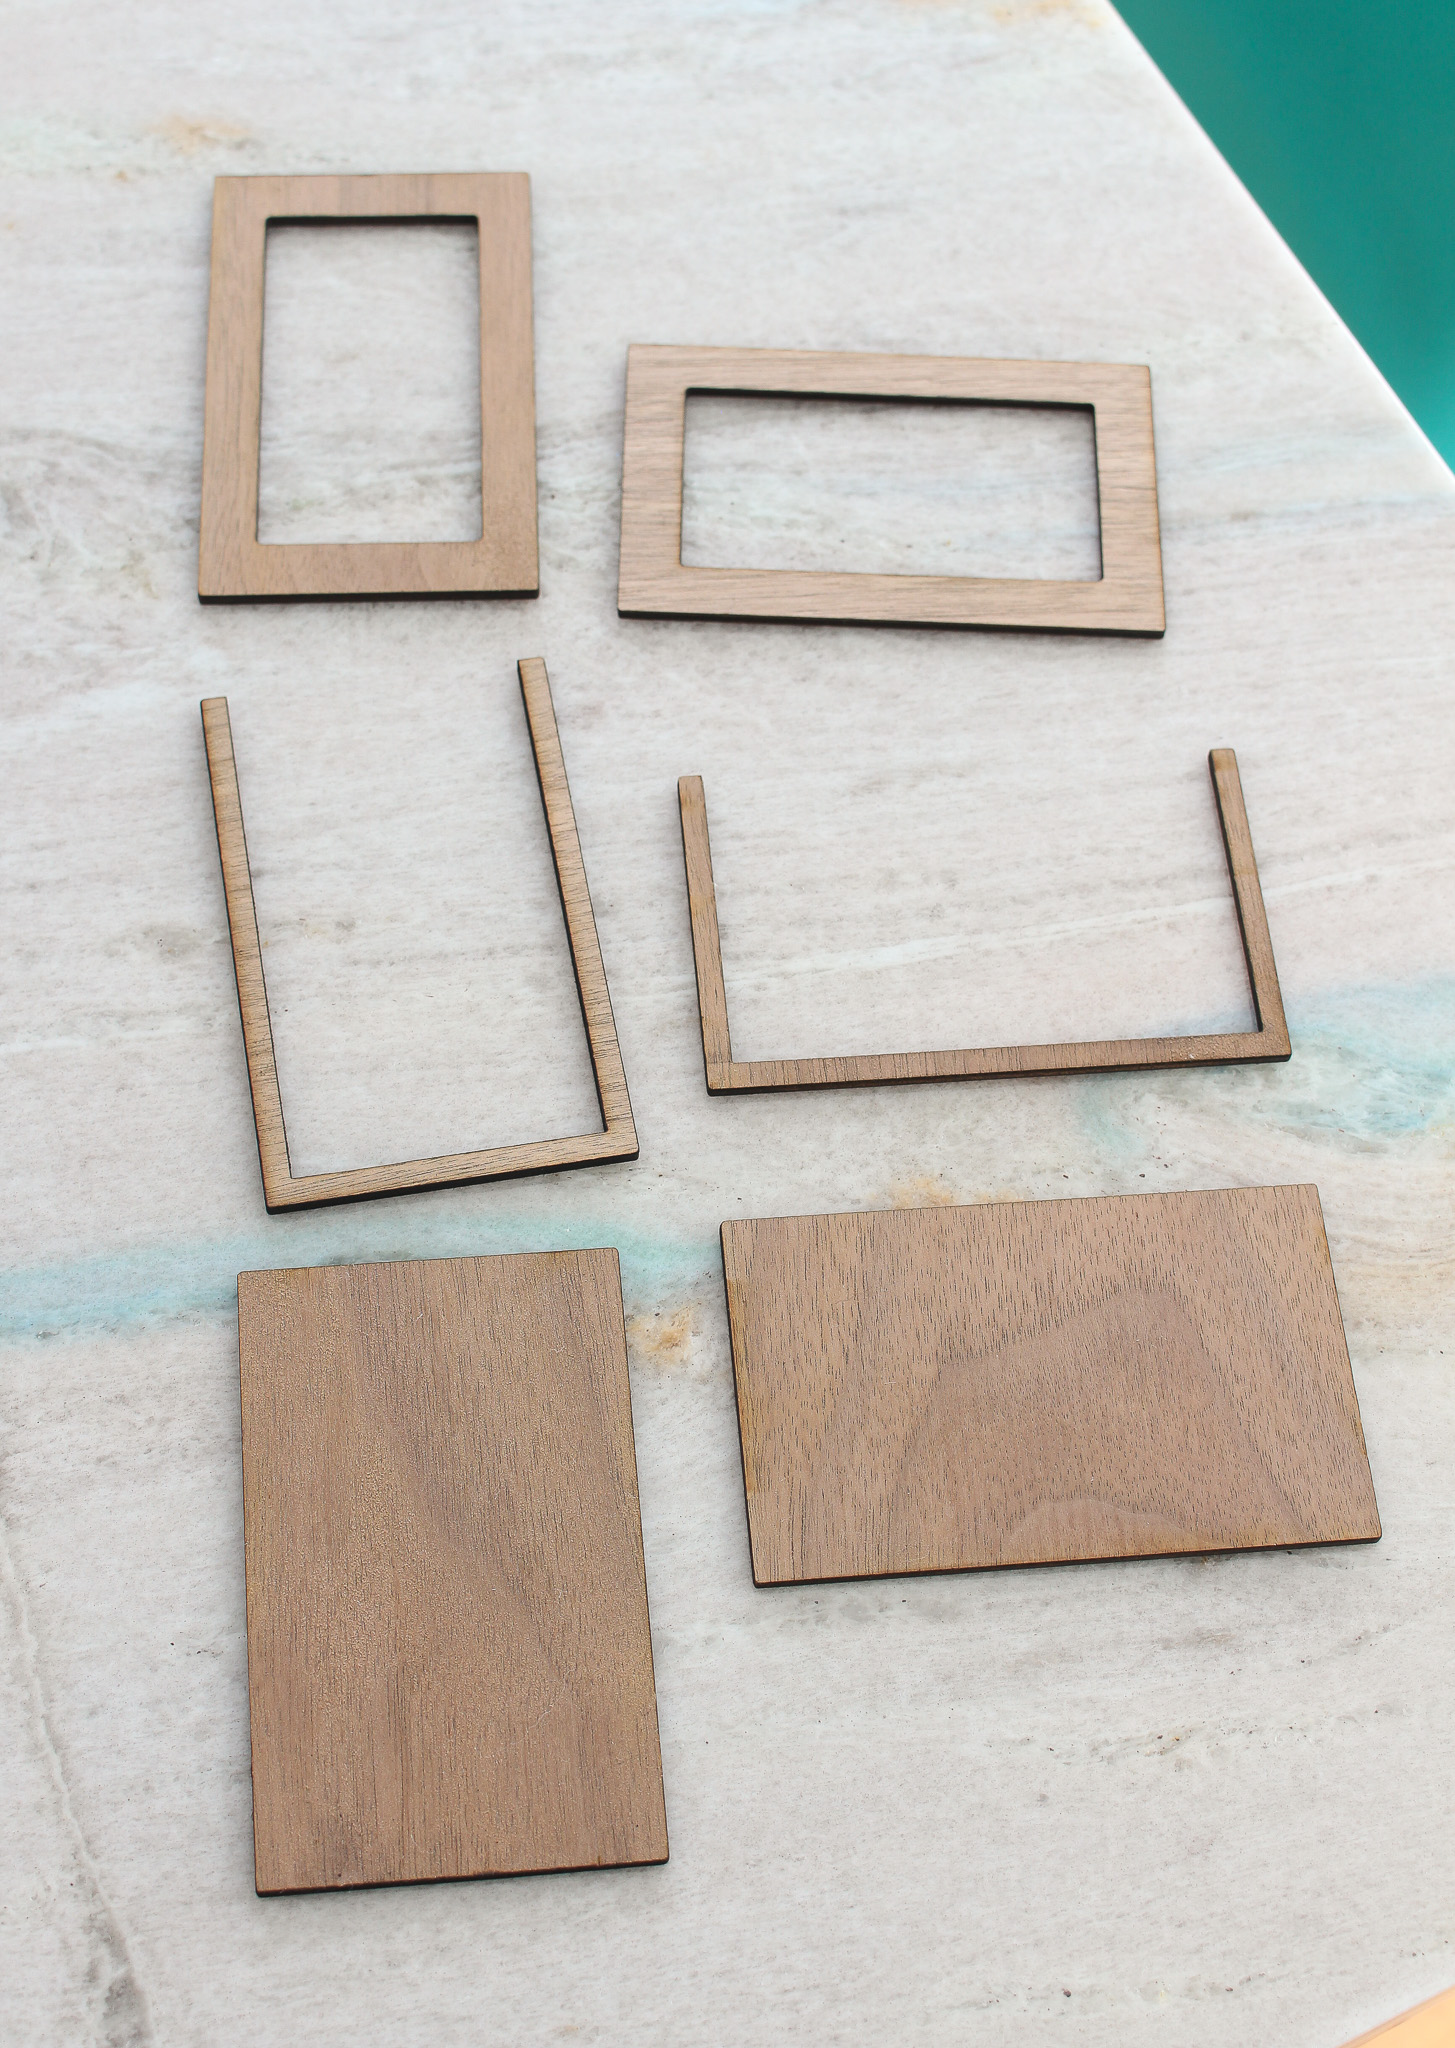
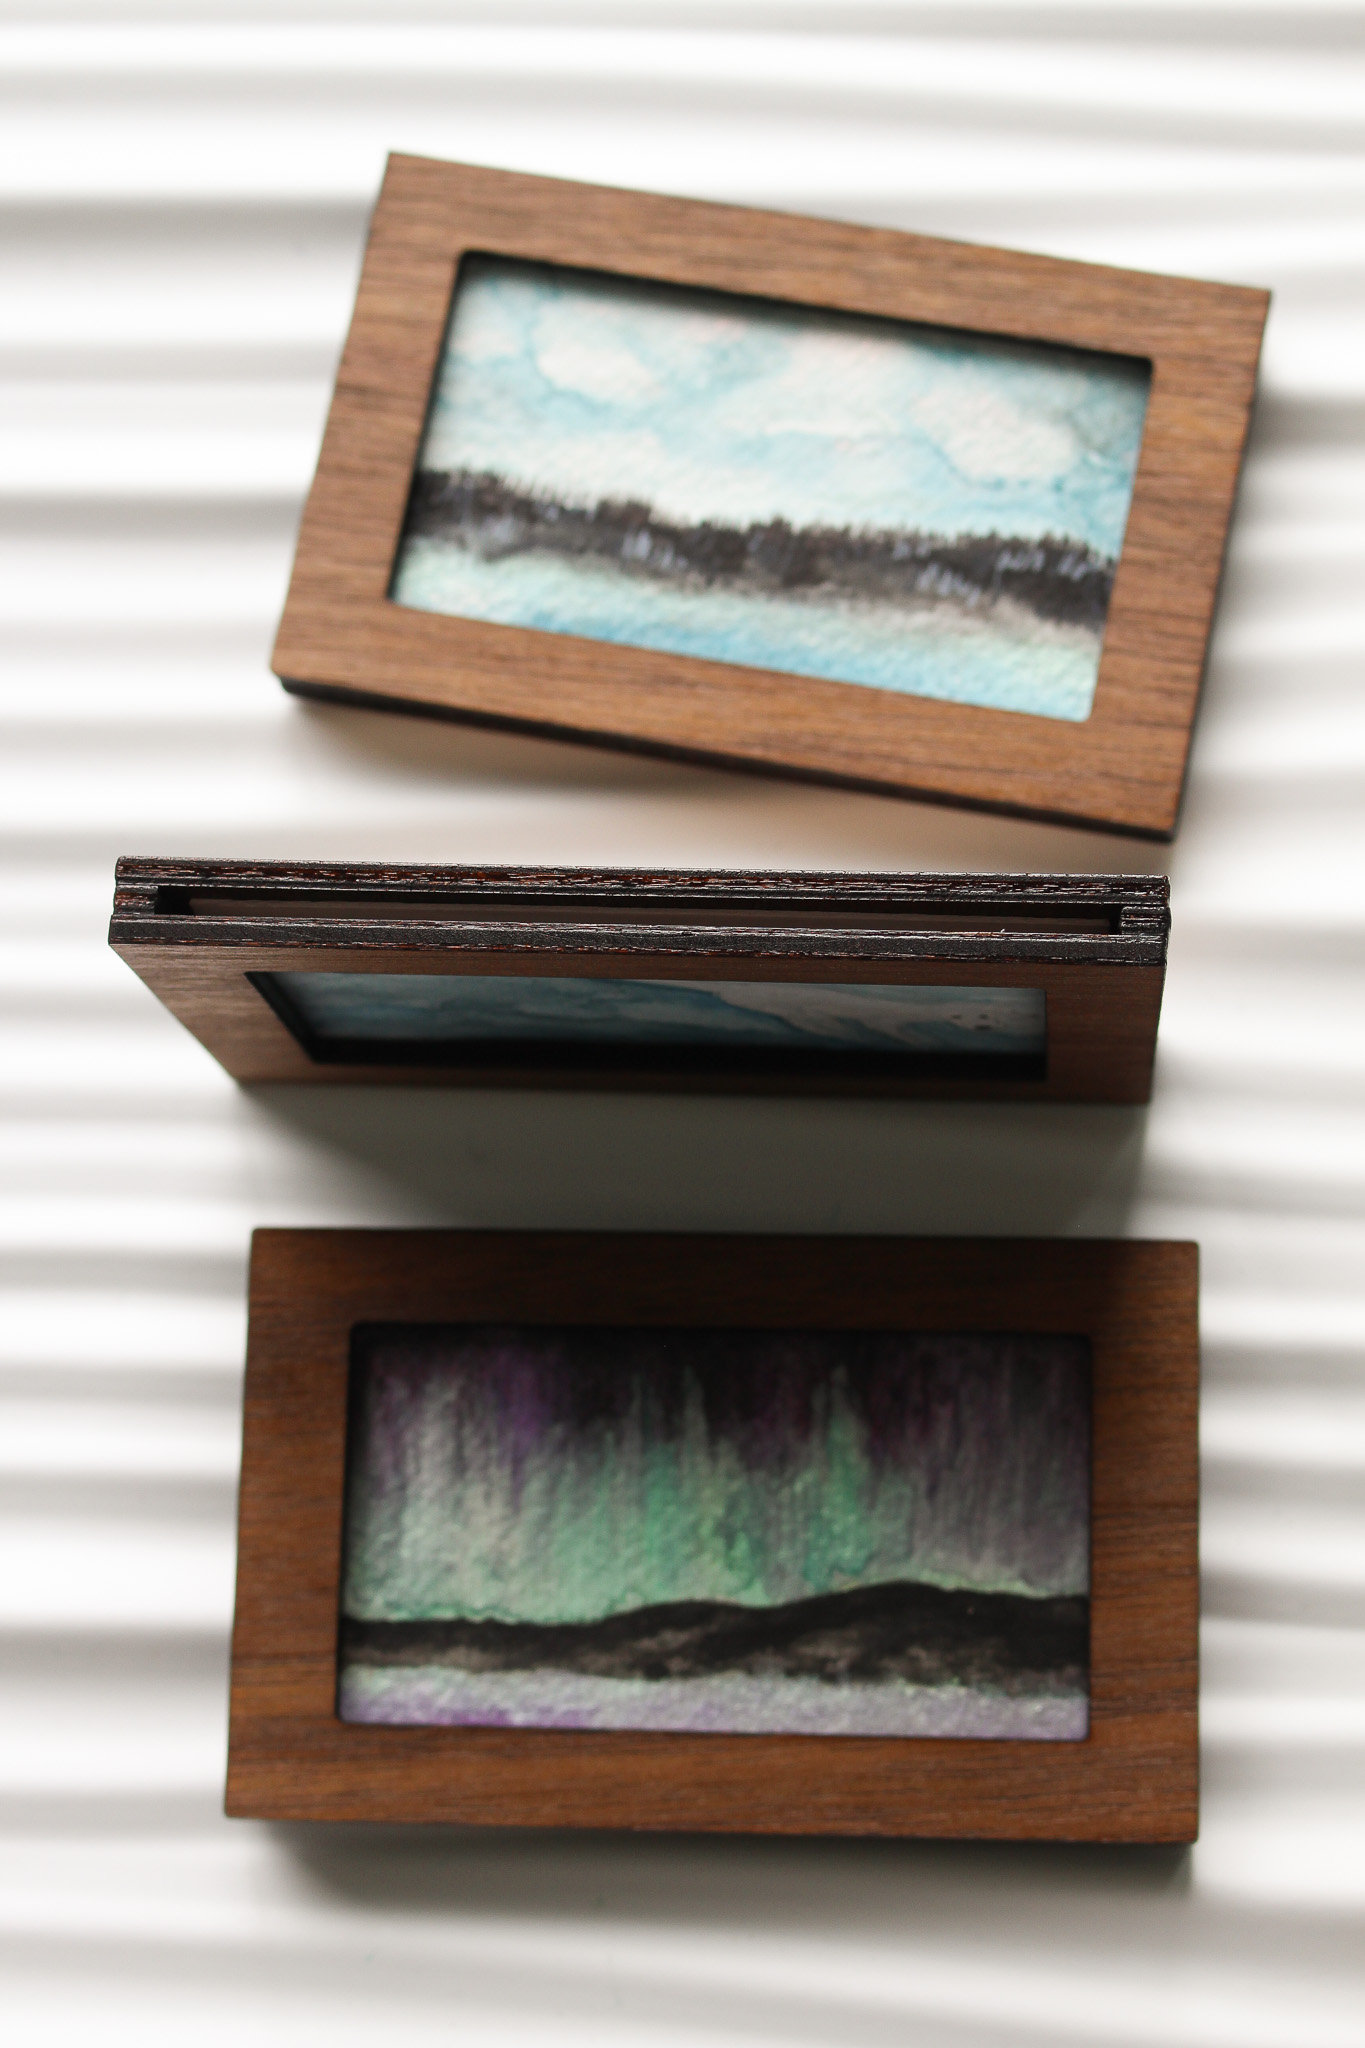
We made two styles of fridge magnet frames: horizontal and vertical. The front cut out frame piece and the solid back piece is the same shape/design, but the middle spacer is altered to accommodate landscape or portrait orientations for art.

It’s your choice when it comes to how to finish the wood. If you’re using a different plywood, you can paint/stain/clear coat however you’d like. I used walnut plywood so I just gave each side a few coats of Watco clear lacquer. I had this in my craft stash from leftover projects, but I actually really like a spray finish for this xTool project because the pieces are so small and it’s easier to spray them as opposed to trying to wipe or brush on a finish.
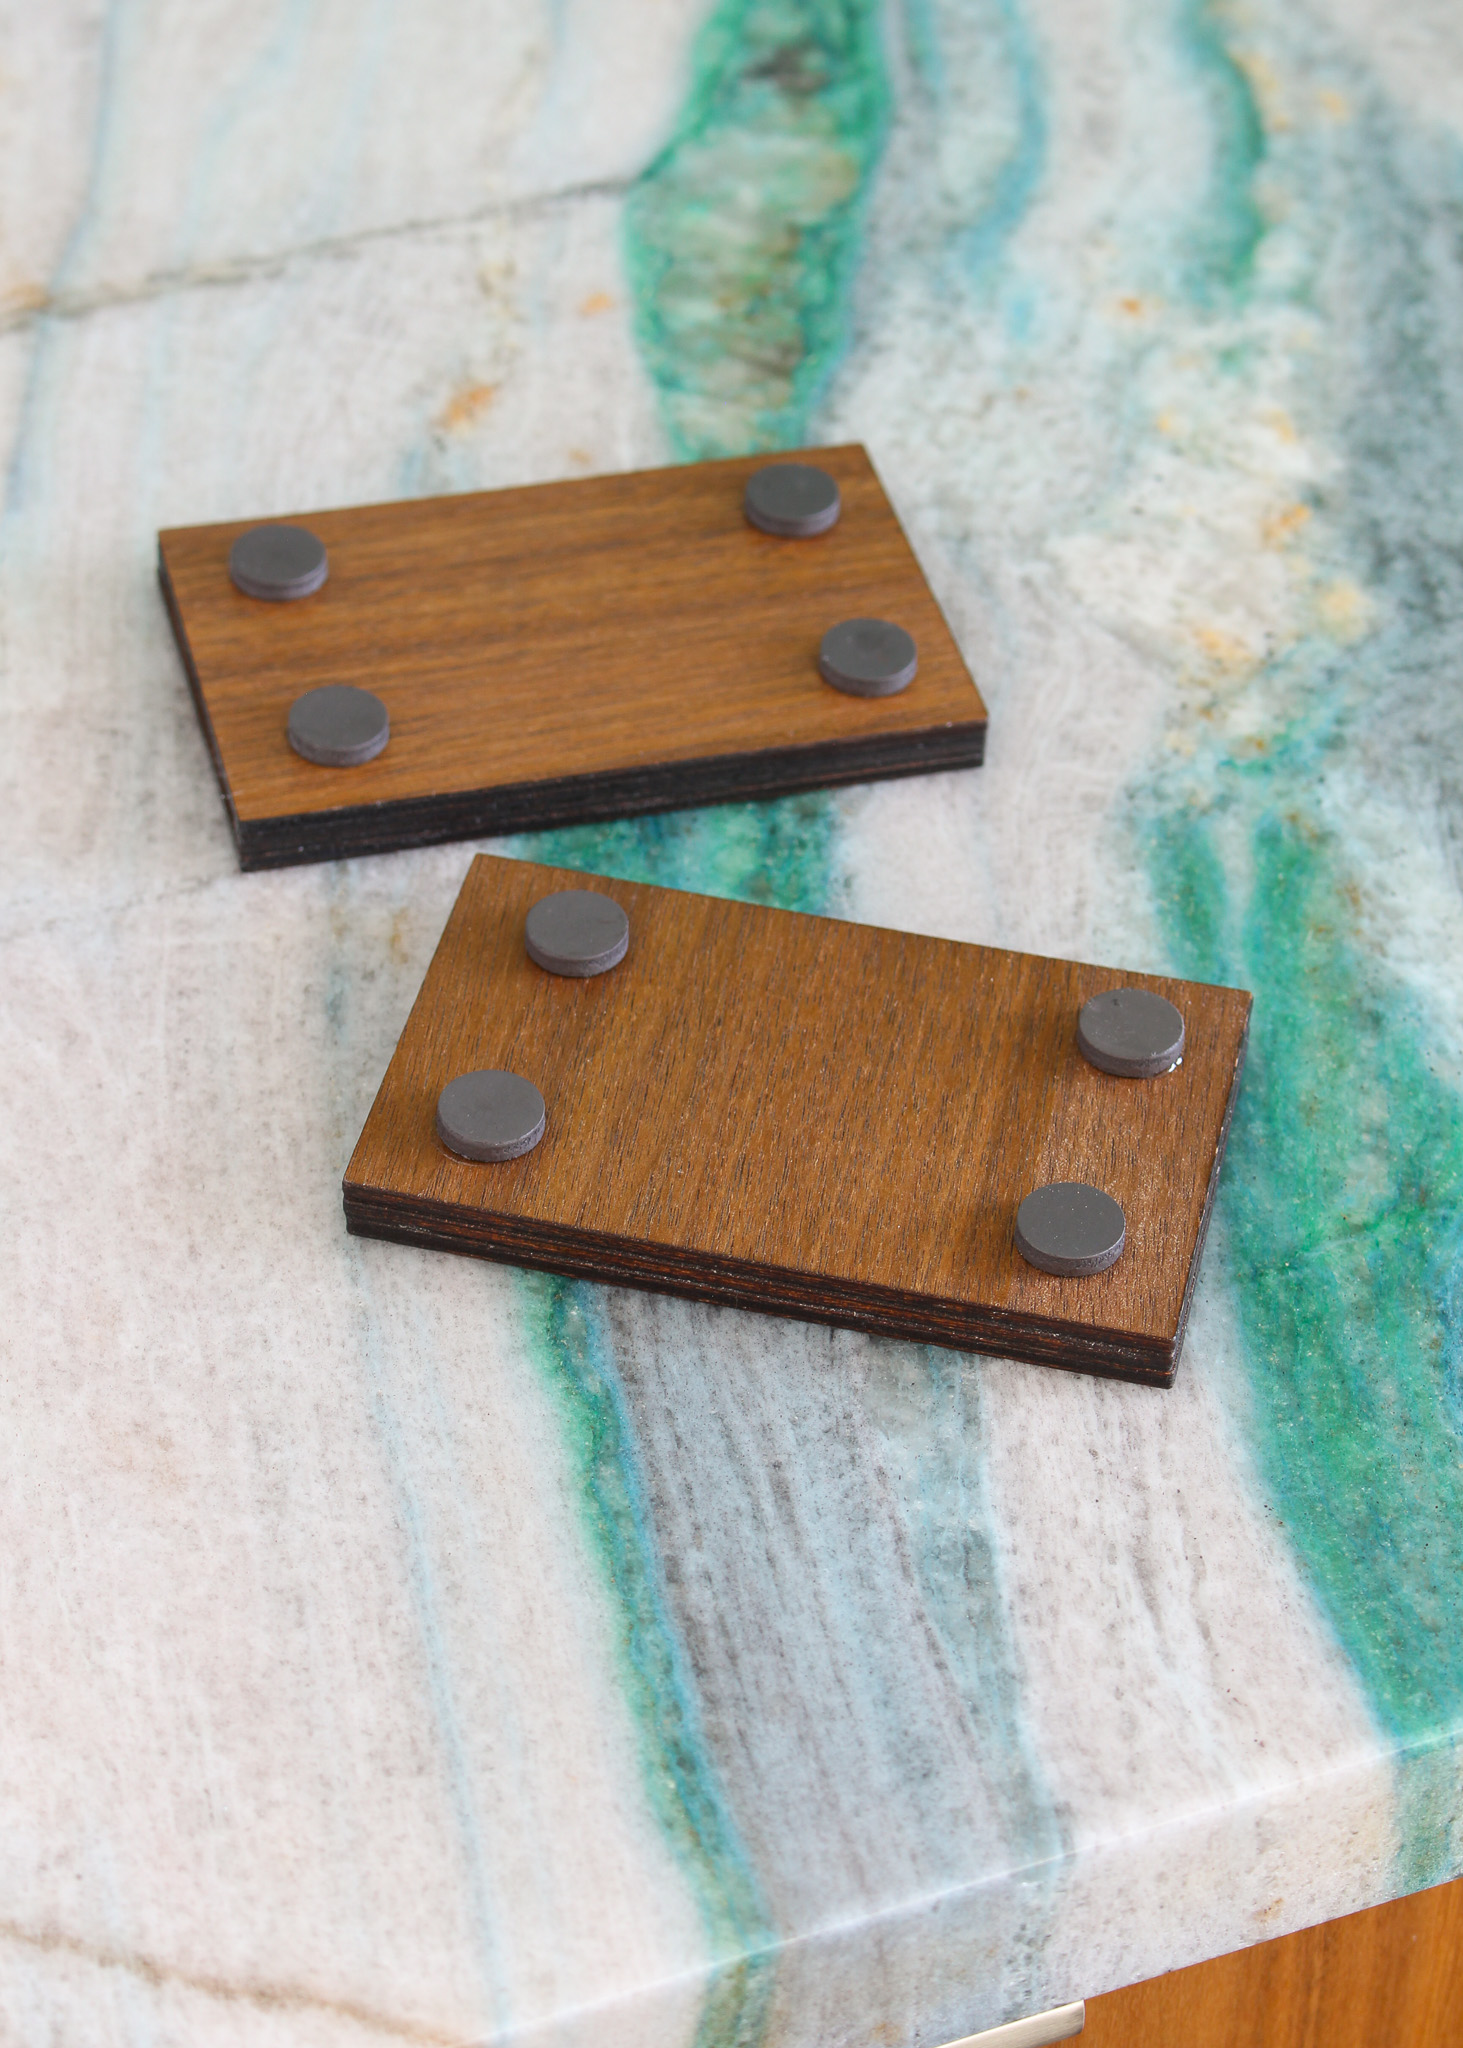
Assemble one layer at a time, working from the bottom up, and glue together with wood glue, 5 minute epoxy or E6000 (which is what I used this time – although my preference is typically a 5 minute epoxy). Hold together the pieces with a small clamp (I used a binder clip) while glue dries. You may need to scrape/peel off any excess glue that squishes out. Try to use a thin bead of glue – drag it with a toothpick if it comes out too thick or too quickly from the tube.
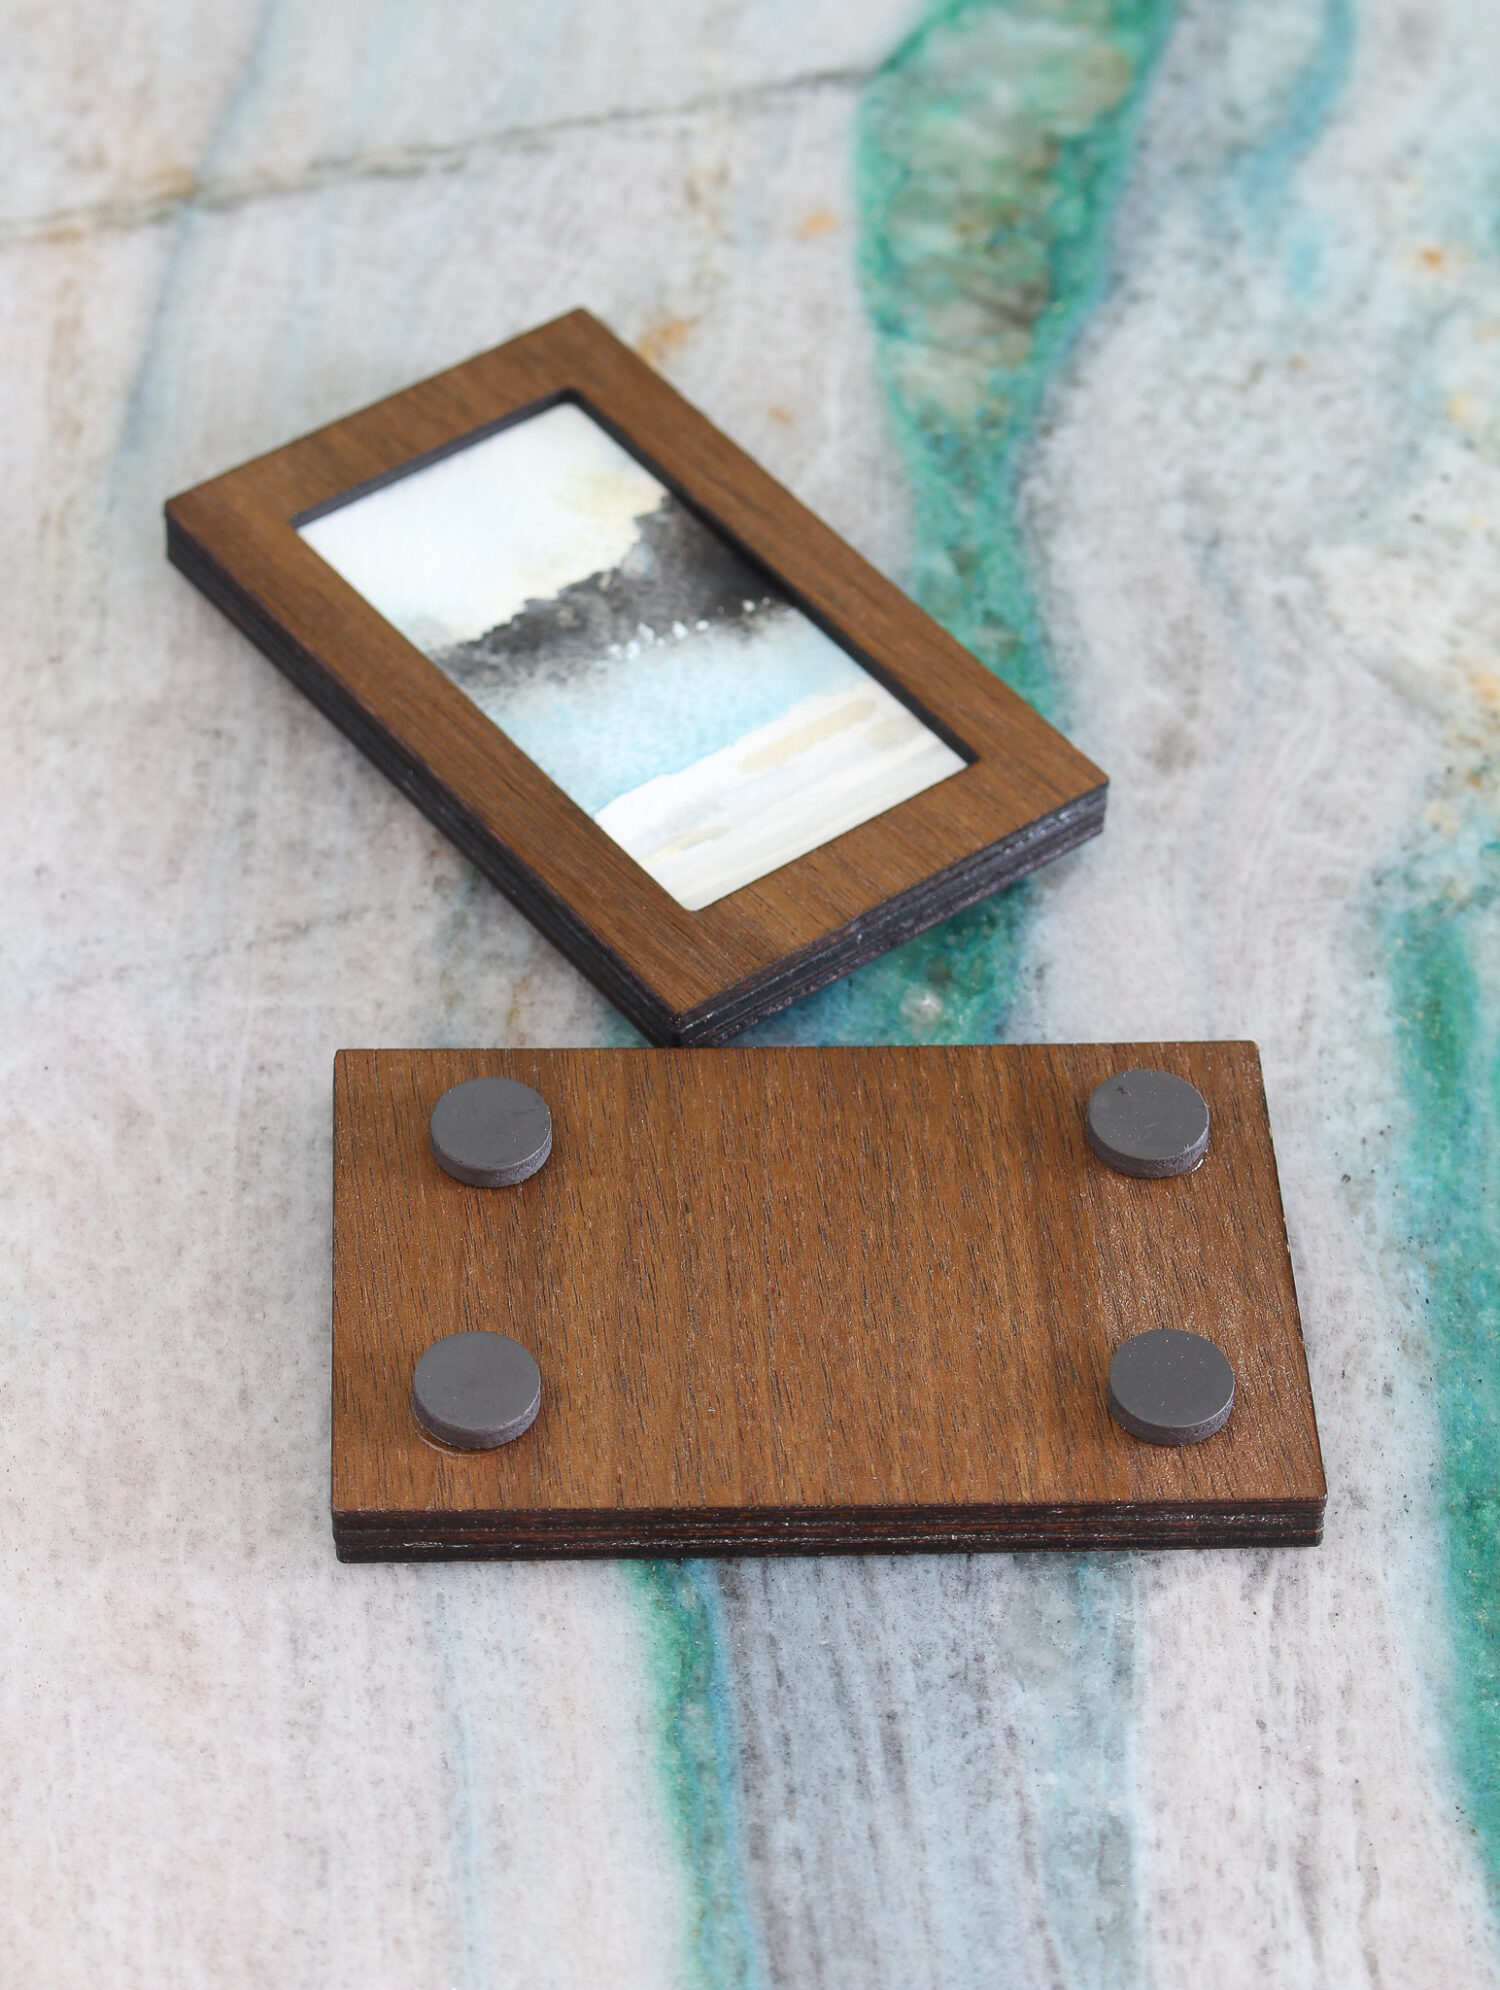
Use the same glue to affix magnets to the back. I used four small magnets, one in each corner, so the DIY frame fridge magnet is secure and won’t spin. One magnet in the middle will make your DIY fridge frame forever crooked, but you’re welcome to use as many magnets as you’d like. Once the glue has dried, your mini frame fridge magnet is ready to use!
You can cut a piece of something transparent for the front (like the thin plastic packaging so many products are sold in), to mimic the look of glass, or simply slide in your artwork or photograph. Depending on the thickness of the paper, you may need to slide in another piece of paper or cardboard behind your art, to ensure the artwork is nice and flat inside your new DIY frame fridge magnet. Or keep a few paintings in there and rotate them as the mood strikes.
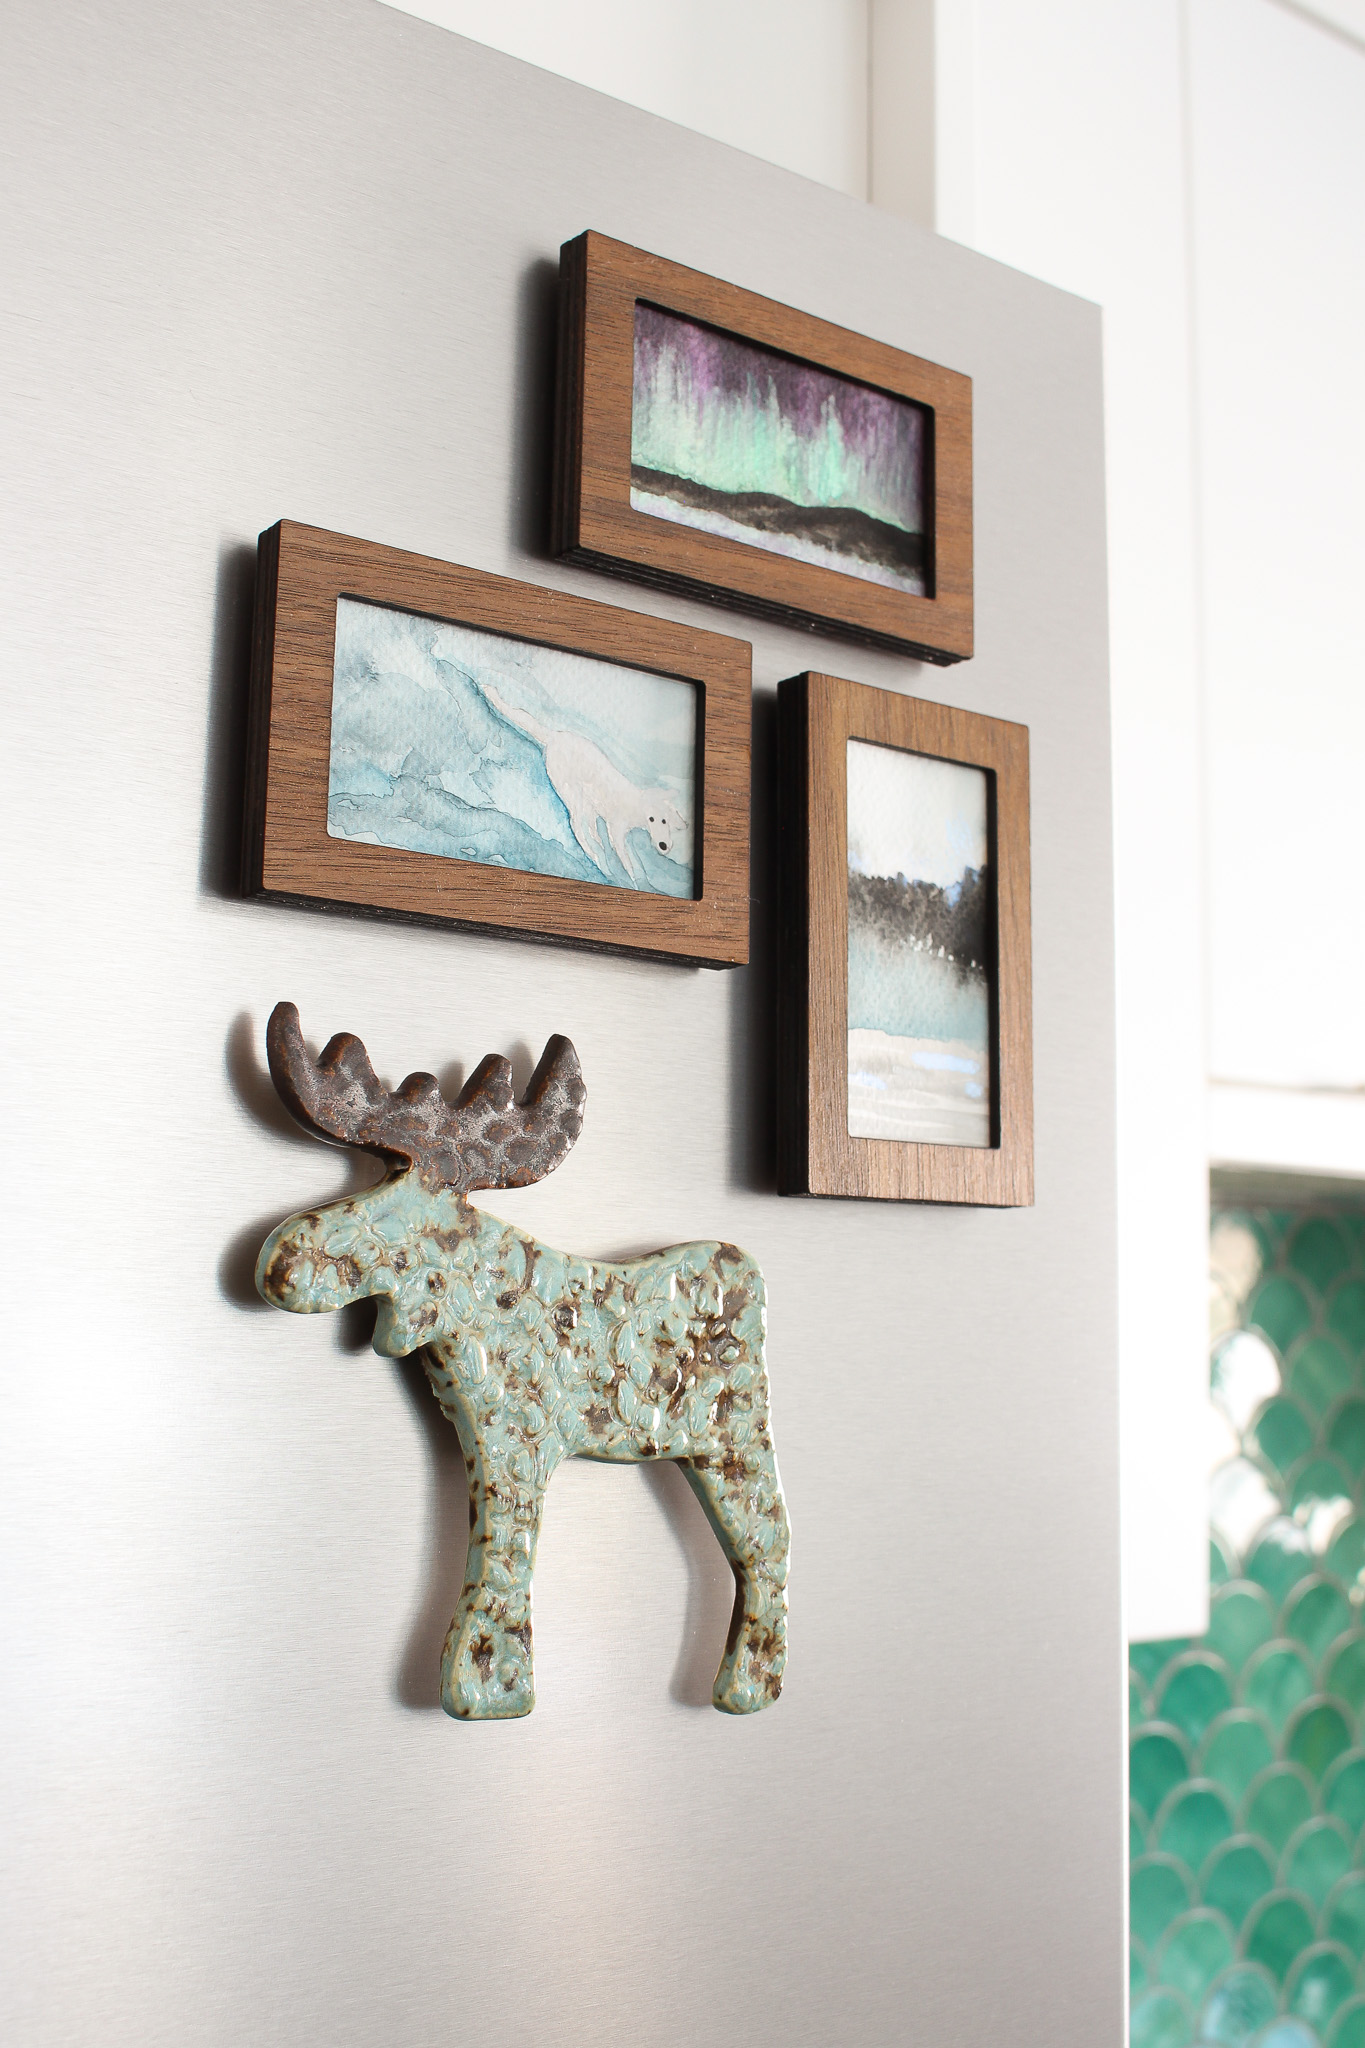
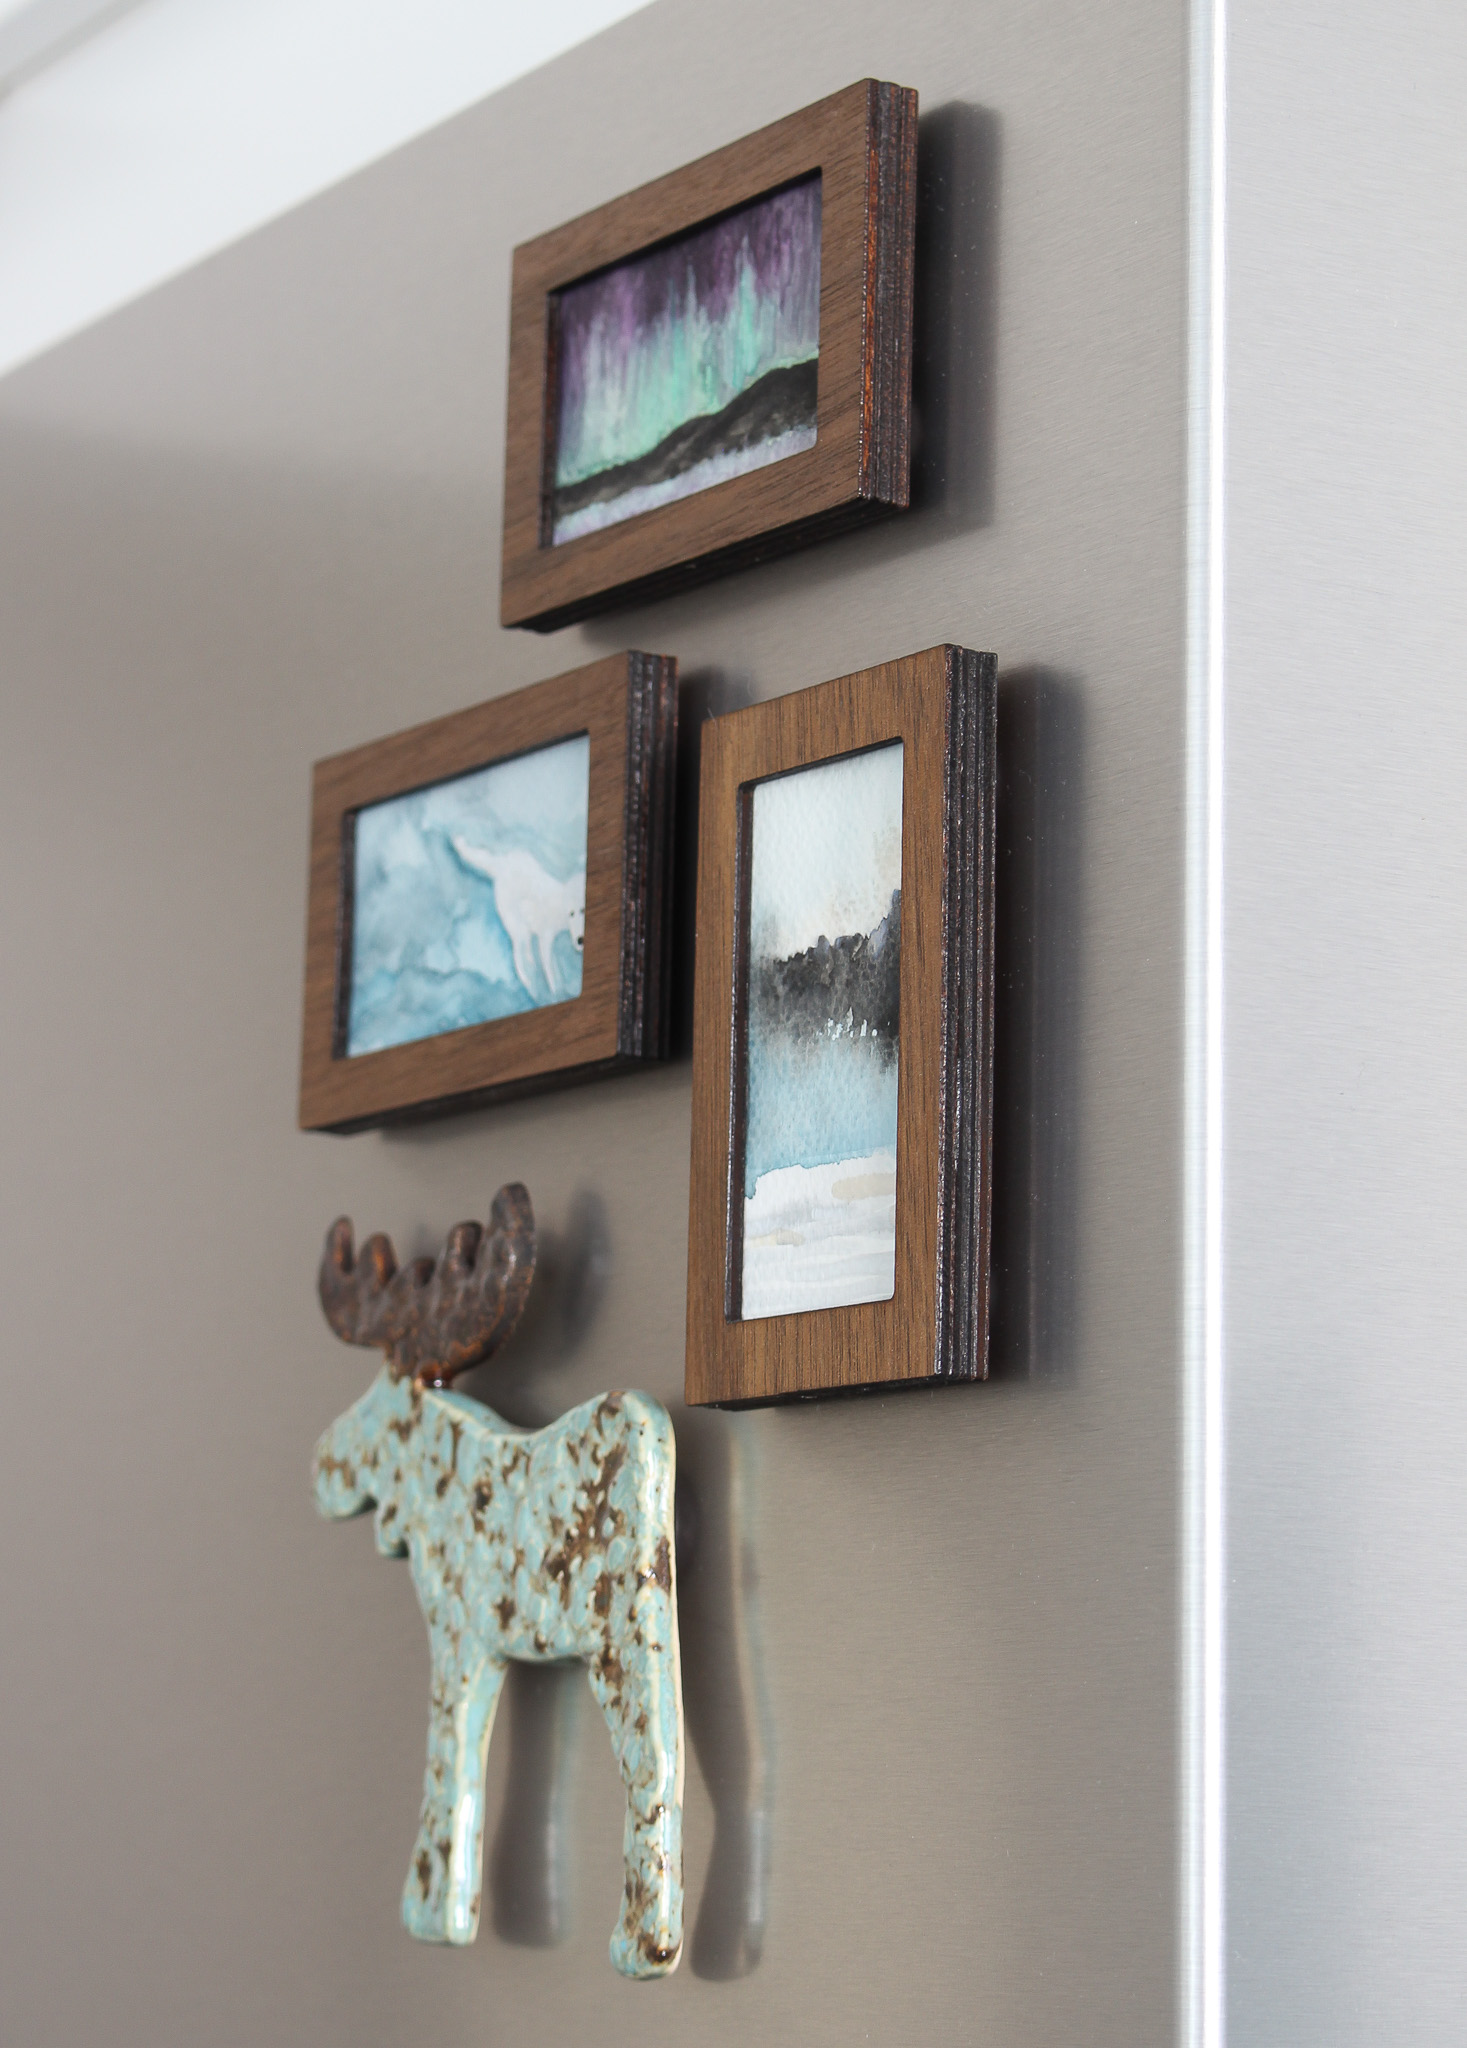
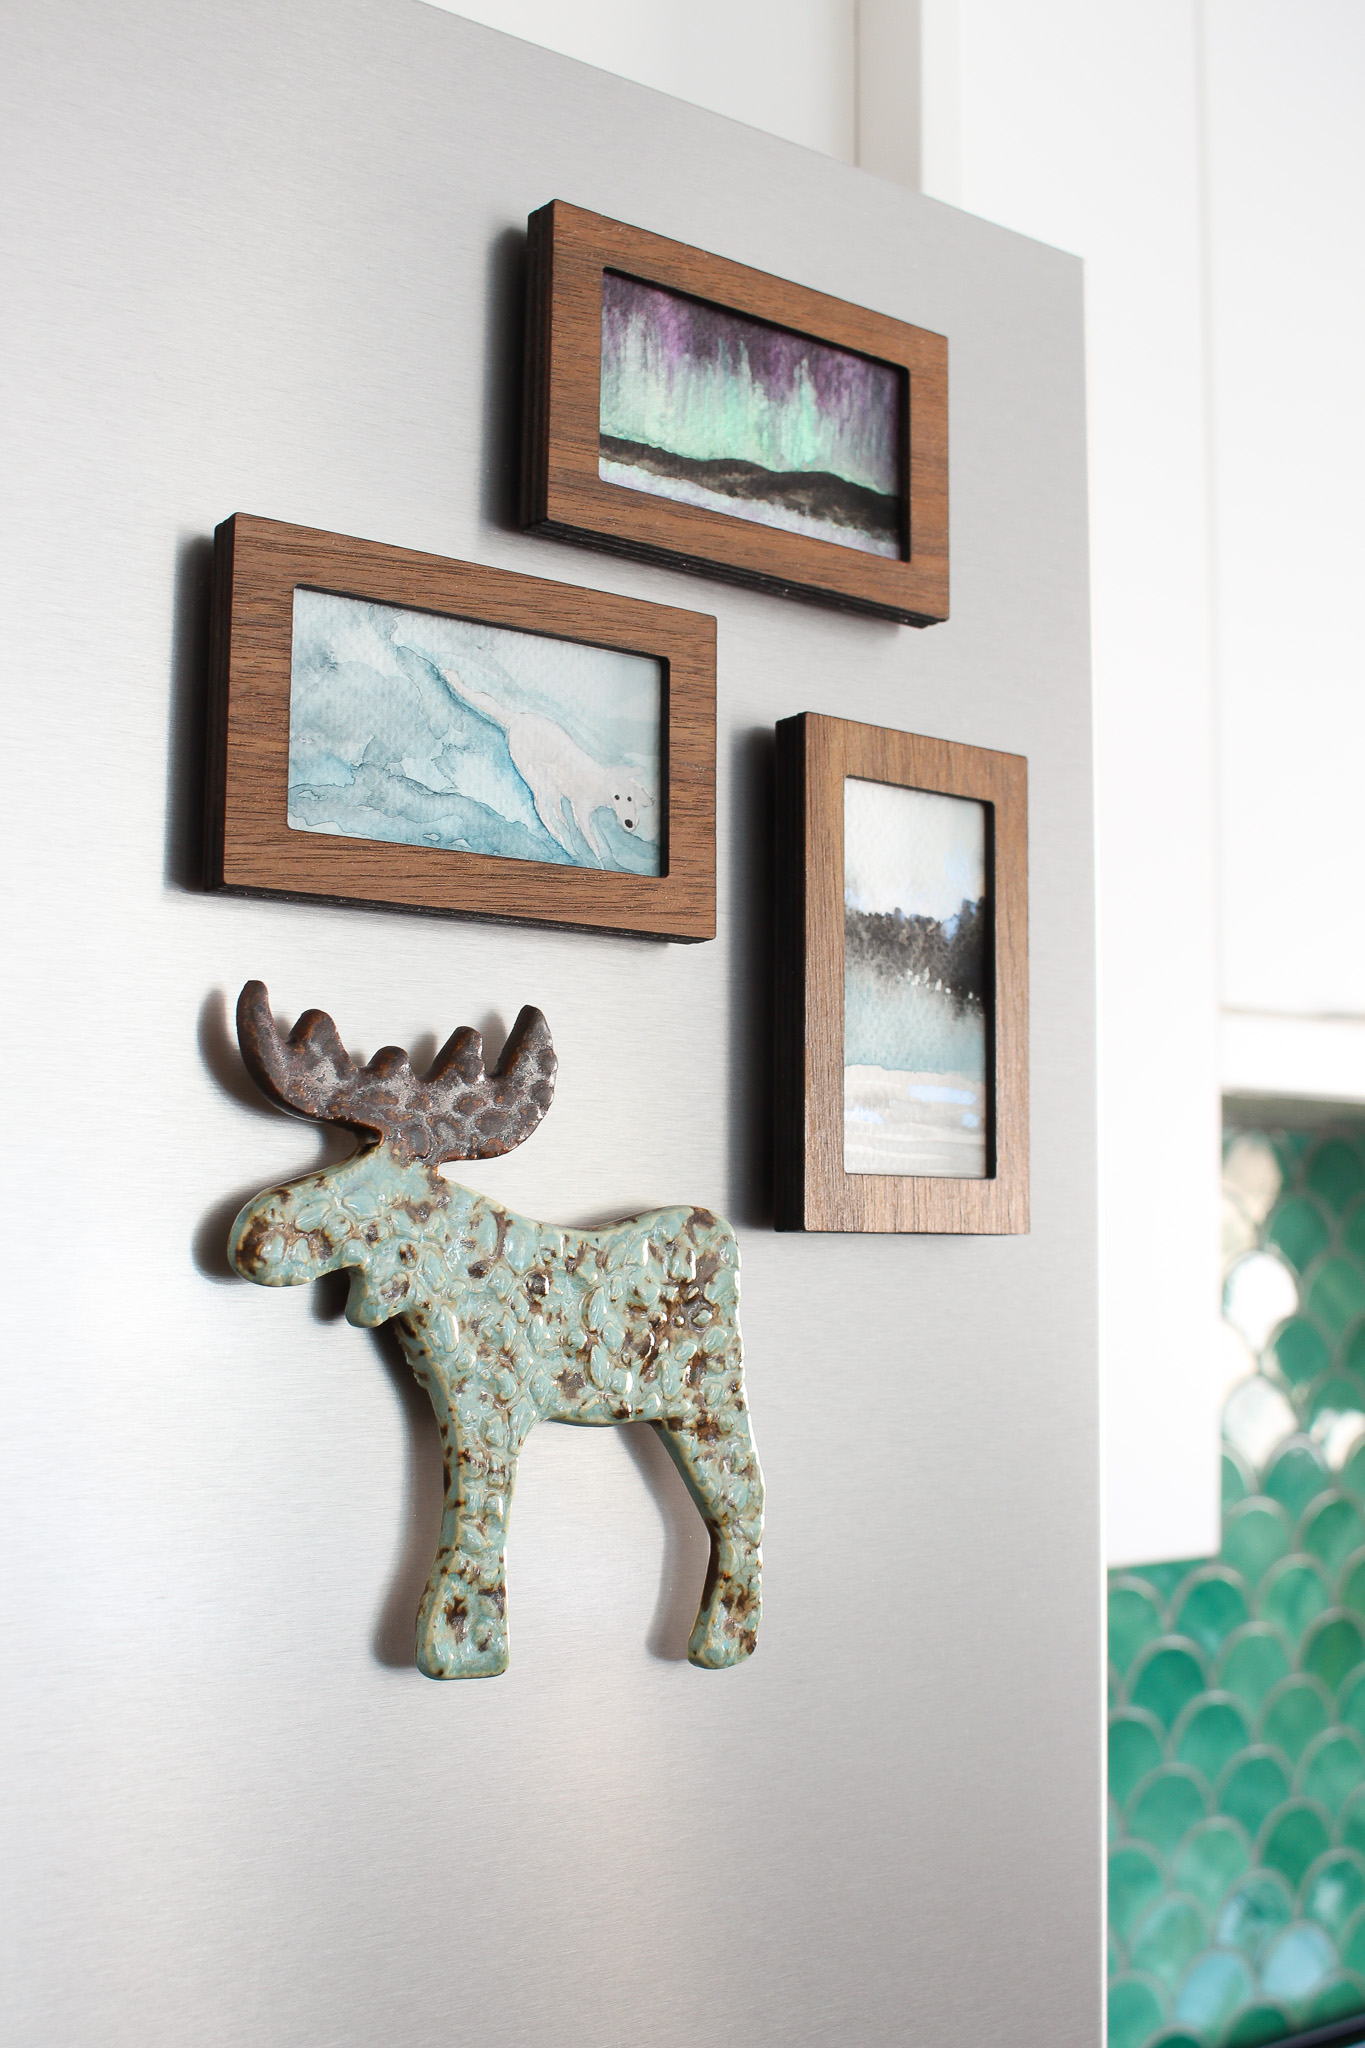
Finished DIY Fridge Frame Magnets with Art:
Here’s a look at my finished DIY fridge frame magnets with original watercolor art. I chose a few of my favorite watercolors: a painting of our pup (based on a cute photo of her), the Northern Lights (based on a photo I took across the bay), and a little abstract nature scene. I’ve really been enjoying my foray into watercolor art and you can see that I’m really quite enamored with shimmering metallic watercolor paints!


Alternative Ideas to Make Fridge Magnet Frames if You Don’t Have an xTool:
If you don’t have an xTool or similar laser cutter, it would be tricky to cut something so small from plywood. You could make frames from polymer clay, which would be much easier to roll out and cut by hand! But you could also purchase pre-made mini frames and glue strong magnets on the back. These mini wood frames have a similar aesthetic to what I made but the frames in this pack of unfinished frames are probably a more similar, light weight to mine. If you have a more eclectic style, these ornate gold resin frames would be perfect for making your own fridge magnet photo frames. I’ve also found cute mini frames at the thrift store.