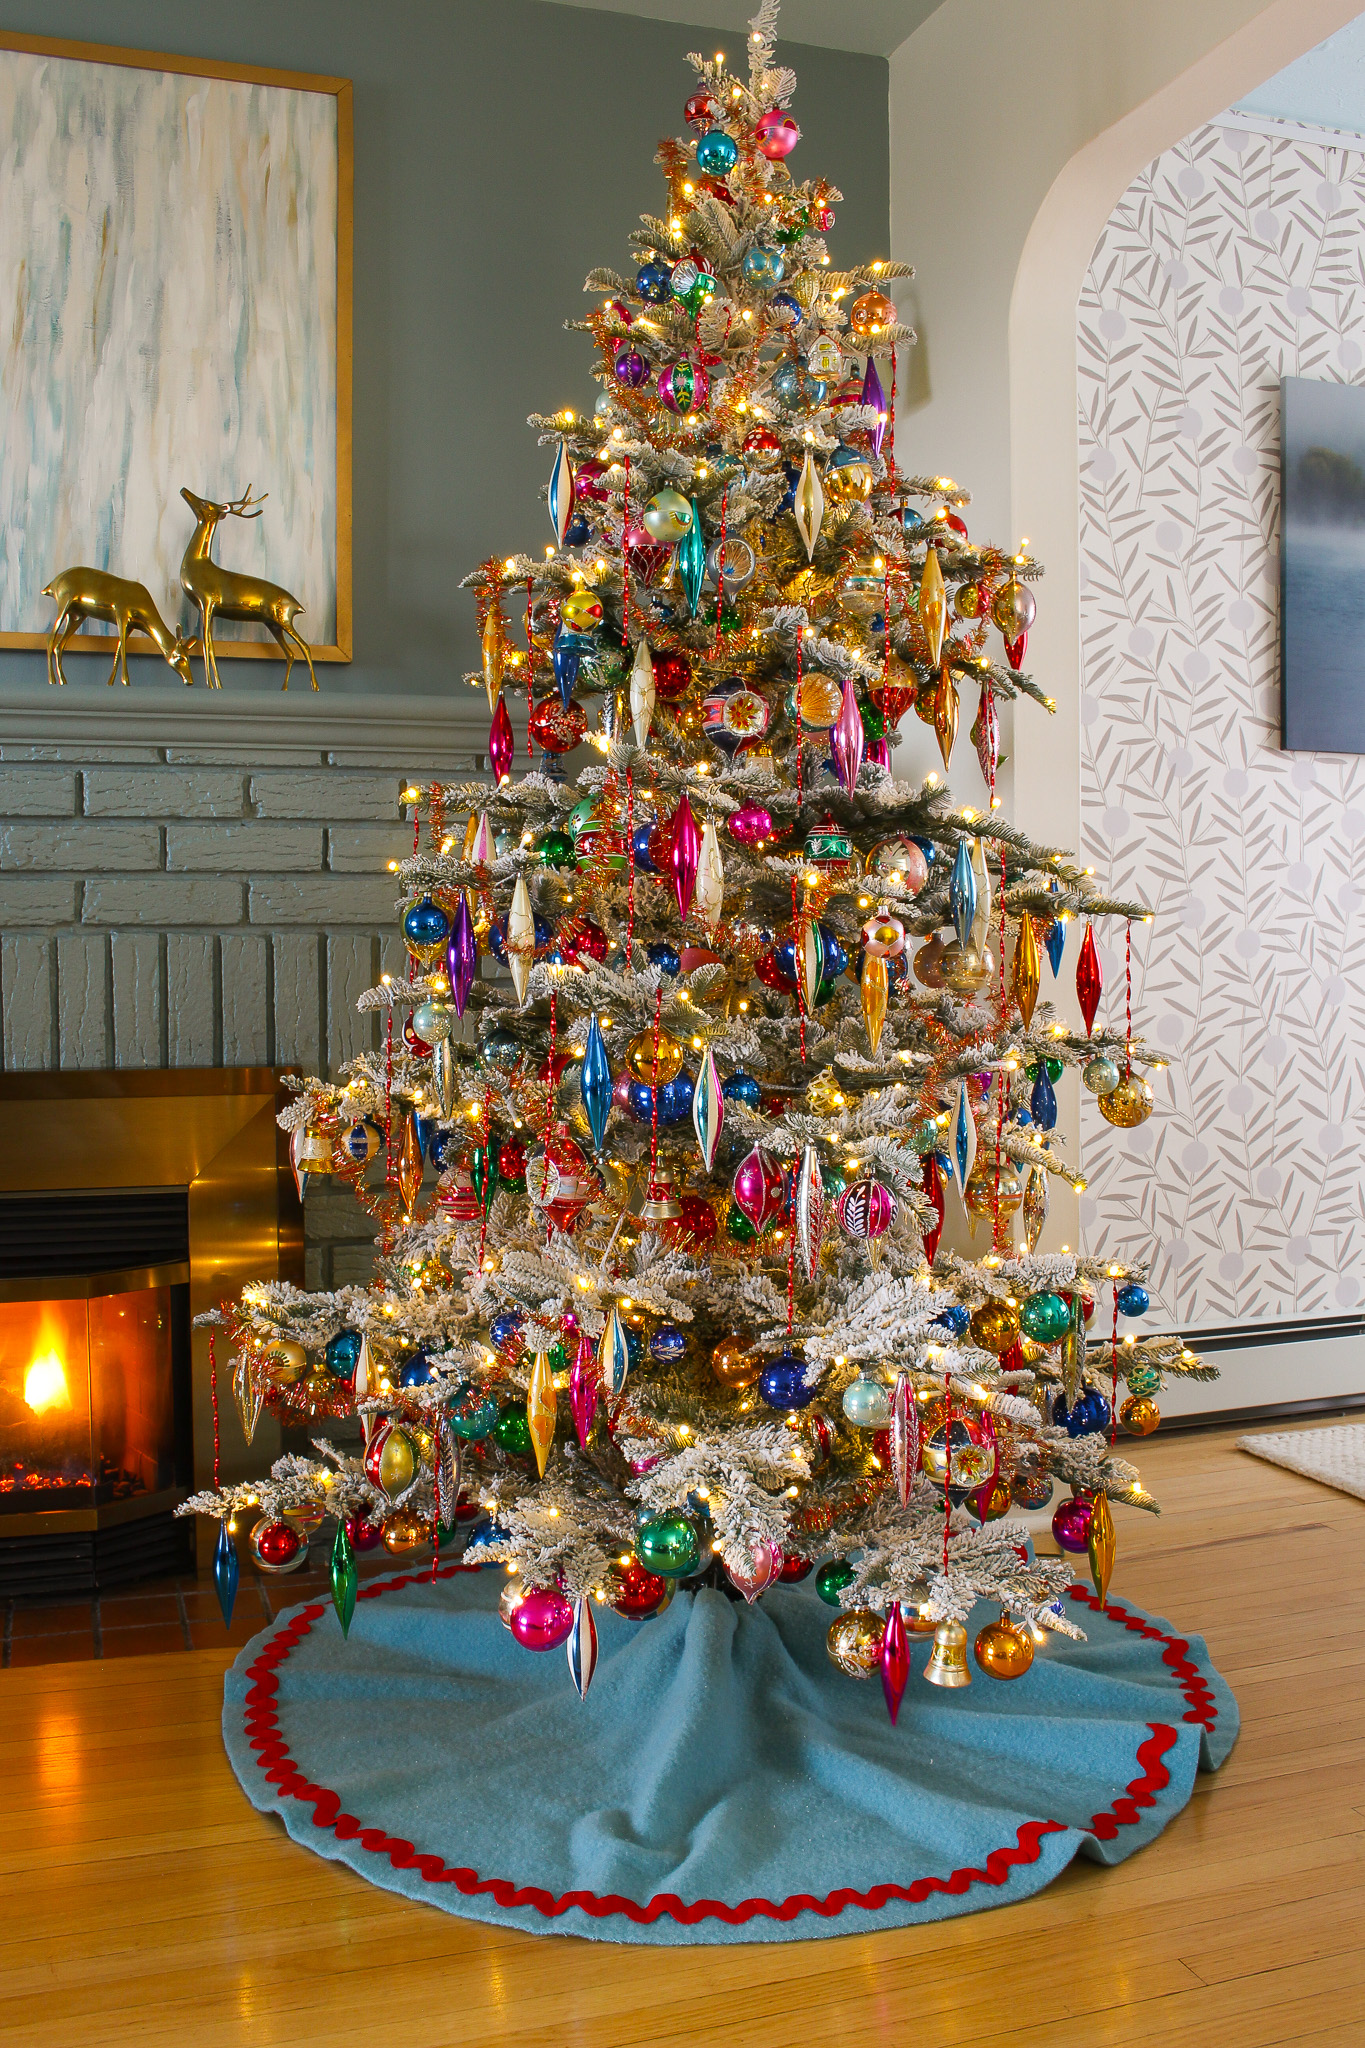
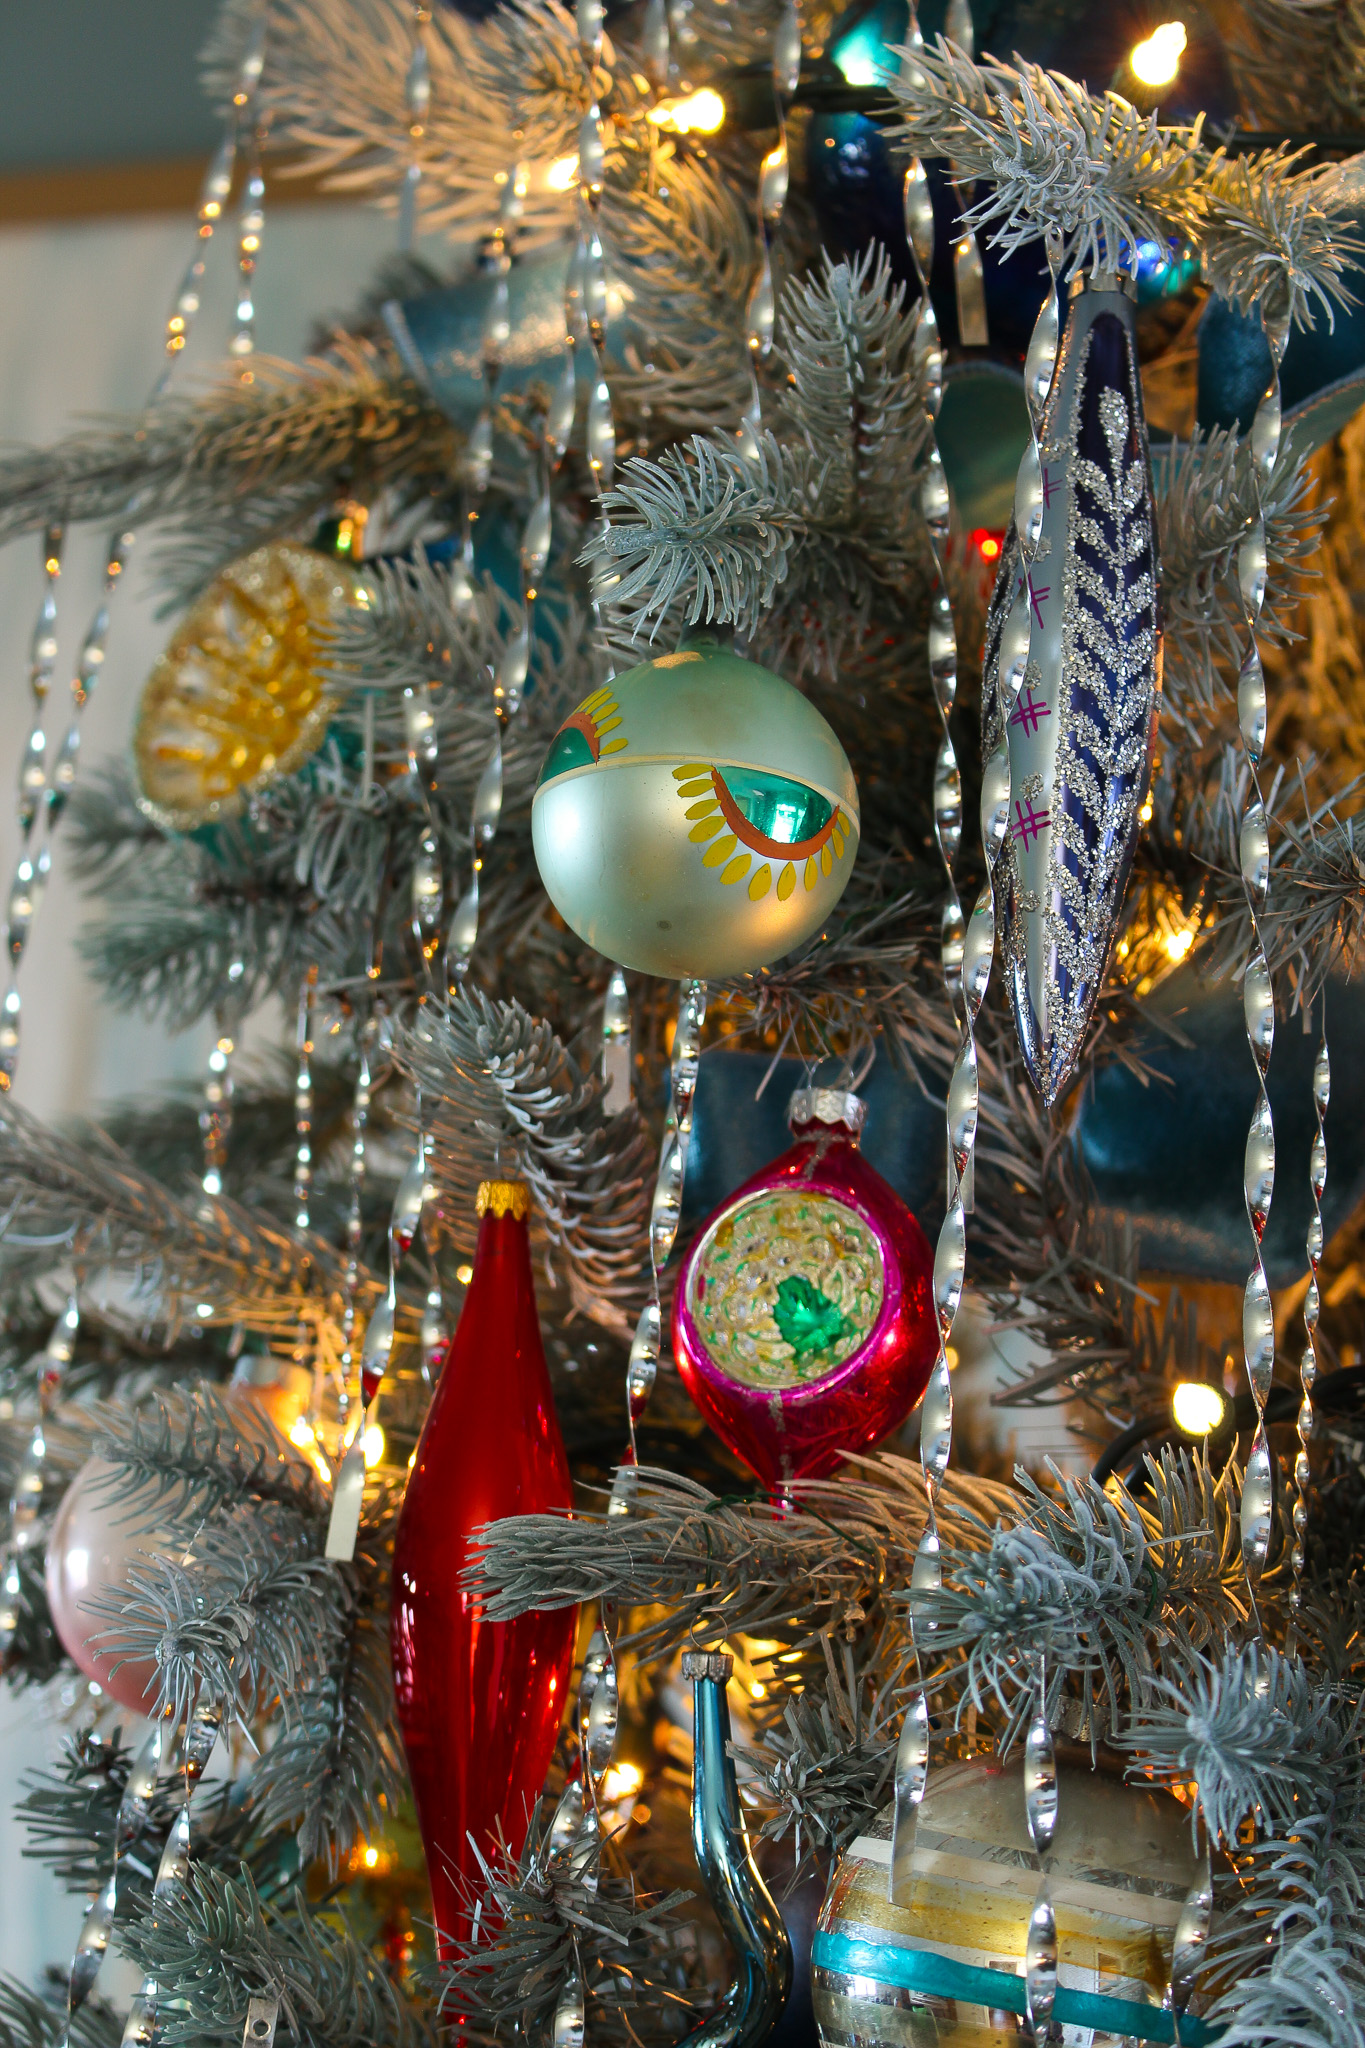
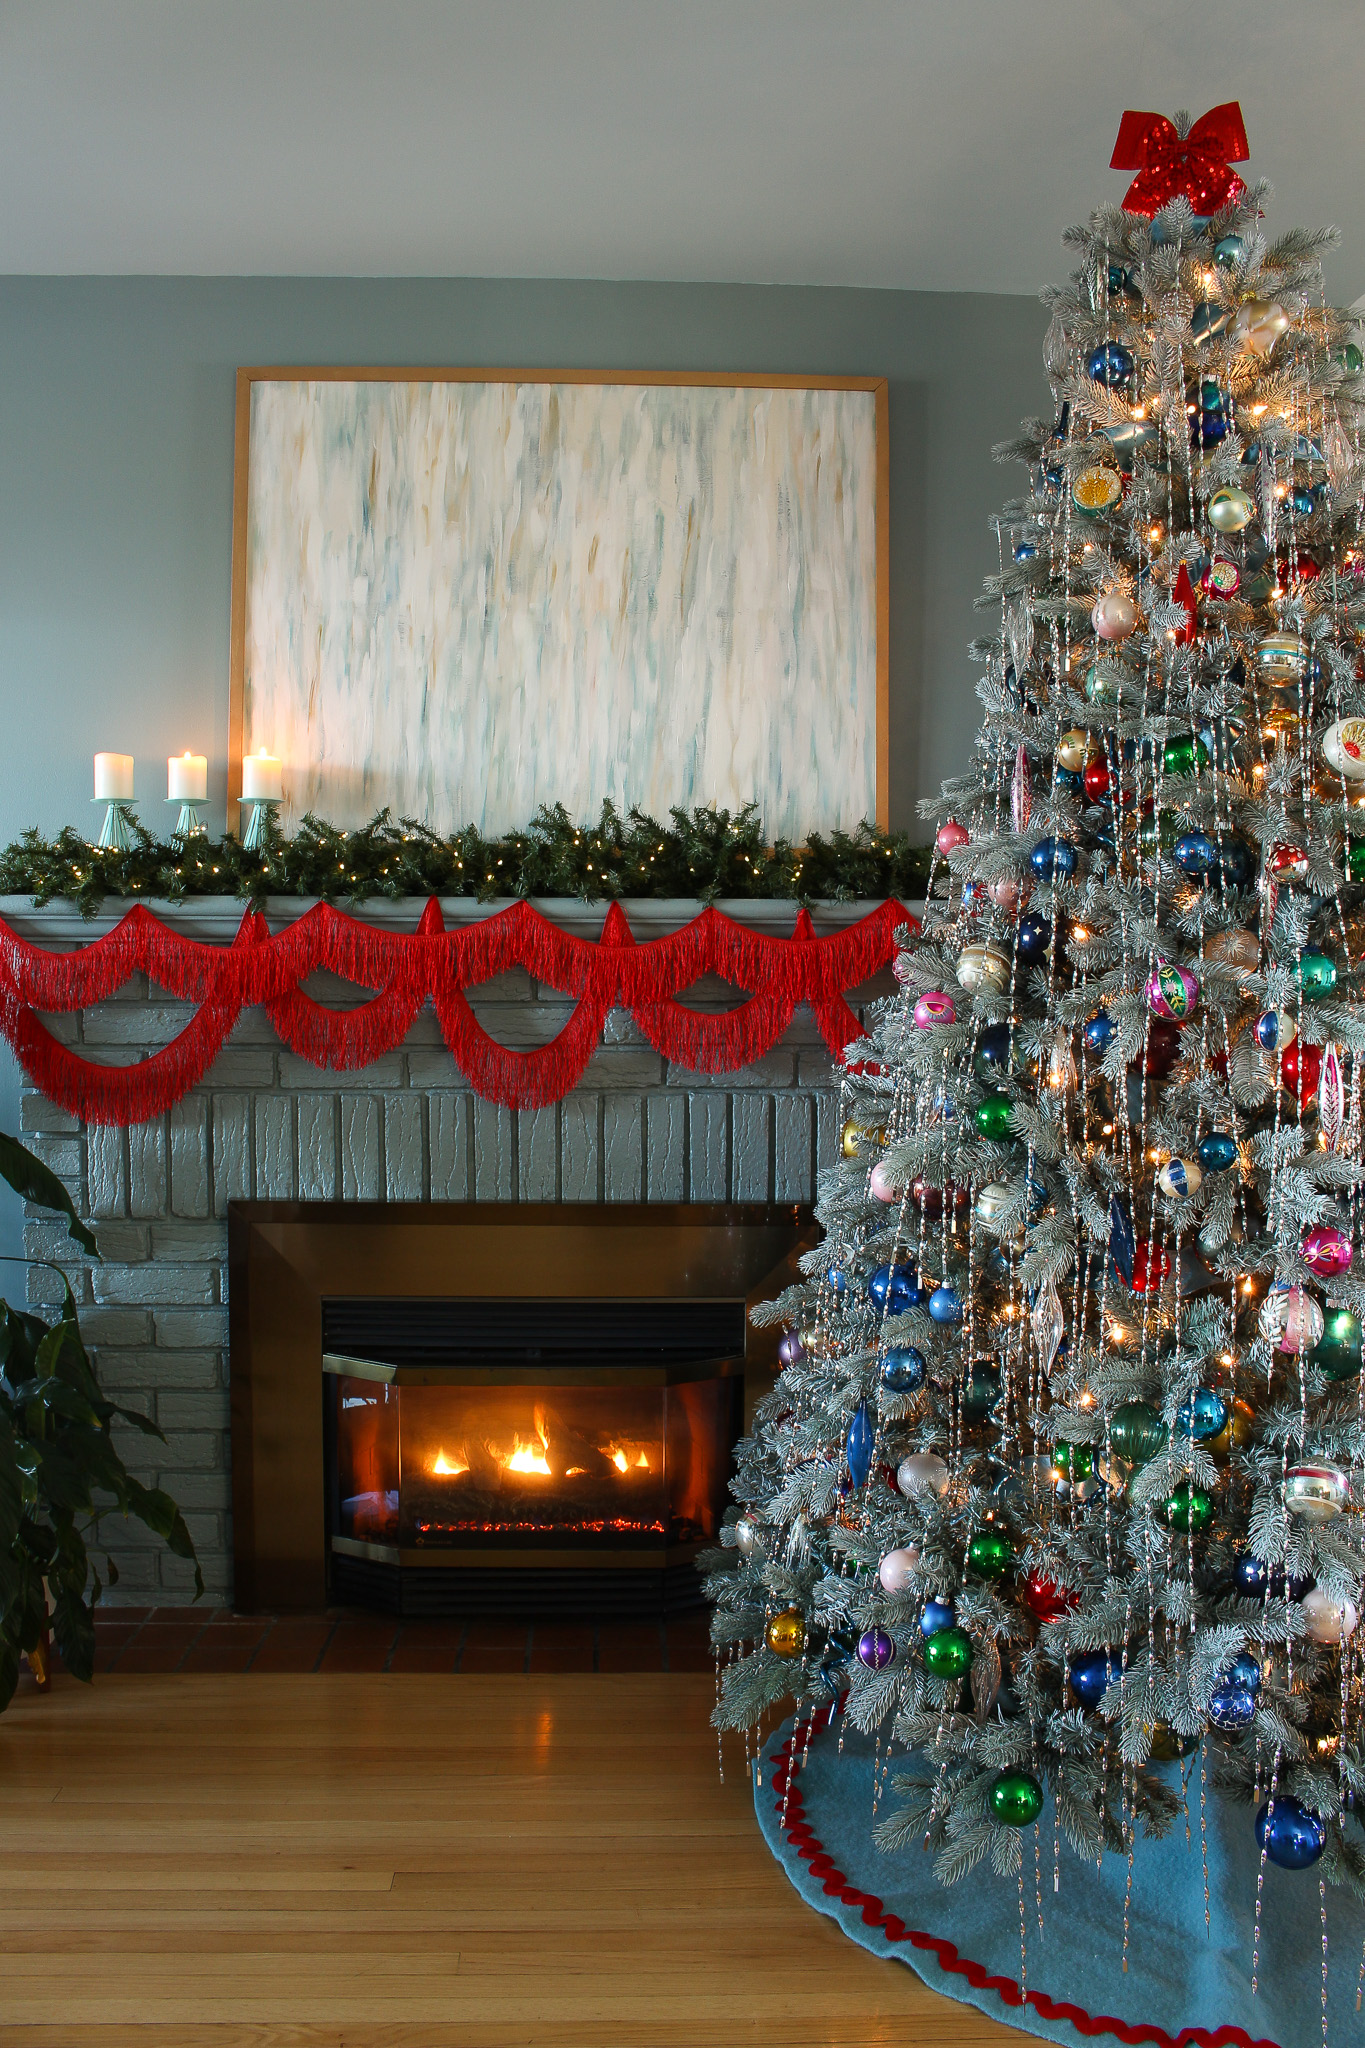
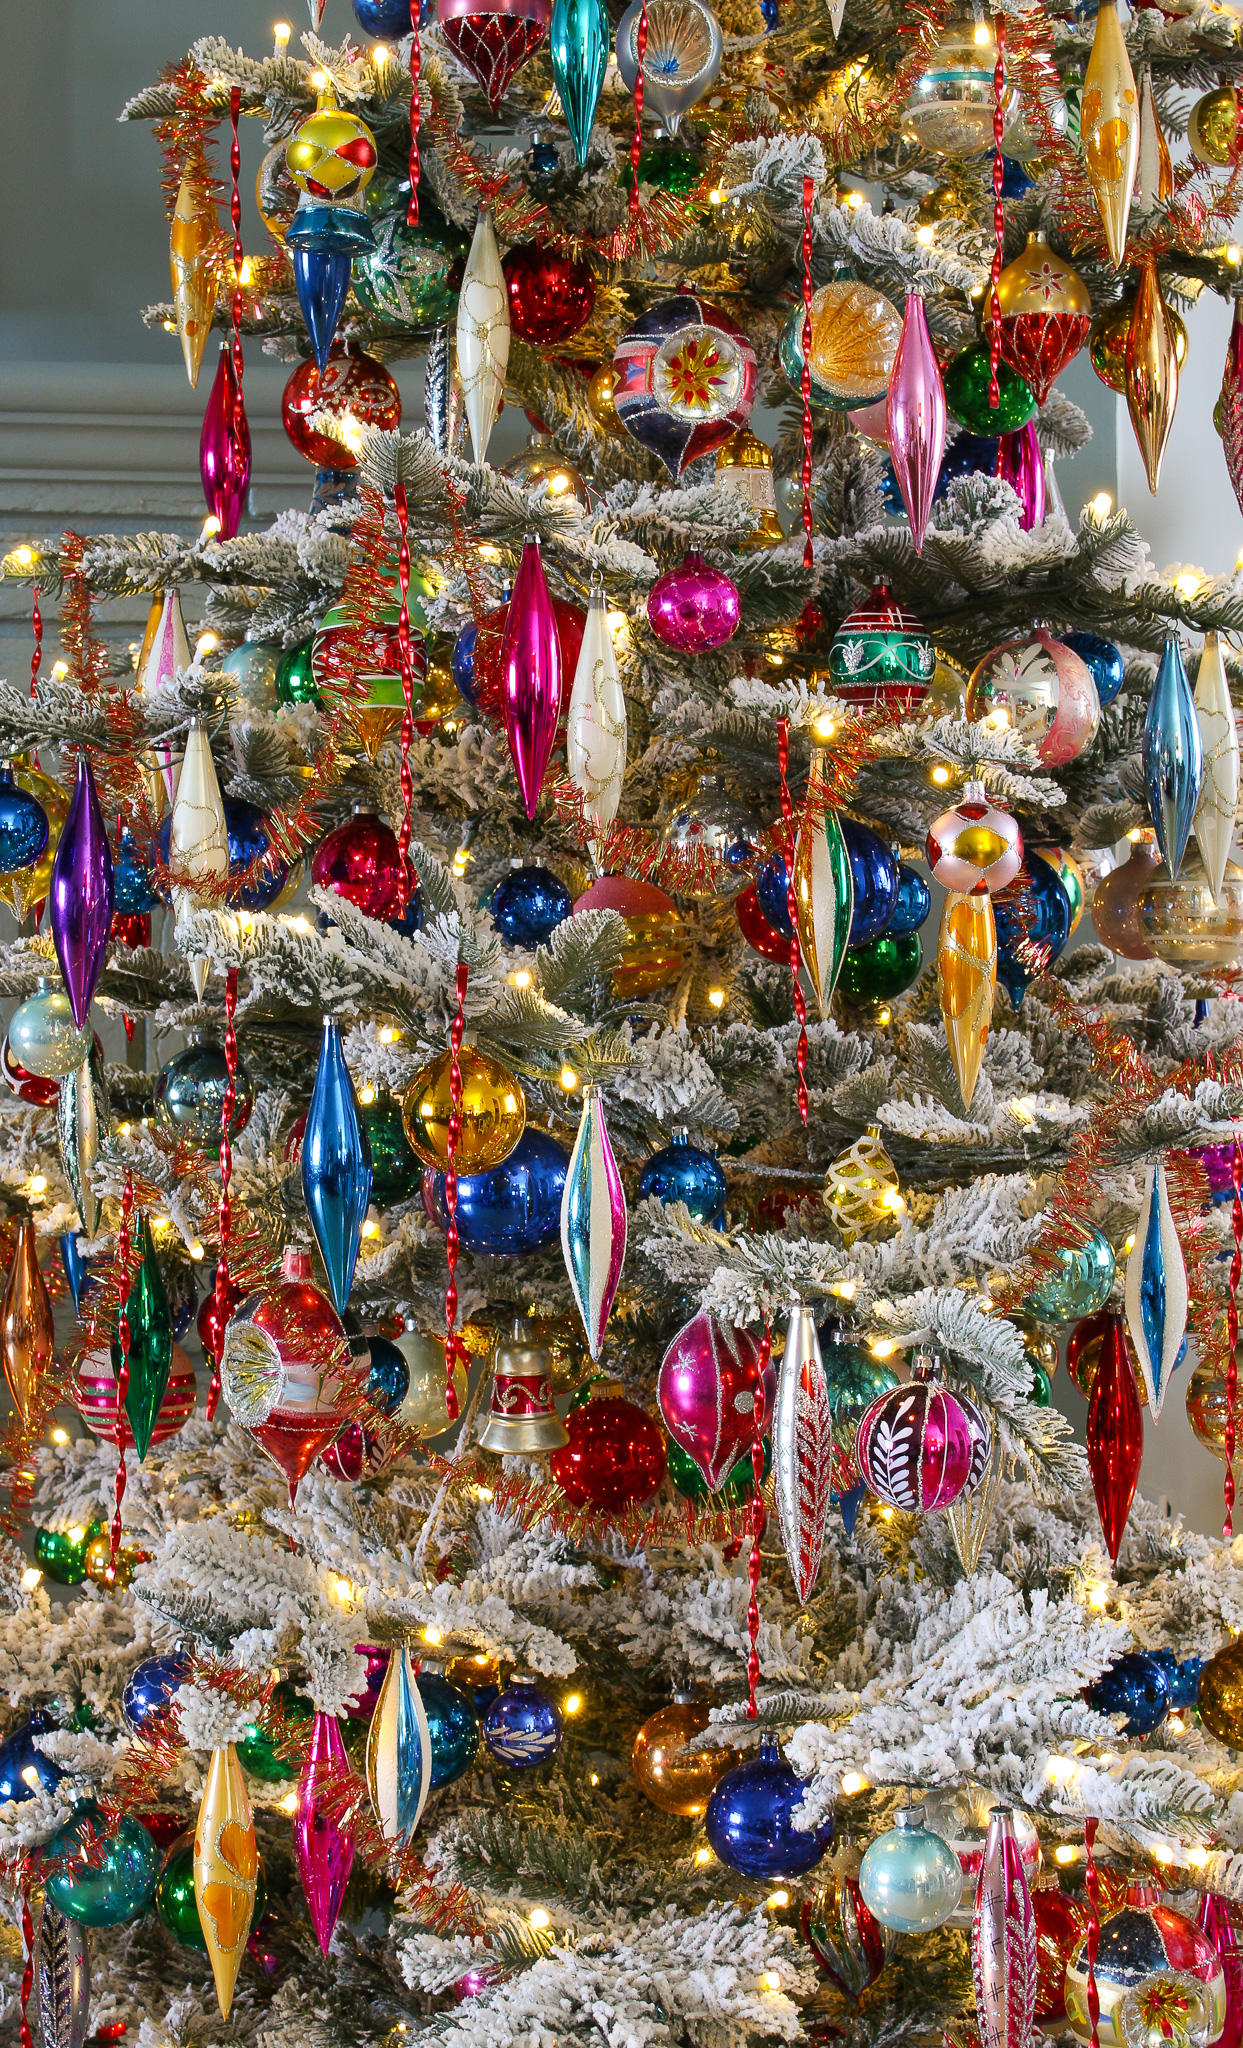
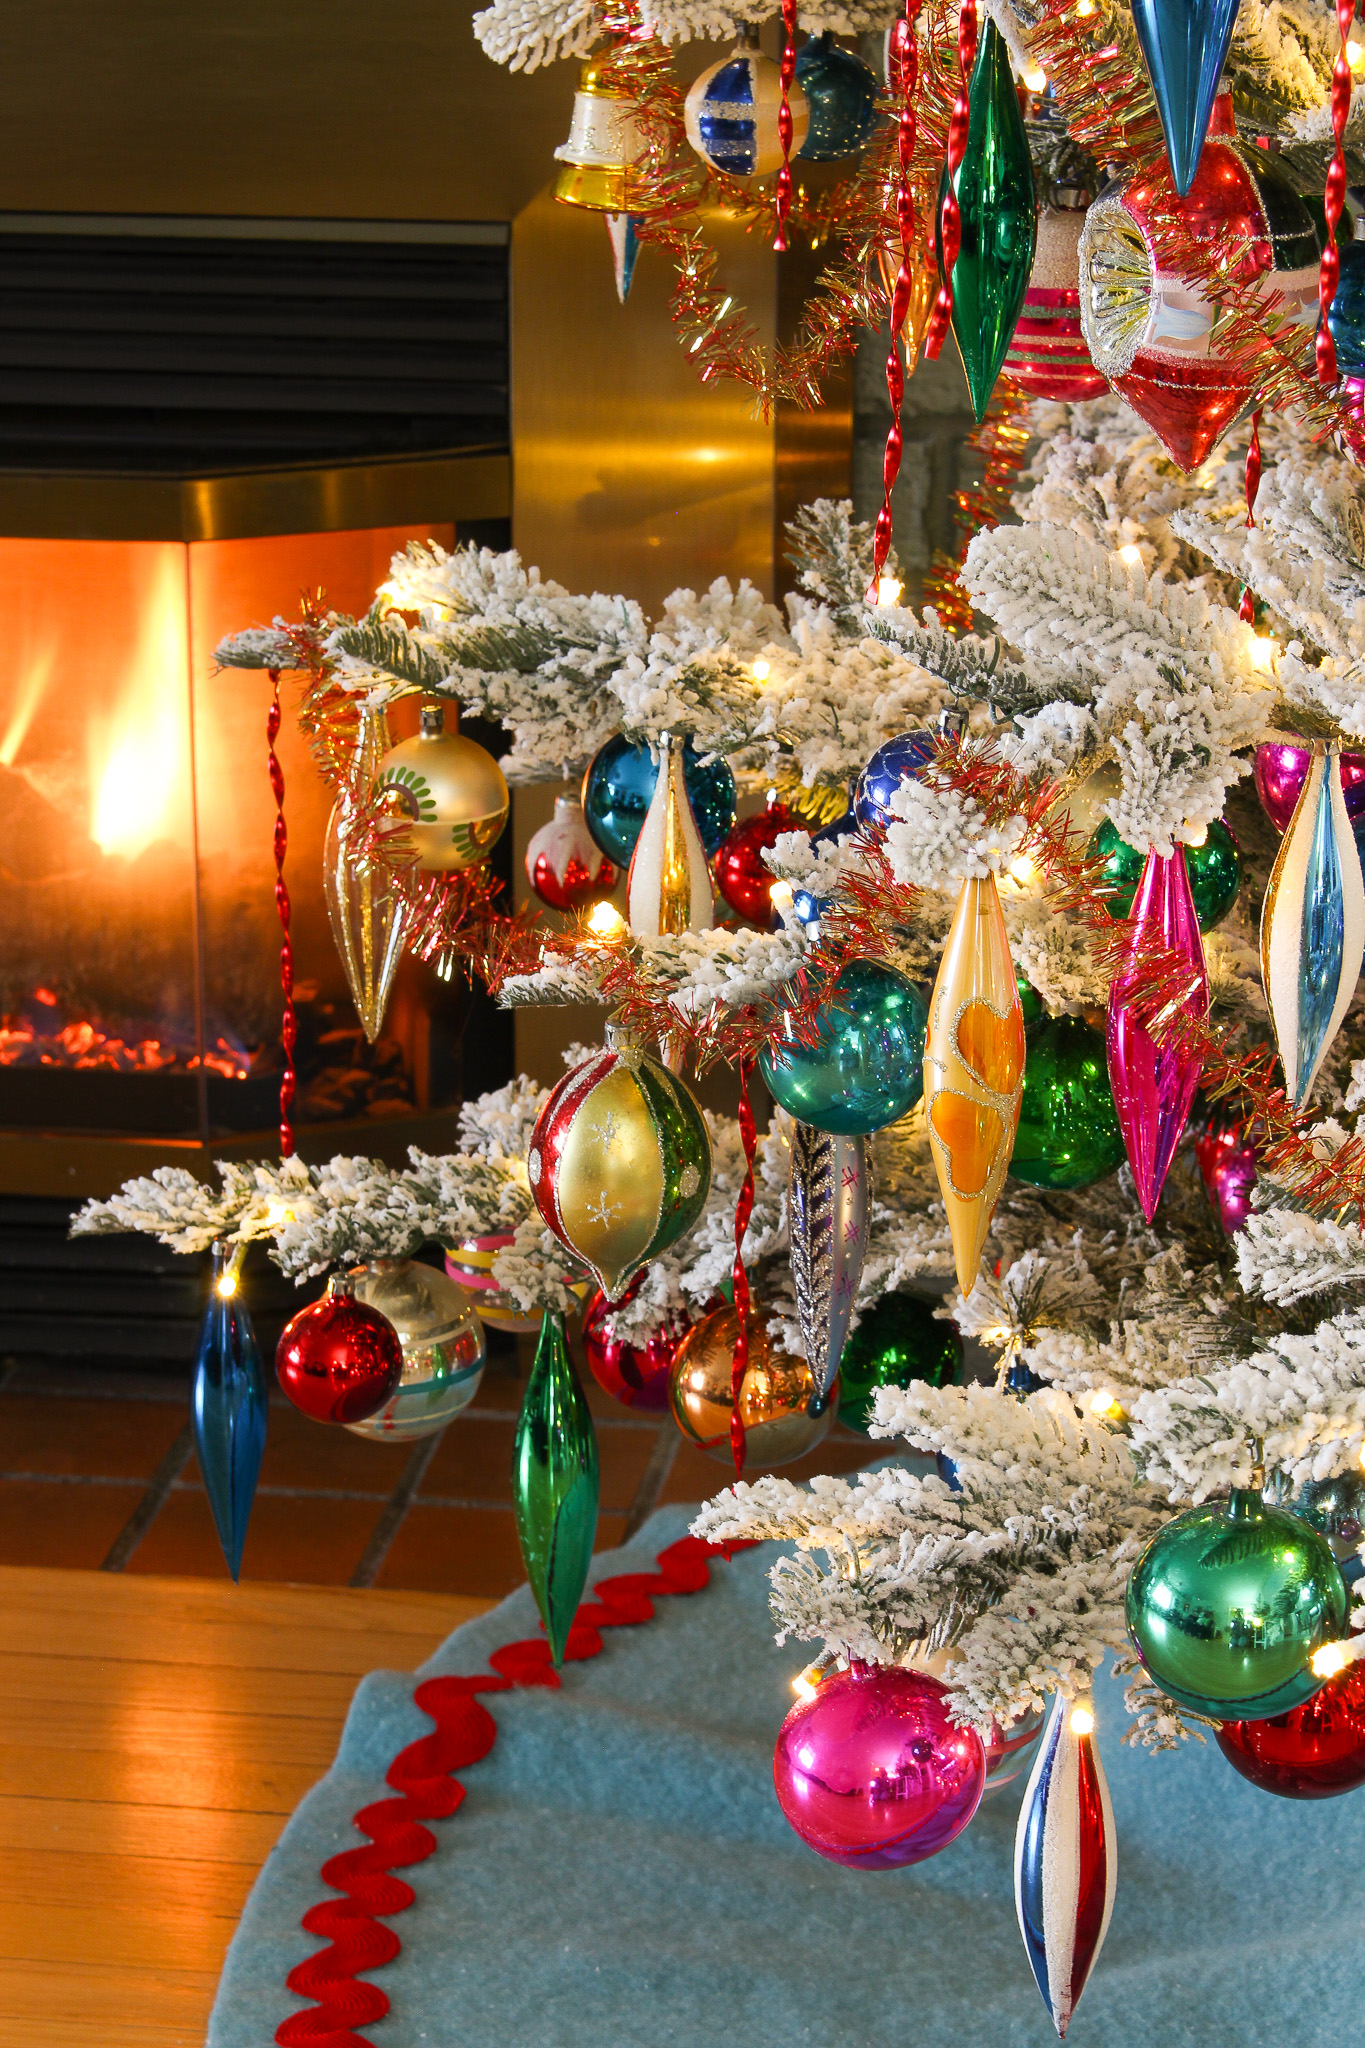
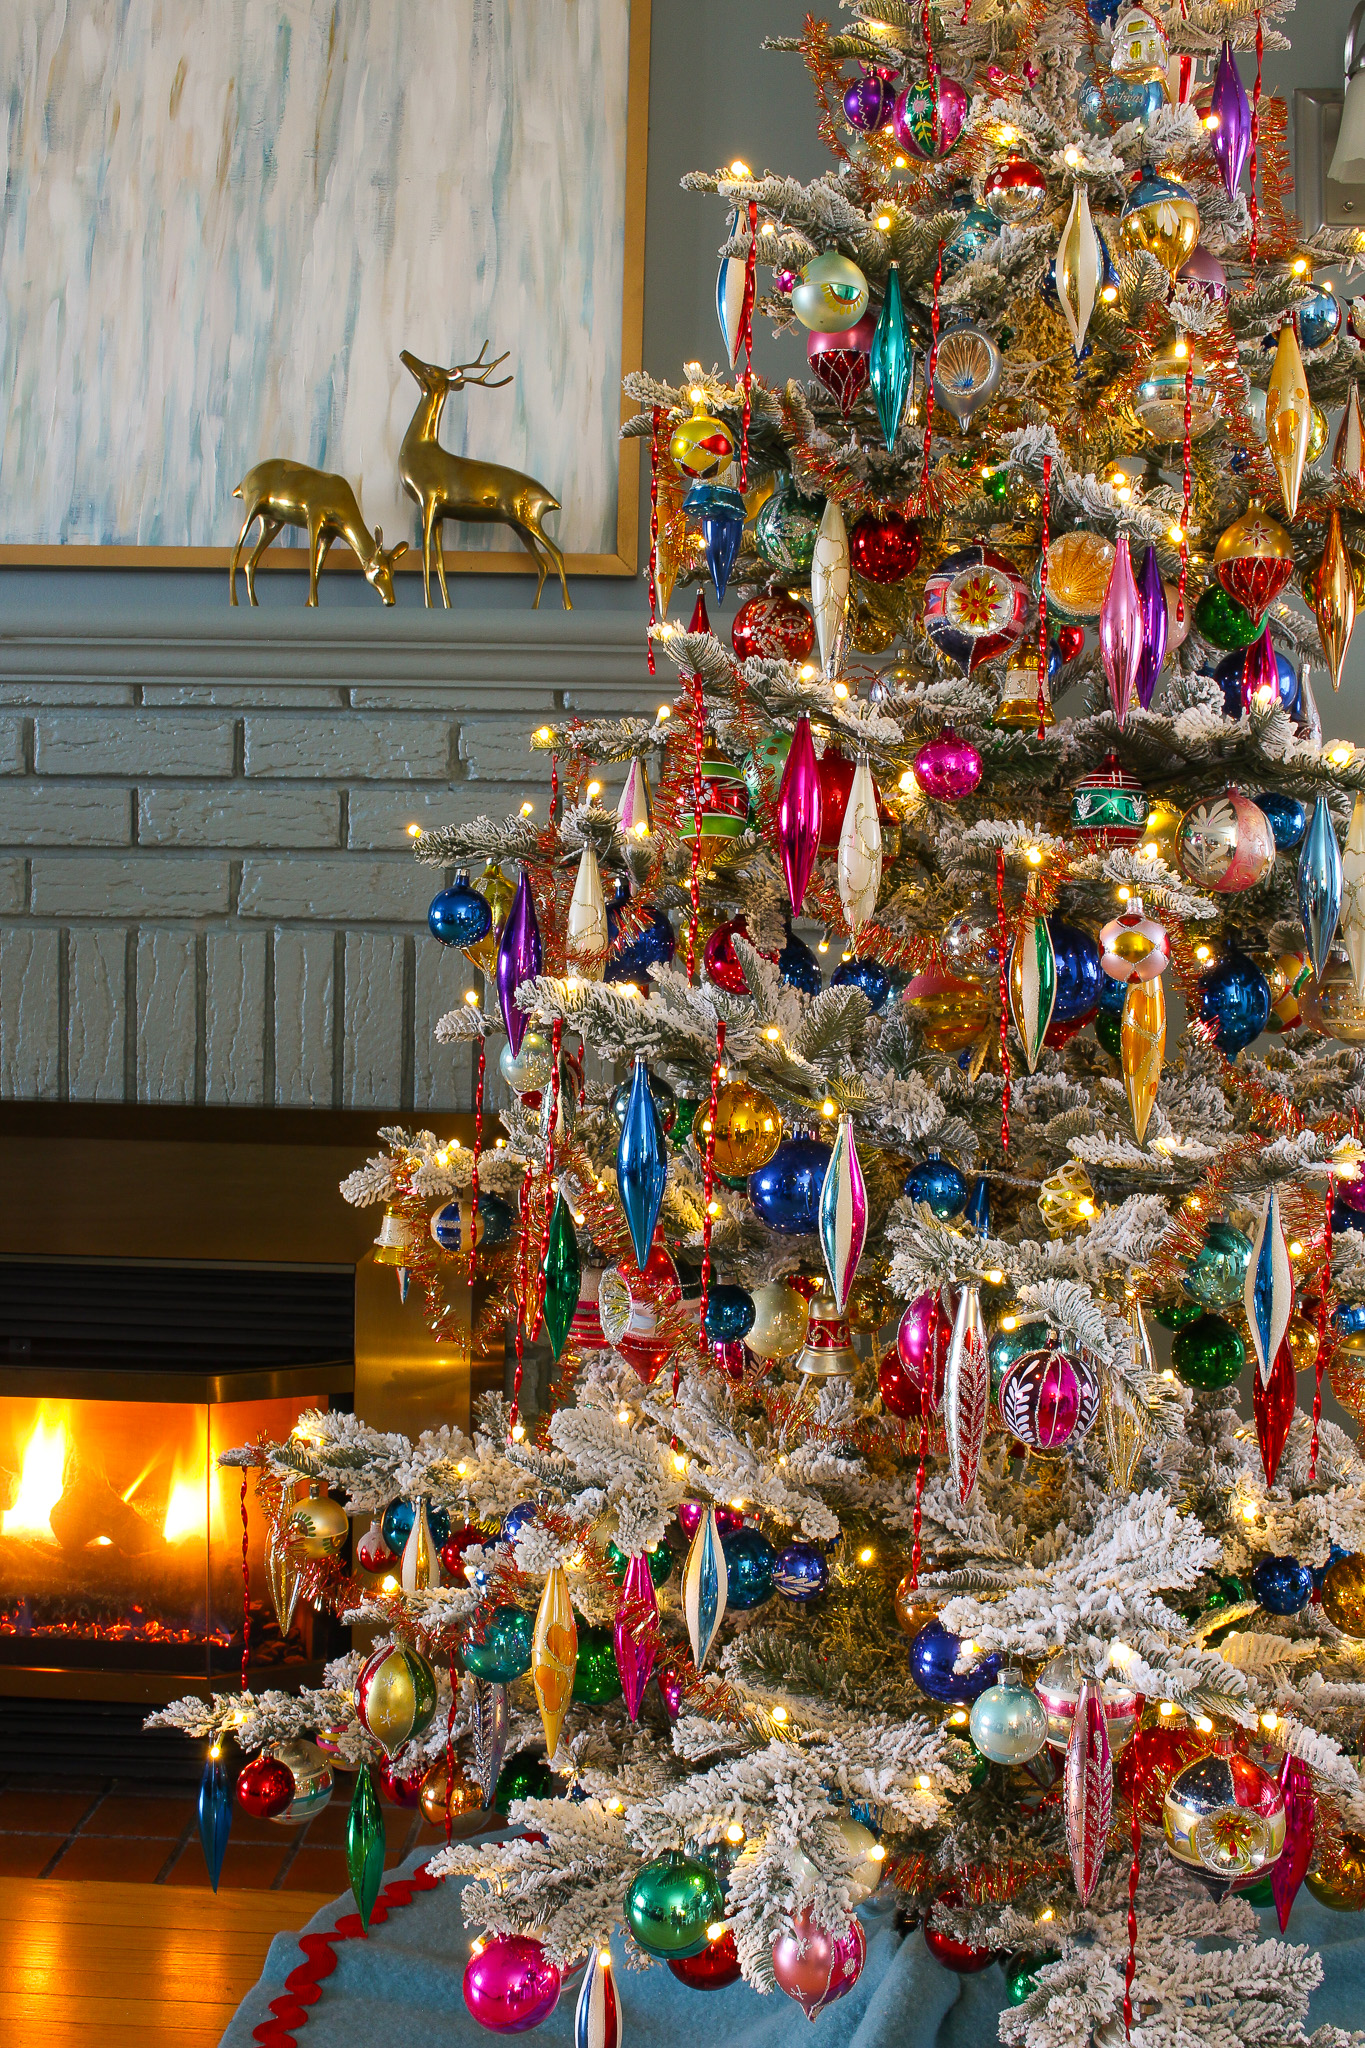
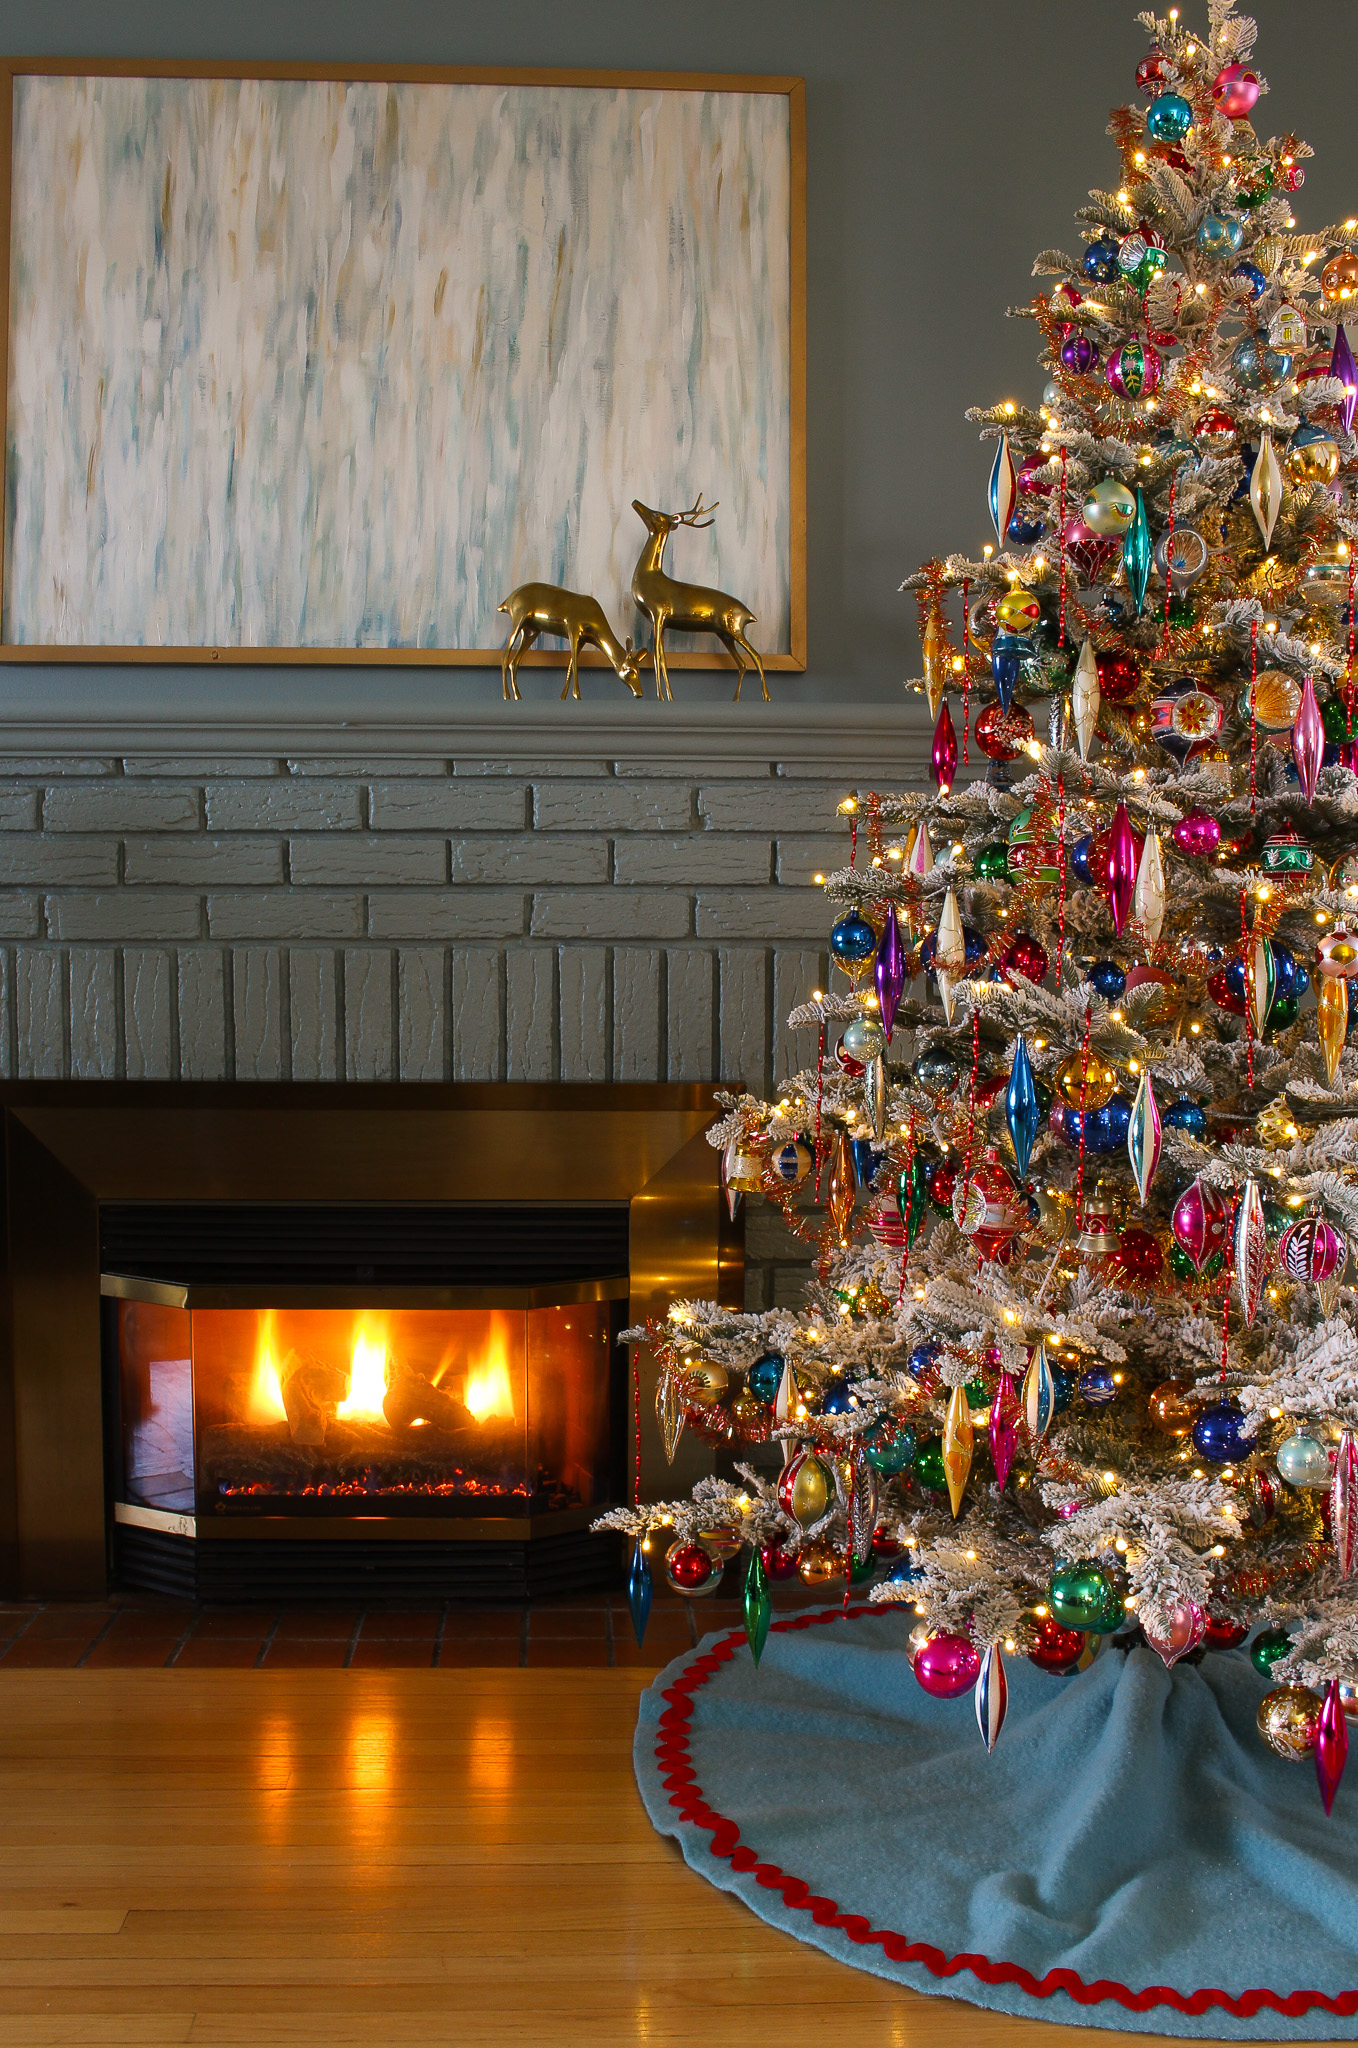
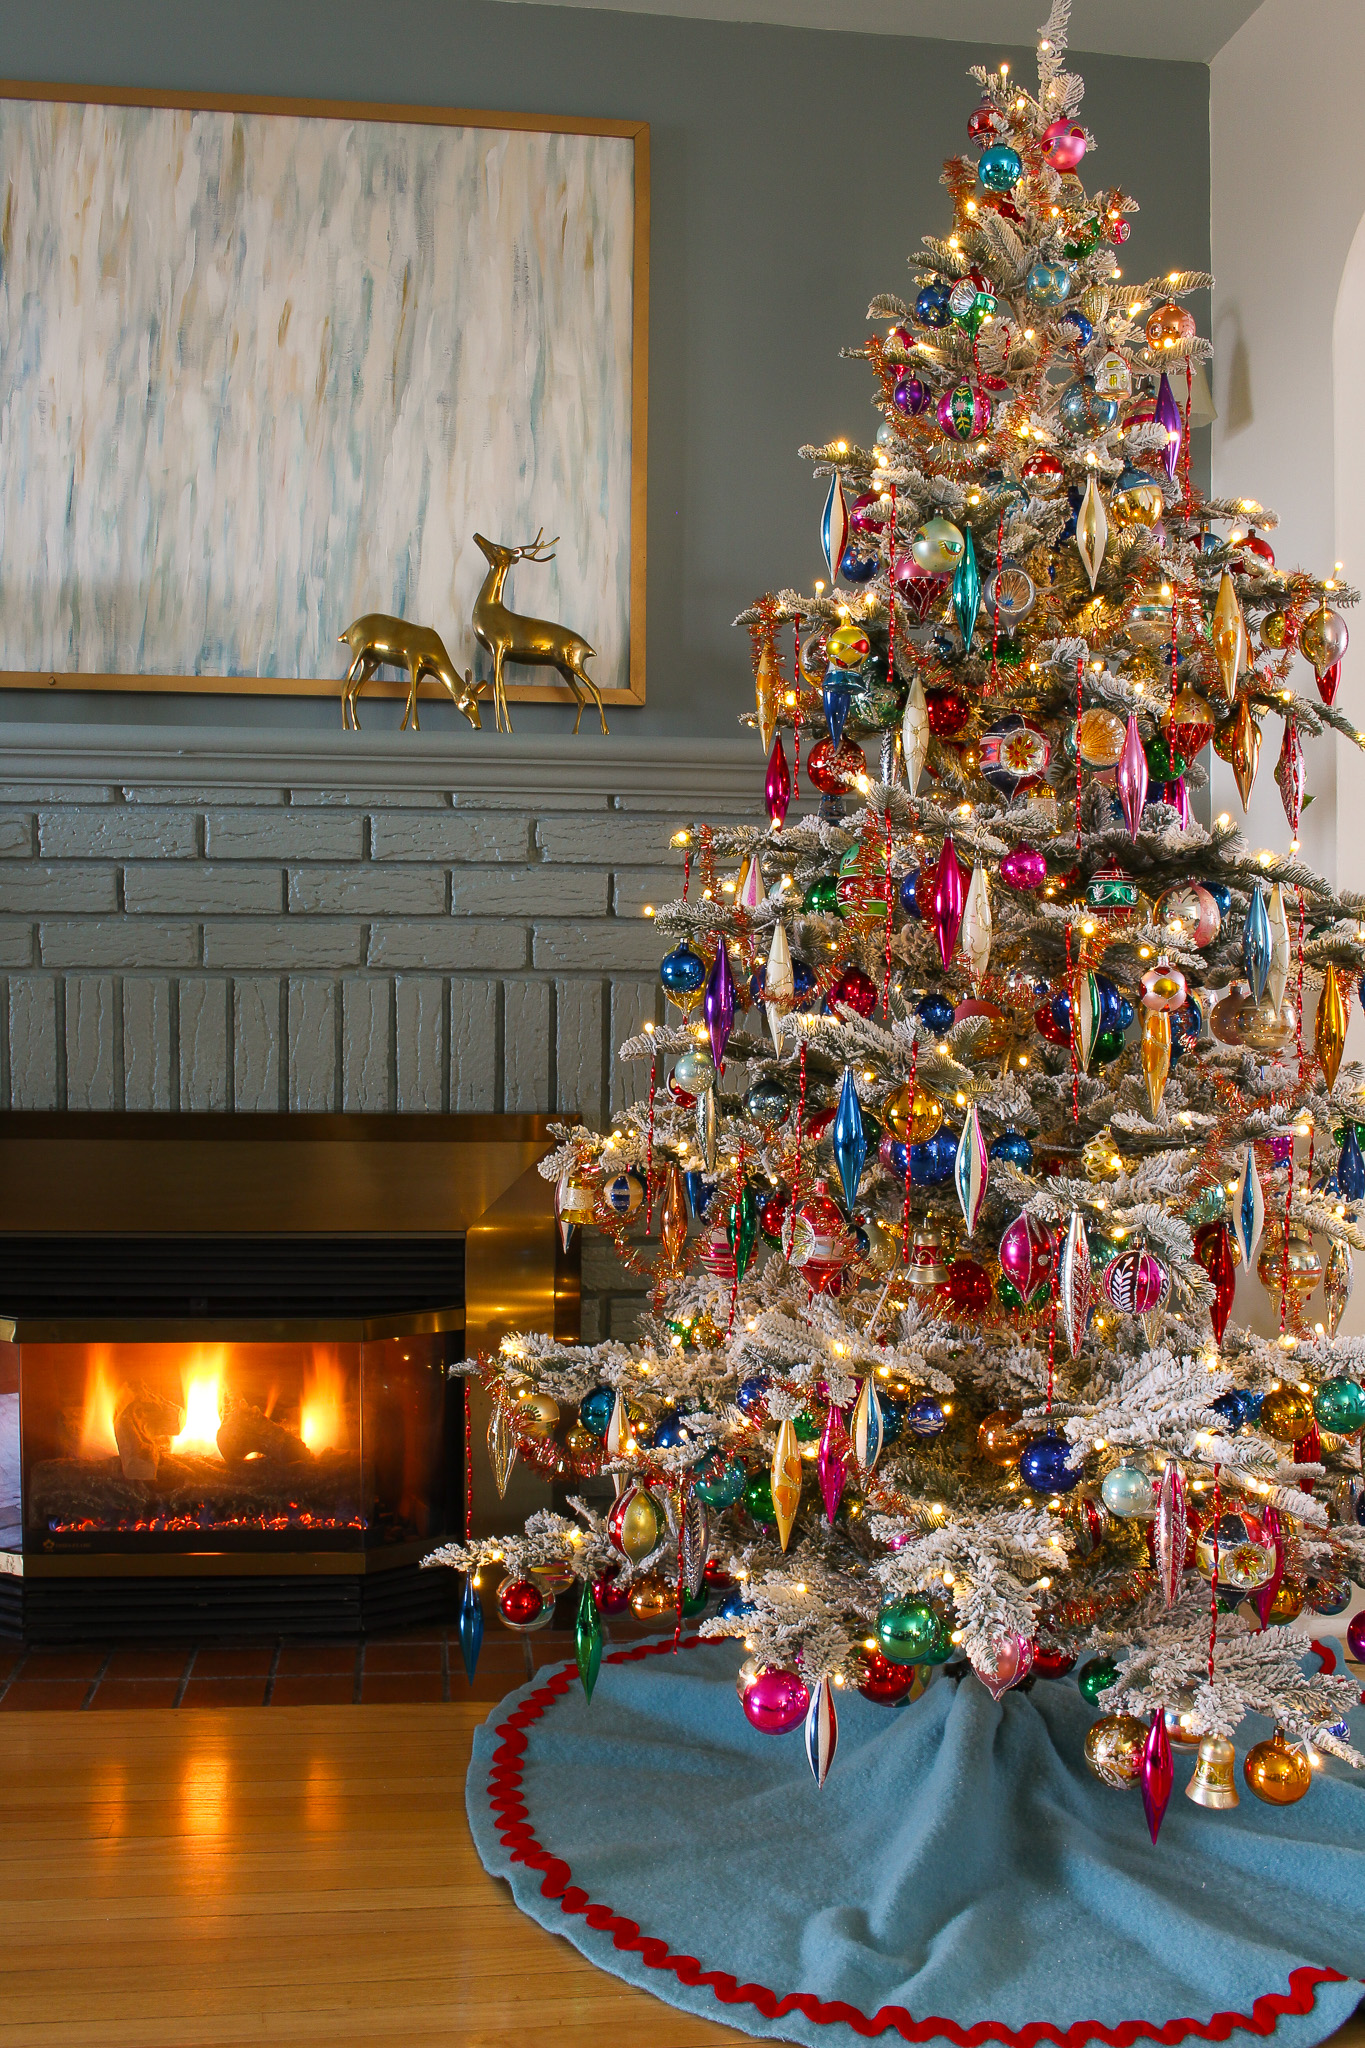
Inspired by my Mom’s Vintage Christmas tree theme, I’m excited to show you these vintage Christmas DIY metal twisted icicle ornaments (with video tutorial as well).
Do you remember my DIY metal tinsel tutorial, inspired by Victorian tinsel?

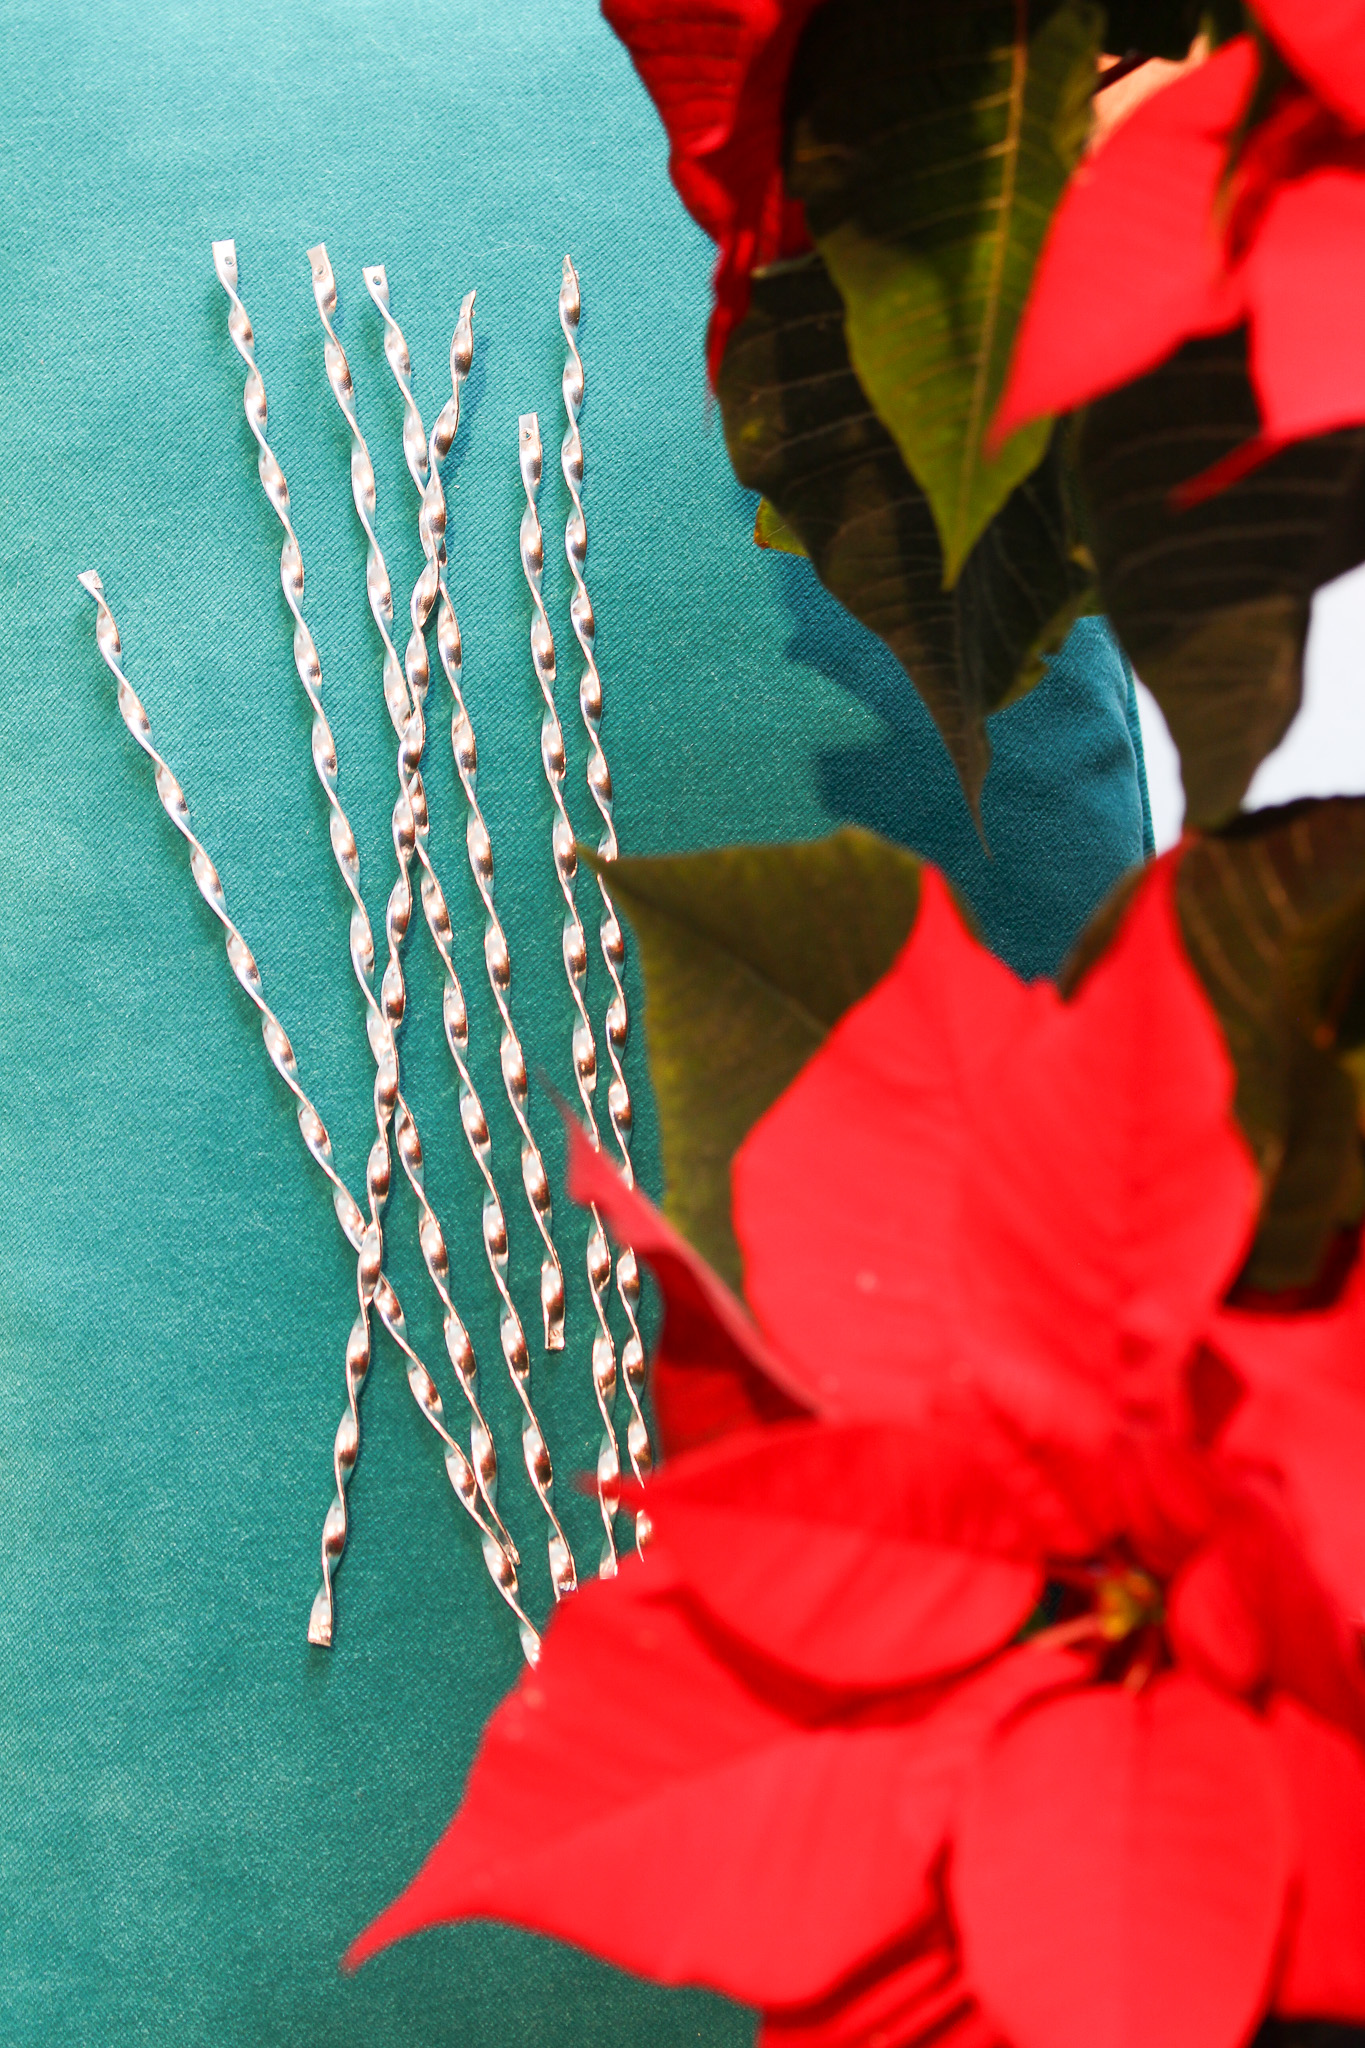
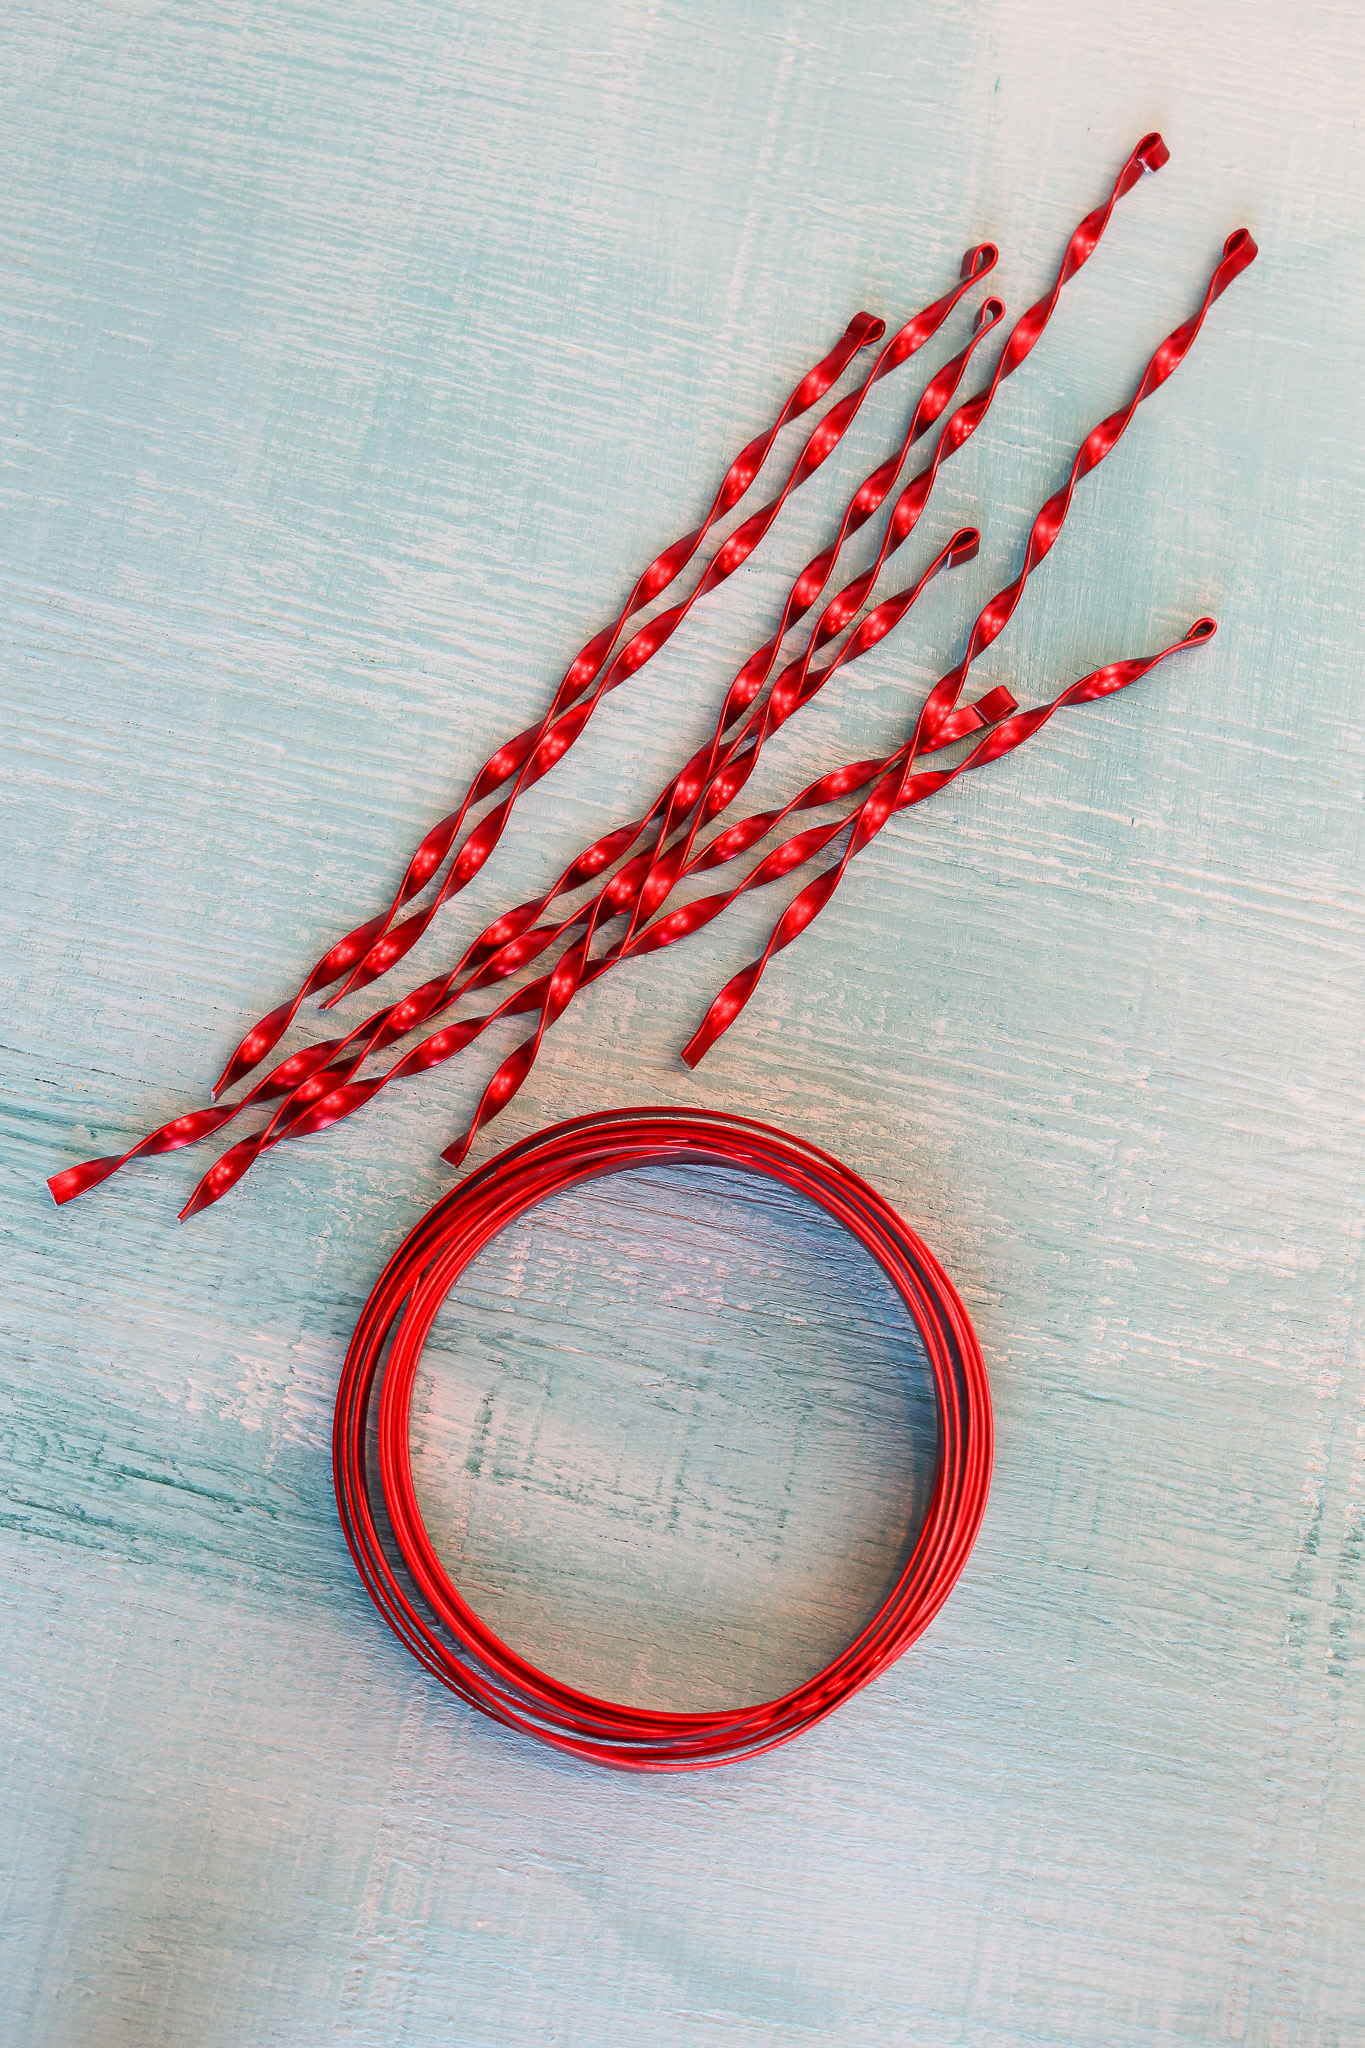
For that project, I tried to copy the handmade twisted tin tinsel produced at a Historical site (seen in the photo above), so I used a similarly colored silver aluminum flat wire – and a drill! – to make my handmade metal tinsel:
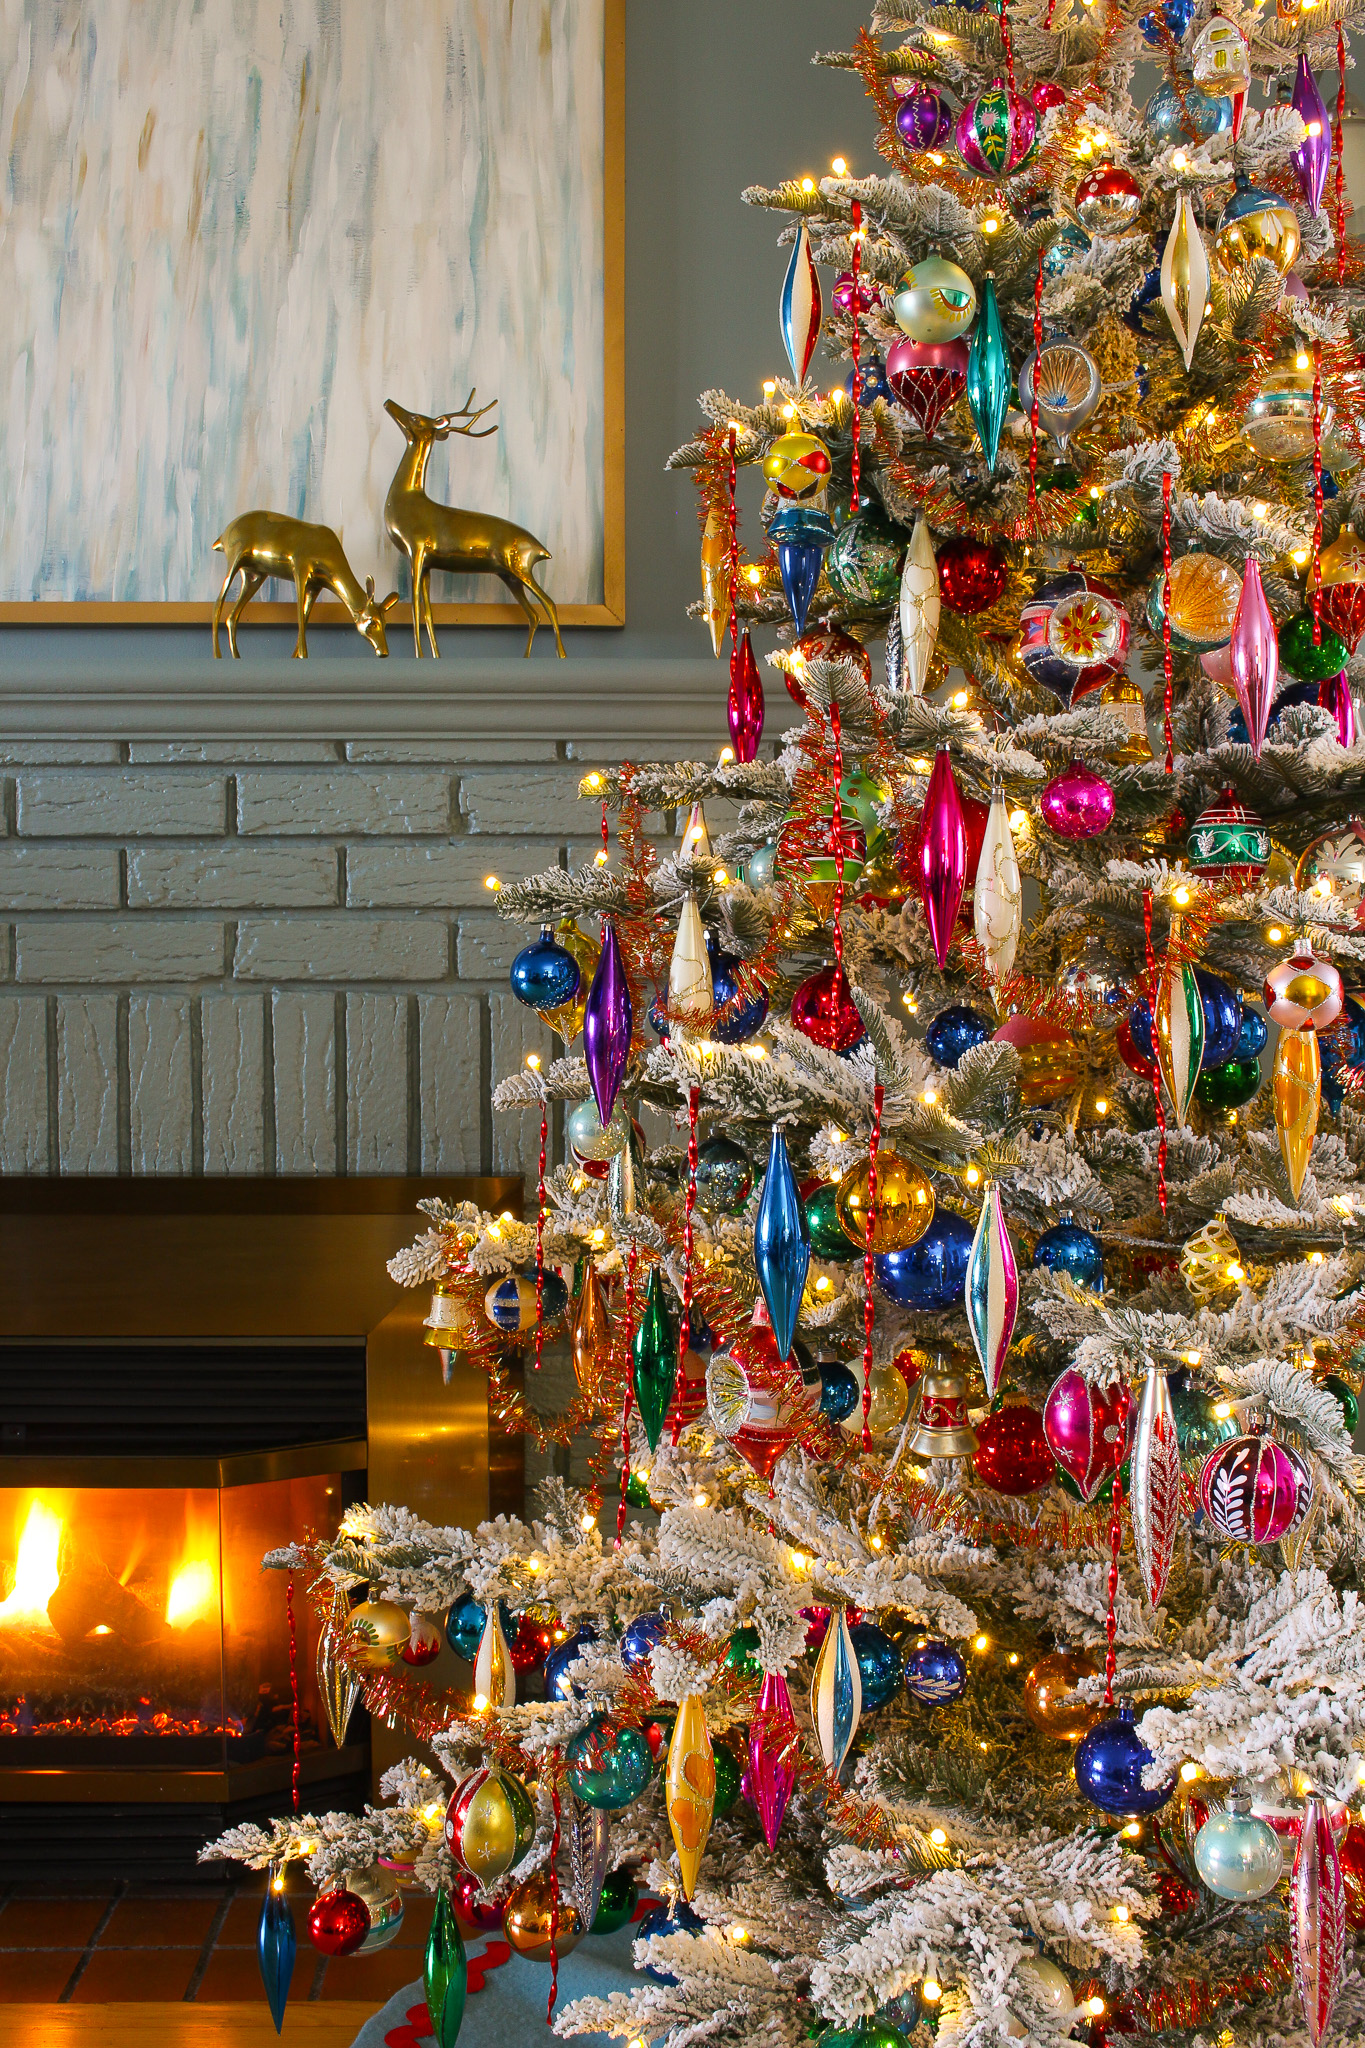
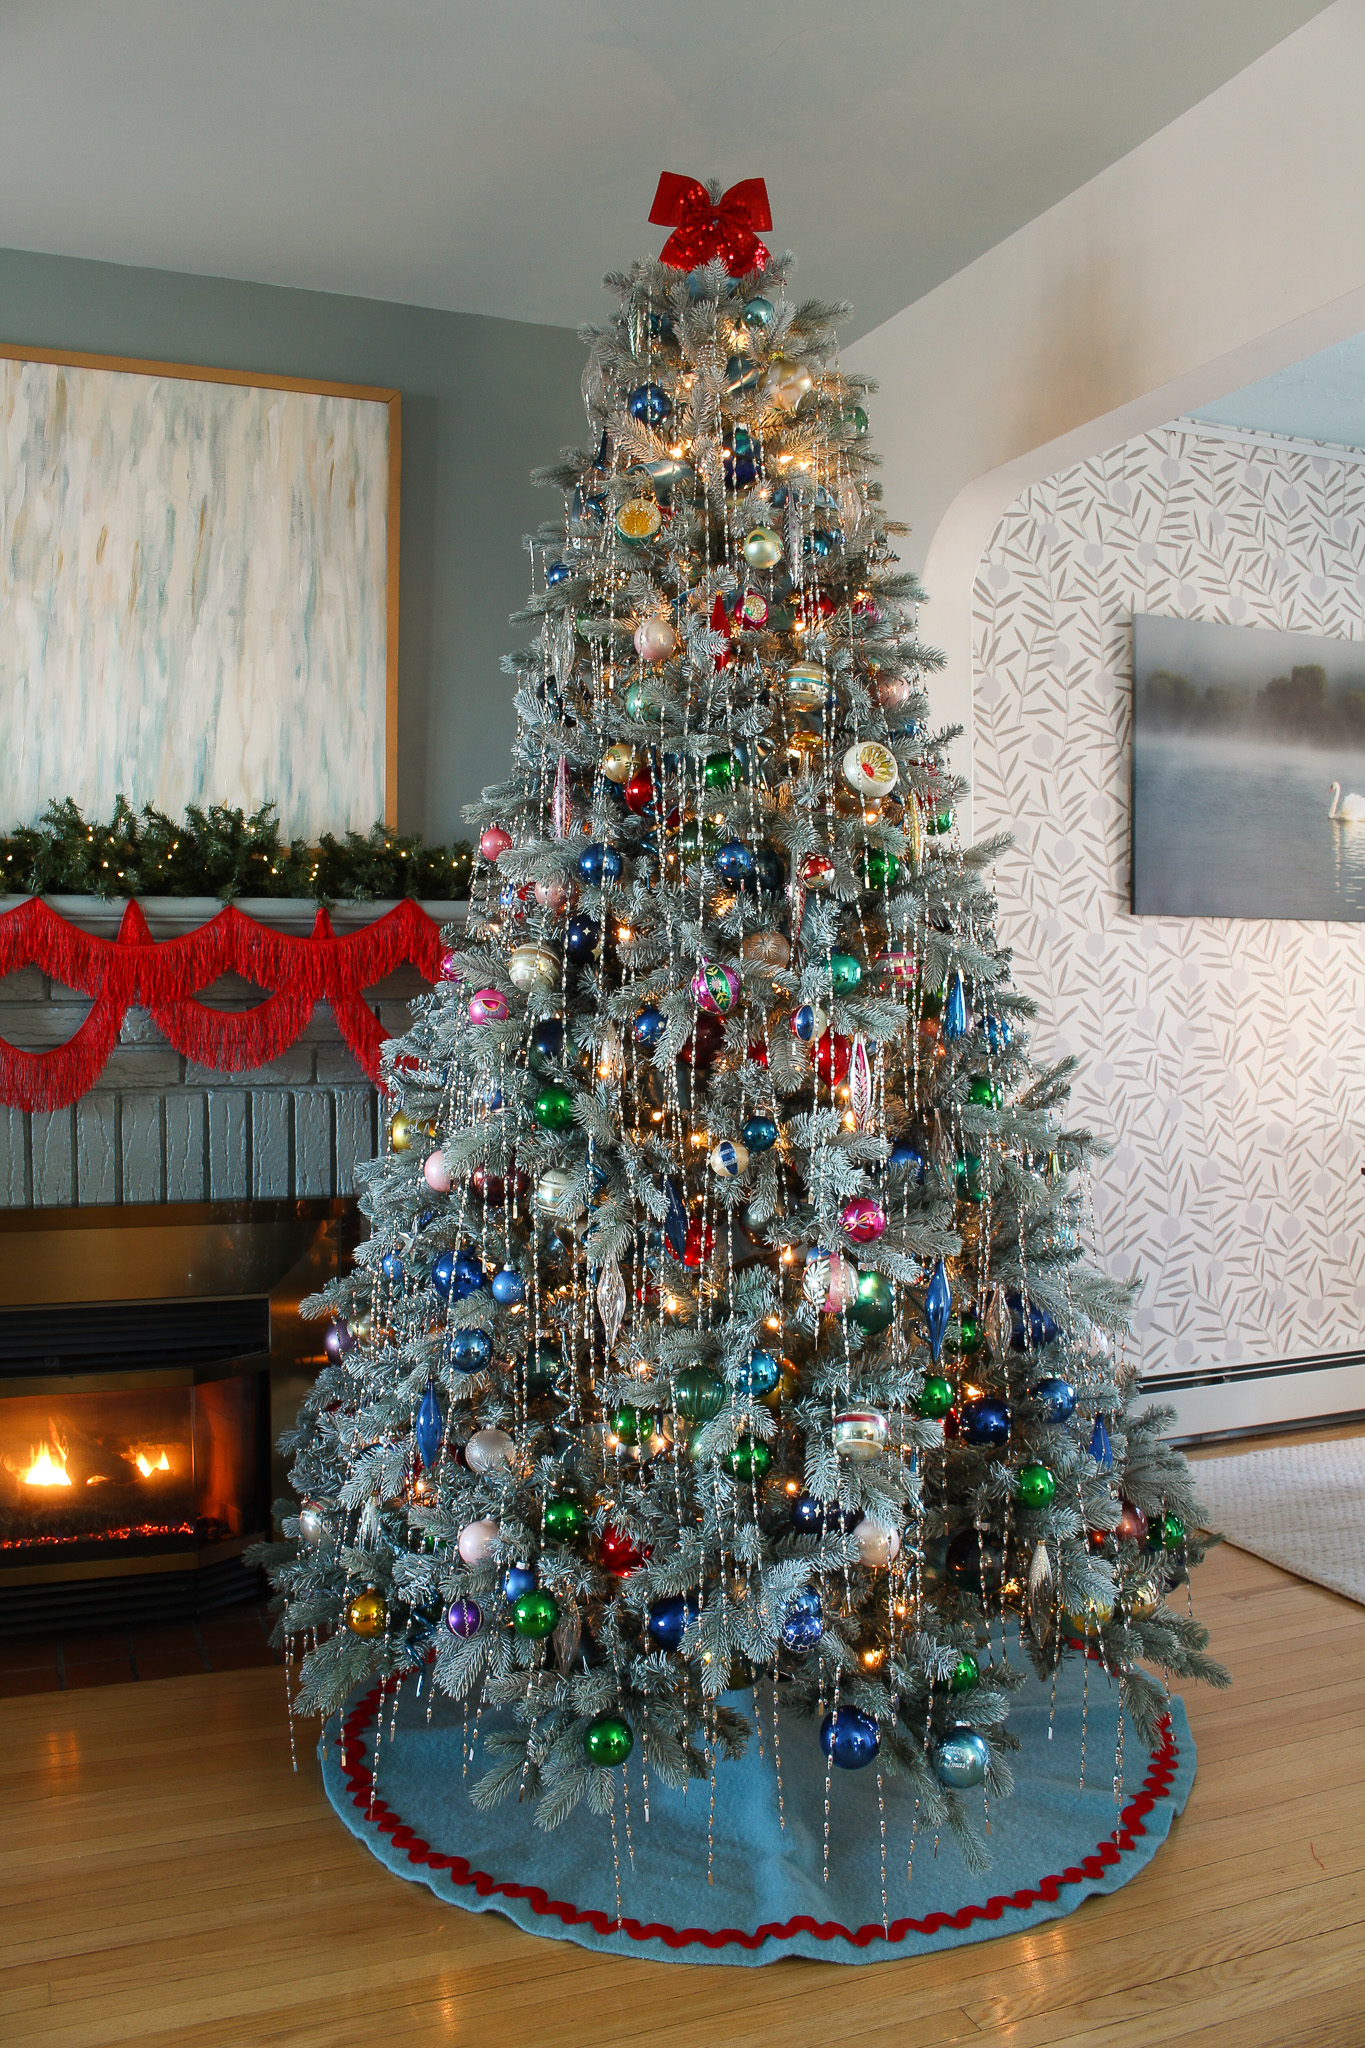
The next year, I lent my Mom all of my metal tinsel for the start of her vintage Christmas ornament collection tree, to help fill it out, and all of a sudden the tinsel looked less Victorian and more mid-century. It looked so good on her tree!
When I went looking for wire online to link in the supply list, I realized that flat wire comes in SO many retro colors. Since then, I’ve been wanting to recreate that tutorial but with more of a retro vibe to go with my Mom’s growing vintage ornament collection. I’d love to one day find some actual vintage twisted metal icicles, but until then – I made some. I also experimented with hand twisting the metal wire, so this tutorial is alternatively titled: DIY Metal Tinsel Tutorial, Second Edition – No Power Tools Needed!
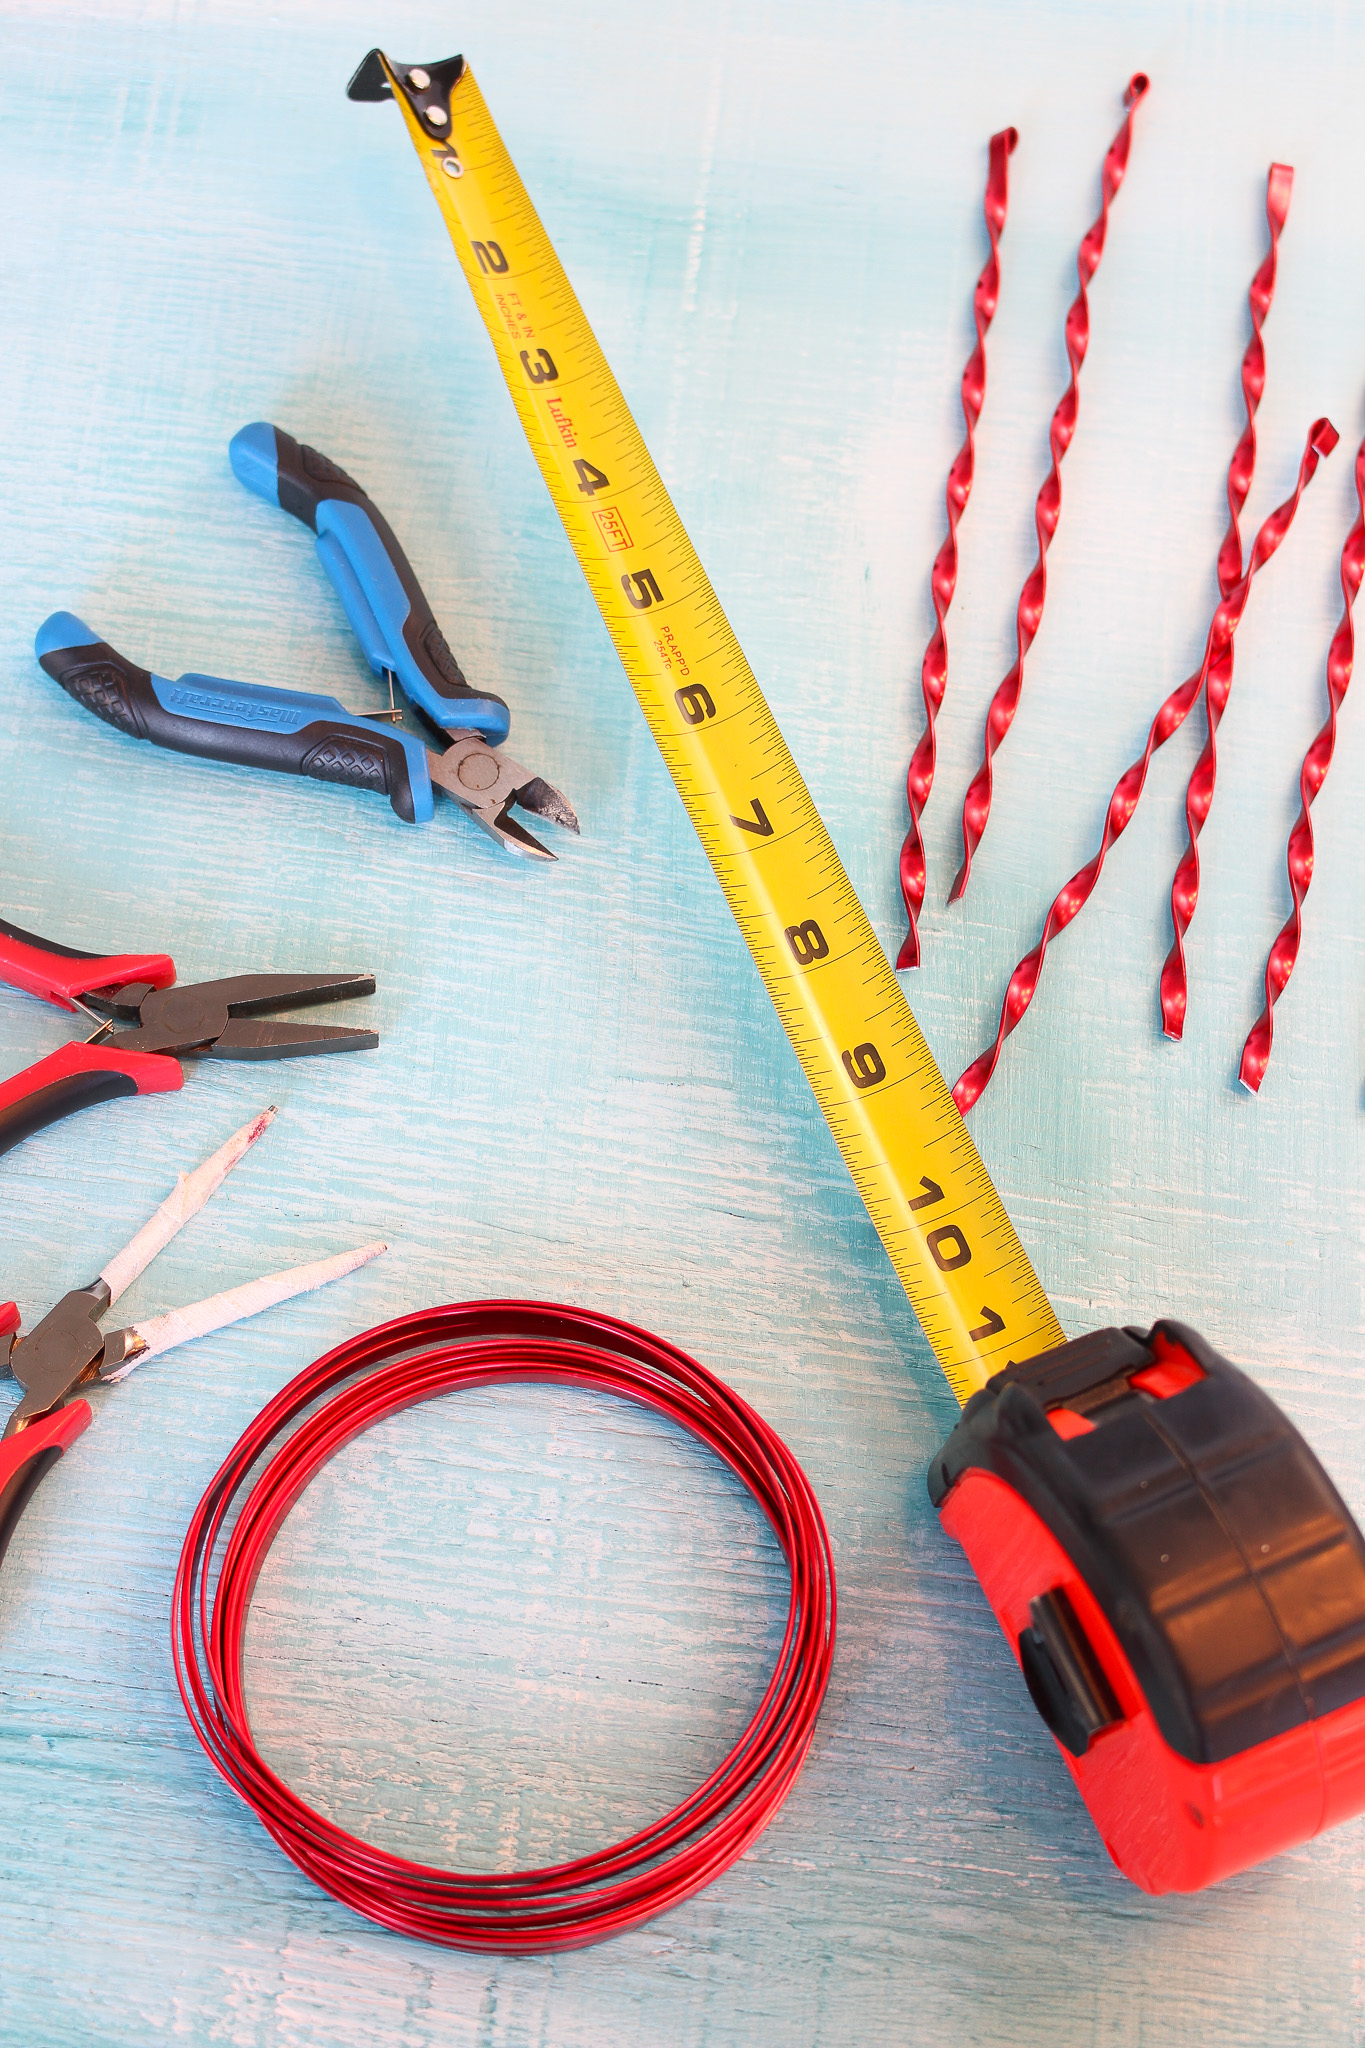
DIY Metal Twisted Icicle Ornament Supplies:
- 2 Pairs of Flat/Smooth Pliers: Flat Nose and/or Needle Nose
- A second set of hands
- Measuring Tape (now I want that pink one!)
- Wire Cutters / Side Cutters
- Metal File or Nail File
- 5 mm 18 Gauge Flat Aluminum Wire
Find all of the twisted metal icicle supplies in one spot HERE. Along with a few buy-it-yourself options (twisted metal icicles Amazon edition, lol) if DIY isn’t your thing. But I promise you this tinsel tree decor is so, so easy to make… let me show you how!
Smooth Plier Hack: If you don’t have smooth pliers, you can wrap it with hockey tape/etc. I found that with my original DIY metal tinsel, I used vise grips to get a good grip while twisting the wire with the drill and they left a little notch. With my grippier needle nose pliers, the paint on this wire got a little scuffed. With smooth pliers (or this hack), the wire remained unmarred. Less of a concern if you’re using unpainted wire, but with this wire you want to be careful.
What Kind of Wire to Use for Twisted Metal Icicles and Metal Tinsel?
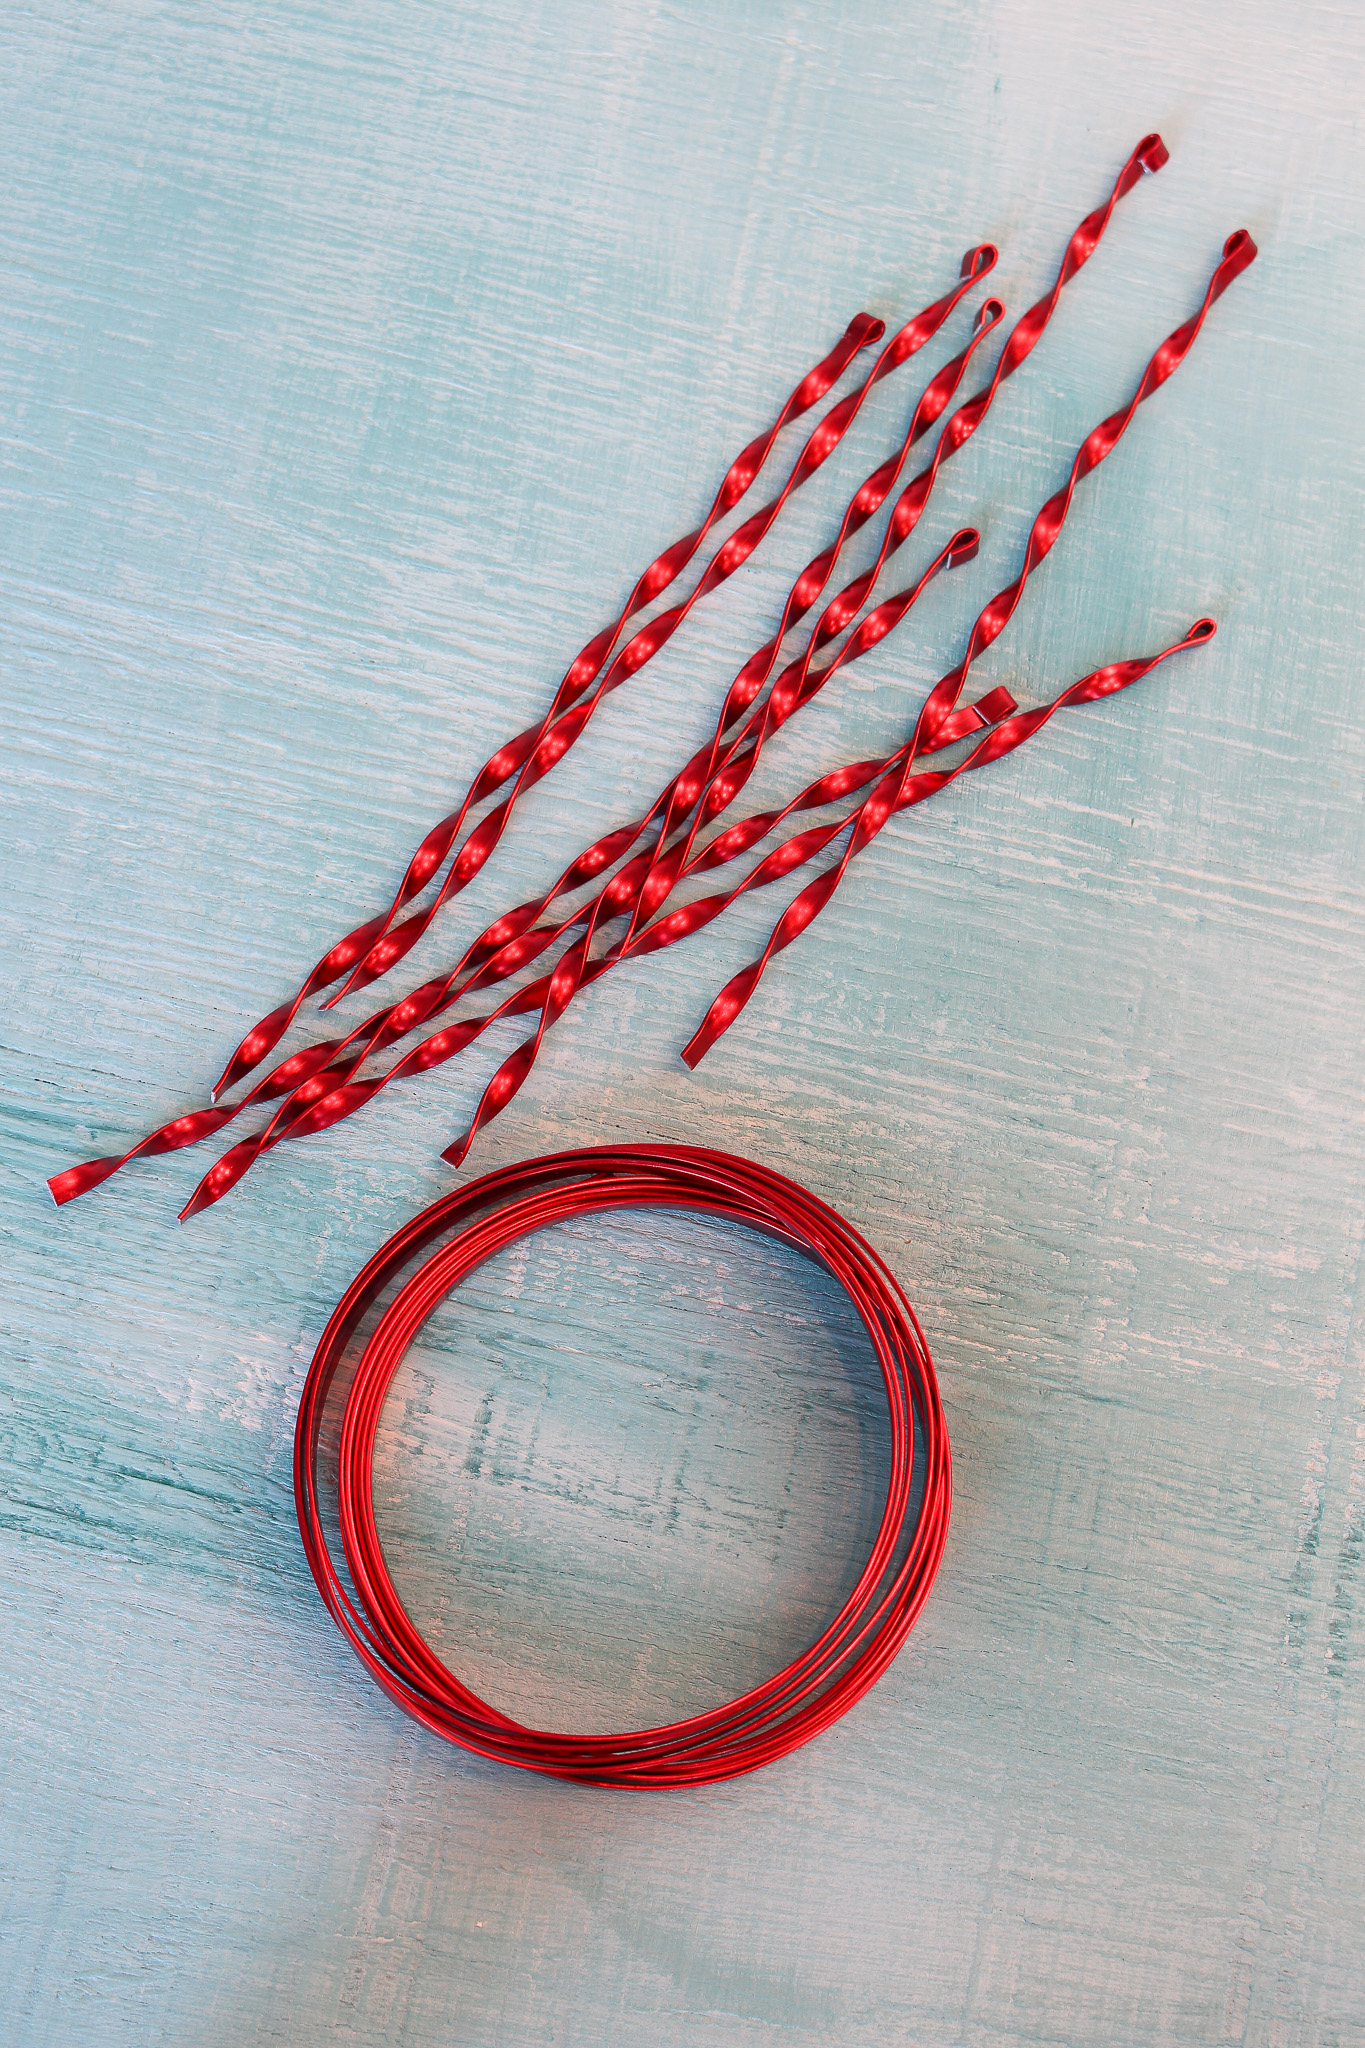
In my original DIY metal tinsel tutorial, I used a 4mm flat aluminum wire – which proved really difficult to find online! For this DIY metal icicle project, I bought a 3mm flat wire and a 5mm flat wire and I ended up liking the 5mm flat wire more. So if you’d like this same scale/look, go for a 4mm or 5mm flat wire. But make sure it’s soft! I ordered an 18 gauge stainless steel wire and could not bend it with my hands. This is an 18 gauge aluminum wire, which is why/how it can be shaped by hand like this. This is the exact wire I’m using here (5mm x 10ft). Of course, since my purchase the red has sold out but there are other lovely colors. If you’d really like red, this one looks to be the same.
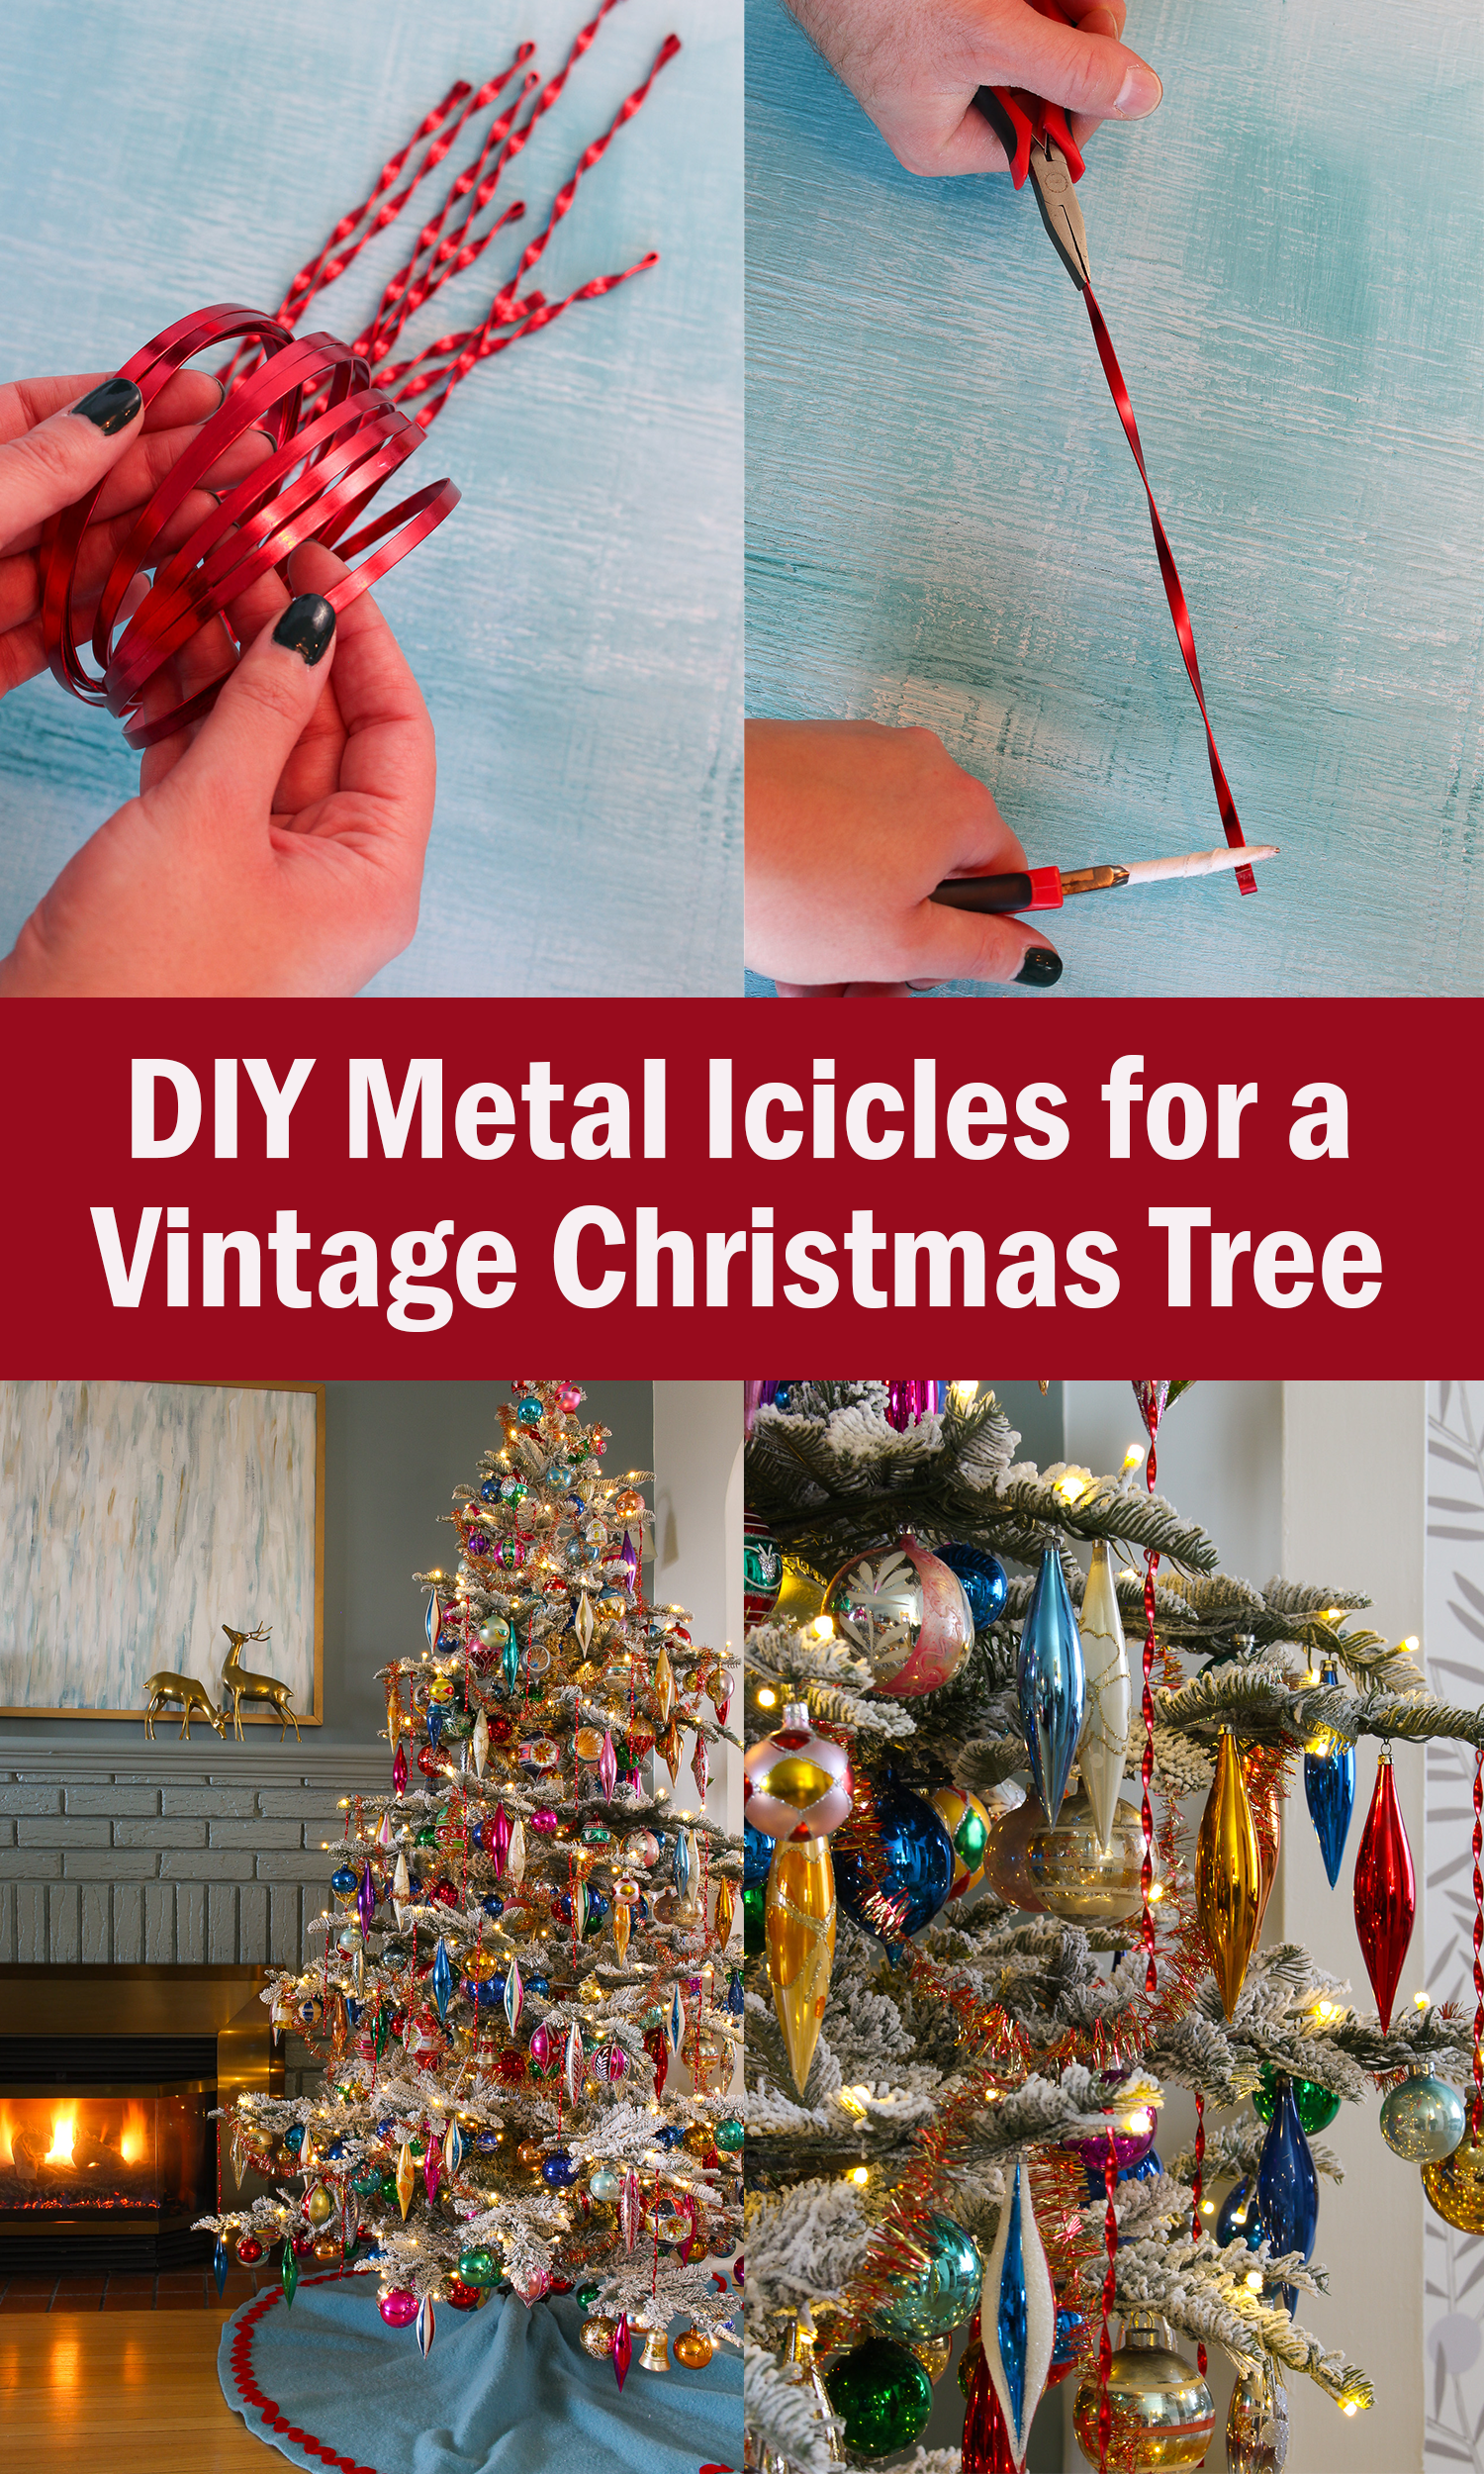
How to Make DIY Metal Twisted Icicle Ornaments:
- Cut your wire to the desired length.
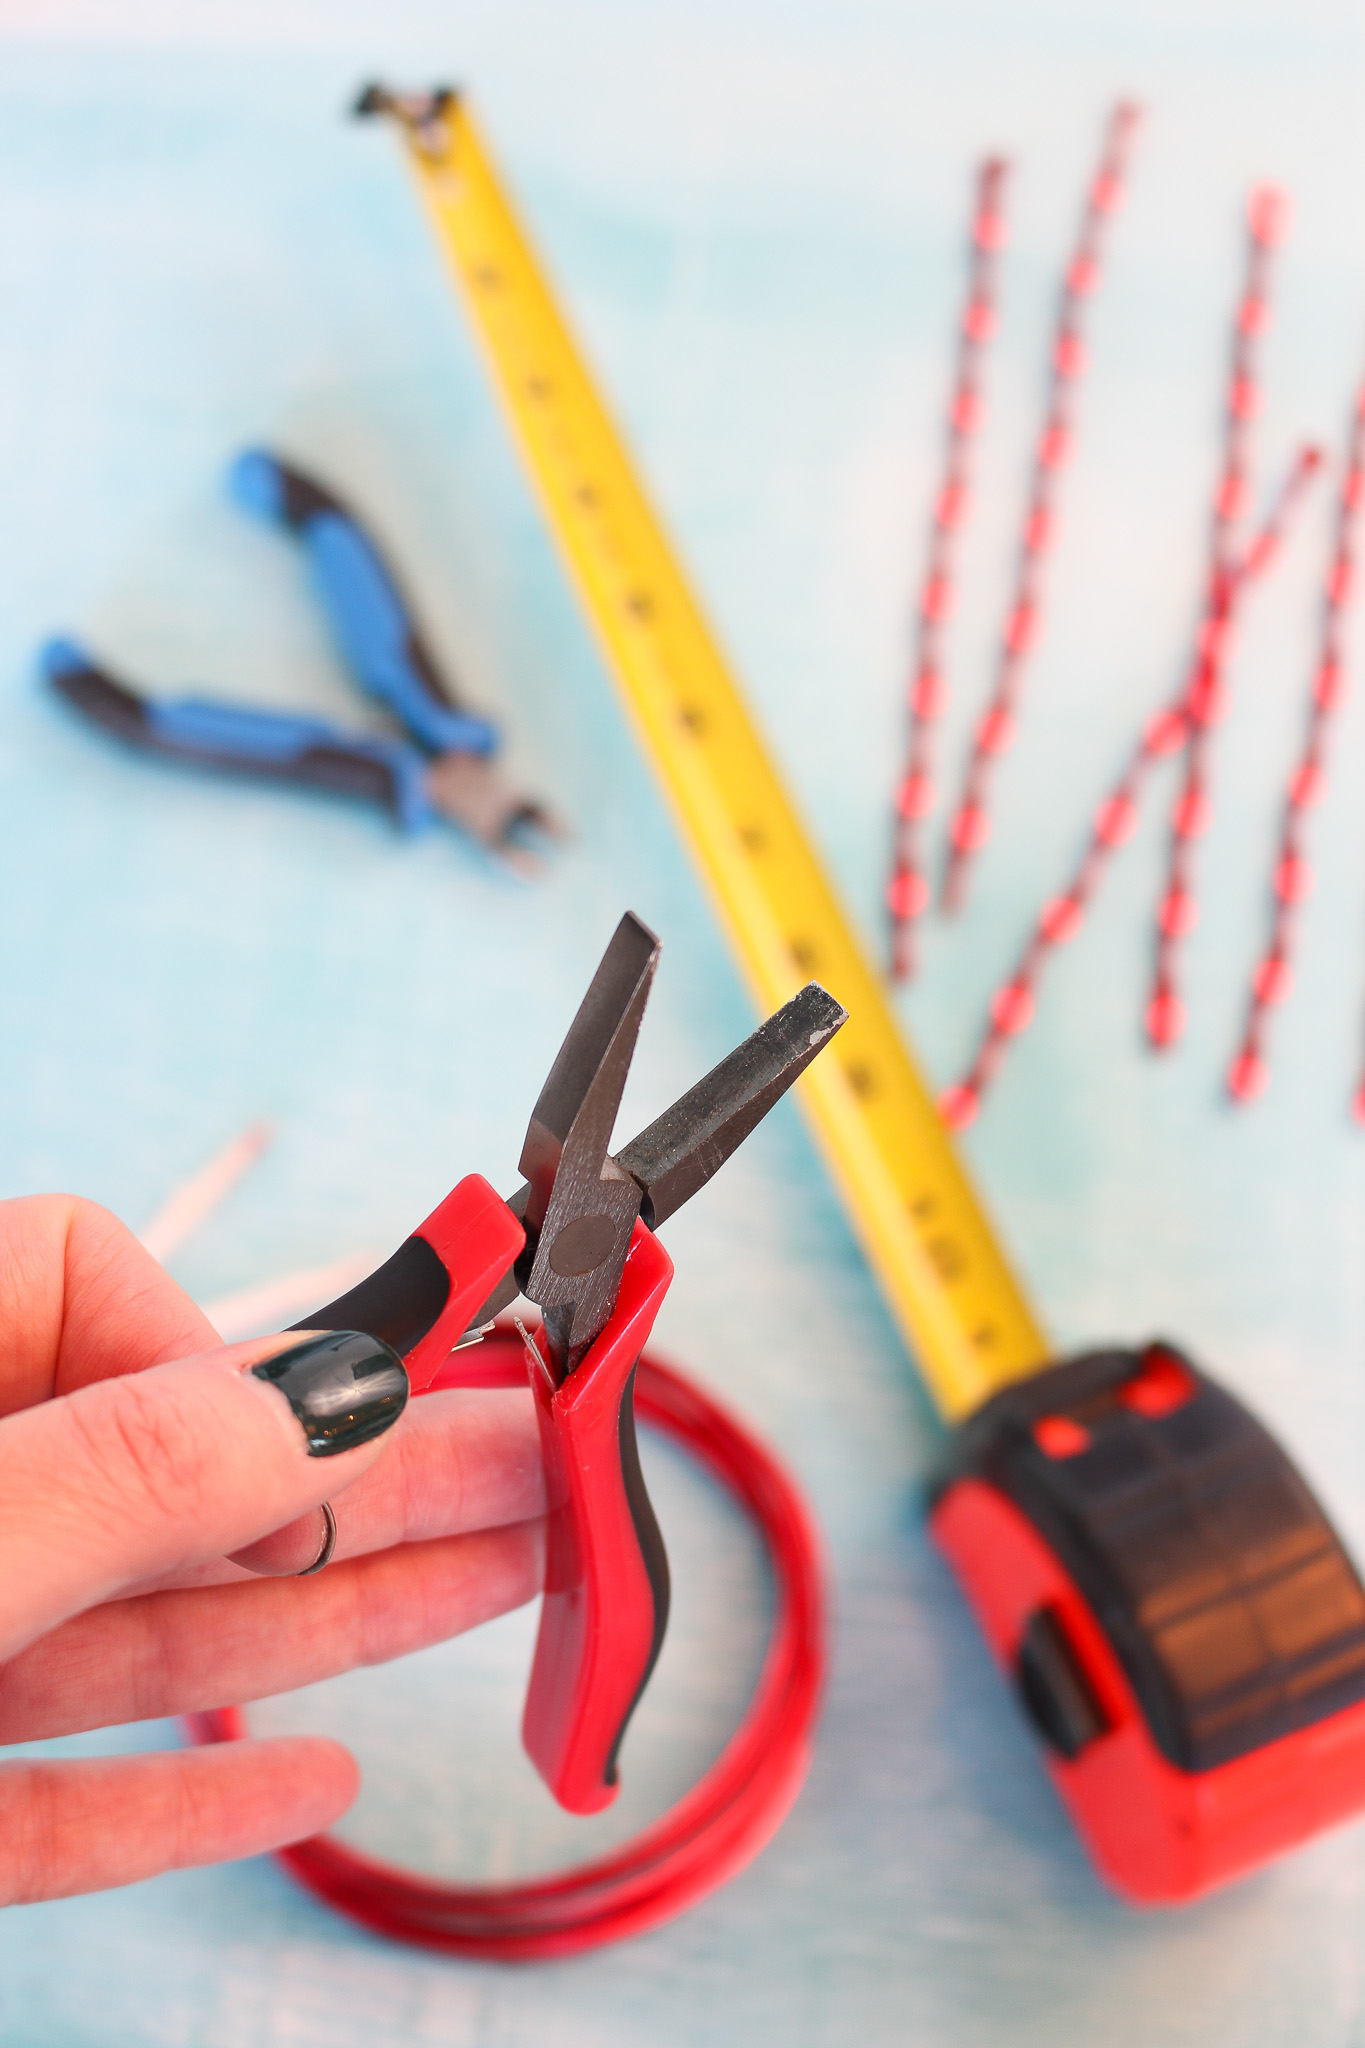
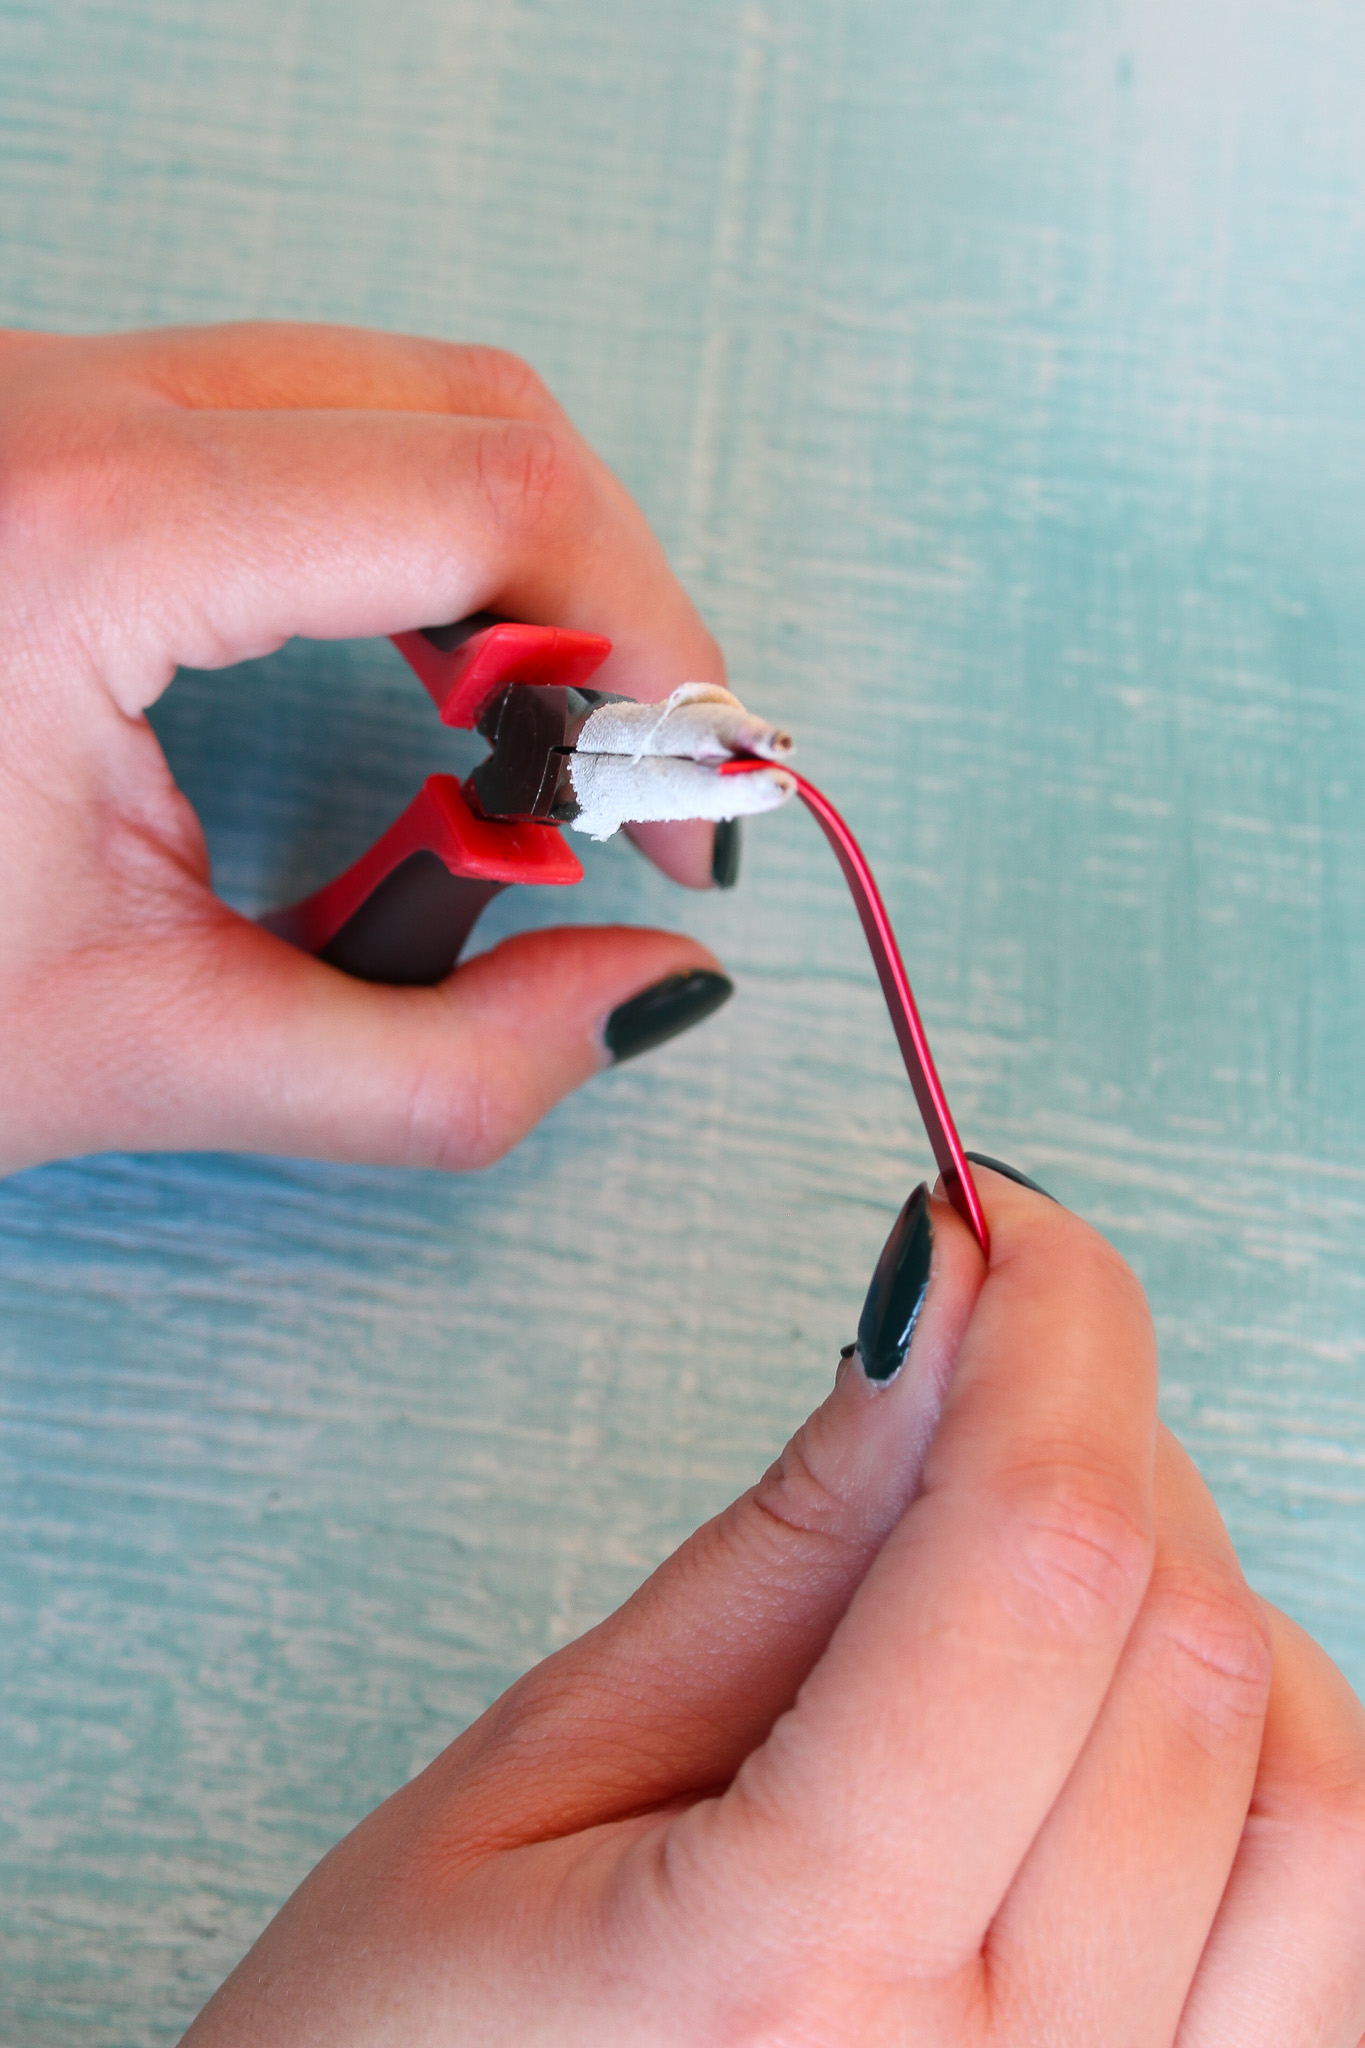
- Then use your pliers to gently curve the metal at one end.
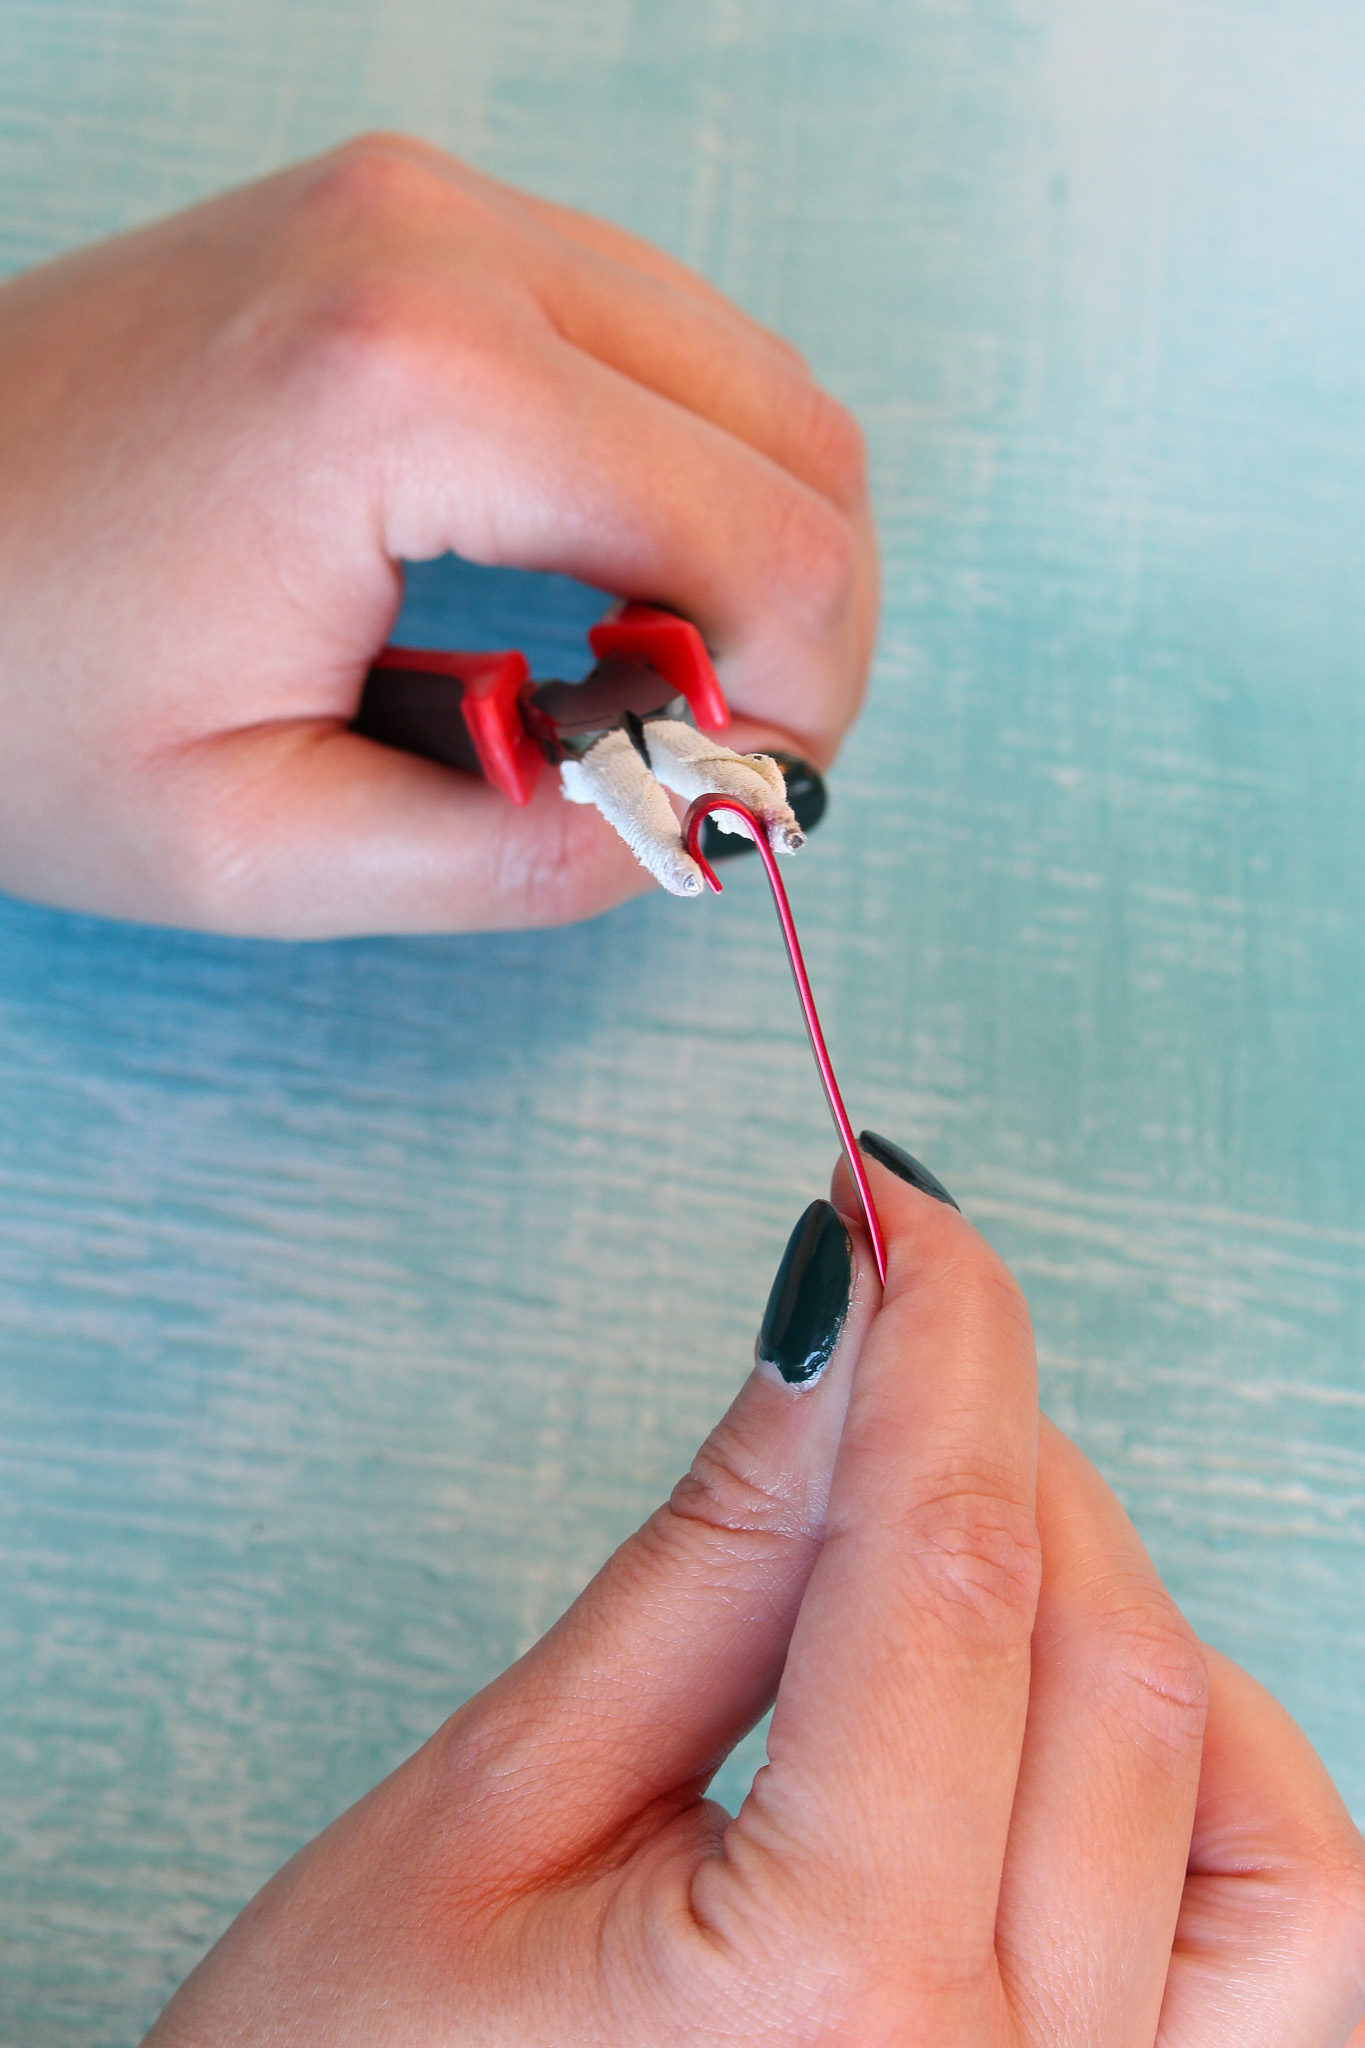
- Gently shape the metal to form a loop and push it closed with the pliers.*
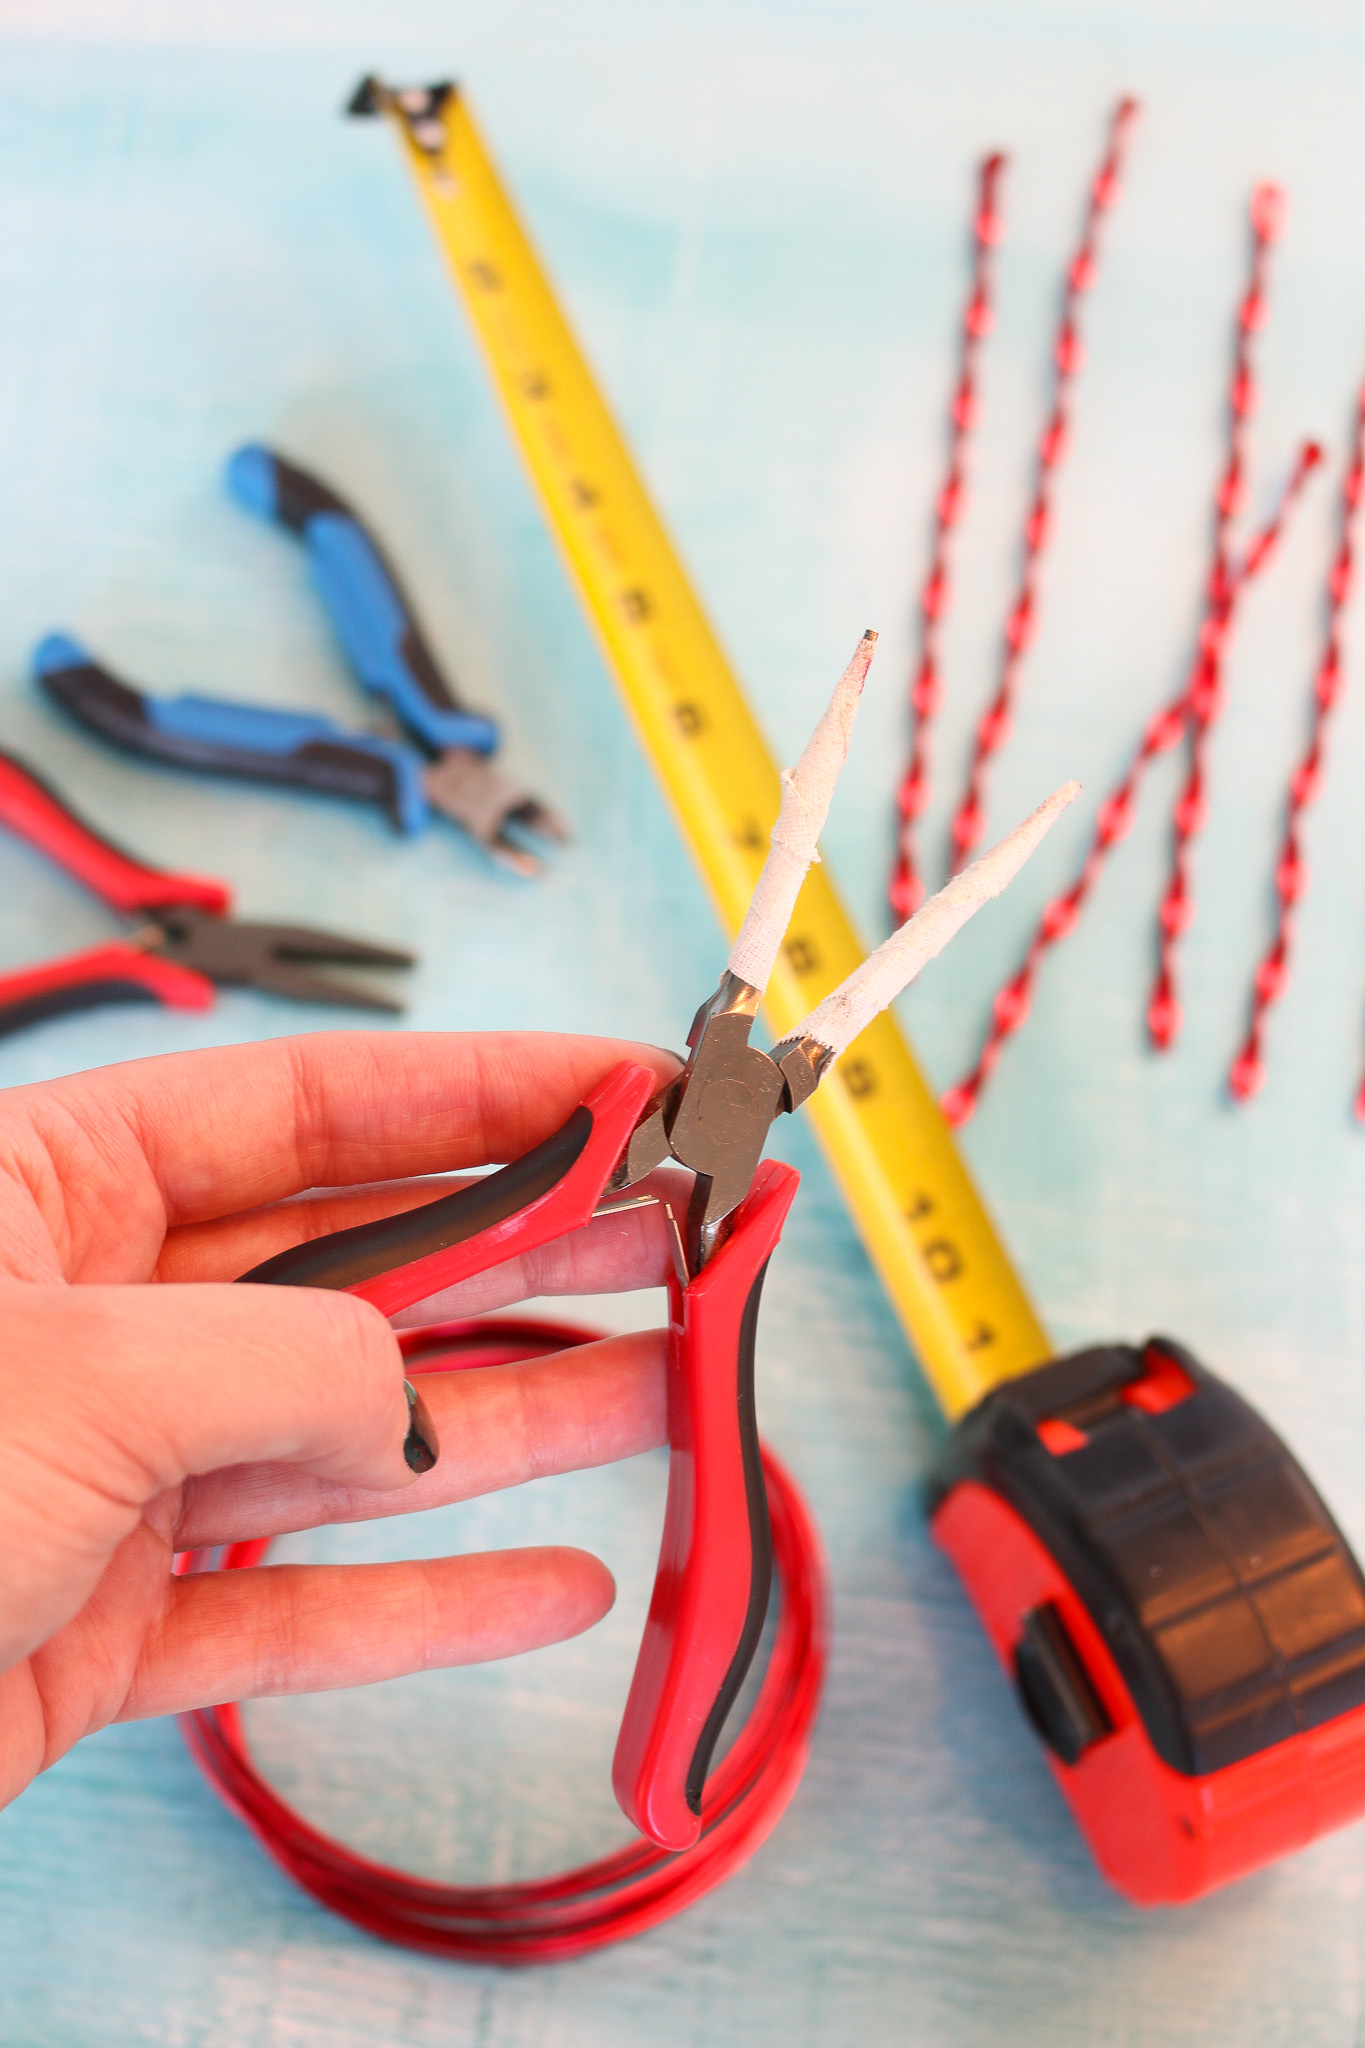
- Hold the wire at the base of this loop with one pair of pliers.
- Grab a second set of hands and get them to hold the metal at the other end.
- With you holding the wire still, have them twist.
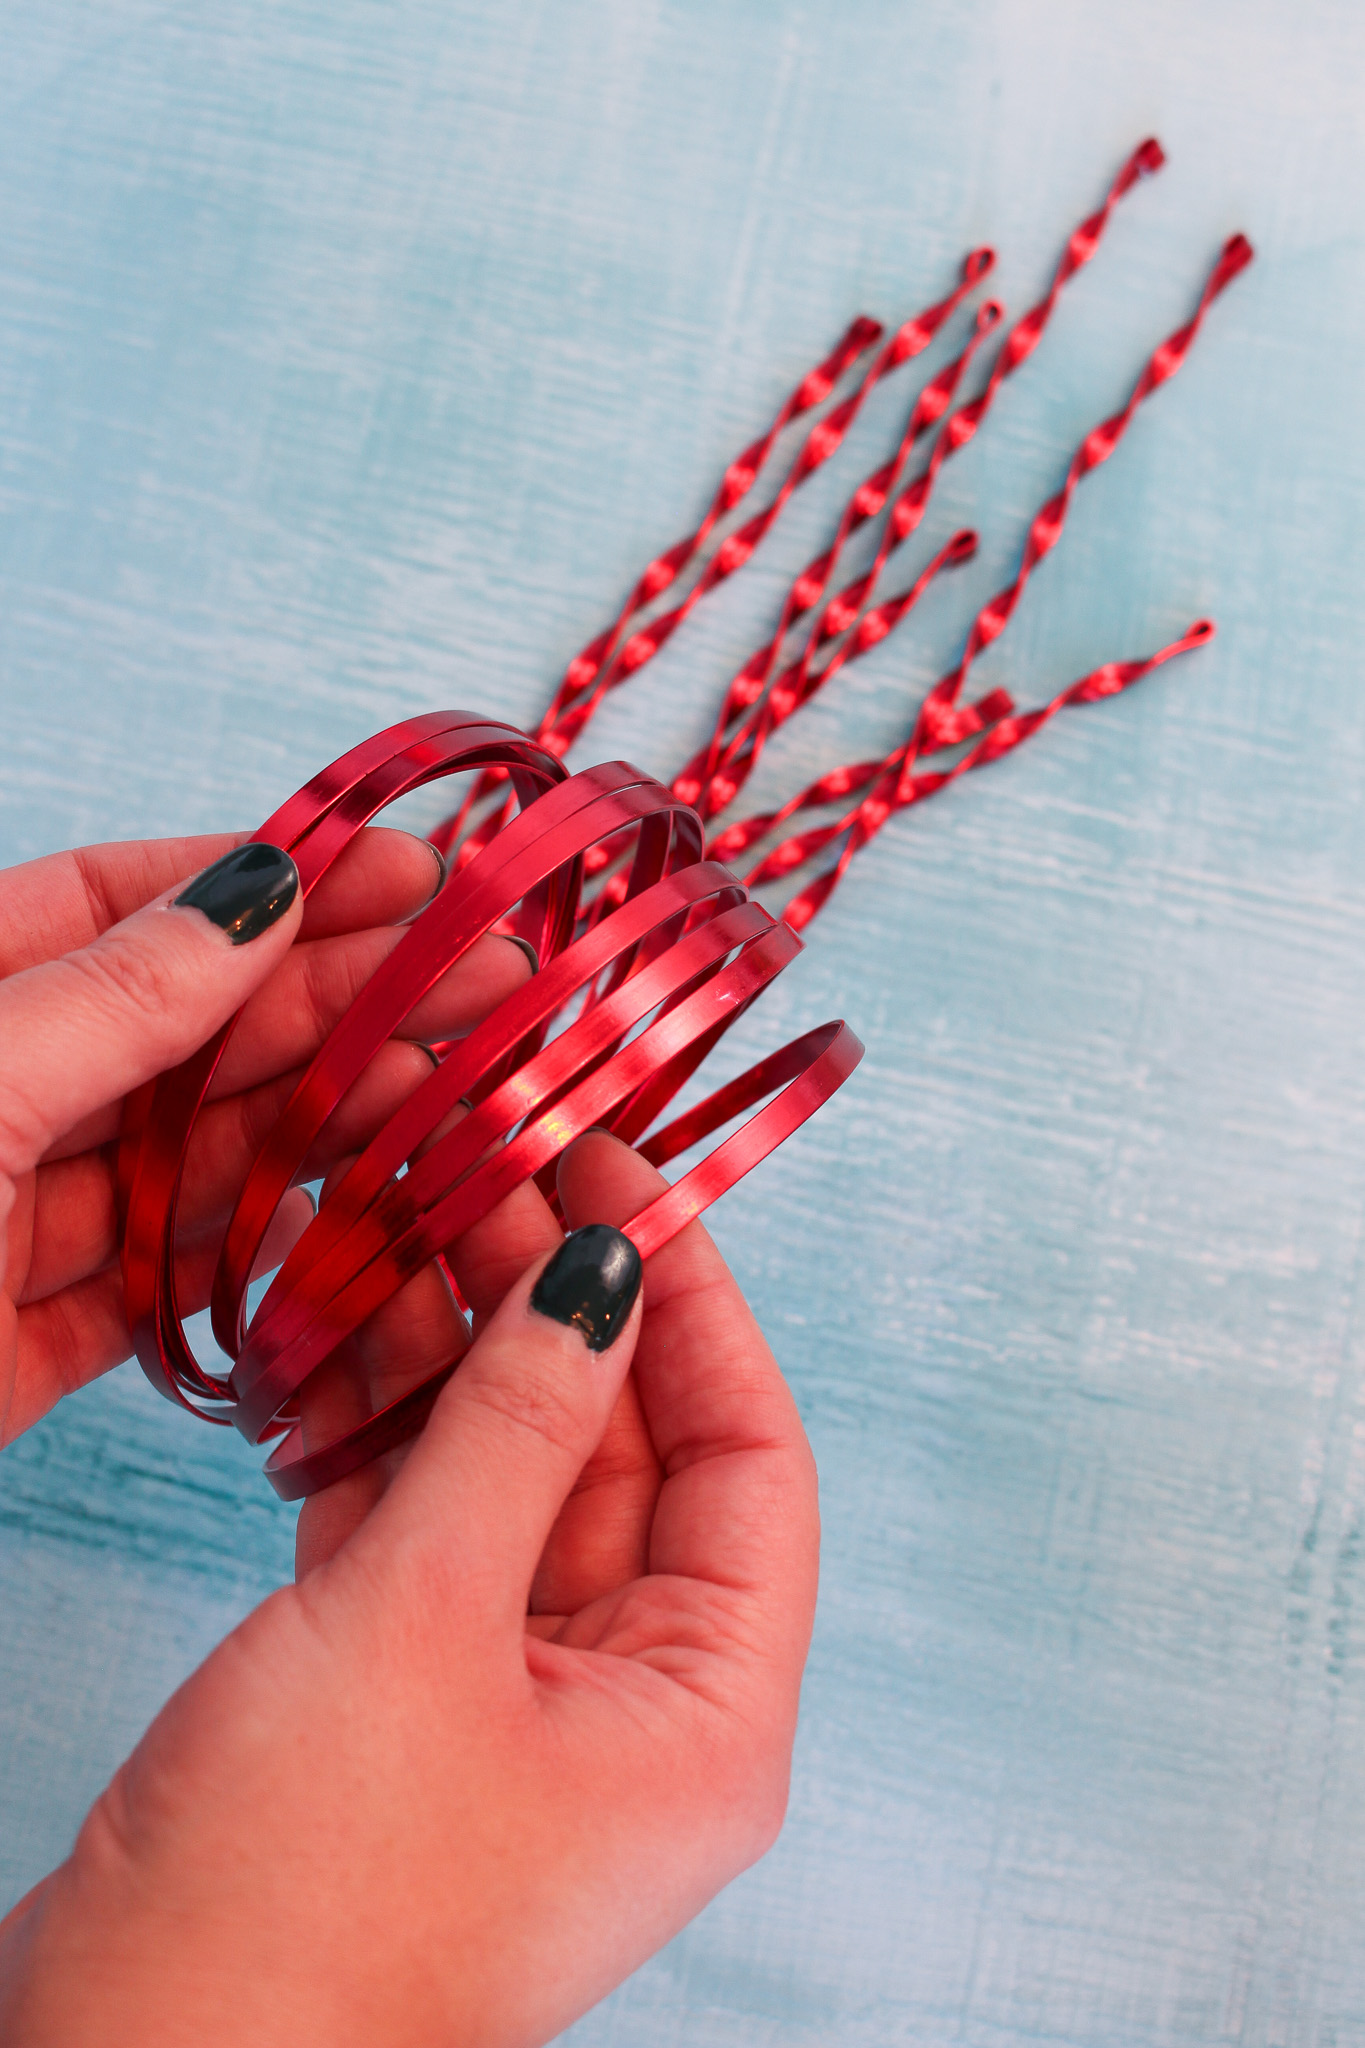
- Twist four times (or more/less) for the same twistiness we achieved here.
- Straighten the wire, if required (it may bend as you’re twisting).
- Sand the ends, if required (a metal file or even nail file does the job) to smooth any sharp cuts.
- Hang with thread/wire or ornament hooks through the little loop.
*Because this painted metal can chip easily, I did not want to drill holes like I did for my original twisted metal tinsel, because the drilled holes required a little sanding to make them smooth on the back and I didn’t want to risk scratching the paint.
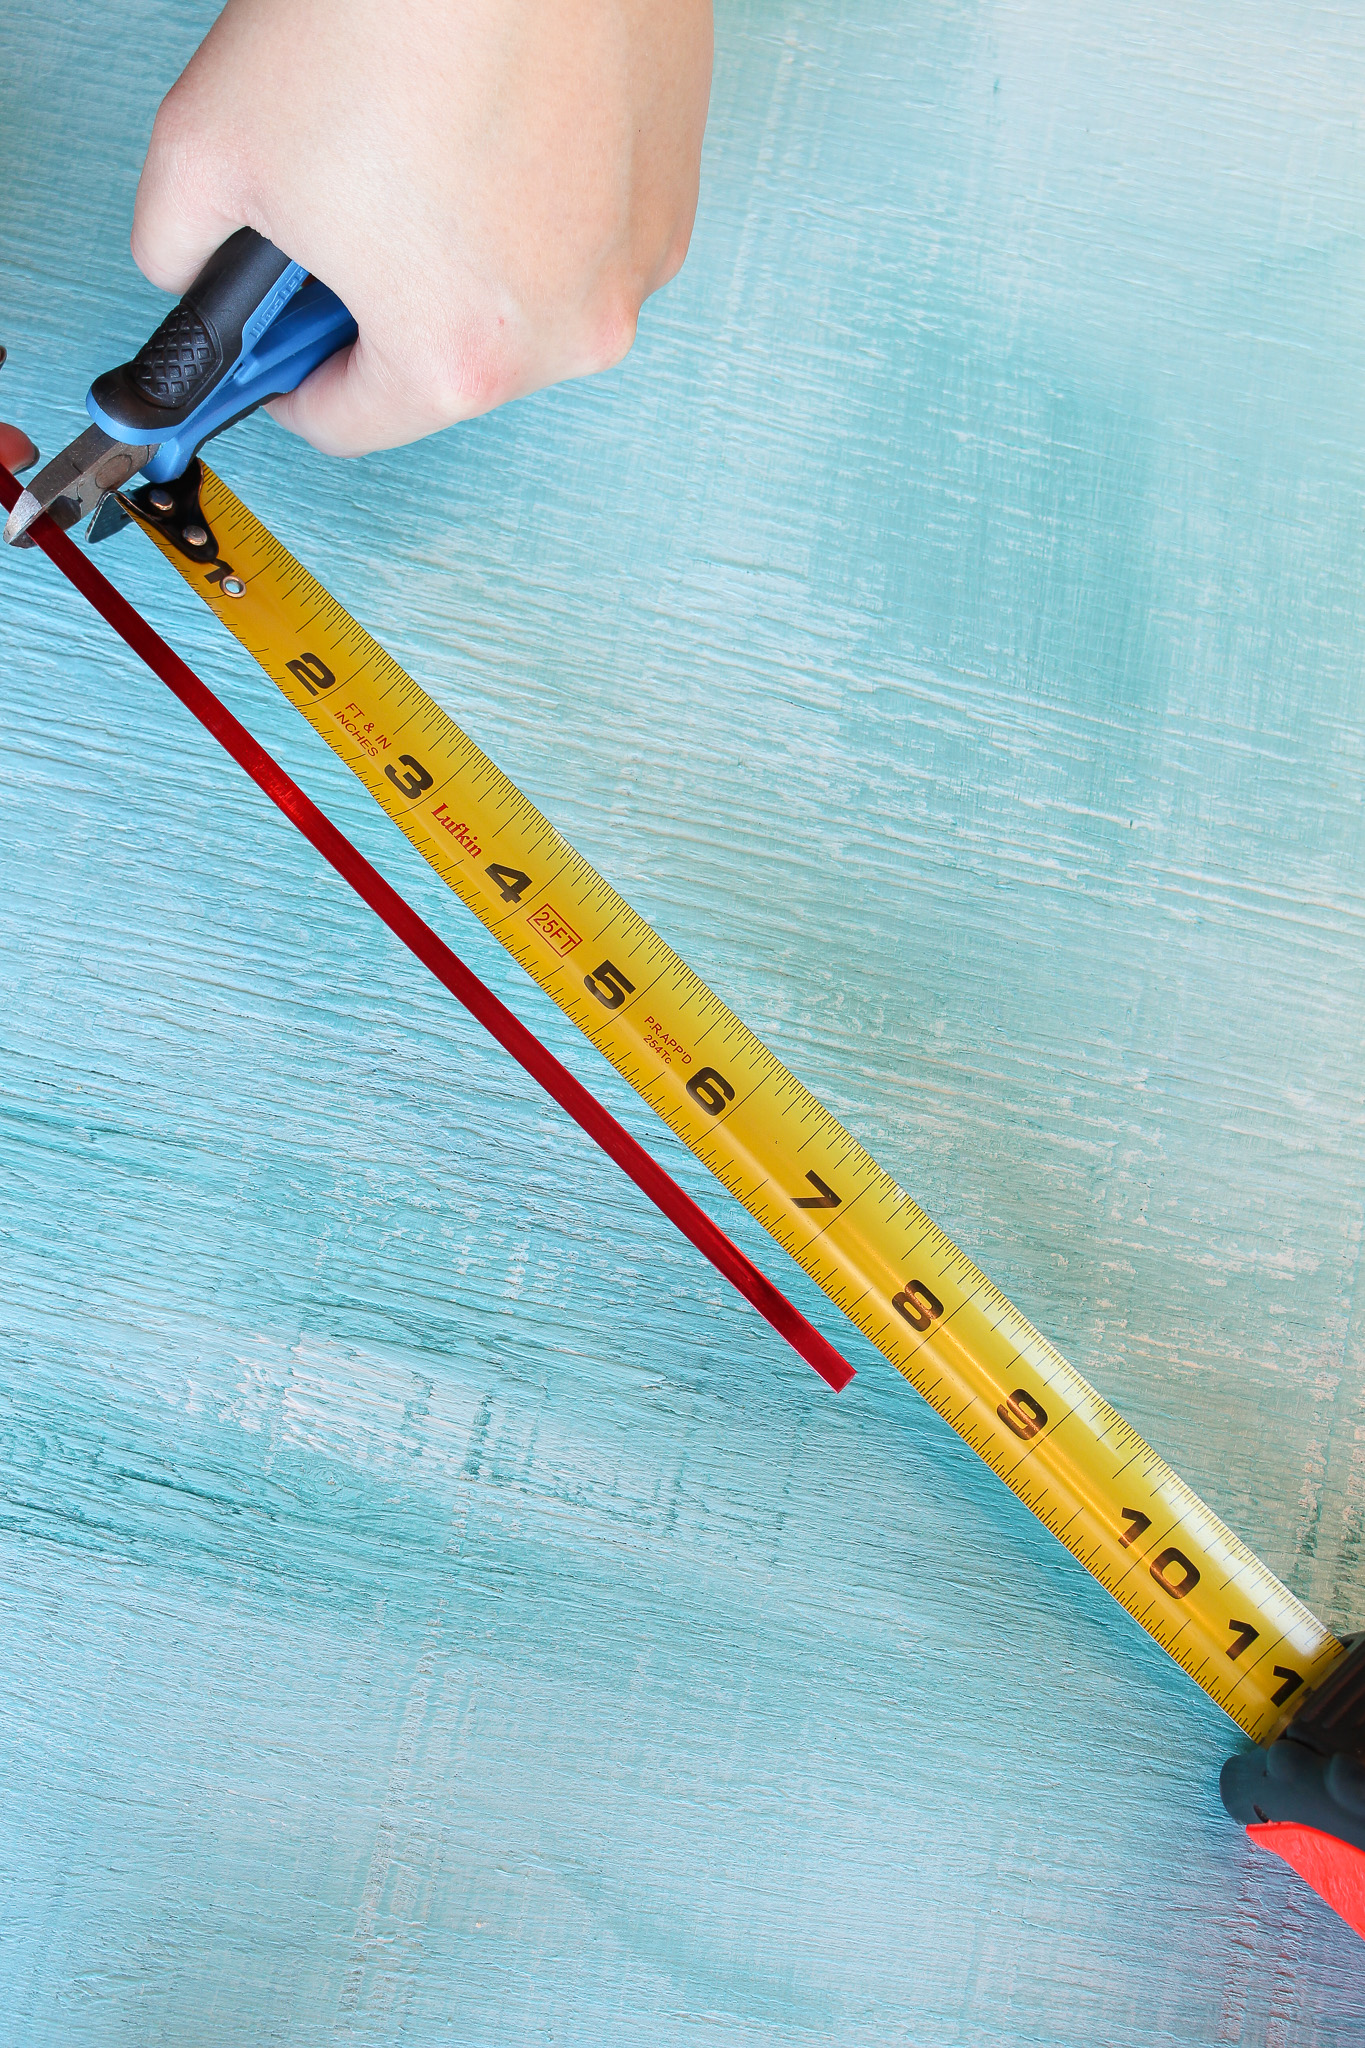
I cut my wire to 8″ long and then formed the loop. The finished DIY metal icicle ornament is 7.5″. When forming the loop, don’t just bend the wire right away. Curve it gently as you move the pliers along the wire end. Once it has a nice curve to it, you can push it closed into a small loop:
You can twist your DIY metal icicles with a drill (see here for that tutorial), but you can also twist the metal by hand. Have one person hold it still, near the loop. The other person can do the twisting – in this case my sweet husband stepped in to help me twist. If you BOTH try to twist, it can end up wibbly wobbly so have a designed twister. We twisted the metal wire four times, but you can do more or fewer twists to achieve a different look:
This DIY metal icicle craft goes quickly! It was easy to hand twist the wire – we just like power tools, but it turns out a drill wasn’t necessary. We used up both rolls of 10 foot wire in literally 20 minutes. It WAS faster to use the drill to twist, but I think making a loop instead of drilling a hole for hanging the ornament was faster, since I didn’t need to sand the back of the drilled holes smooth. Or maybe we just got better at this twisted metal icicle craft because it seemed like this went REALLY fast – faster than before. Given how quickly you can make these, this is a perfect last minute handmade gift idea or DIY ornament idea for an ornament exchange.
How to Hang Metal Icicle Ornaments:
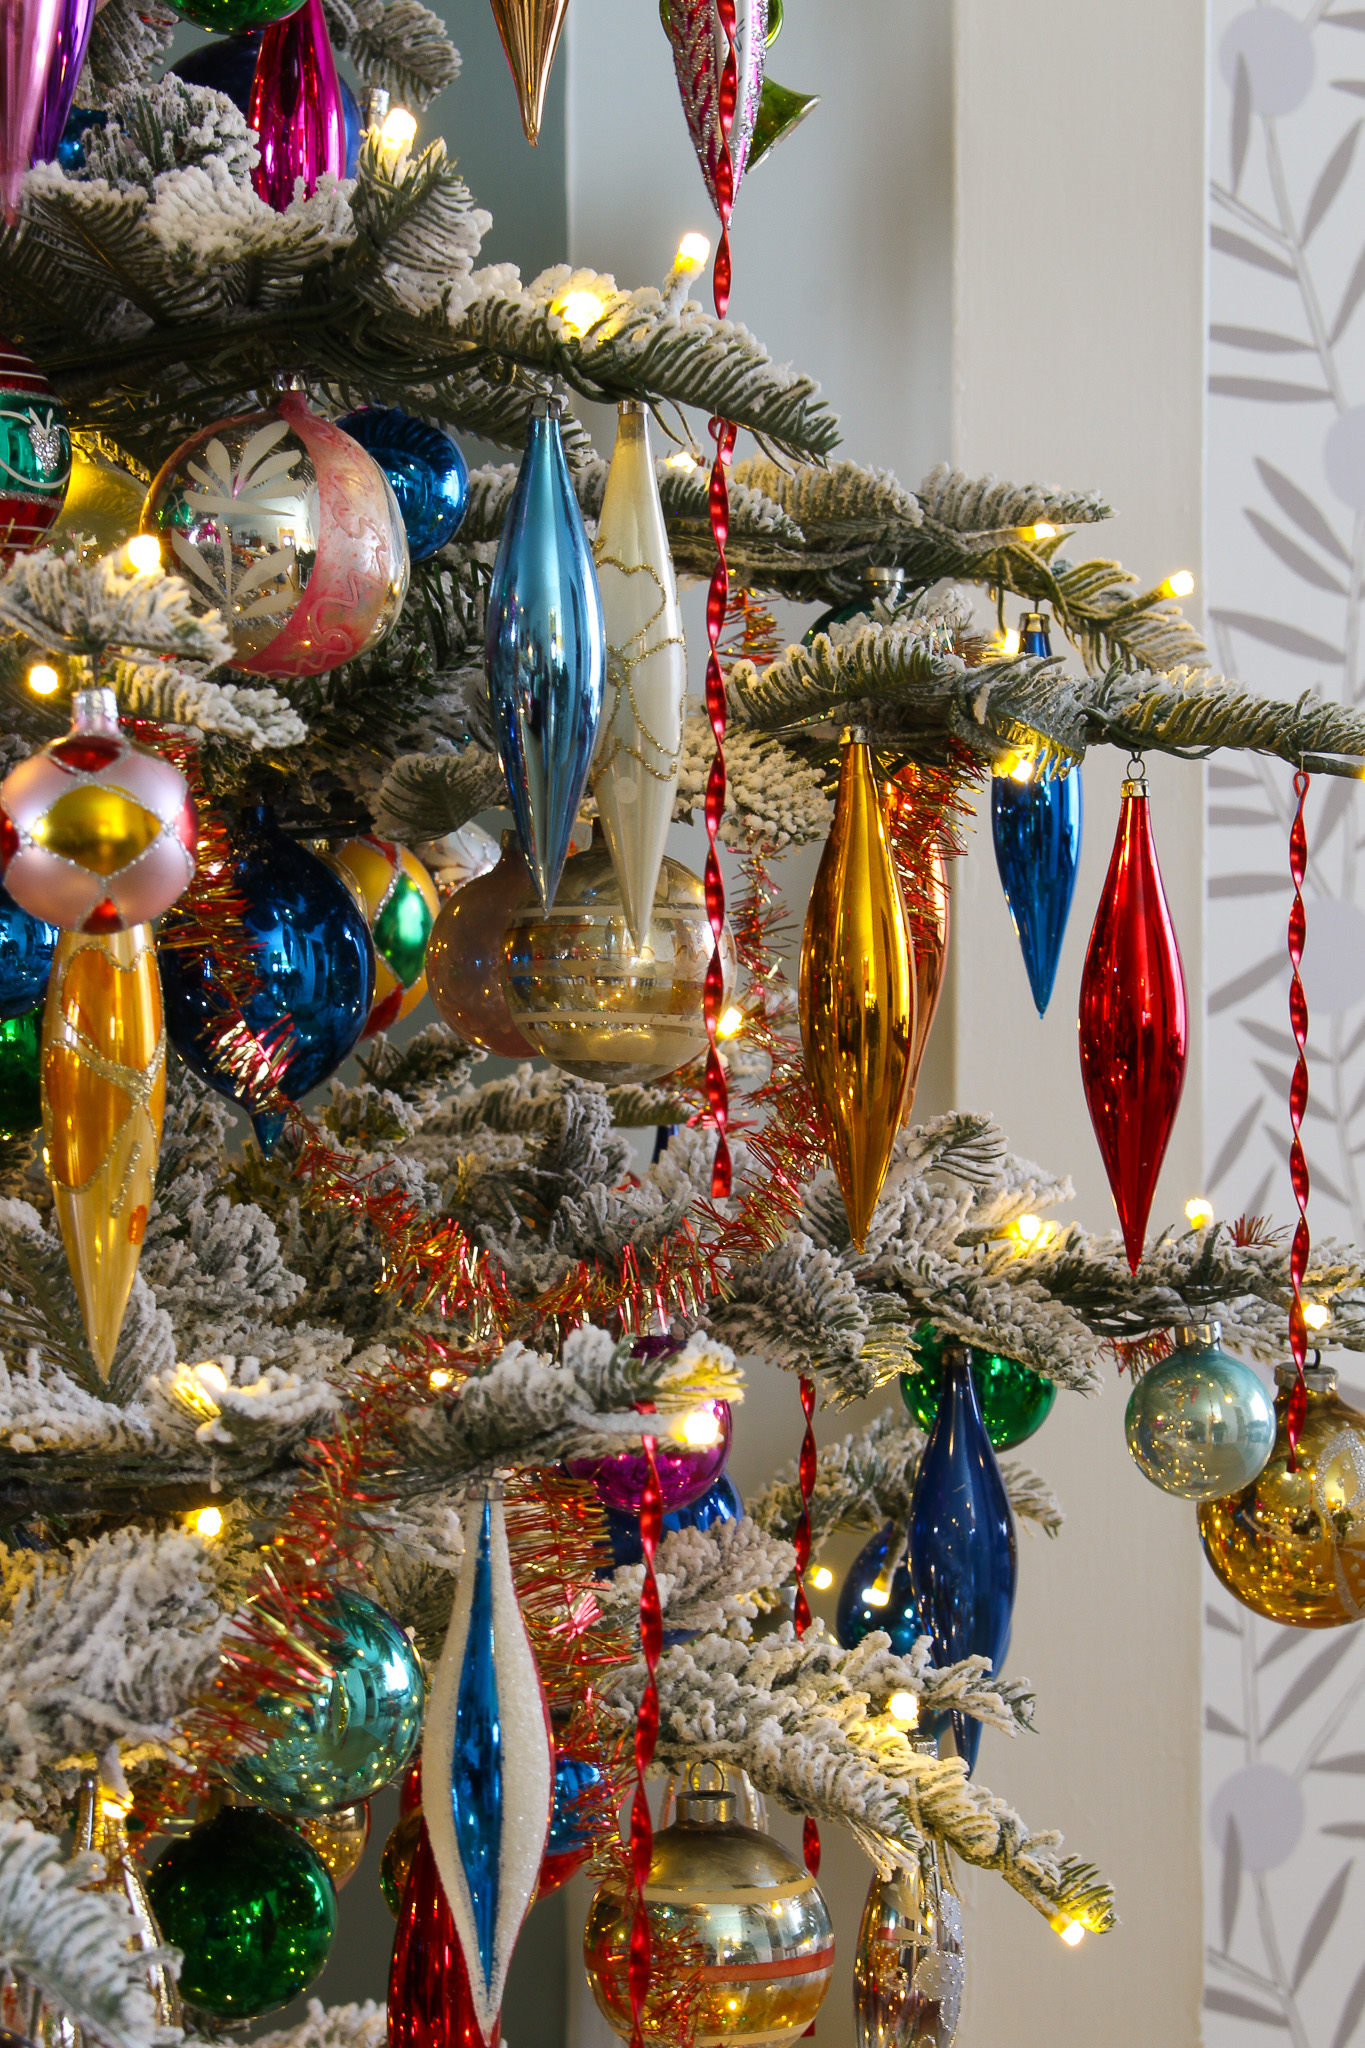
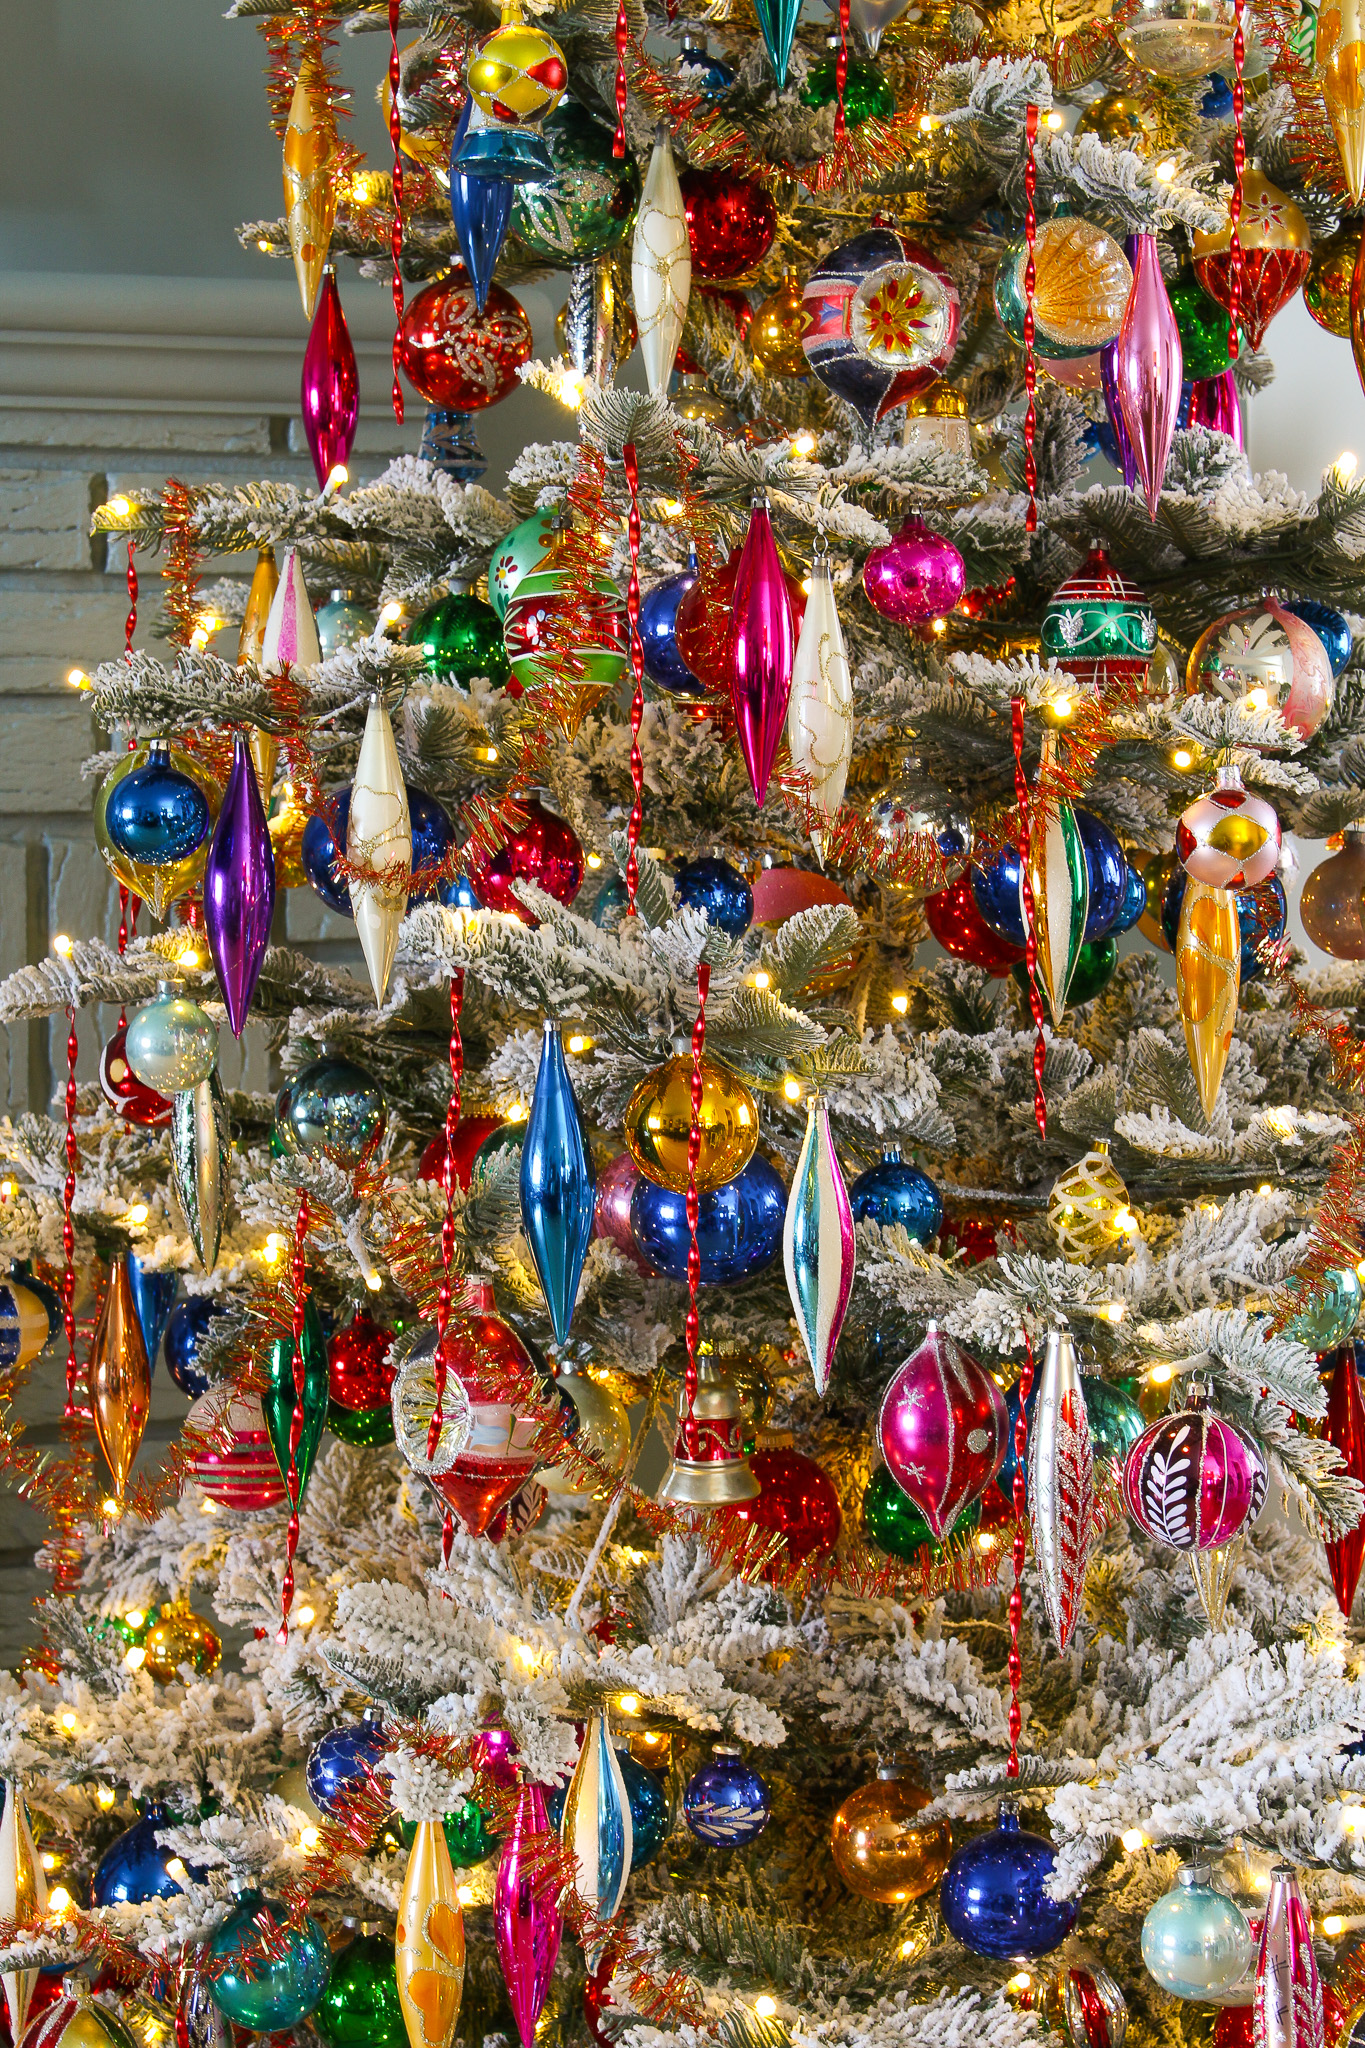
I prefer when these twisted metal ornament can dangle, because then they move a little and catch the light. That’s why I originally drilled holes in my first version. For these, I hung them on the tree through the little loop we made, with string. I basically tied them to the tree, but you could also use small ornament hooks. However, you could also shape that little loop much larger (like these) and leave it open, hanging them on the tree that way.

You can even bend them into a candy cane shape!
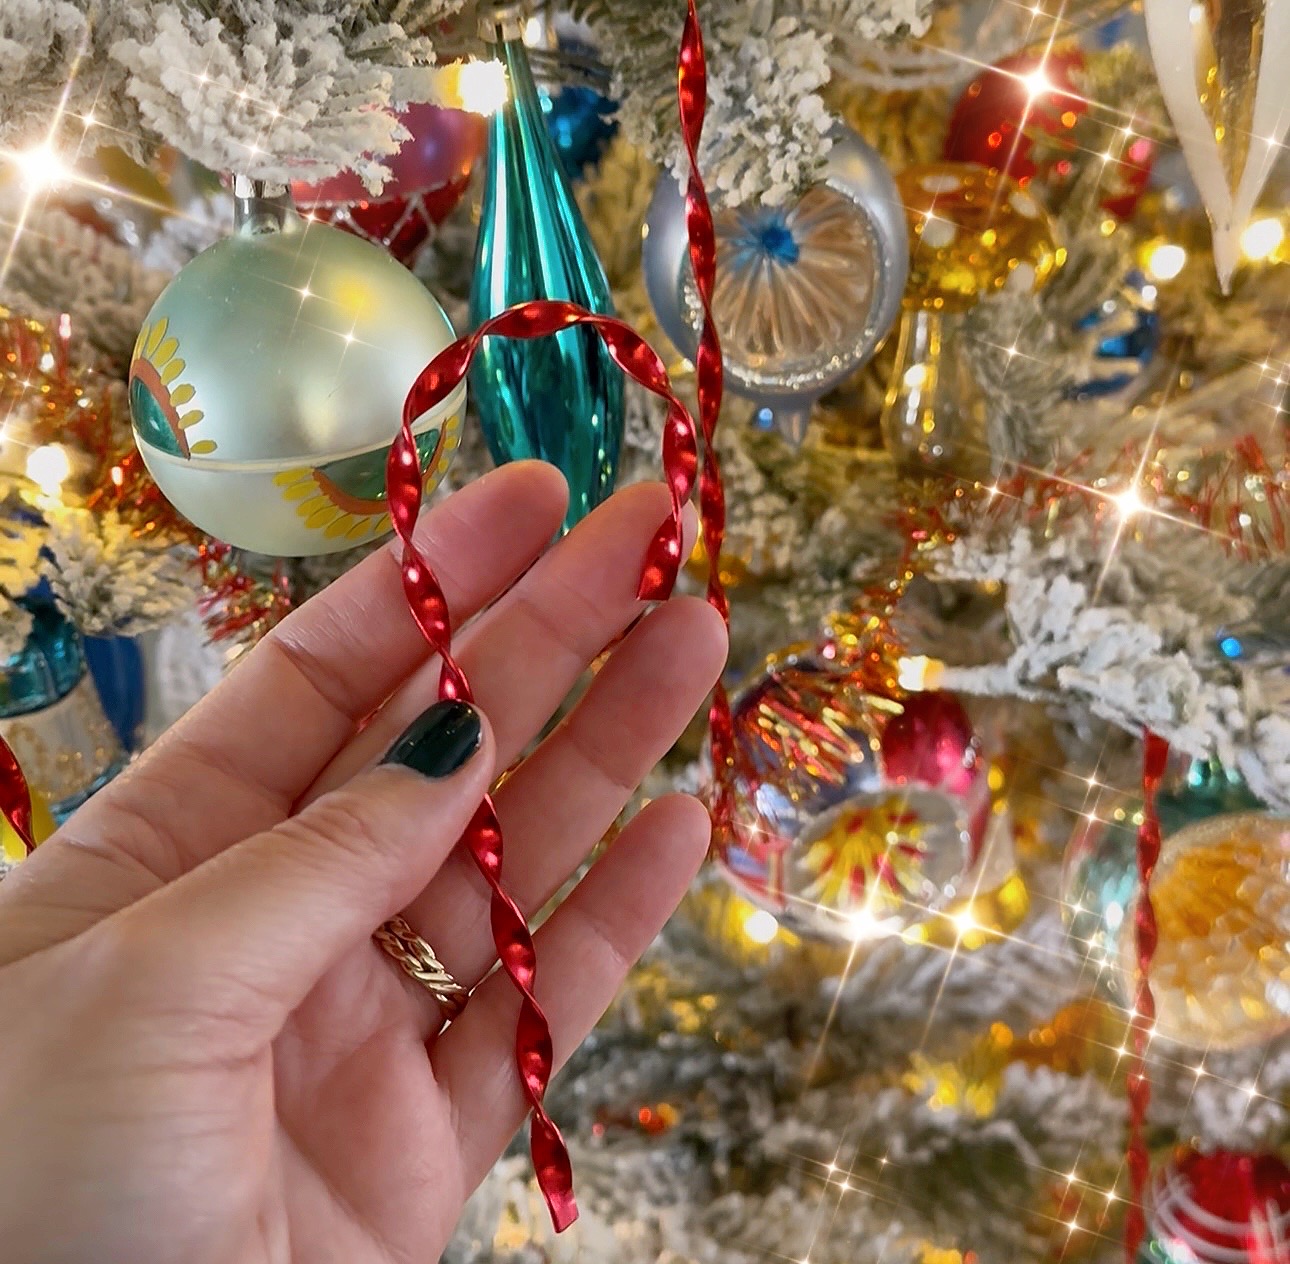
But I prefer to tie them onto the tree through the loop with some string. This way they can hang freely and they move gently and really catch the light. This paint color glows so beautifully – it must have lead in it, because it’s just so luminescent…
DIY Twisted Metal Icicle Ideas:
If you want to make more wintry DIY icicles decorations, try using a textured aluminum wire, like this one. Or this icy blue shade would be perfect as well! Of course there’s always classic silver, but you could even spray paint the metal with a glittery white spray paint!

P.S. Don’t Forget to Pin for Later!

I love the color turquoise, as it is my birthday stone. I was born in 1946, so the stone of turquoise was the real stone.
I have a lot of turquoise in and around my home. I always wanted my kitchen counters to be turquoise color but never found anything I would take. I love your kitchen counters very much.
I live in the Oklahoma Panhandle, and it is hard to find things I like without going to Amarillo, Texas, which is 125 miles from me. Doesn’t seem like a long way, but considering we are getting up in age, it is.
Author
Hello Koleta, what a beautiful birthstone to have! Real turquoise is absolutely stunning. I am so happy to hear that you love the color too. And I can understand not wanting to make that journey! Wishing you Happy Holidays and all good things for the year ahead!