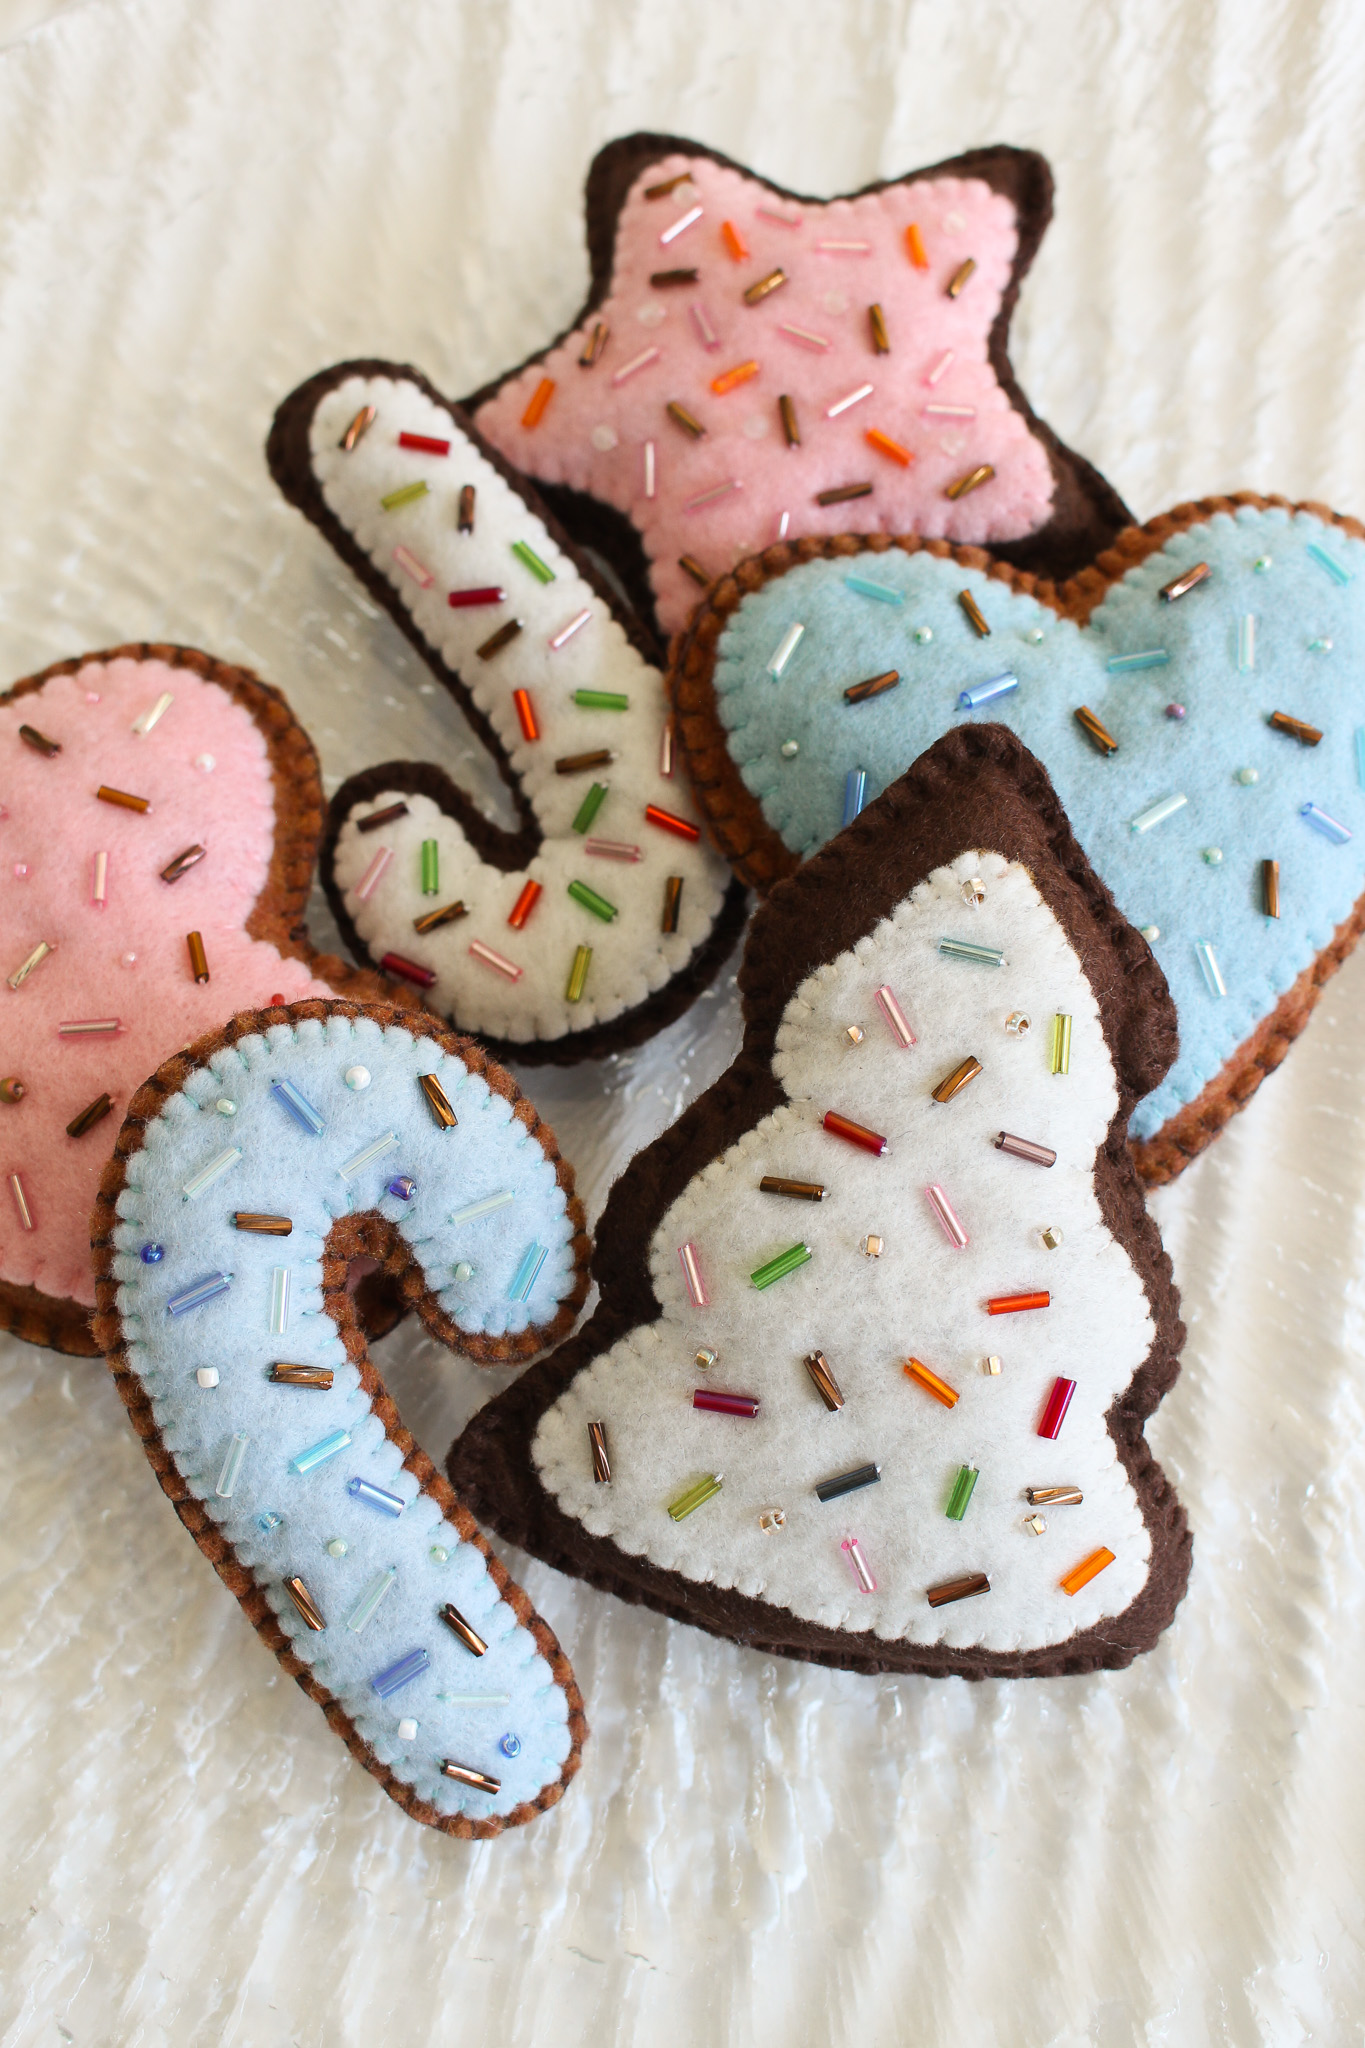
A complement to the DIY felt gingerbread house ornament tutorial I shared the other day, these DIY felt cookie ornaments are an equally delicious – but MUCH easier and faster – DIY felt ornament to sew! Now you can download my DIY felt cookie ornament patterns! Here’s a second batch with different shapes. You’ll also find a new video tutorial at the bottom of this post!


Supplies for DIY Felt Cookies:
- Brown Felt (the one I linked has the perfect variety of browns)
- Icing Colored Felt (cream, pink, mint, etc.)
- Permanent Marker (I find tailor’s pencils/chalk doesn’t work well on felt)
- OR Applique Freezer Paper (instead of marker – optional)
- Cookie Templates You Make or My Digital Pattern
- Threads (to match felt colors)
- Hand Sewing Needle
- Beading Needle
- Seed Beads and Bugle Beads: try brown bugle beads and pearl seed beads
- Batting or Poly-fil
- Sharp Scissors
Find More Felt Ornament Supply Options Here!

Notes on Supplies:
Make sure the felt you choose is soft and not stiff. If you’re looking for inexpensive supplies, I found a great assortment of beads (and felts, threads, etc.) at the dollar store – although local bead shops will have a prettier selection. While a regular hand sewing needle will go through some larger glass beads, usually seed beads and bugle beads (what I used) require a finer “beading needle” (left, pictured below):

beading needle on the left, regular hand sewing needle on the right

bead kits from the dollar store
How to Use My Felt Ornament Pattern:
This pattern is a digital download, available to use immediately. It’s scaled to 8.5 x 11″ and can be printed with any printer onto any paper, cut out, and traced. Alternatively, you can purchase Gypsy Quilter Freezer Paper OR Stick N Stitch Self Adhesive Wash Away Stabilizer. You can then print the pattern onto either material and follow the manufacturer’s instructions. Here’s a rundown of each method:
- Printer Paper: Print the pattern onto any printer paper, cut out the shapes, and then trace them onto your felt with a thin sharpie. Cut out the felt shapes.
- Freezer Paper: Print the pattern onto freezer paper, roughly cut out the shapes, iron them onto the felt and then cut out around the template. Remove the freezer paper. Benefit: it’s a steadier process than simply tracing and you don’t need to draw on the felt.
- Wash Away Stabilizer: Print the pattern onto stabilizer, roughly cut out the shapes, then stick them onto the felt. Either peel off or dissolve the stabilizer with water.
Pattern Usage Rights:
Please note: this pattern is copyright protected and is for your PERSONAL USE ONLY. It is not licensed to be shared online, used for commercial purposes, or sold.
How to Make DIY Felt Cookie Ornaments:
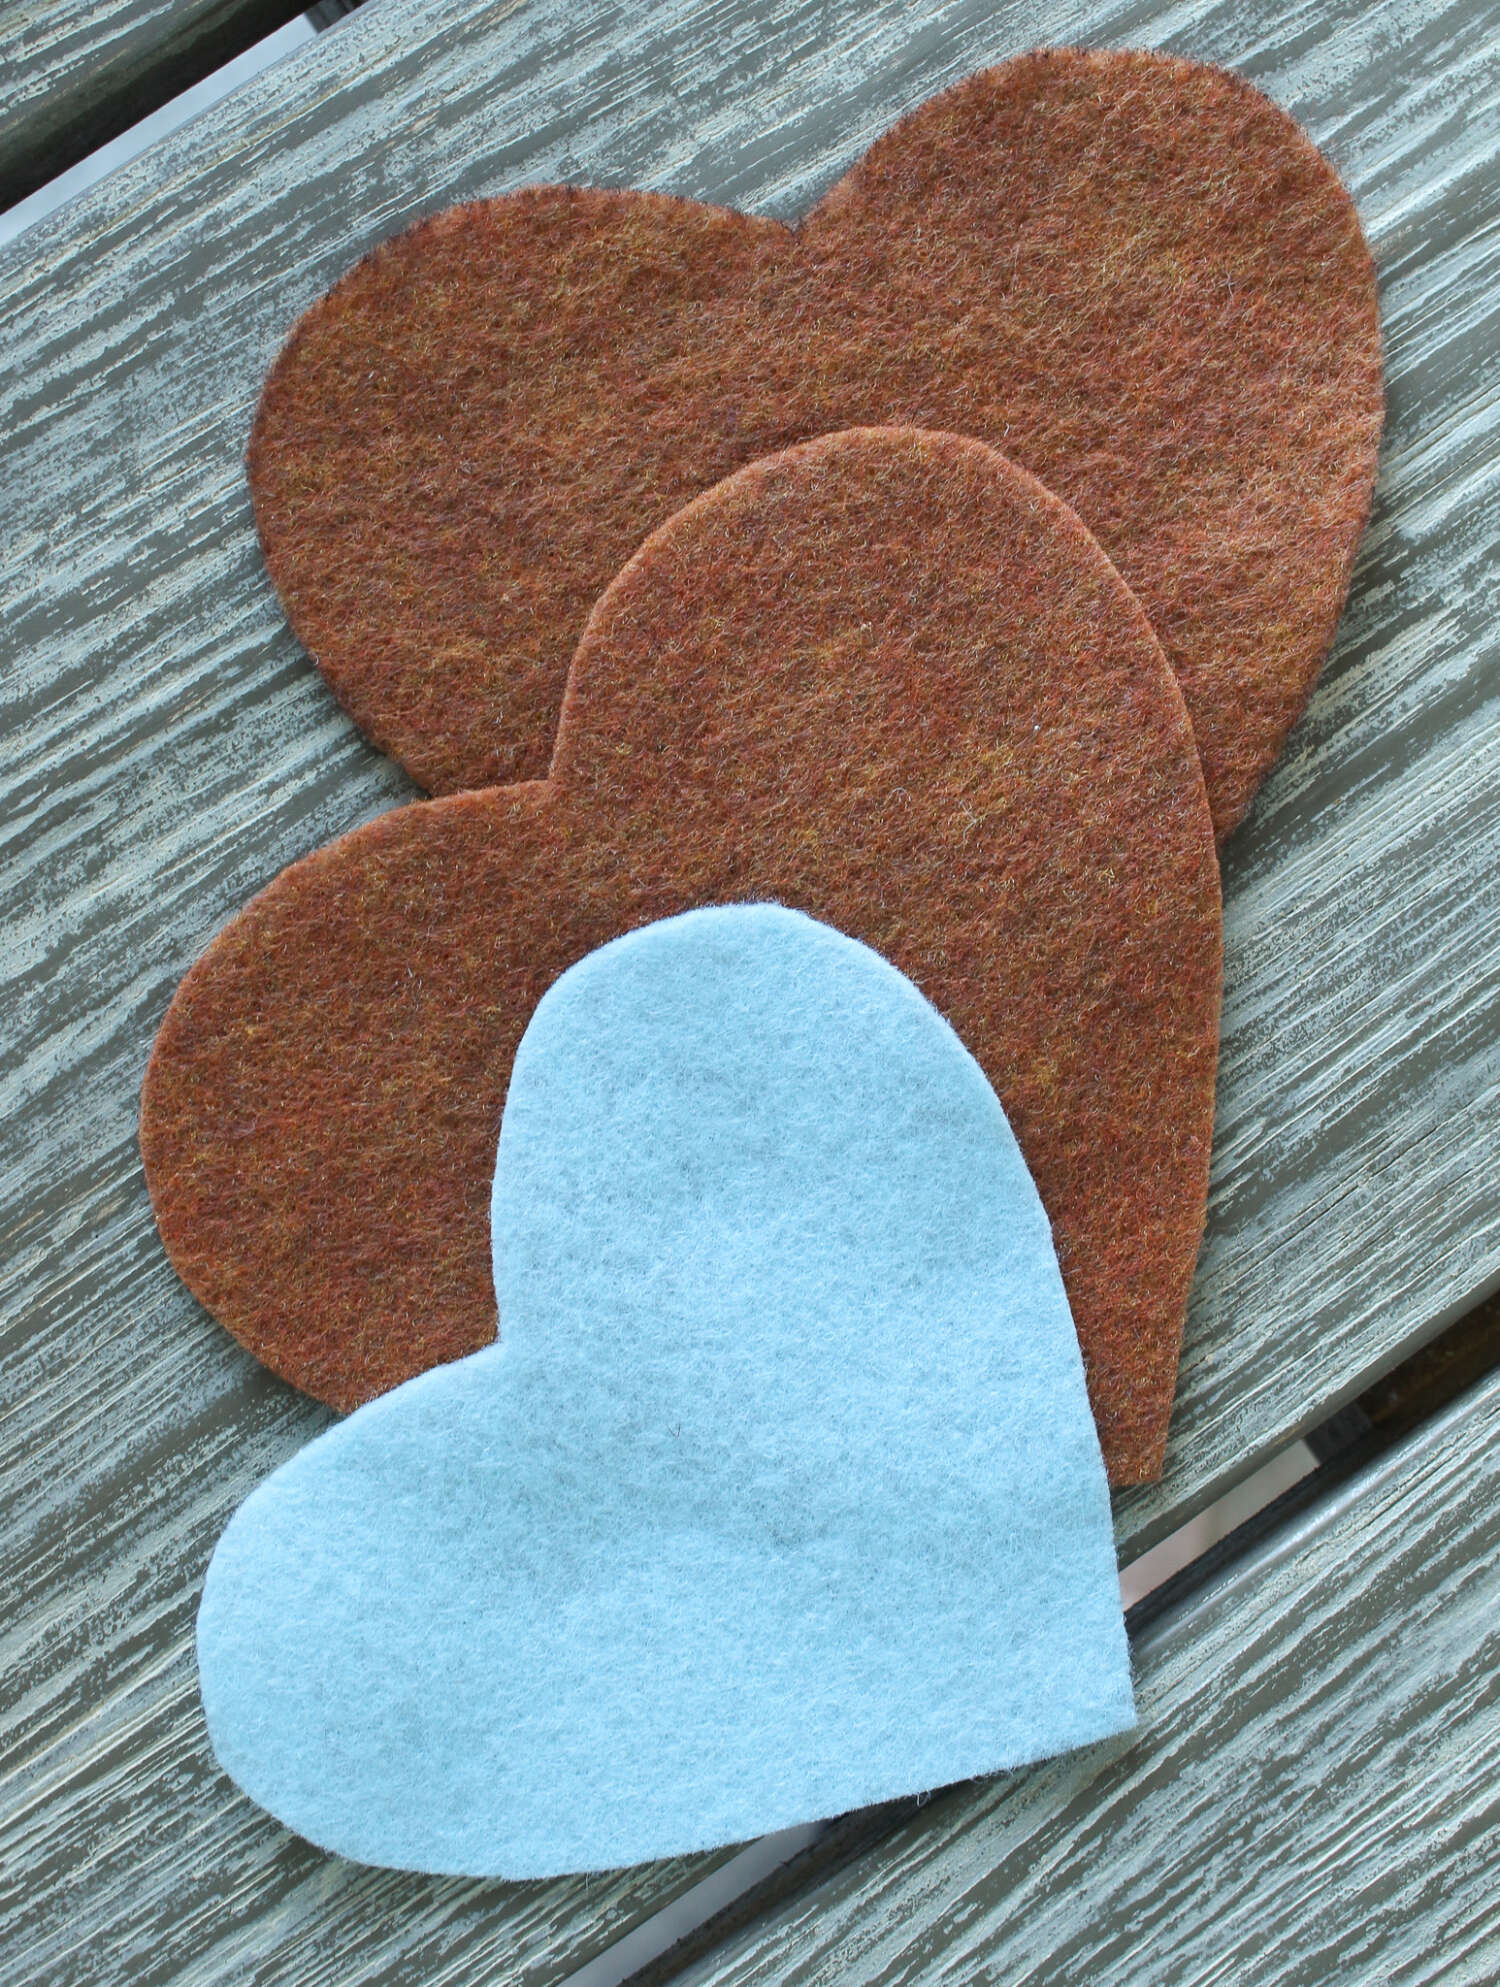
Step 1: Create a template and trace onto felt. Create a template of a cookie shape – and a smaller version for the “icing”. You can do this by tracing a favorite cookie cutter, free hand drawing a design, or printing a simple shape. If you don’t want the hassle, you can download my patterns here. I used a mix of basic tree, heart, star and candy cane shapes, traced onto cardboard. But you can also print patterns directly onto freezer paper, iron it onto the felt and cut around (this is an easy way to cut out smaller applique shapes like this). I used a permanent marker to trace my shapes onto felt, because none of my tailor’s pencils/chalk like to stick to felt.

Step 2: Cut out the felt. Cut out three pieces of felt: two identically sized shapes in brown felt and a slightly smaller version of the design in an “icing” color.
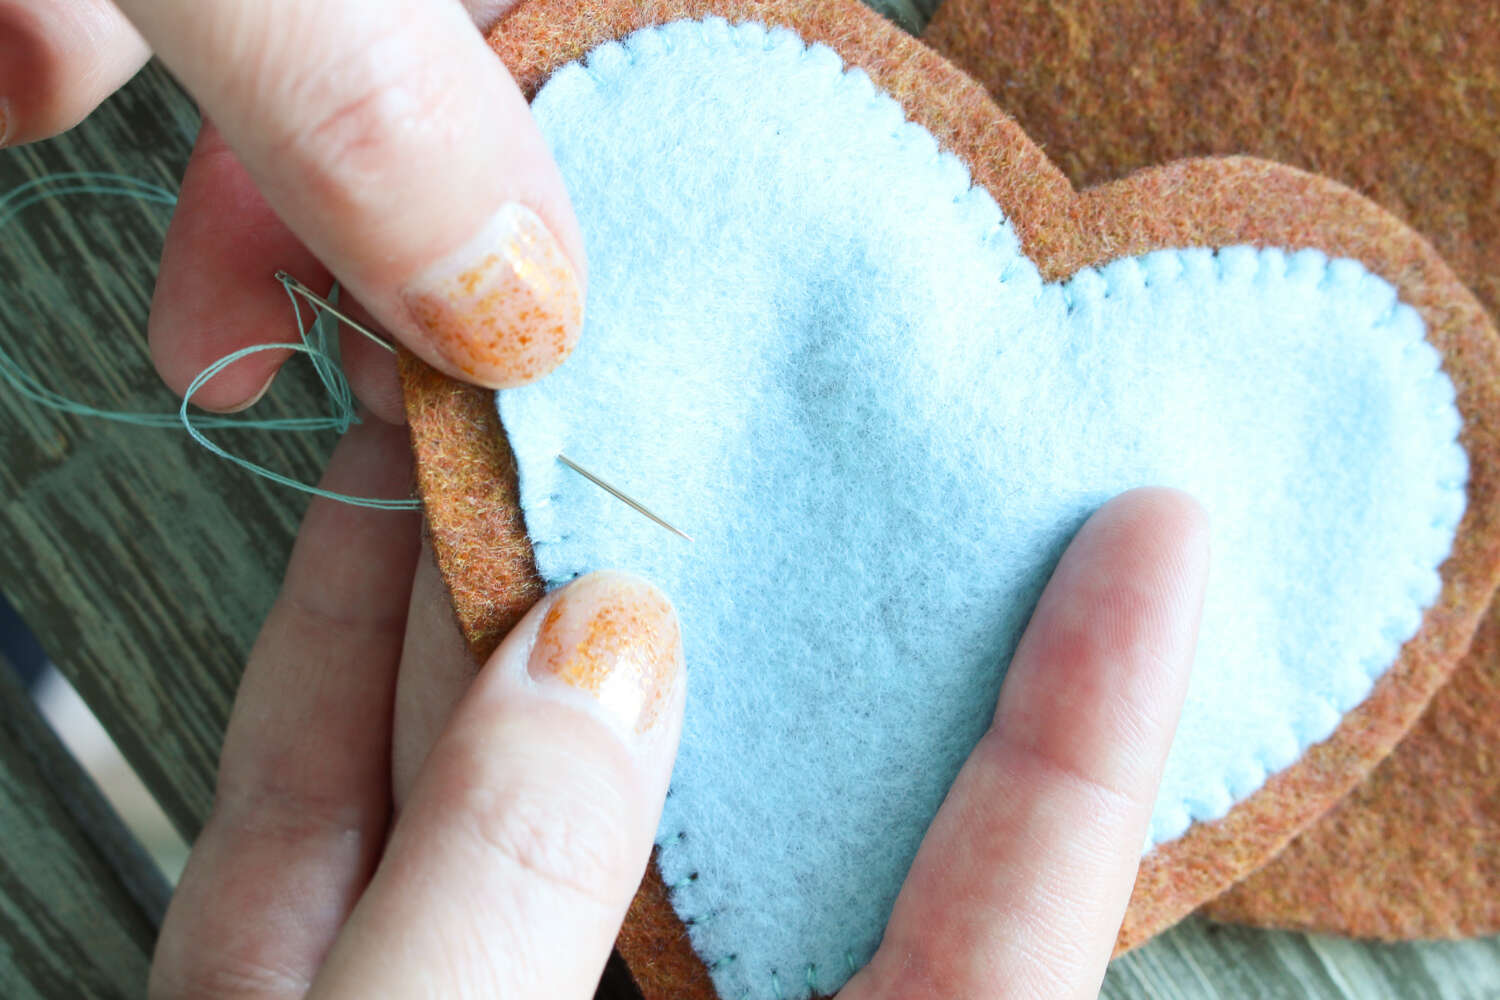
Step 3: Stitch on the “icing”. Stitch the smaller “icing” colored shape onto one of the brown shapes, using an overcast stitch or running stitch in a matching thread. If you’re new to hand stitching, basically I just take a sewing needle with knotted thread and bring it up through the back of the felt near the edge of the icing colored felt. I leave a few mm gap for the stitch before bringing the thread back down to the back of the felt, where the icing color meets the cook color felt. This will make a small stitch (see photos below). I repeat this all the way around. I try to keep my stitches parallel to each other and as straight and uniform as possible – it gets easier with practice.


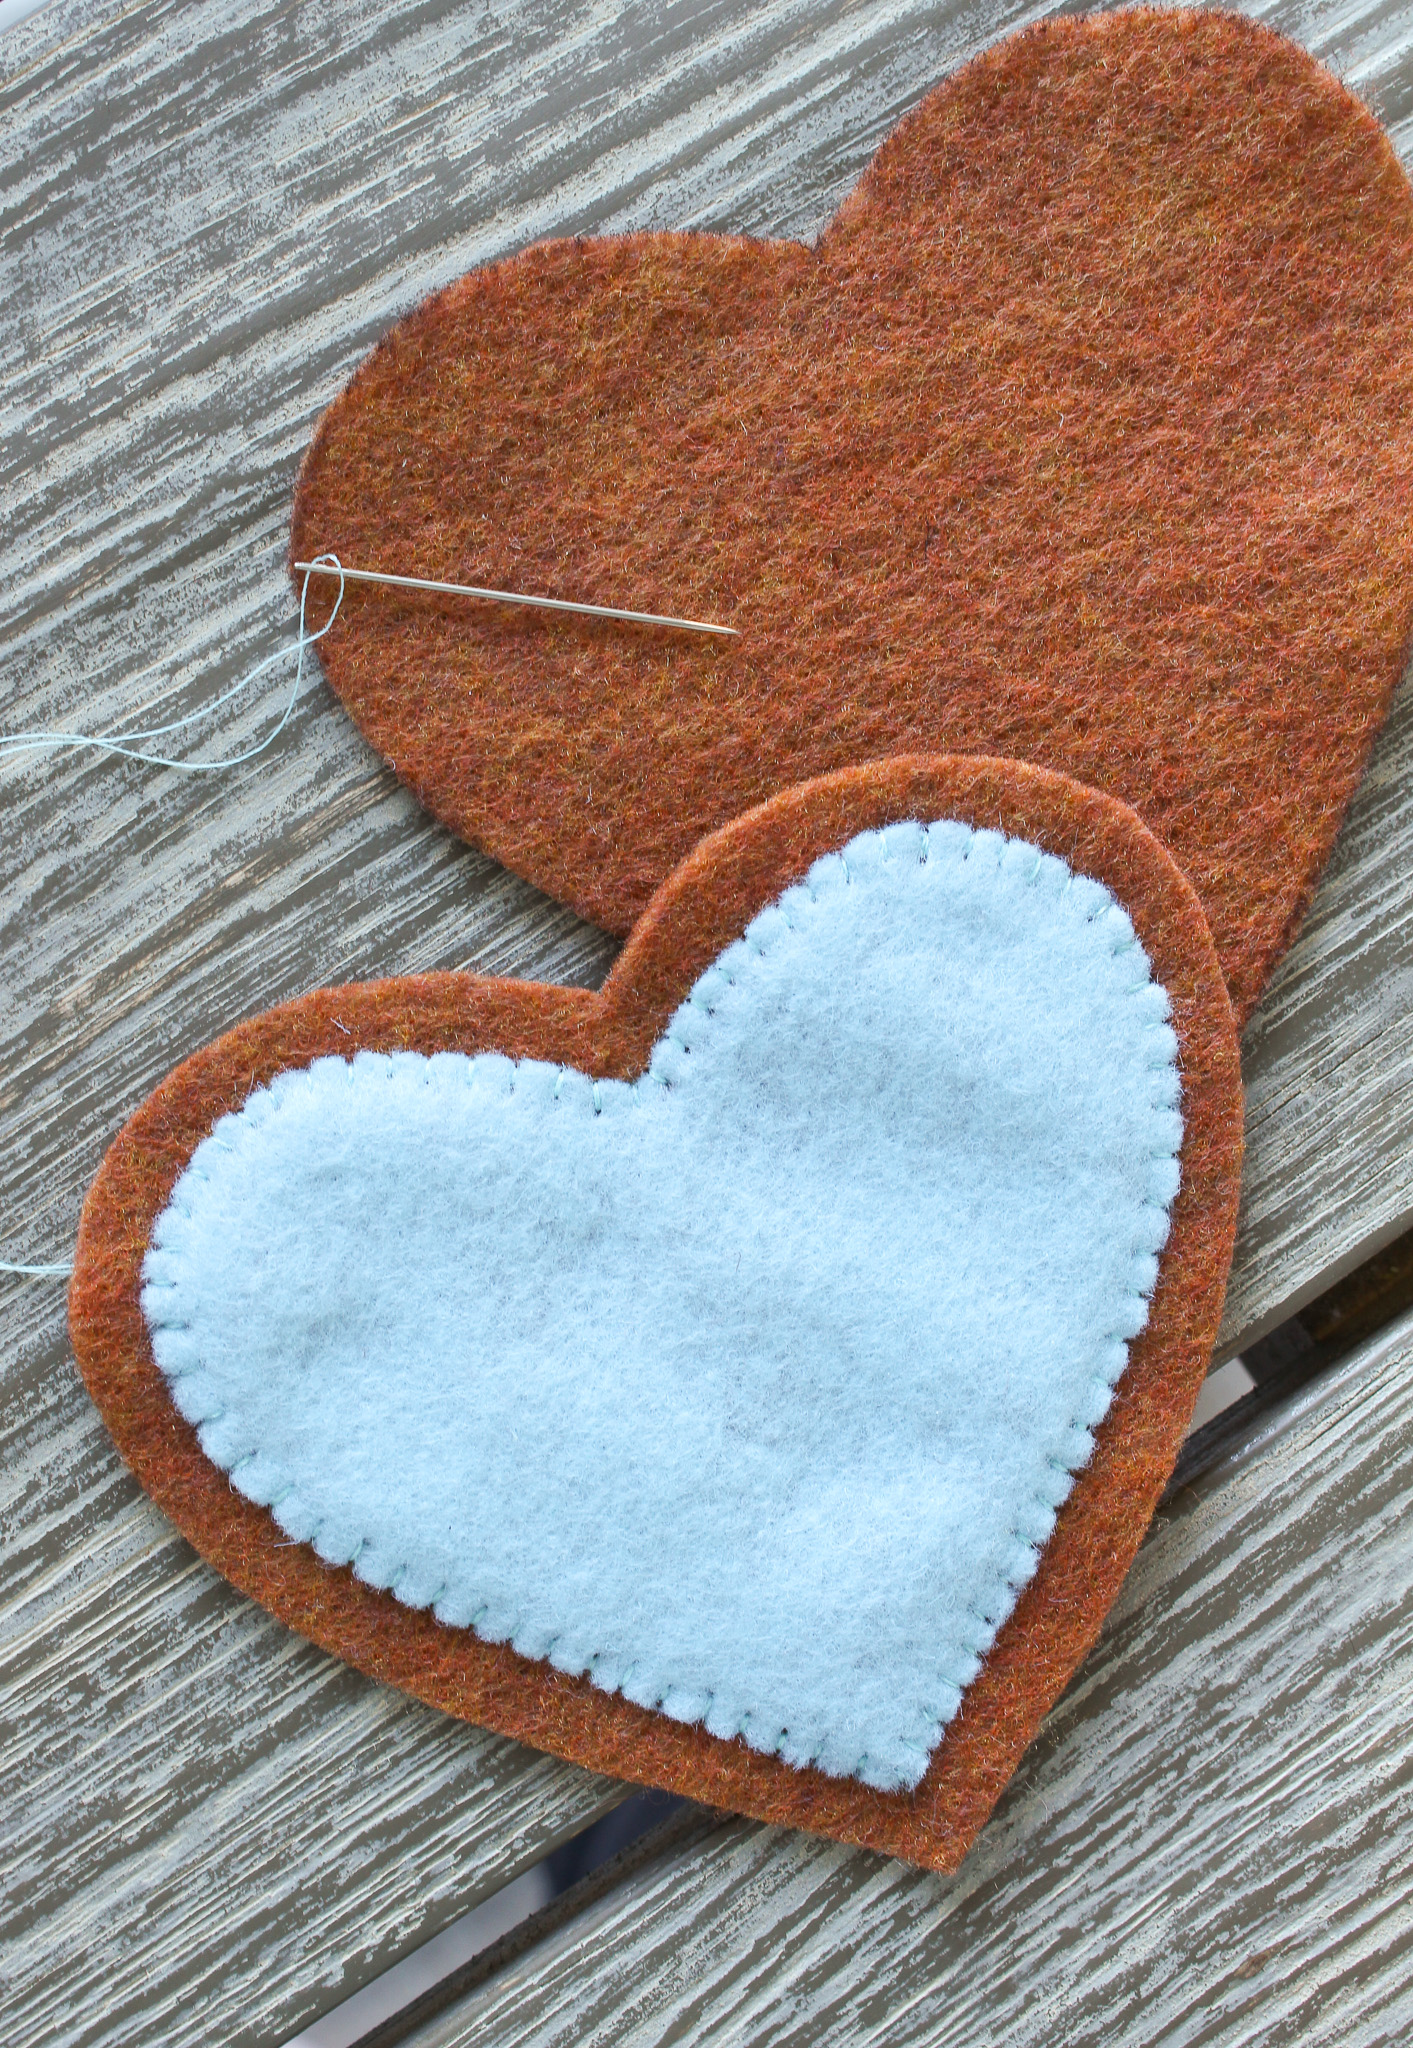
I’ve never tried it, but you could also try gluing the icing on – just make sure that the glue is applied to the edges and doesn’t interfere with stitching of the beads in the next step. When you’re done stitching on the icing, you will have something like this:
Step 4: Stitch on the beads. Switch to a beading needle and stitch on a random assortment of seed and bugle beads. When choosing colors, look for colors that resemble sprinkles! I used a mix of beads from dollar store bead kits, some random seed beads I had from other projects, and also some brown bugle beads. If you’re an embroiderer, you could also embroider sprinkles (like this) instead of beading – or do a mix of both!

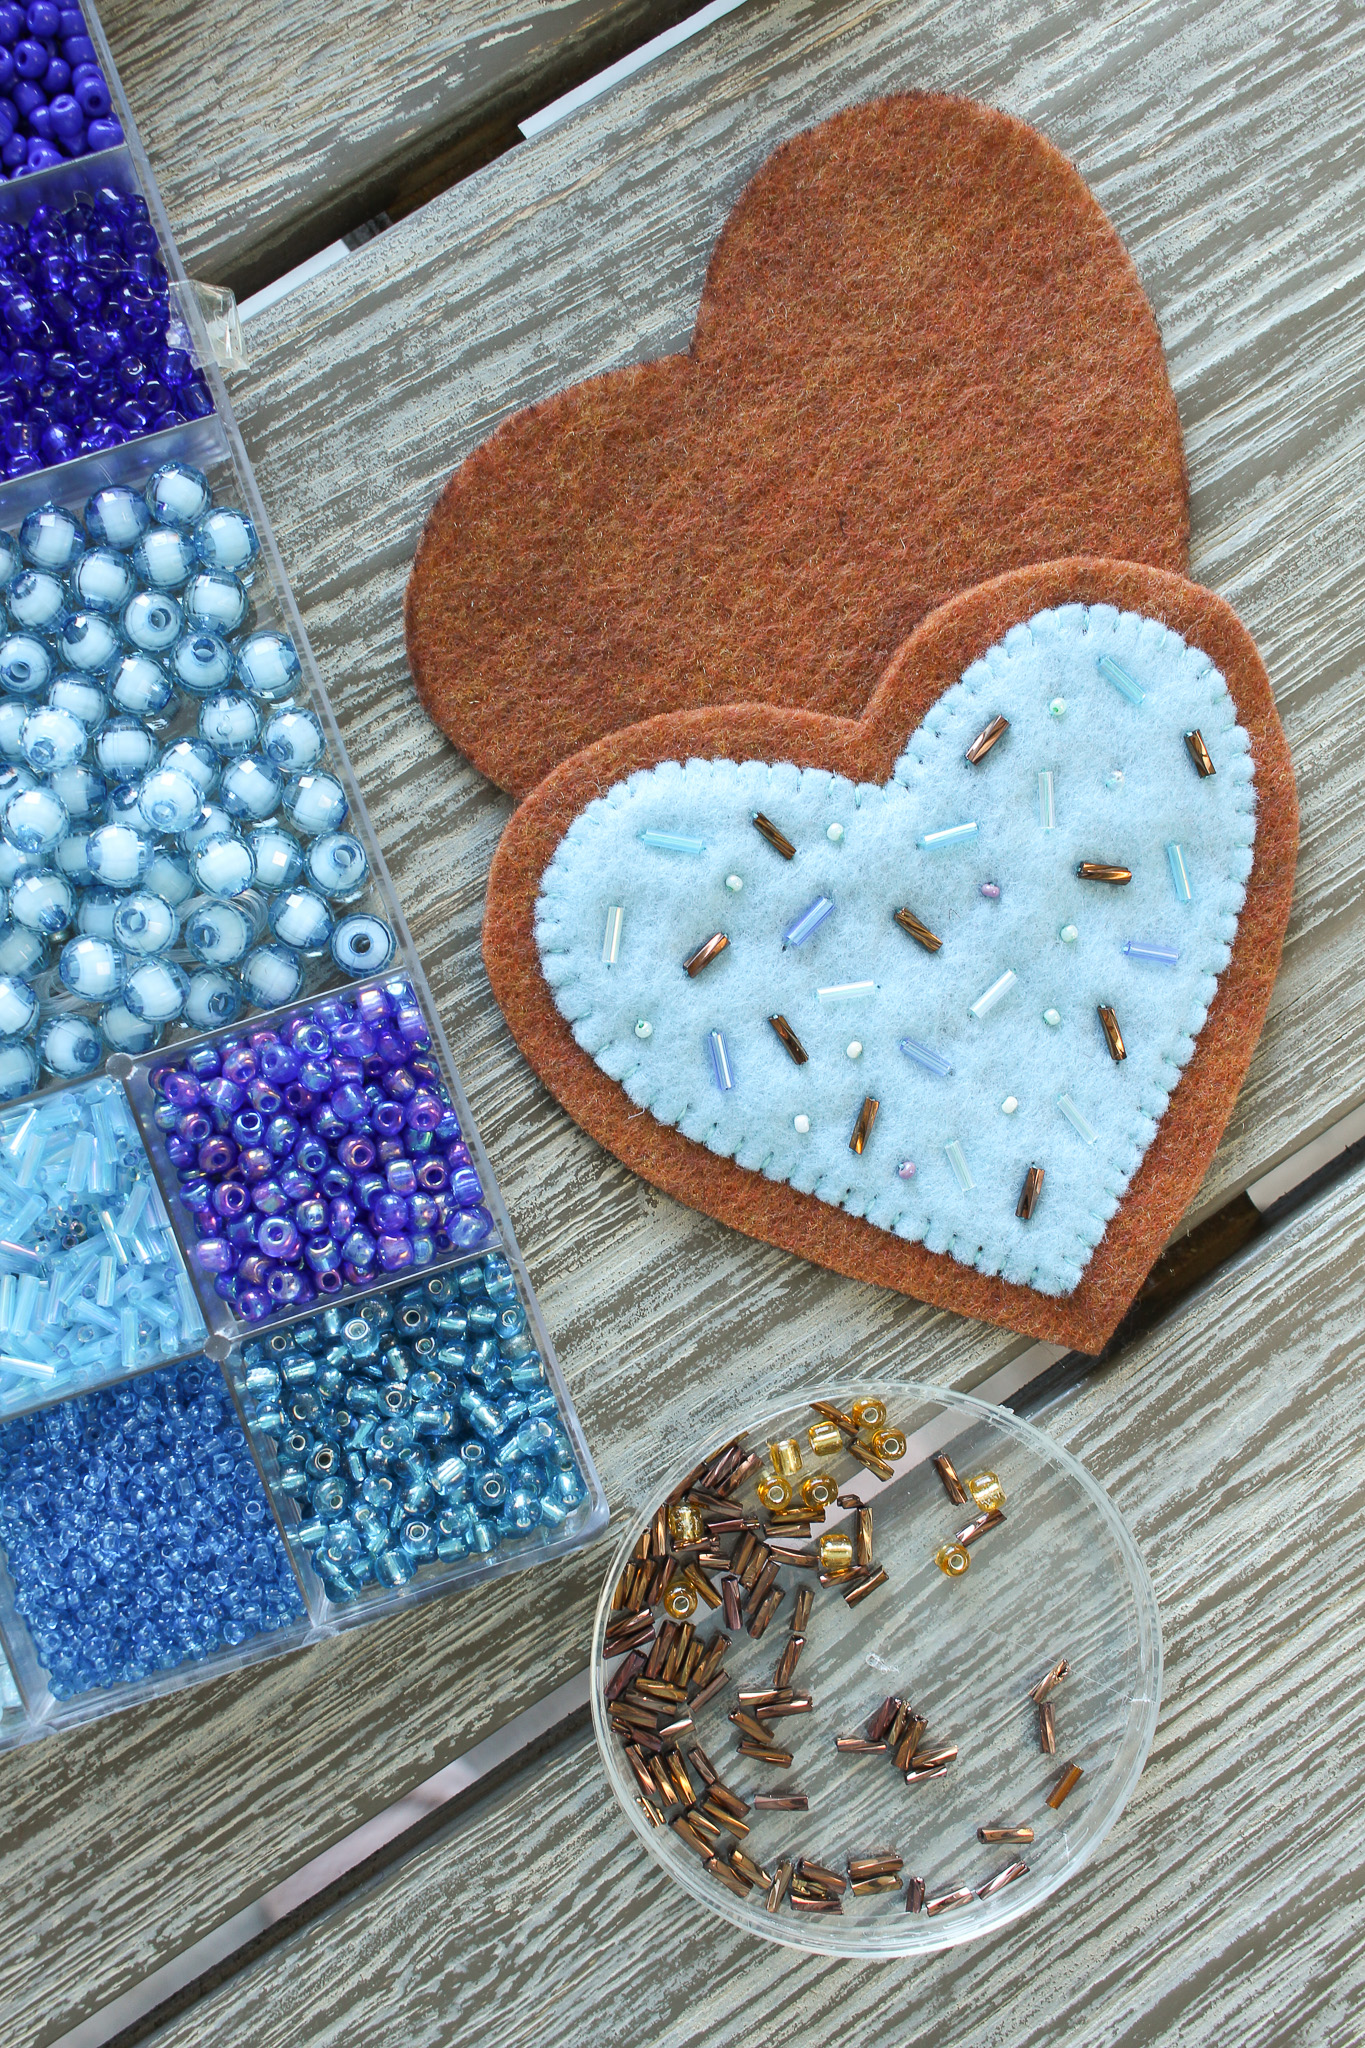
How to stitch on a bead: To stitch on a bead, take a threaded beading needle and bring it up from the back of the felt. Slide on a single bugle bead to the end of the thread, right up against the felt. Then position it with your finger and bring the needle back down toward the back of the felt at the end of the bugle bead. You want the thread to come up, go through the bugle bead, and immediately go down again so the bugle bead is held securely and no thread shows (see photos below). Repeat this process in a random arrangement, adding in seed beads as well.


Step 5: Stitch together the brown felt. Once the beading is complete, stitch together the two brown pieces of felt, using a blanket stitch (or running stitch). To do a blanket stitch, bring the needle from the back of the ornament to the front, through both layers of felt, along the edge. Pull the thread until there is a small loop remaining and then direct the needle back through that loop (see photos below). Then continue pulling the needle through until the stitch is tight. Repeat all the way around. Keep stitching along the edge, but leave a small opening (enough room to insert some batting).


Step 6: Stuff and sew closed. Stuff with batting or poly-fil, using a capped pen or marker to push the batting into any tricky areas (depending on the shape of your design). To finish, stitch closed the remaining gap and enjoy your tasty new felt cookie ornament!


How to Hang a Felt Ornament
I add some of the same thread I used for the blanket stitch at the top for hanging the ornament. I like to thread it across the top, so that the ornament will nicely face front when hung on a tree.


Felt Cookie Ornament Video Tutorial:
This video is only 3:44 minutes long and I show you how to transfer the pattern to felt, stitch on beads, and use a blanket stitch to complete the ornament. I also show you what to do when you run out of thread sewing the blanket stitch. Hopefully this video tutorial is a handy complement to the photo tutorial above.
P.S. Don’t Forget to Pin for Later!


More DIY Felt Ornament Ideas
I hope you enjoy making these DIY felt cookie ornaments. They would be perfect for a gingerbread house themed Christmas tree or as cute gift toppers. If you’re looking for more DIY felt ornament ideas, check out my DIY felt animal ornaments, DIY felt heart ornaments, DIY felt moon ornaments, and DIY felt gingerbread house ornaments. And find ALL of my DIY ornaments ideas here. Happy crafting!

You have the best DIY ornament content! We made the moons last year and will make these cookies this year. Thank you so much for sharing!!
Author
Thank you so much! I really love making them – and it makes me so happy to know that you’ve tried some of them. Thank you for the wonderful feedback, you really made my day!