I’ve mentioned it briefly before and have been asked a ton about it, so I’m finally going to tell you how I DIY painted my car! Hubby and I did long before I had this blog – we weren’t even married back then, we were just dating. It was 2004. I barely have any photos – let alone a set of clear instructions! But I’ll show you what photos/advice I have – the main thing you need for a project like this is time and courage. It took a long time to properly sand the car (WEEKS). We worked on it every day, after work, and on the weekends, for weeks before we actually picked up paint.
 |
| Charlie in 2009 |
I promise I’m not using spray paint to paint the car! The bumper at the time was worn: the color had come off and parts weren’t black anymore. So I taped off the bumper, and there was a spray you could get back then to revive the color since it had faded so much. It must have been a rubber paint? I honestly can’t remember it was so long ago. So I did that first, so as not to ruin the paint job afterwards:
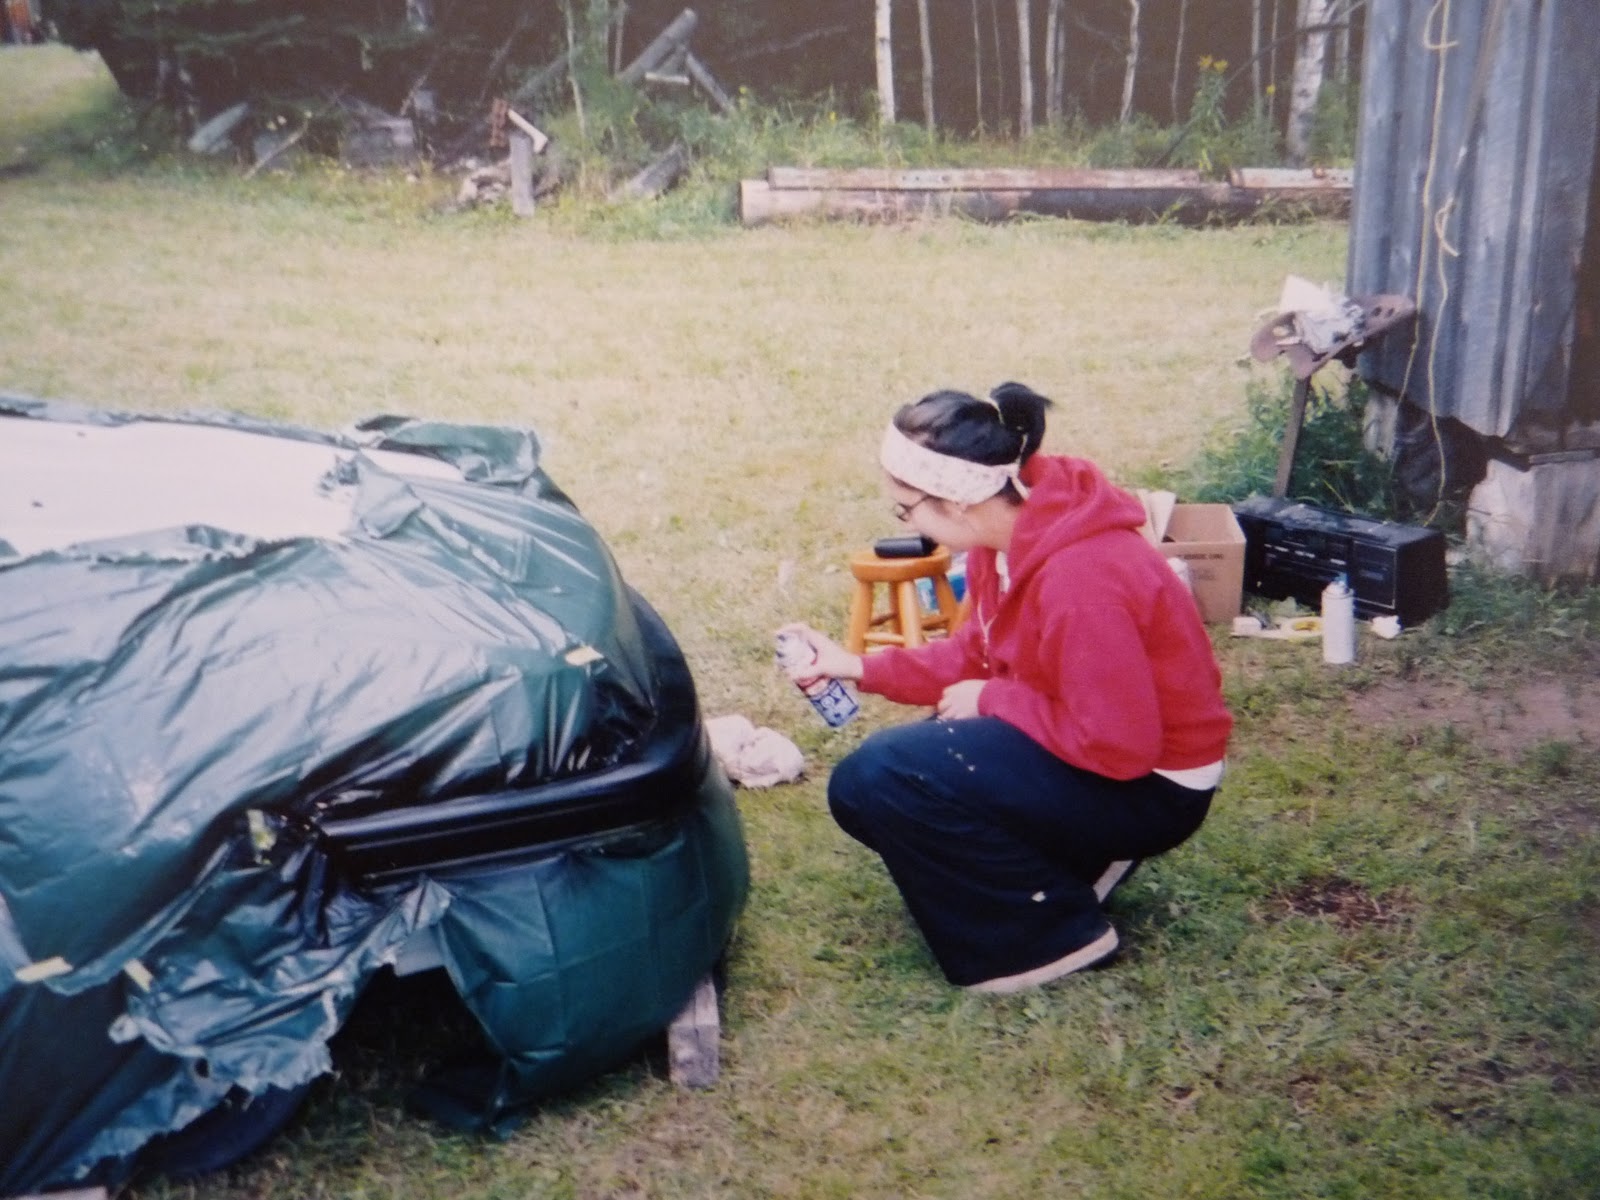 |
| Painting the bumper – 2004 |
There was rust we had to treat, as well. After sanding the body and the rust, we used a special rust inhibiting product to help make sure it didn’t come back. But rust goes deep, so sand and treat beyond where you think you need to.
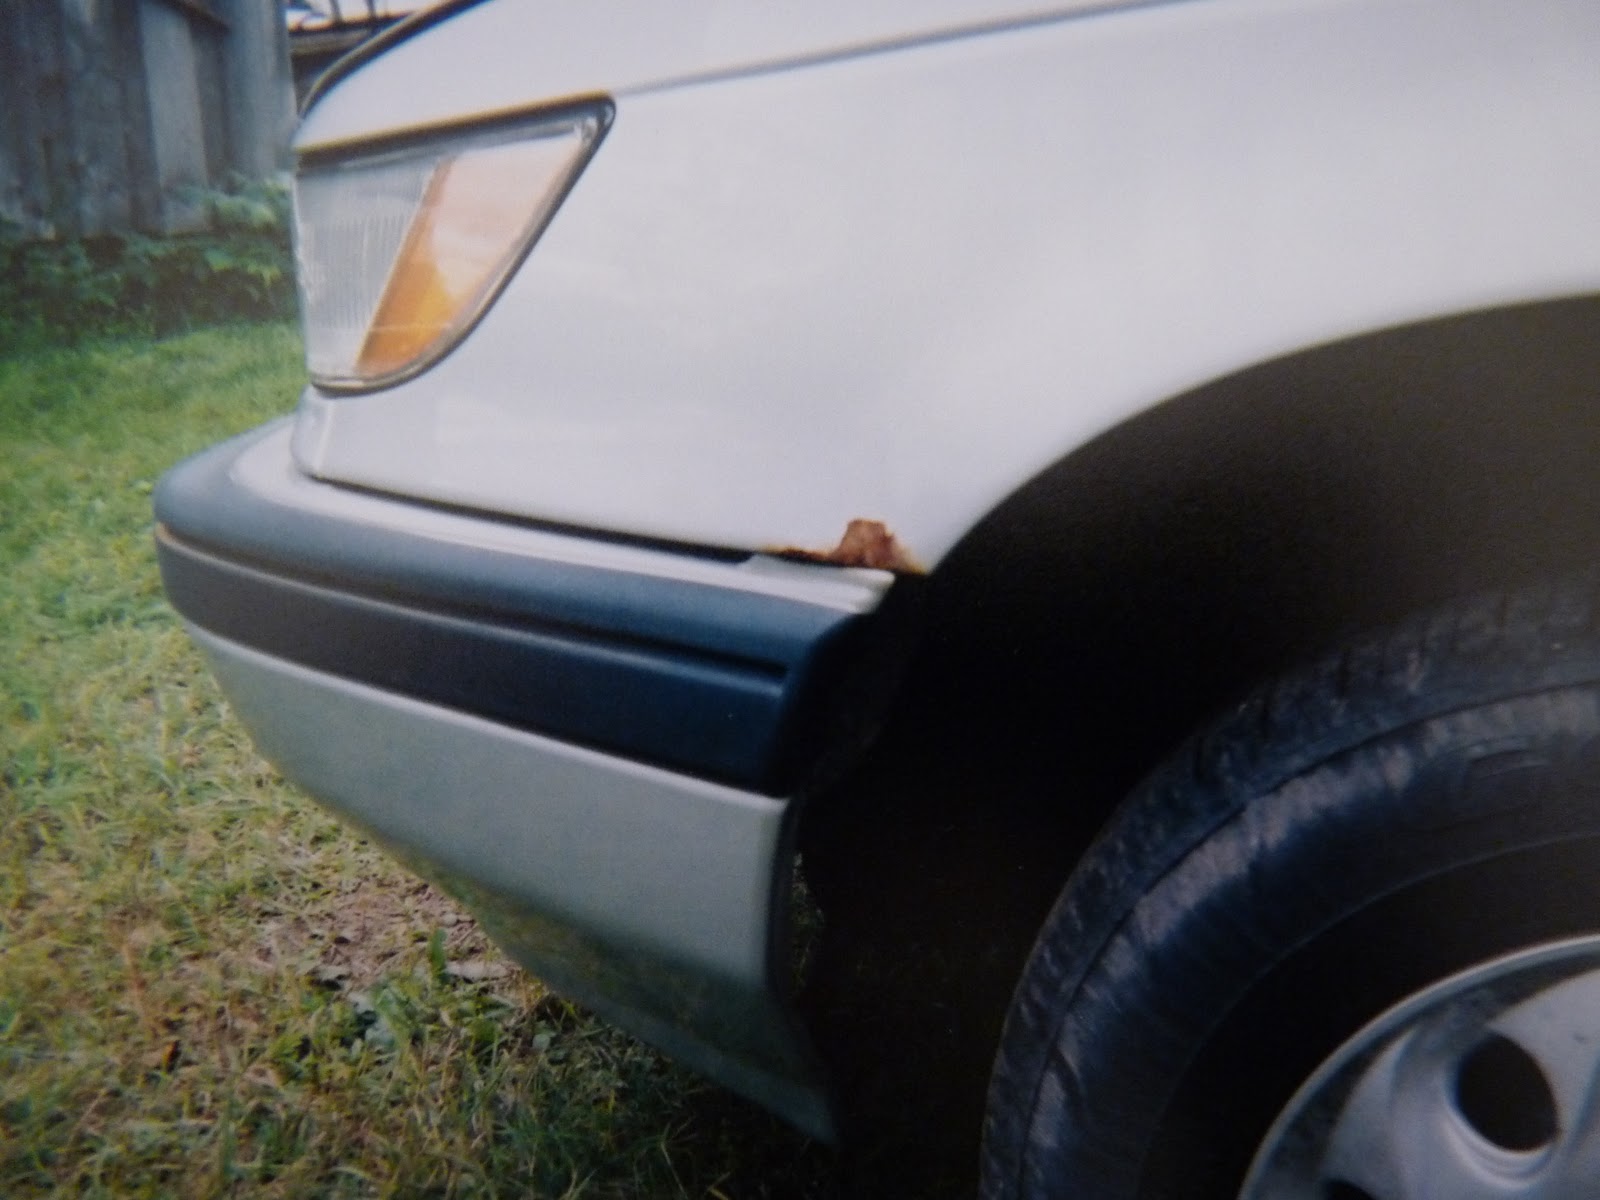 |
| The rust forming was one reason I chose to paint my car |
I am happy to say that the rust only came back a LONG time after this – the work we did held for many years. But eventually, whatever caused the rust to form there in the first place, happened again. But by the time he was donated to a charity for scrap in 2017, there was a little rust again:

Once the rust and bumpers were taken care of, we taped it off to paint the body:
 |
| Apparently not the right way to tape off a car |
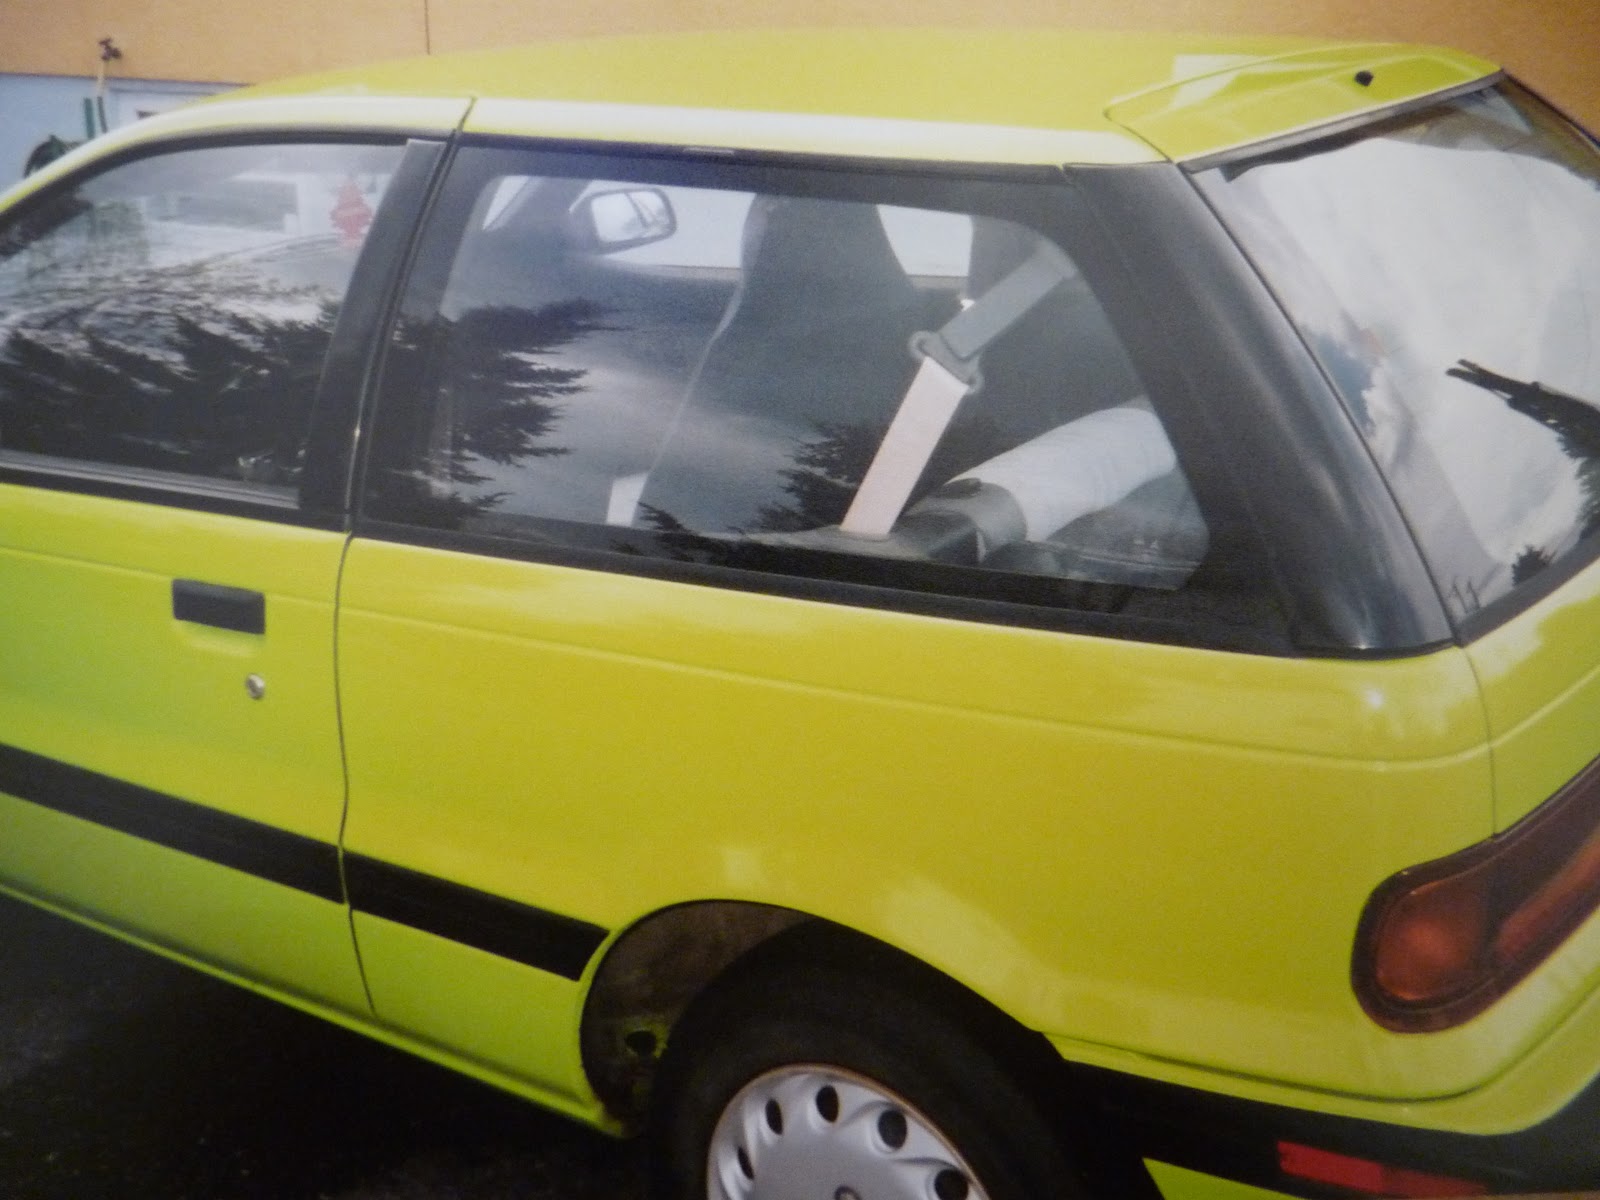
We did the hatch separately, because it was a different color and it needed some work too (we had gotten it from the wreckers, to replace my damaged hatch door):
 |
| Check out that head of hair on my cutie hubby! It’s so unfair, he doesn’t even want it!! |
For spraying, we did use a two-part automotive paint and a paint sprayer:
 |
| Apparently a field is not the ideal place, but its use was free, so the price was right |
In the end it looked okay! The hatch we bought to replace the damaged one now matched, and all signs of rust were gone!
 |
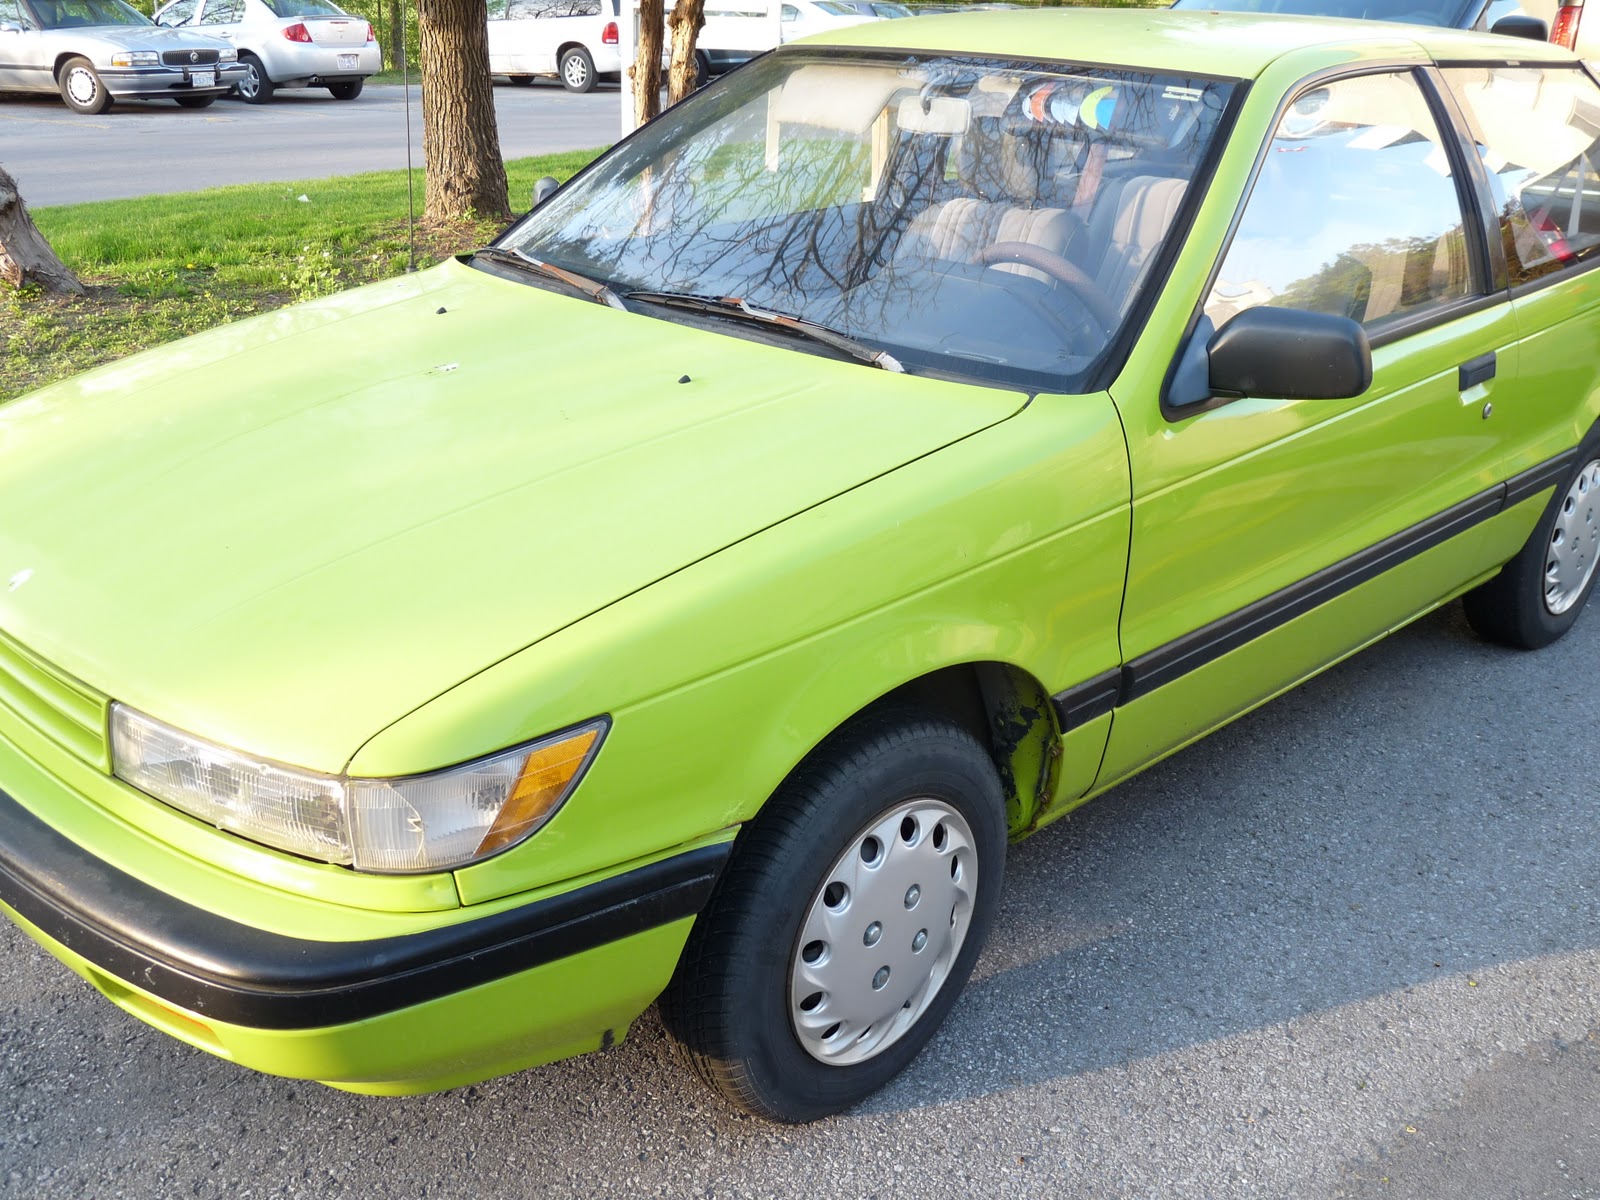
| An “after” shot taken the same year |
In the weeks it took us to paint my car, I kept thinking: “I can’t believe I ruined my car, I can’t believe I ruined my car”. And I’ll tell you a story about choosing the paint color. I wanted aqua! At the automotive paint place, back then, there wasn’t a lot of choice and the only aqua was a soft, pearly, minty aqua which the guys there told me looked too old lady. I wanted a fun color and regret not getting that color, all these decades later. I sort of liked this color too, and they REALLY steered me towards it. They said the shimmer would show mistakes and this gloss wouldn’t. My nail polish knowledge disputes this – glitter/shimmer always hides flaws. But anyway, that’s how I ended up with the bright green Dodge Colt!!


Oh my God, Tanya! I just saw this! This gives you serious DIY creds! I mean, Serious!!! It's quite evident creativity really runs in you (and your husband, of course), to pull this off in 2004!
Haha, thanks! Oh man, we were so fearless back then! We had so much energy, too. We were both working full time, plus I had two part-time jobs and we'd drive an hour out into the country to sand and paint. Took FOREVER, lol.