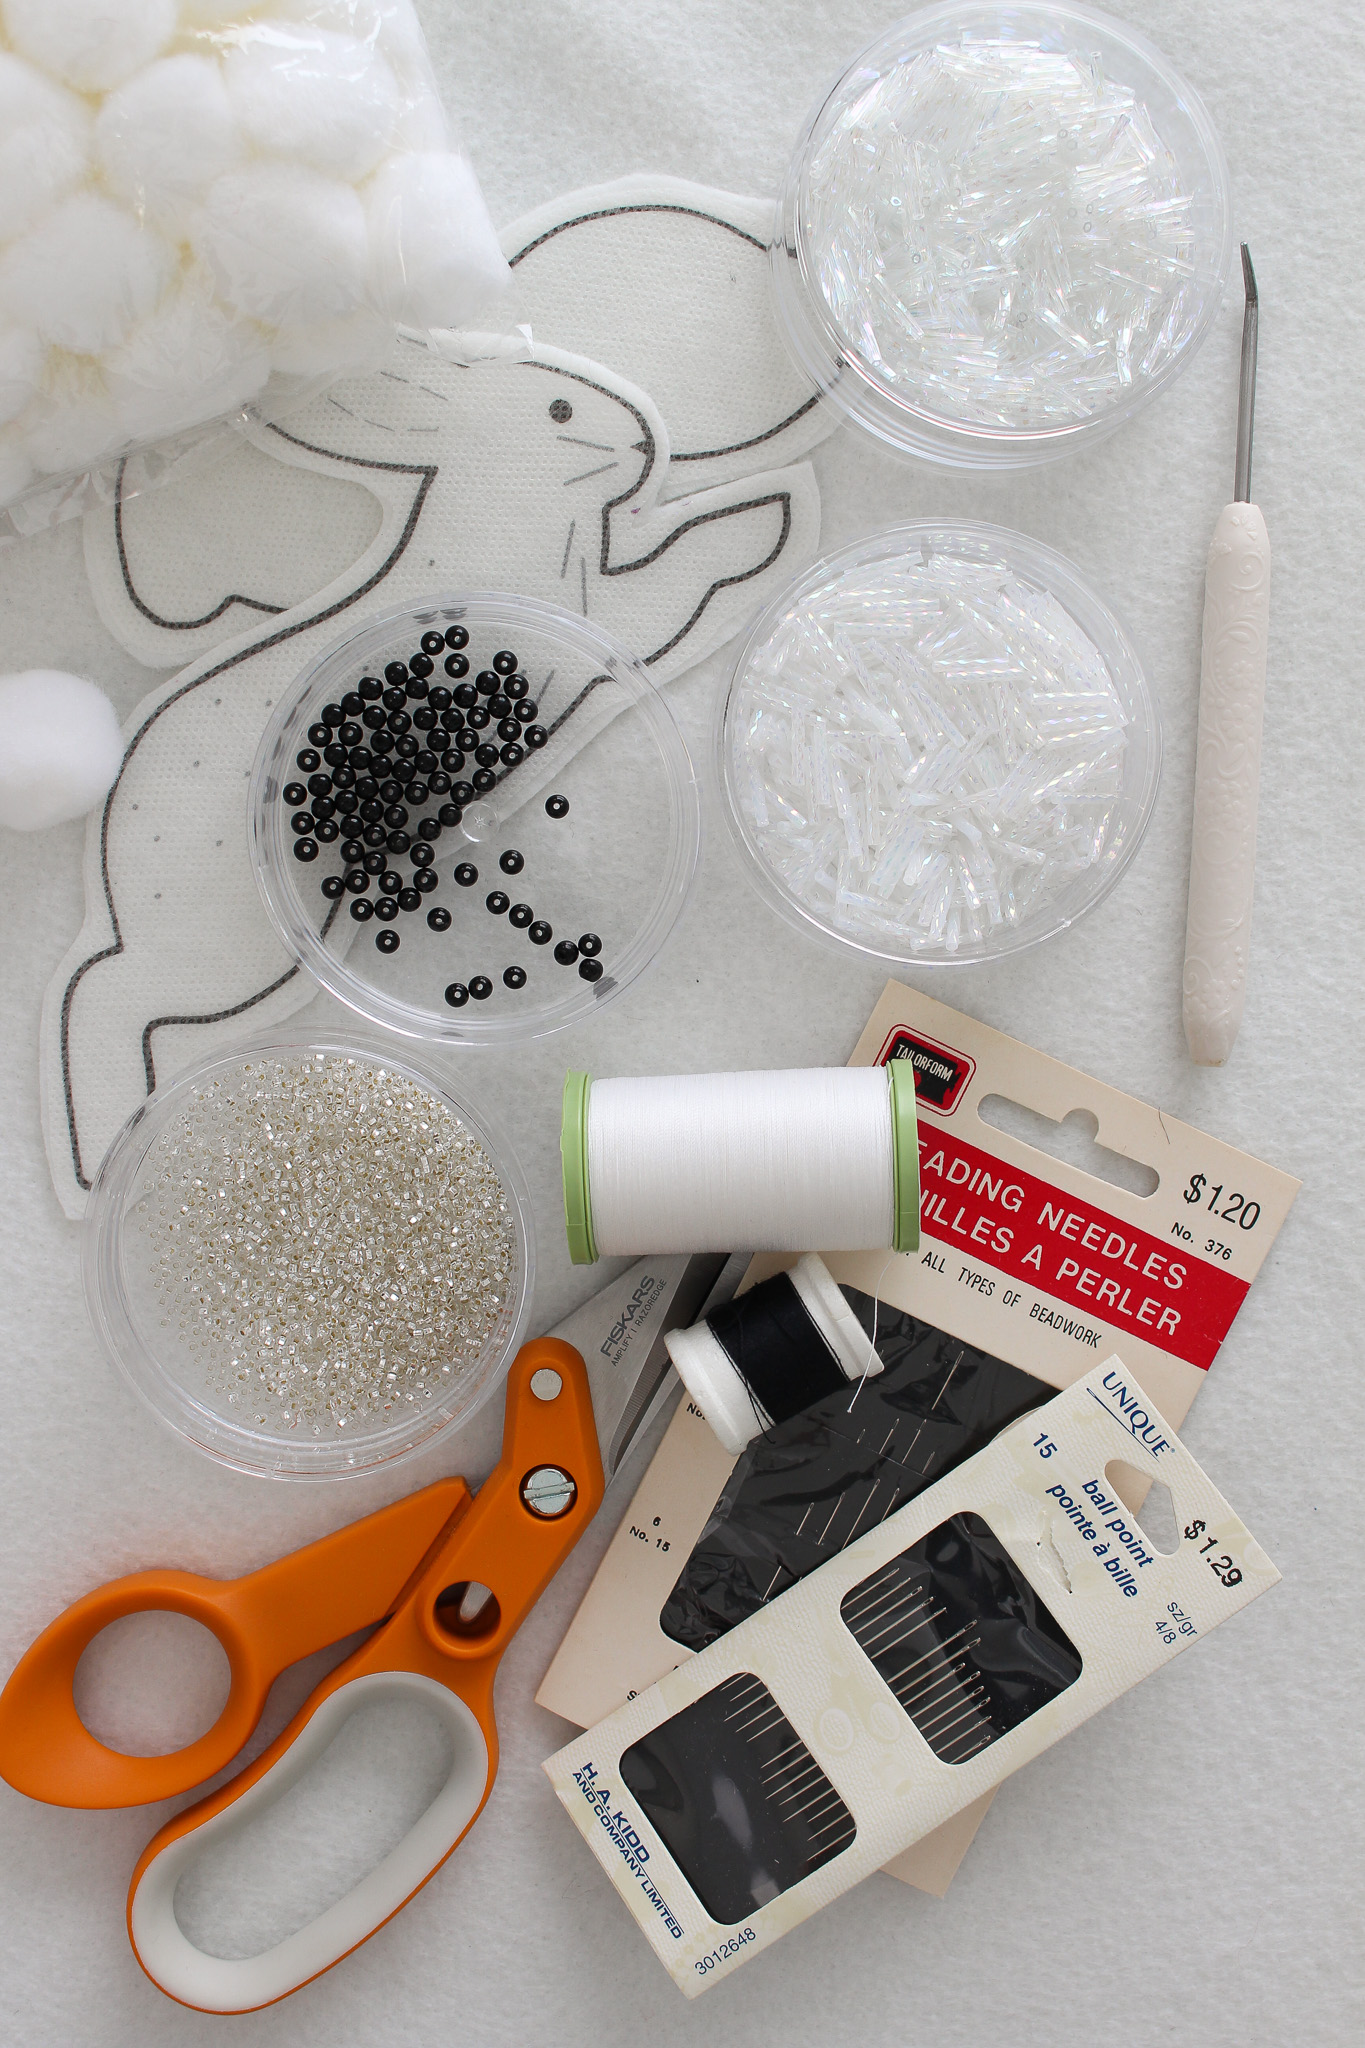
If you’re wondering how to transfer felt ornament patterns to felt, let me show you three ways! These methods will work for designing or making your own patterns (whether you draw them by hand or design them digitally) or printing the felt ornament patterns in my shop. You can find all of the products I mention in this round up of felt ornament supplies. If you’d prefer to watch a video, scroll to the bottom…
Print & Trace:
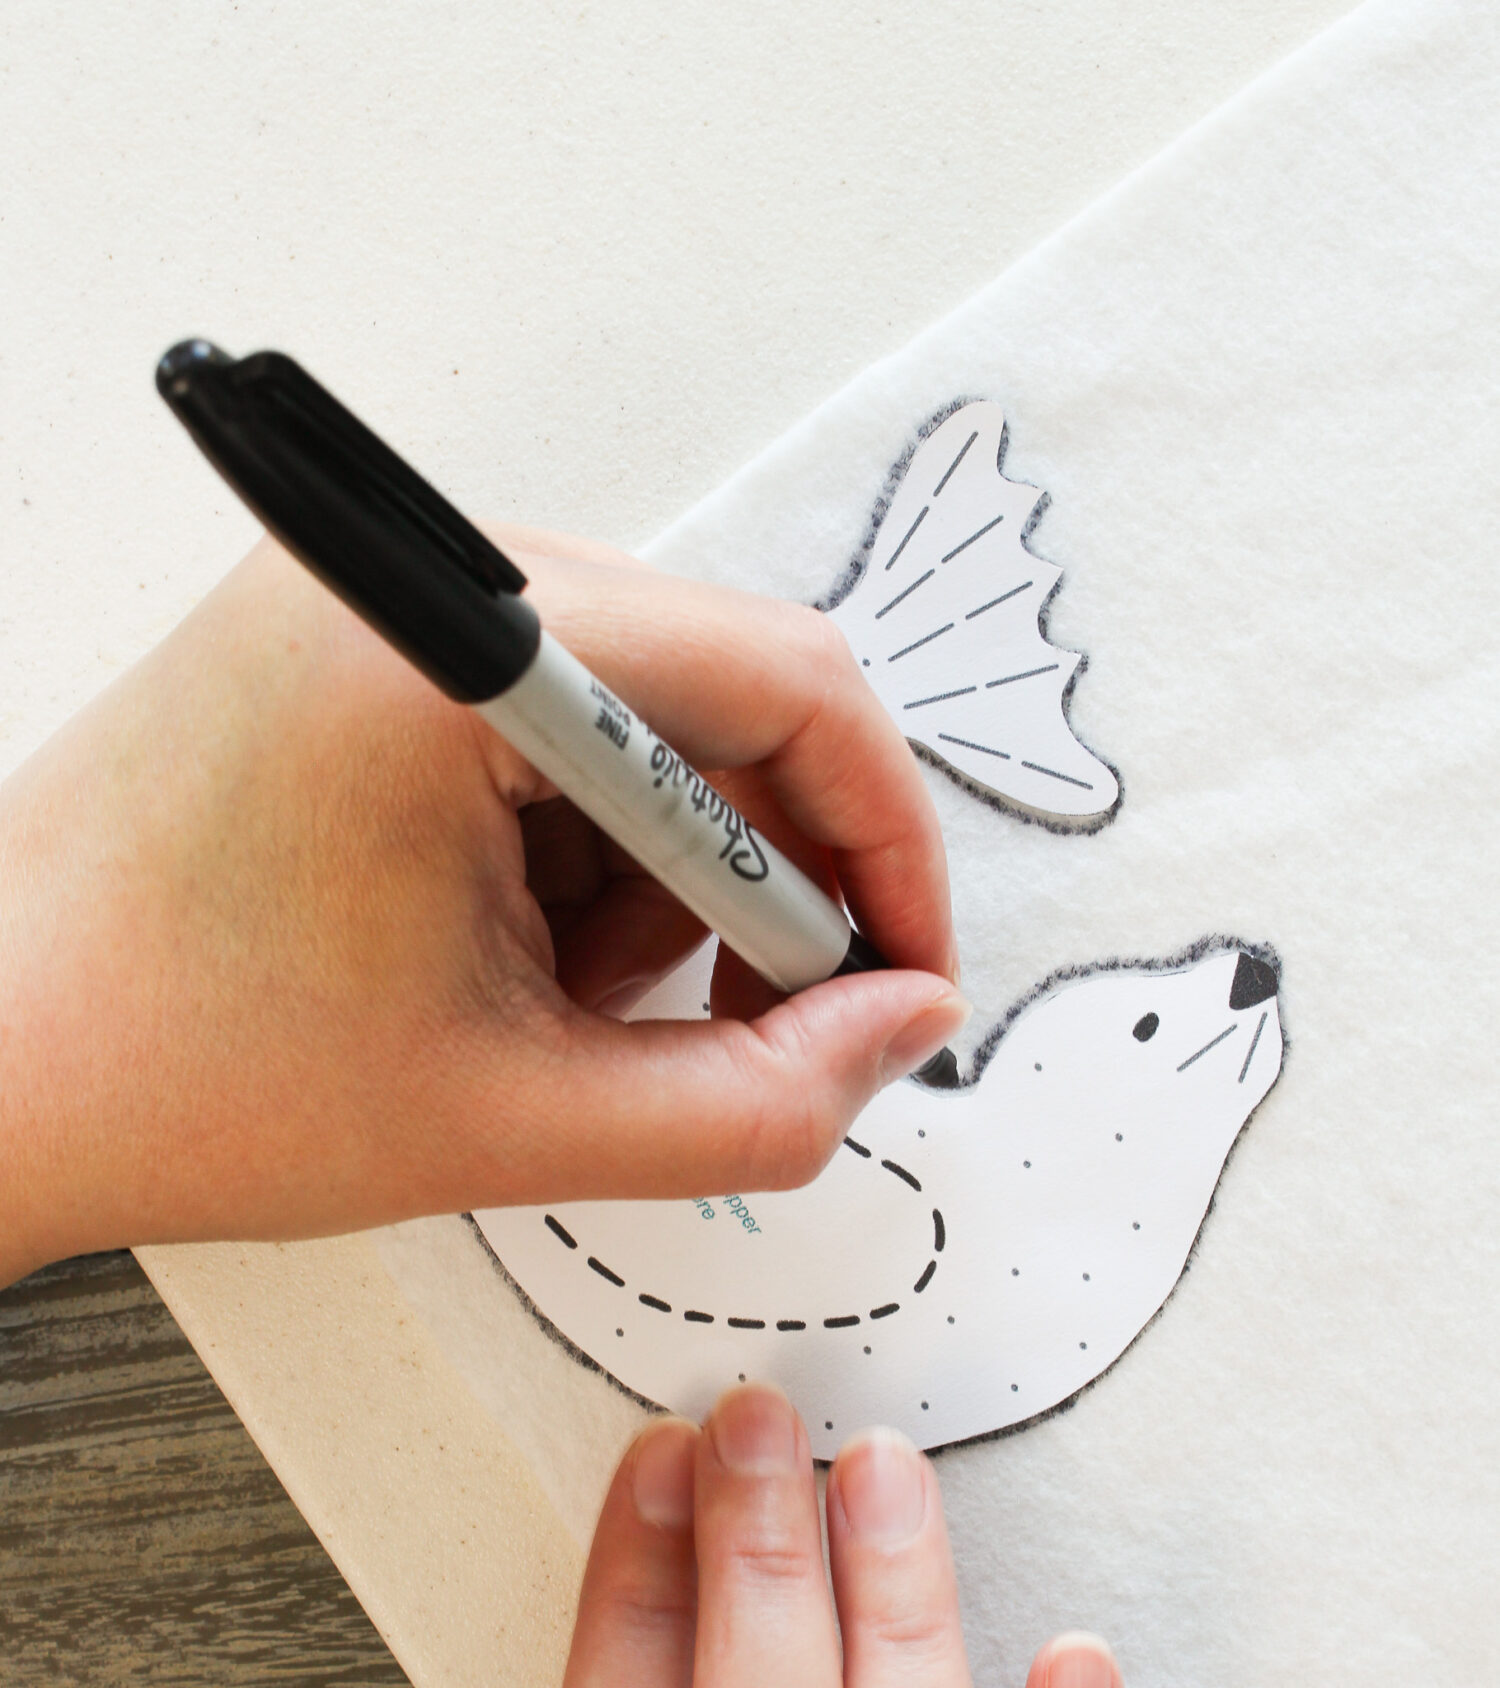
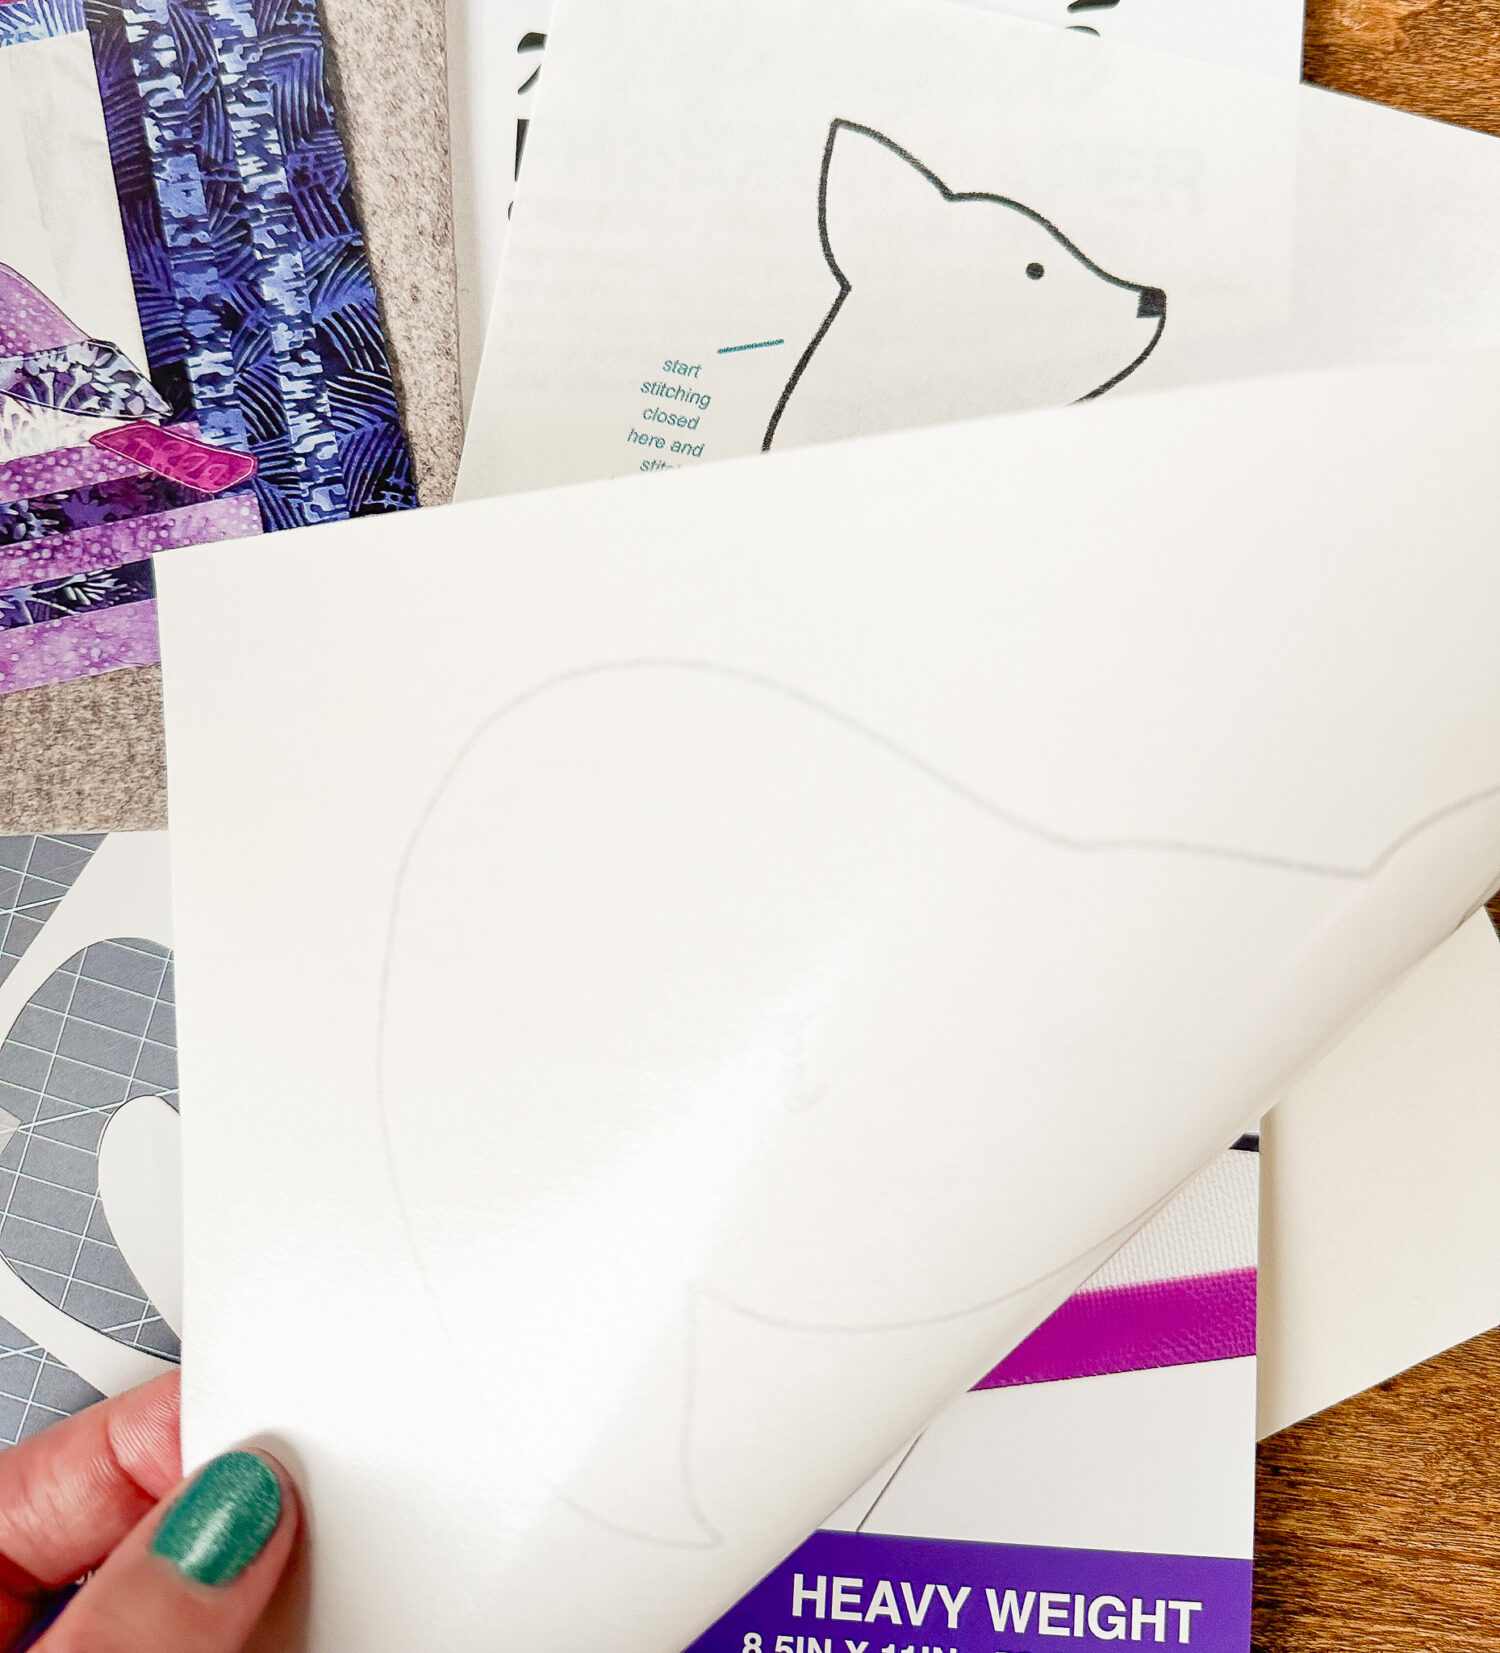
The most cost effective way to transfer felt ornament patterns to felt is simply to print and trace. Print your patterns onto any paper you have, cut it out, and then trace it onto your felt. If you have a stiffer, more rigid paper that helps! To trace, you can use tailor’s chalk, tailor’s marker (they even make heat erasable fabric markers) – or a fine tipped sharpie if you don’t want to invest in special supplies. These small scissors will help!


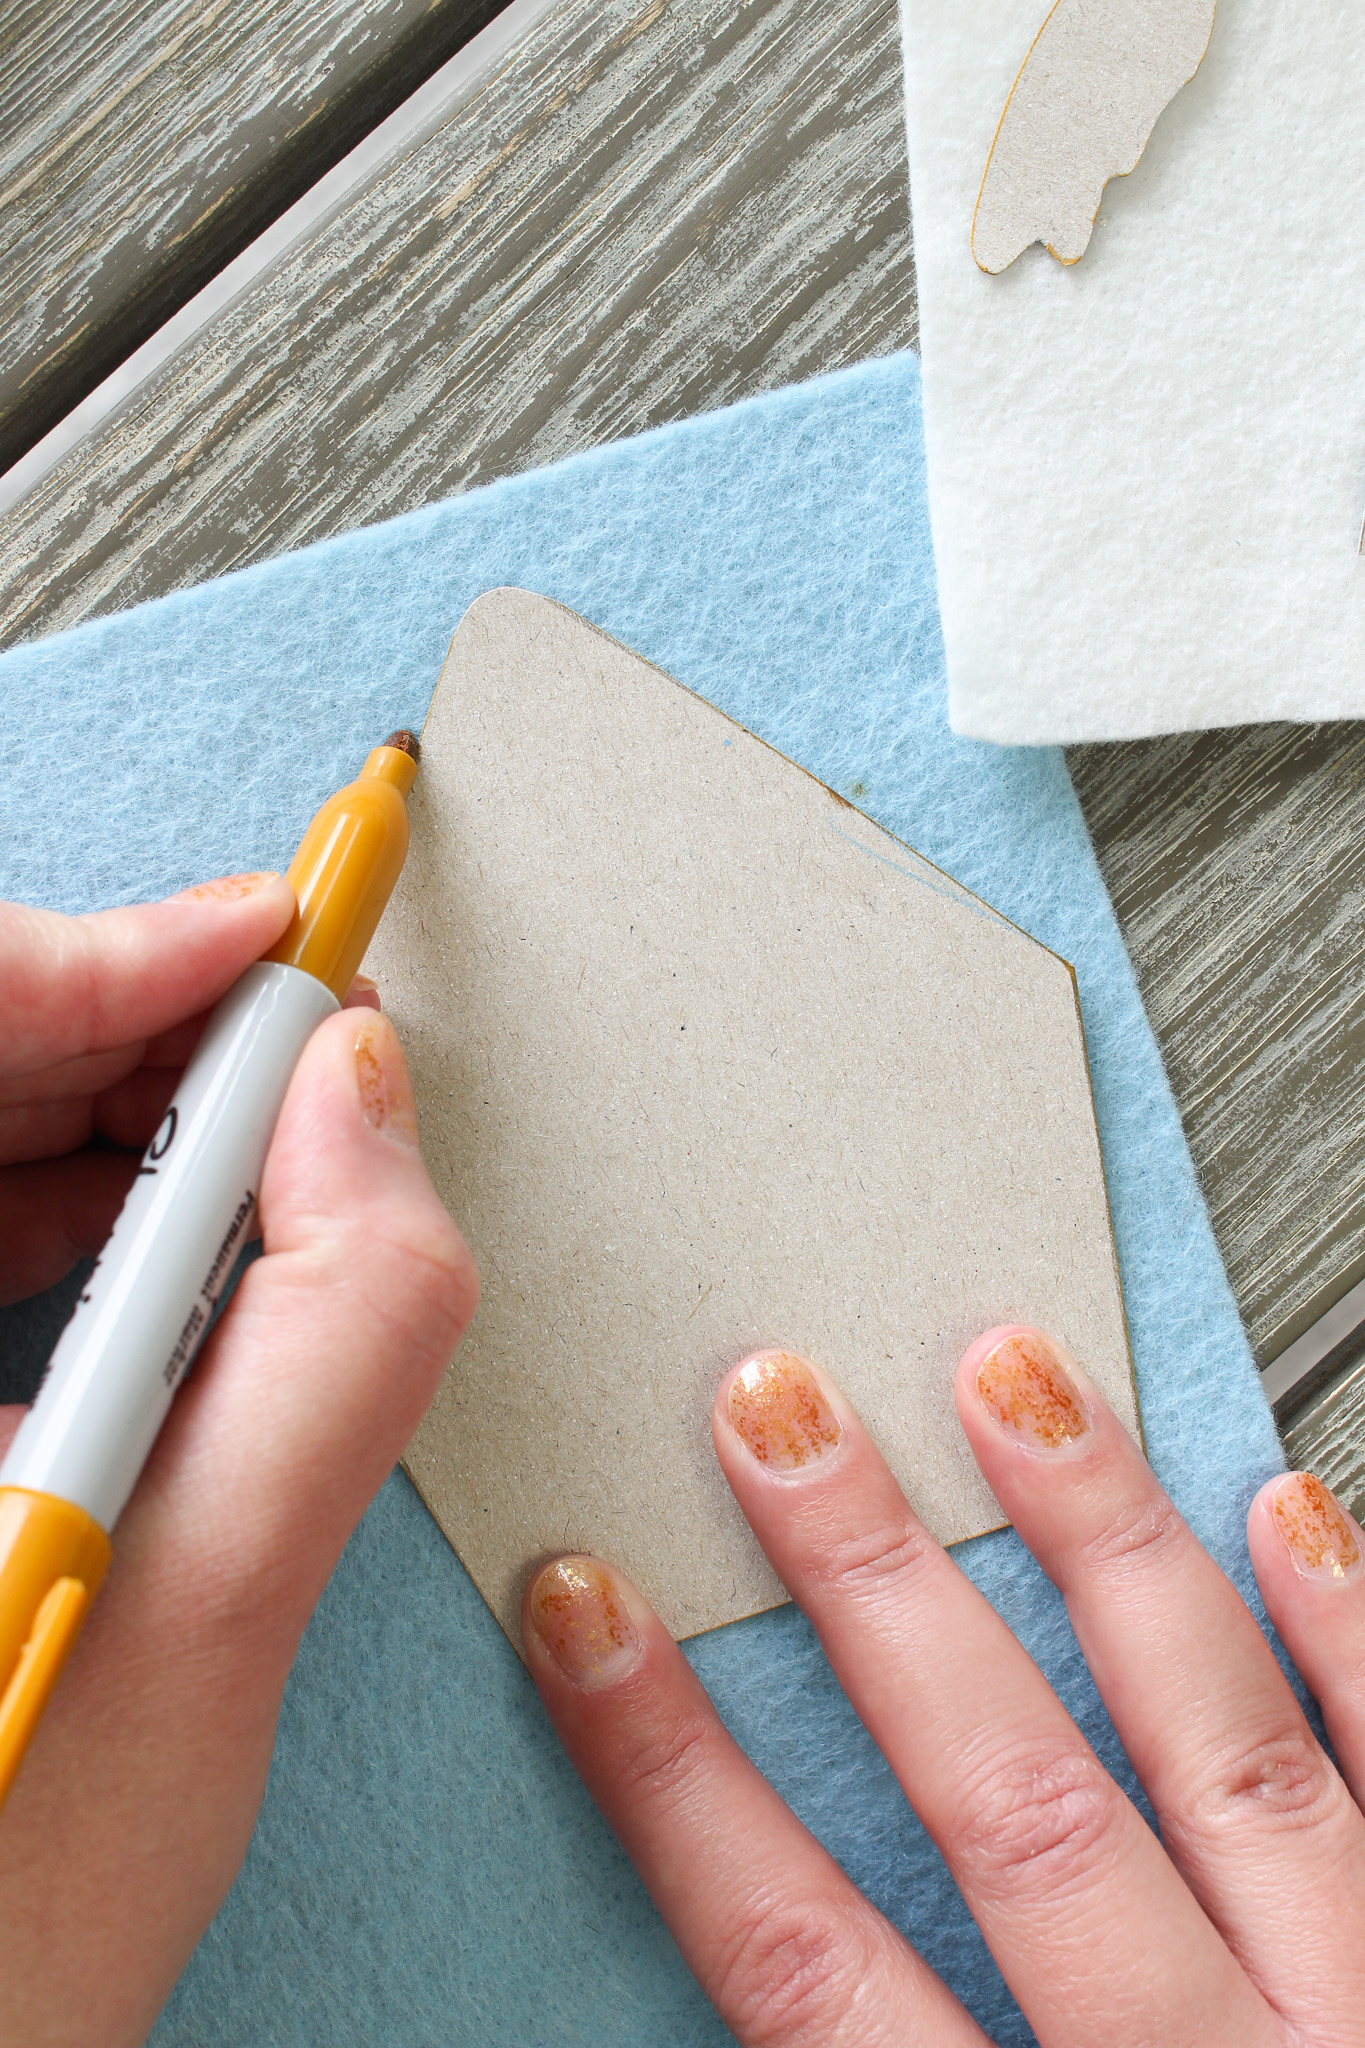
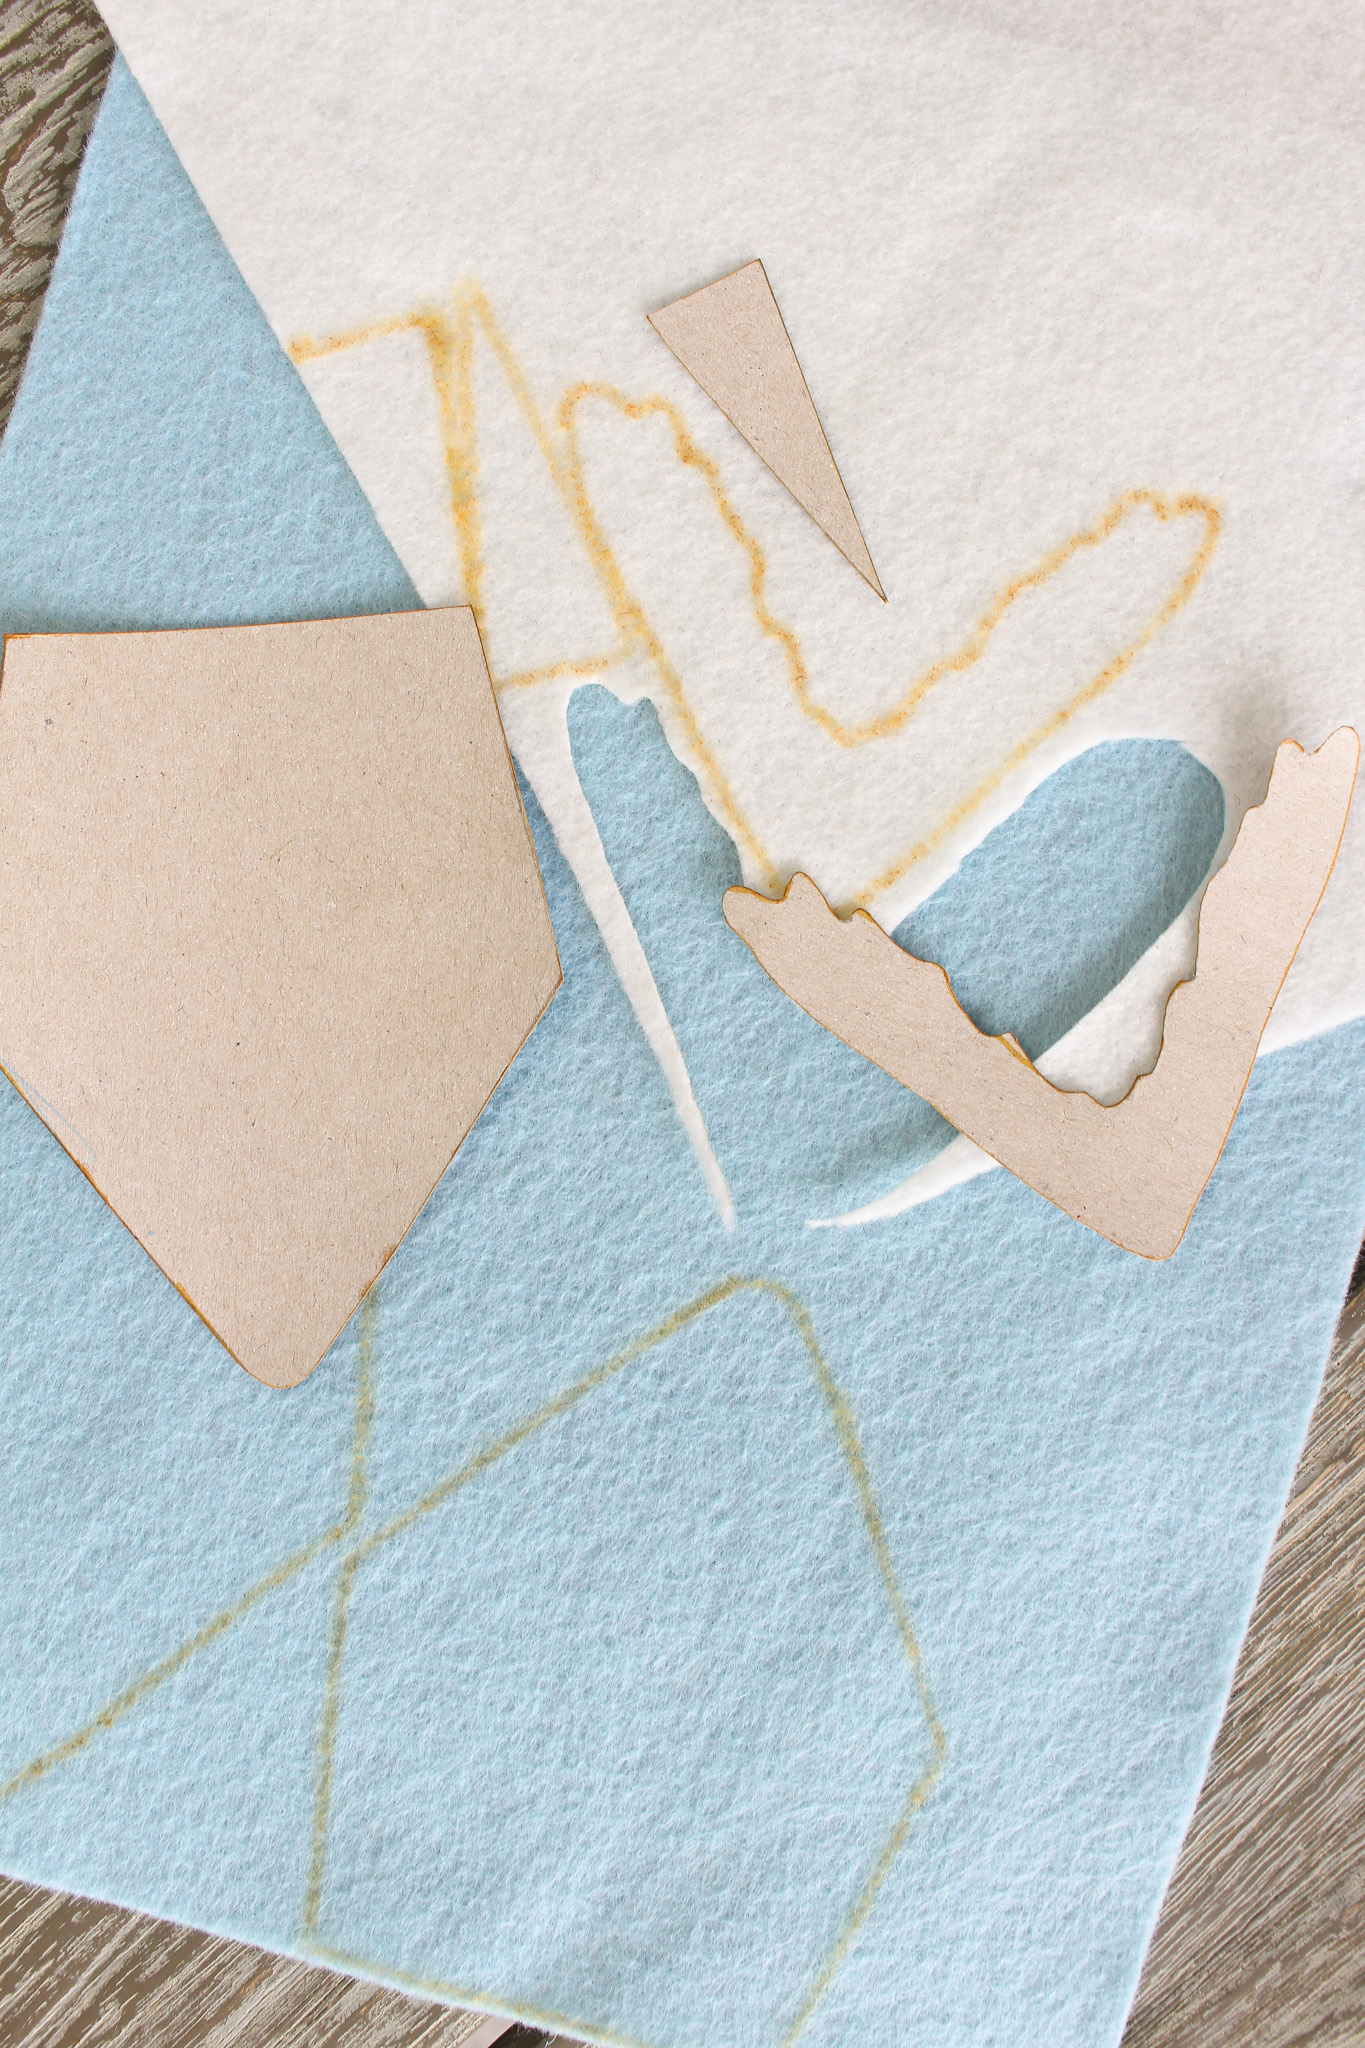
If you’re drawing your own patterns from your imagination, use a thin cardboard (like a tissue box) for a really nice template!
PROS: cost effective, no need to purchase additional supplies, you can probably do it right now and that’s good for impatient crafters (like me)
CONS: can’t follow embroidery/beadwork on patterns, need a steady hand
TIPS: rigid paper helps, a softer colored marker (not black) is even better

Freezer Paper:
You can print or draw your felt ornament pattern onto freezer paper, cut it out, and then iron onto the felt and cut out the felt. I have tried to roughly cut out the freezer paper, iron it on, and then cut it out properly, once on the felt. This method works, but I don’t like to cut through both layers – this freezer paper is stiff and it’s not the easiest to go through both it and the felt at the same time, and still get a nice clean cut.
I like that you can peel it off and re-use it, which is a plus if you’re making multiples of the same ornaments. As a downside, you can’t reap the benefits of a pattern that shows you where to place beads or embroidery stitches. Once again, these small scissors help!

PROS: reusable, affordable (you can, apparently, find this for cheap at some grocery stores but I could not)
CONS: can’t follow embroidery/beadwork on patterns, extra cutting/work, need an iron/ironing board
TIPS: cut out the shape first, then iron onto felt – don’t try to cut both layers
Stick On Dissolving Stabilizer:
This is my favorite method (as a longtime sharpie user). With this stick on dissolving stabilizer, you can print or draw your felt ornament pattern onto the stabilizer, roughly cut out, and then peel and stick it onto the felt. Then you can cut out the shape and leave the stabilizer on while you do any beading or embroidery stitches. Don’t forget these lovely small scissors!
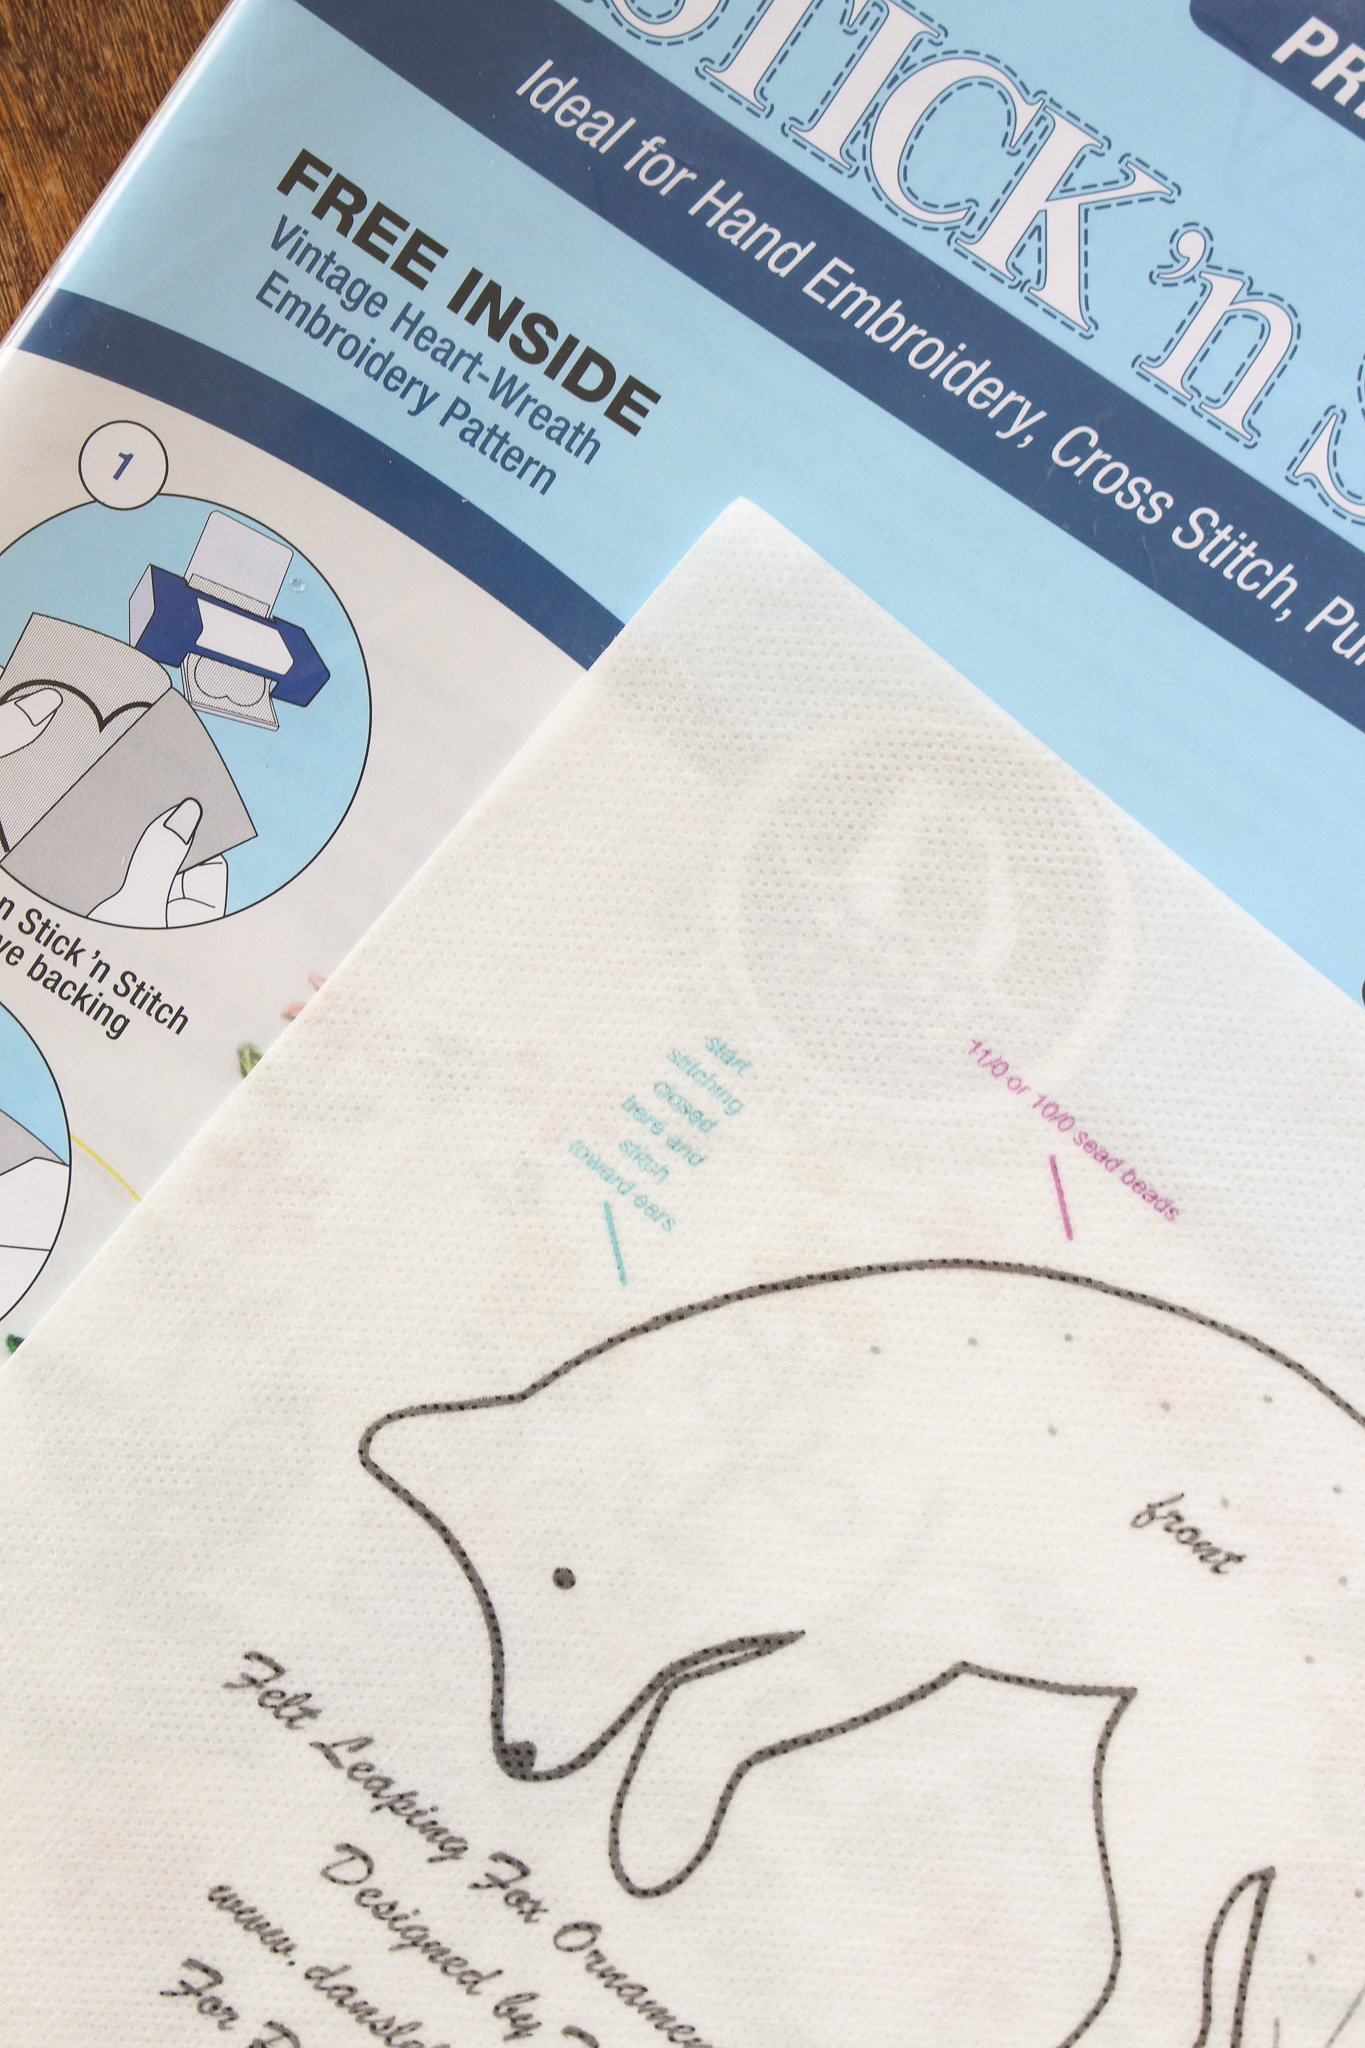
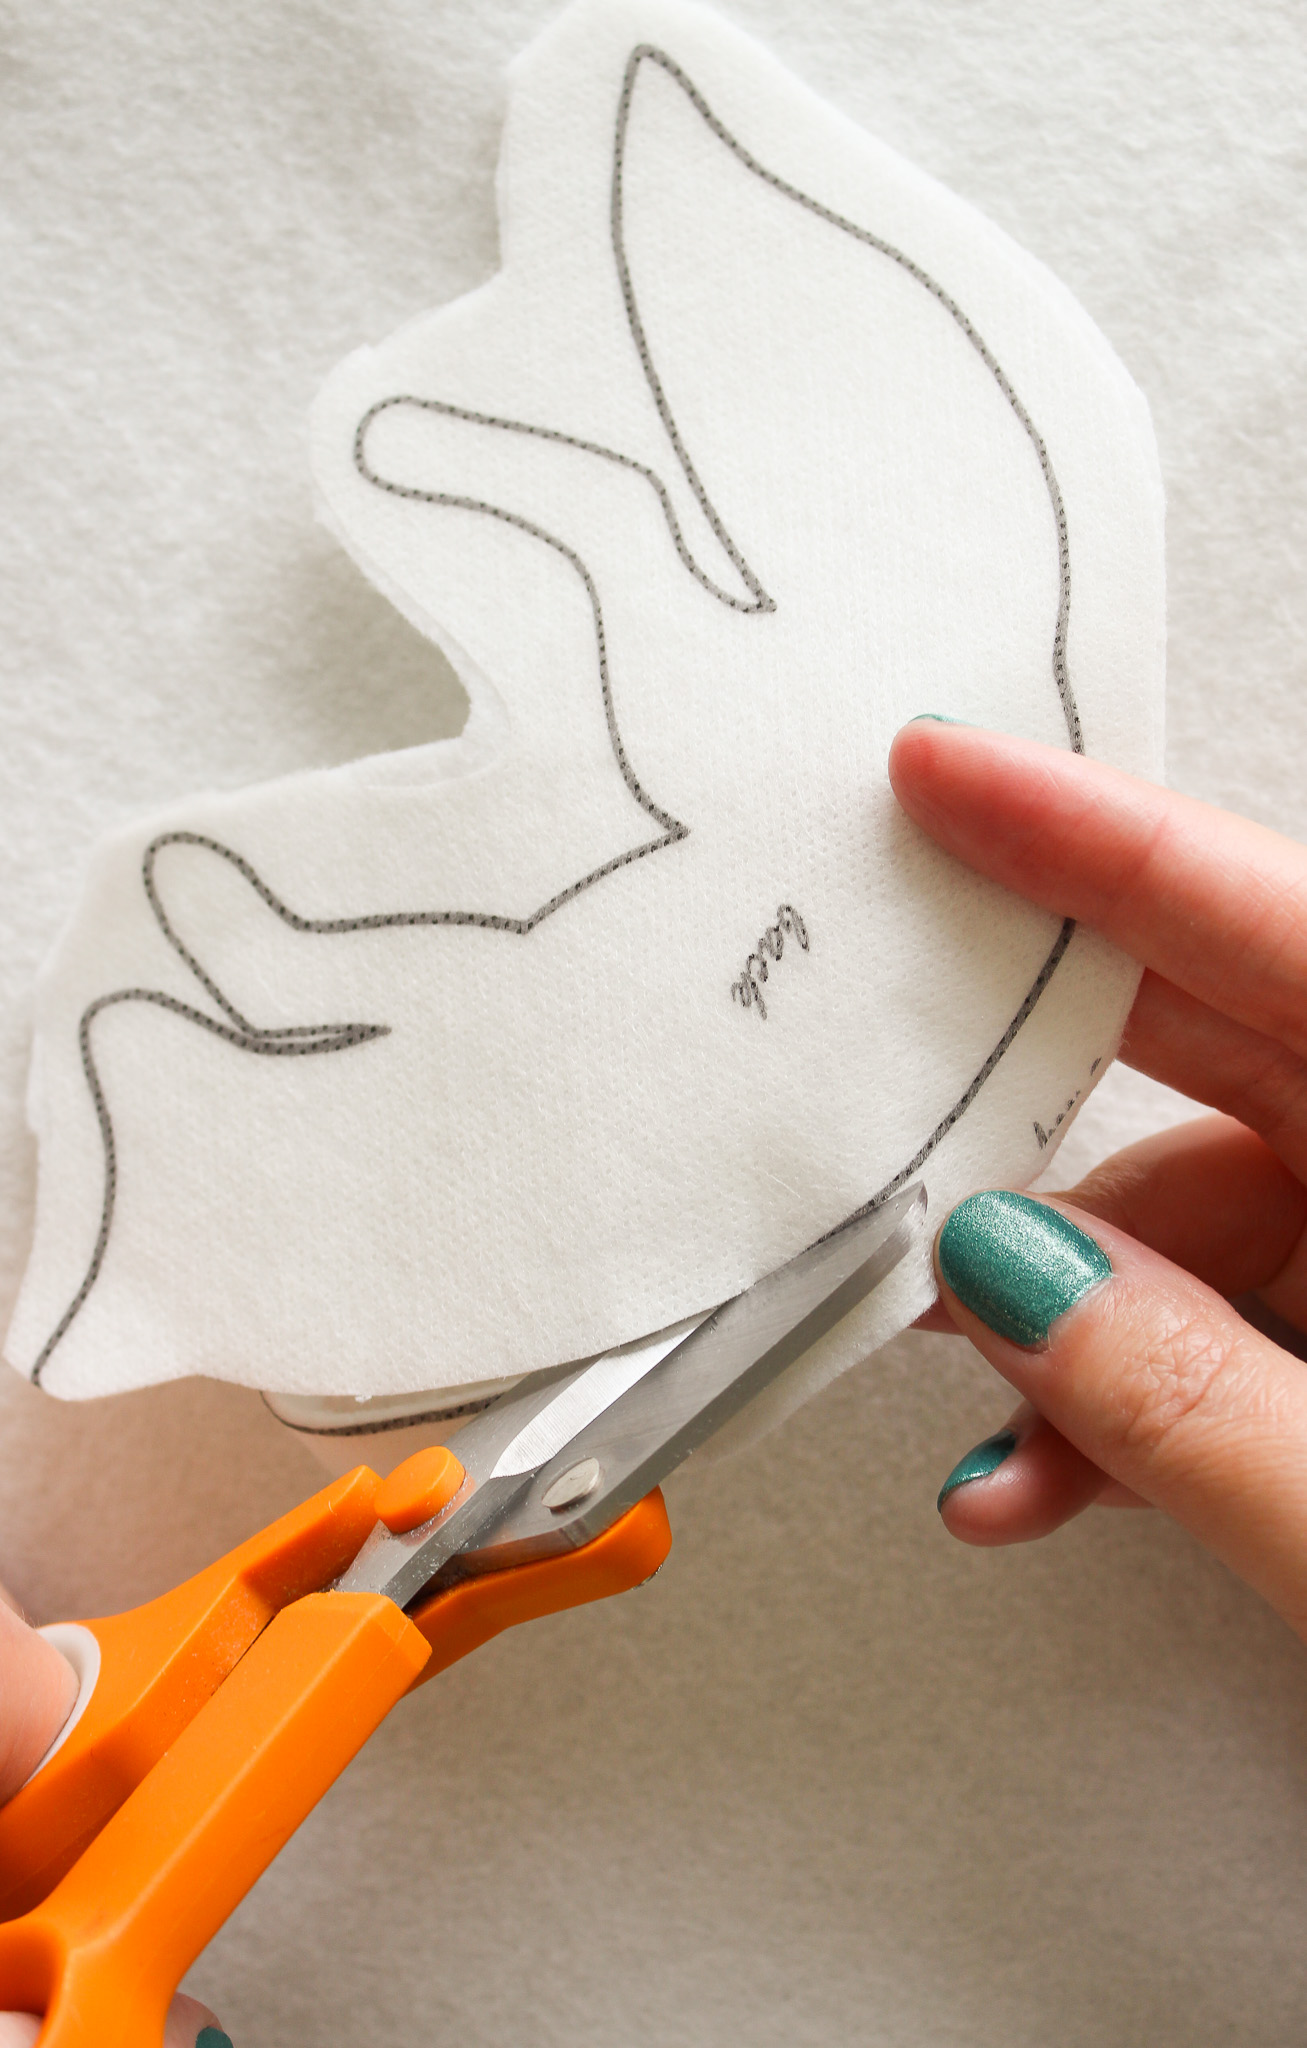
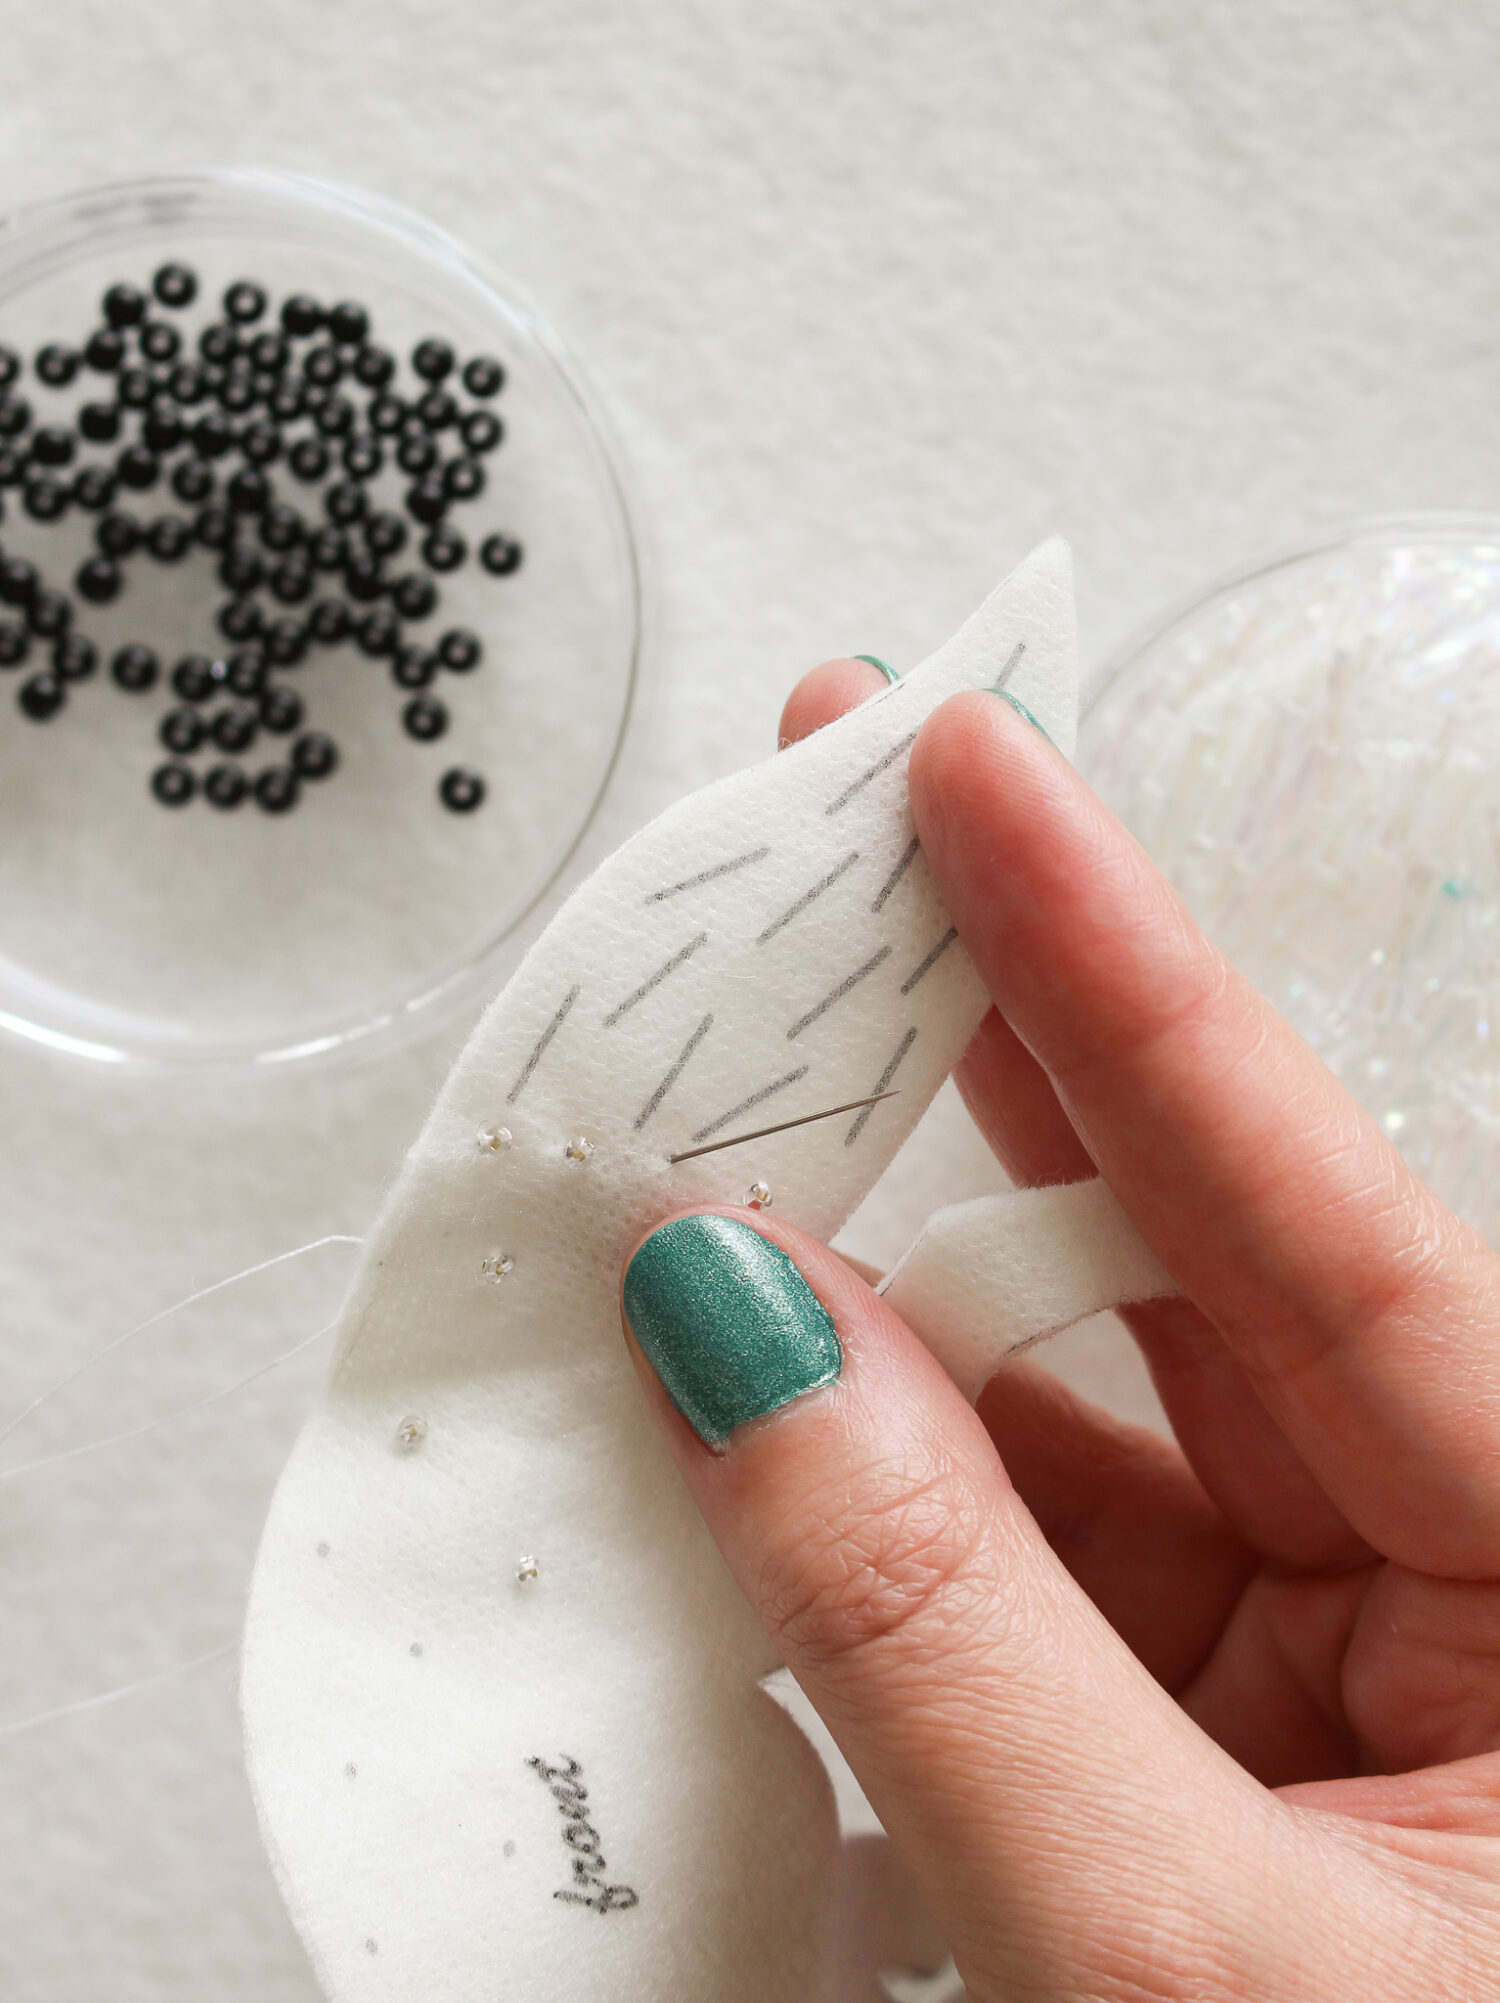
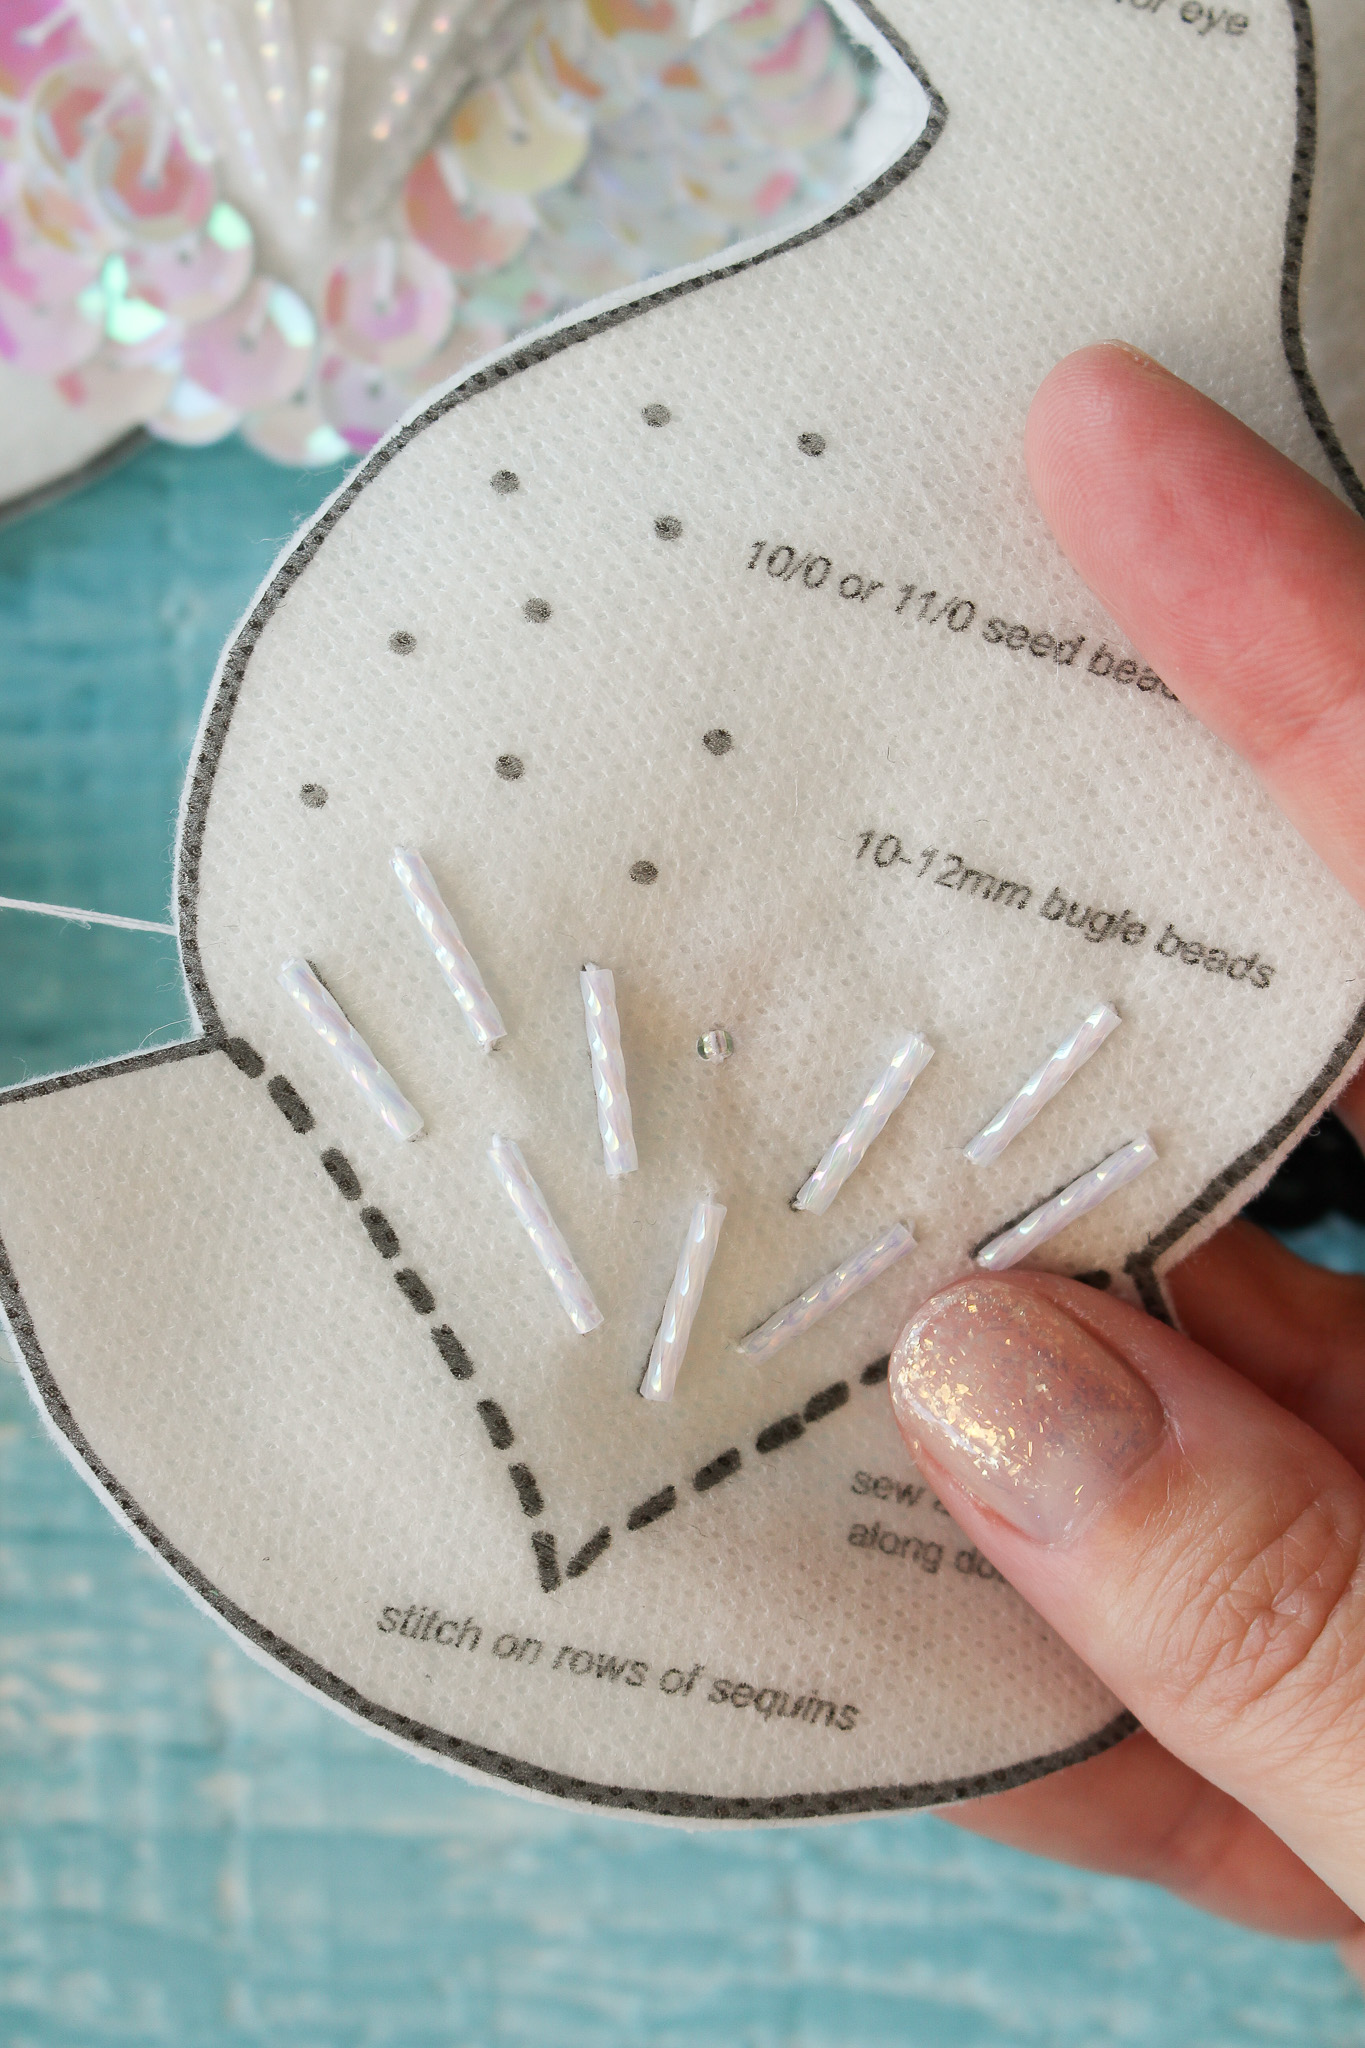
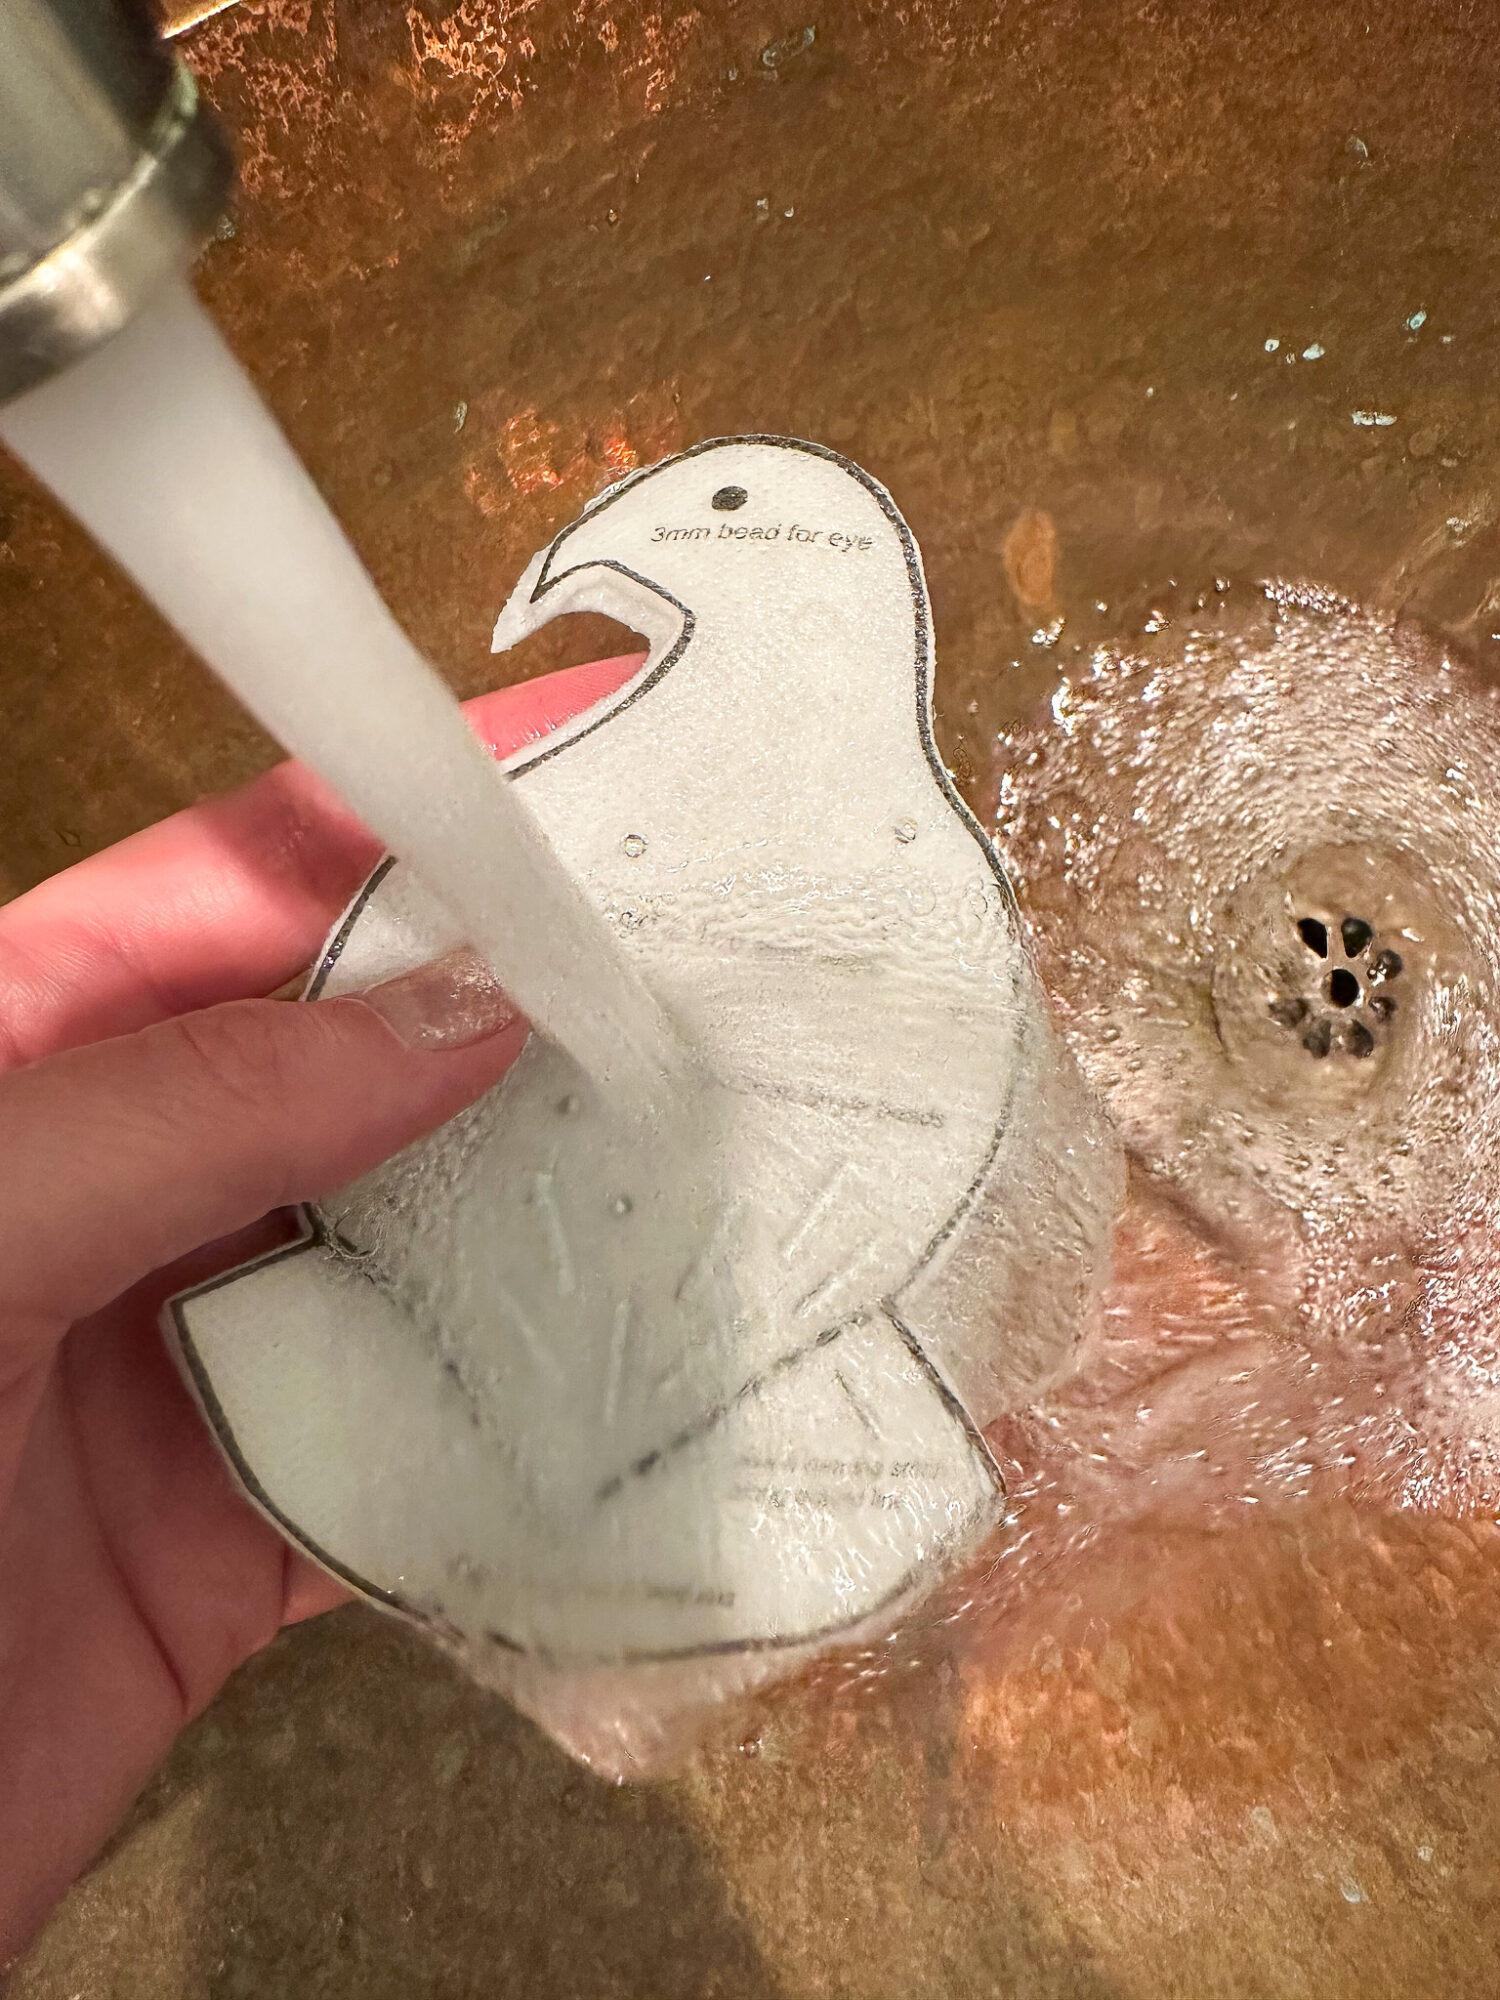
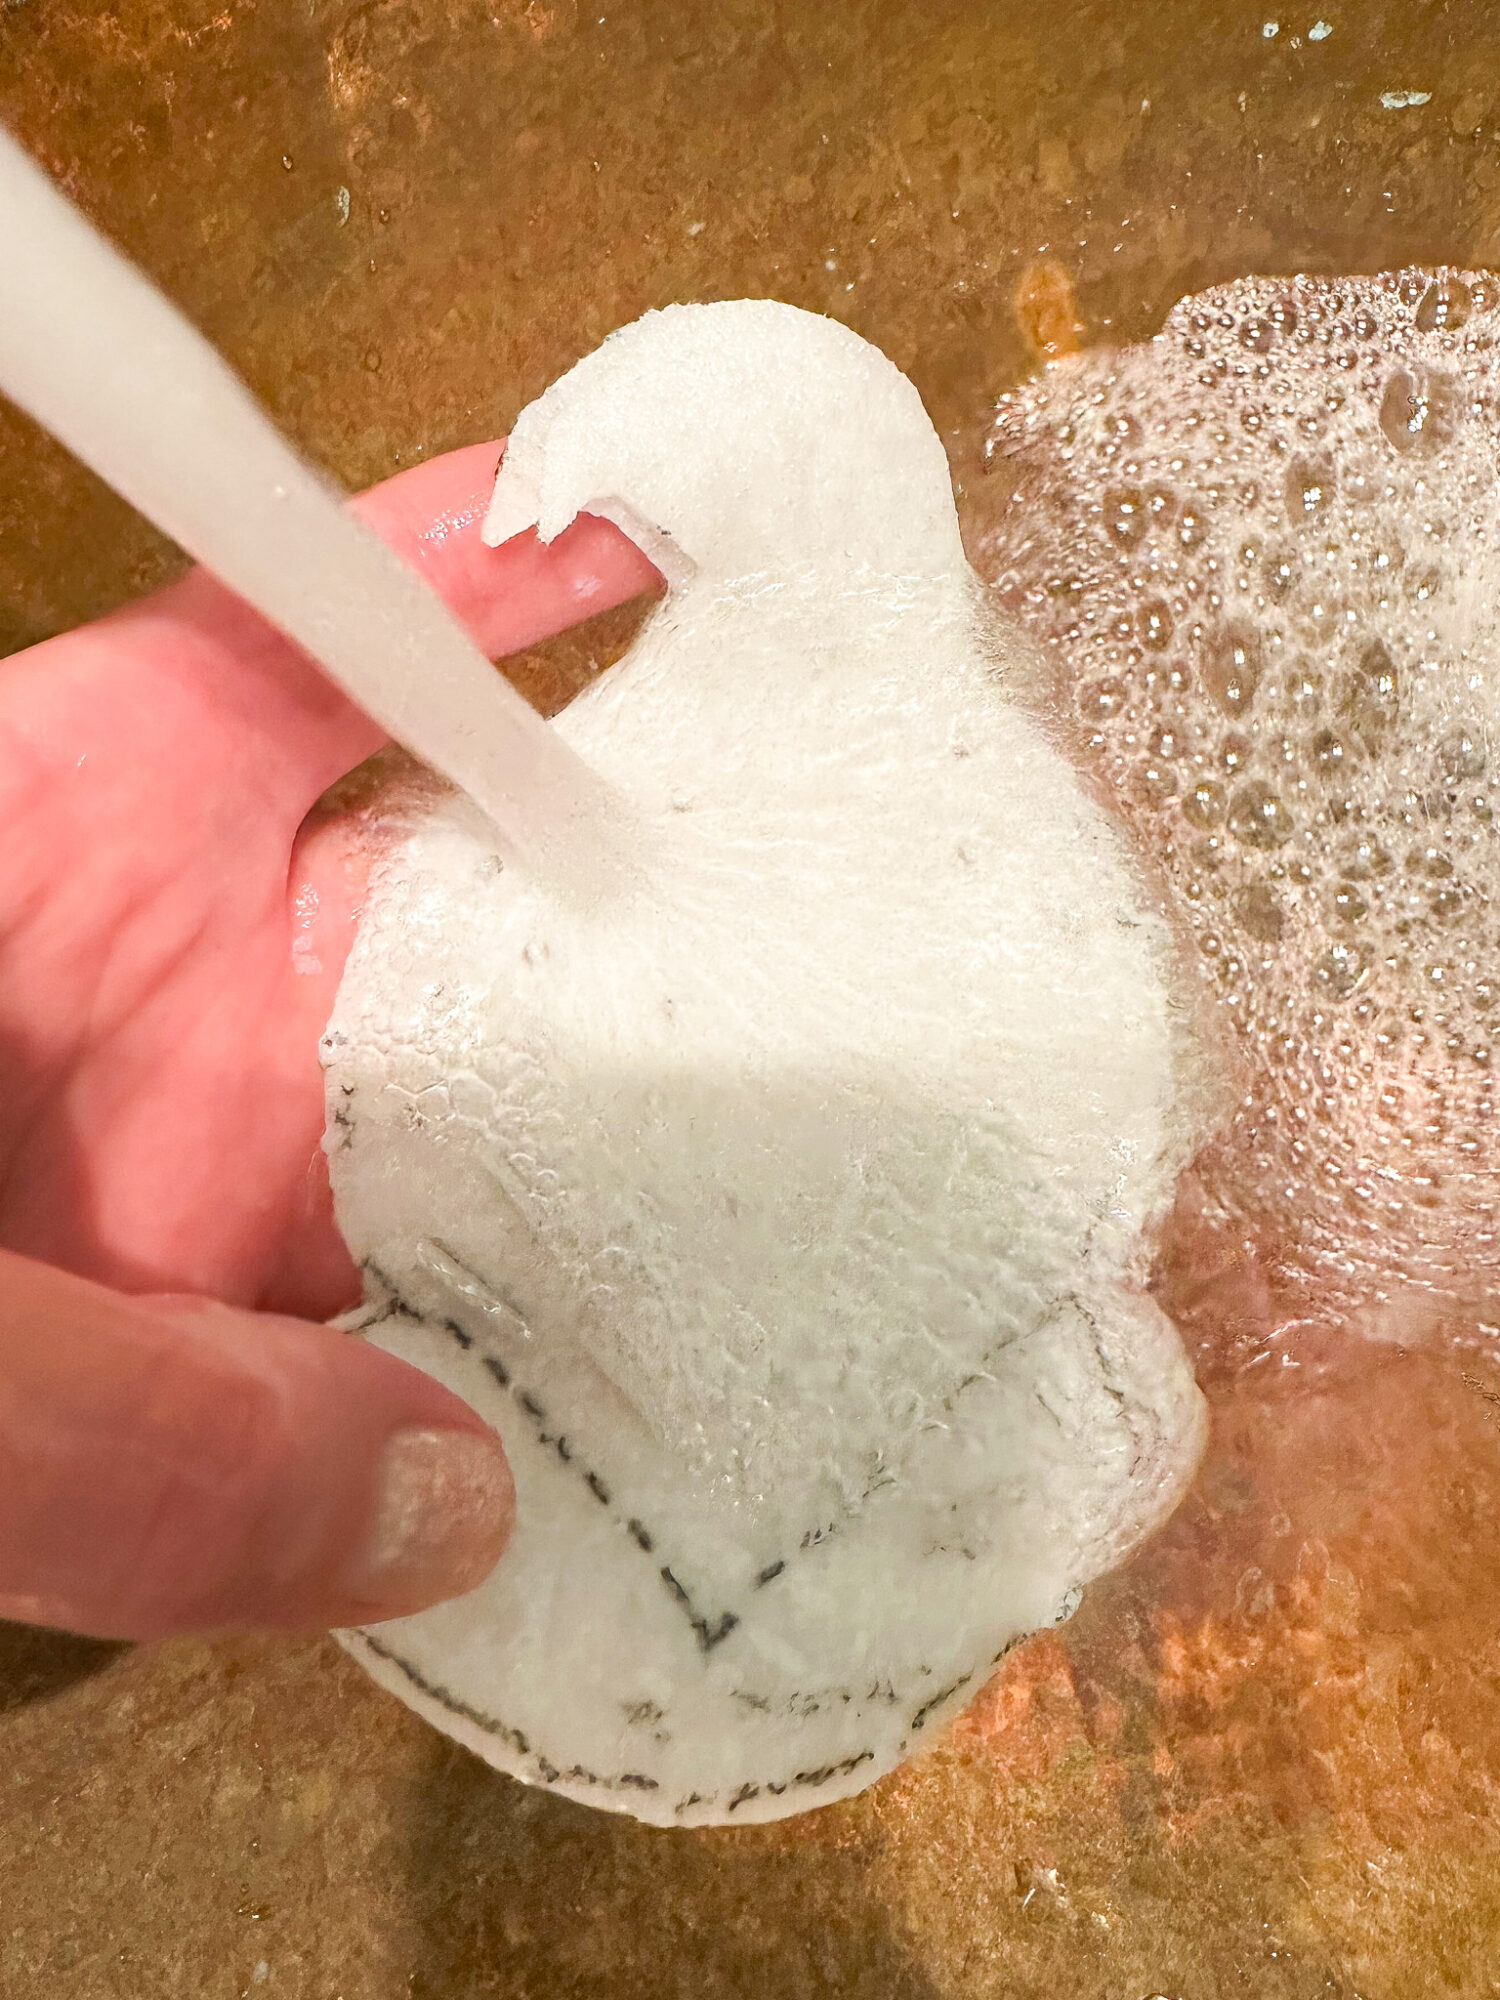
When you’re done, you simply rinse it away! The material will just sort of disintegrate under beading and stitches. Then let the felt air dry or place it between two layers of a tea towel and gently iron, slowly, on low heat – being careful not to crush any beads.
My Recommended Way to Transfer Designs to Felt:
The stick on stabilizer is my favorite method to transfer patterns to felt because it’s quick and easy and my felt animal patterns all indicate where to place beads, making this a beginner friendly tool to complement my pattern designs.

But making felt Christmas ornaments can be very budget friendly so, if you don’t want to invest in materials at the moment, choose the option that fits your budget best. If you have any mobility issues (I injured my hand last year, and was still trying to making ornaments so I can understand a little), the stick on stabilizer was easiest for me to use. But I started out using a sharpie and made beautiful handmade felt ornaments.
I hope this helps! Click the links to find all of my DIY felt ornament tutorials and download all of my felt ornament patterns.
3 Ways to Transfer Patterns to Felt Video:
