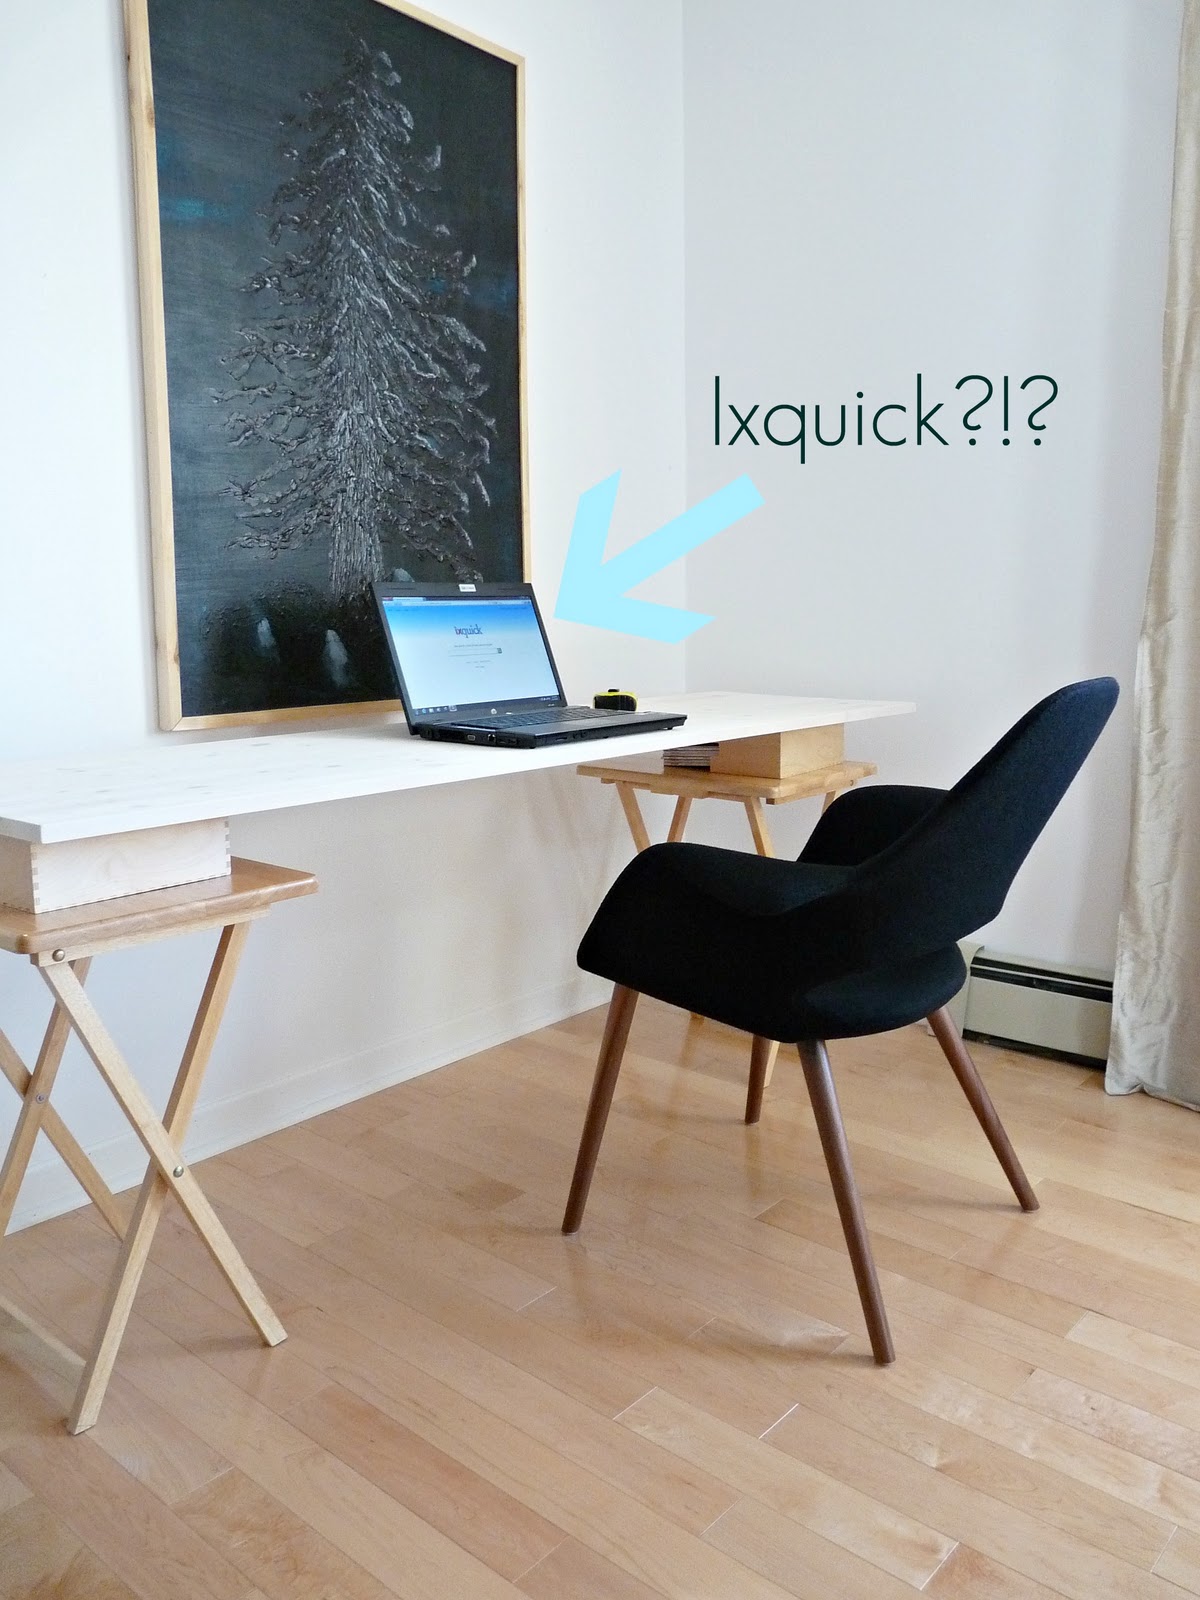
I am sooo excited about this gorgeous DIY desk we have built and today I’m going to show you how to make simple DIY welded table legs using square metal tubing. If you’d like to see more of this DIY desk project, check out how we stained and varnished the desk surface here and the completed DIY desk reveal here! But just look at these cool DIY metal desk legs:

Welding legs for our new home office desk was a fairly basic welding project, but we aren’t going to get fully into how to weld – as that skill is a little more in depth than what a blog post can cover. If you are interested in learning, check out your local college. Many of them offer night classes as well as regular curriculum courses. We’ll show you the basics though, including supplies for this DIY welded table and the basic fabrication steps for this DIY desk. But I did happen to find something similar you can buy (these are also similar).
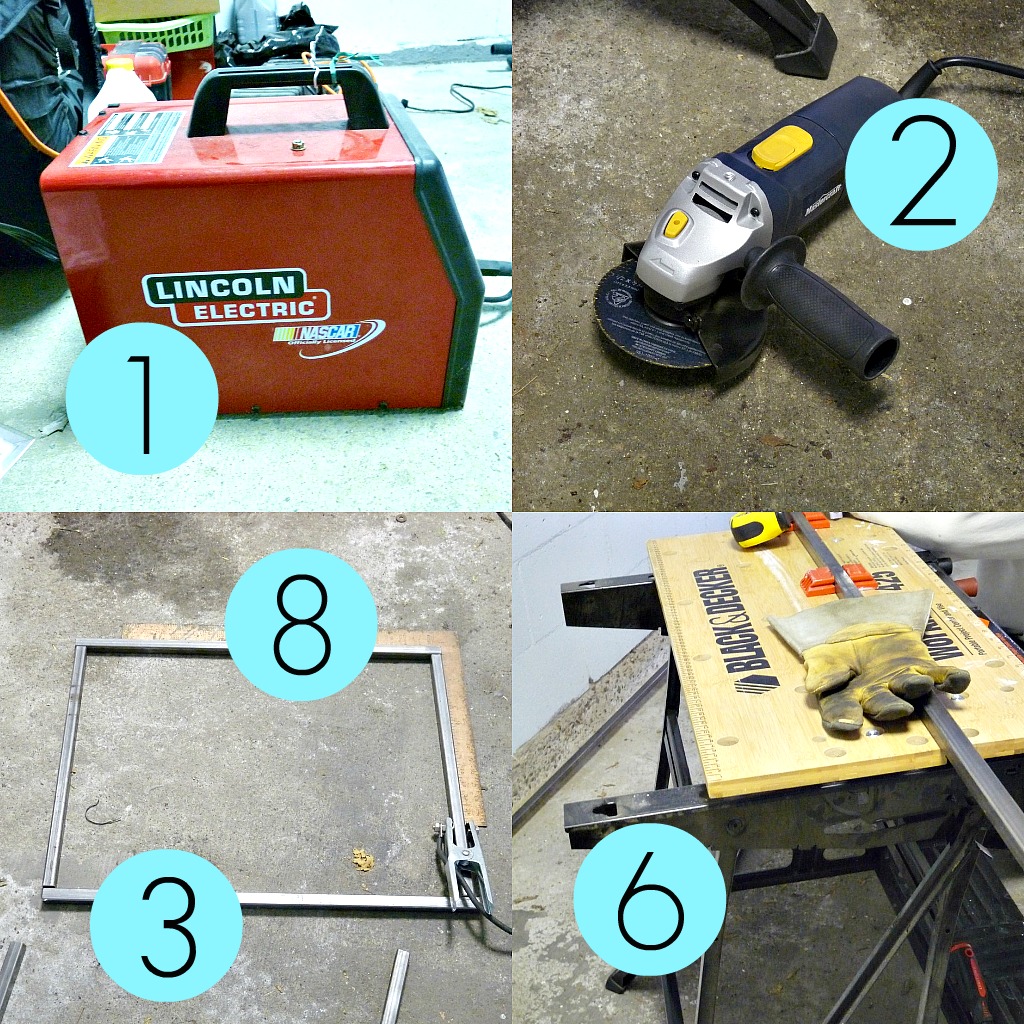
Welded Desk Leg Supplies:
- Flux Core Wire Feed Welder*
- 4.5″ Angle Grinder
- 0.75″ Square Metal Tubing (2 eight foot lengths)
- Welding Magnets
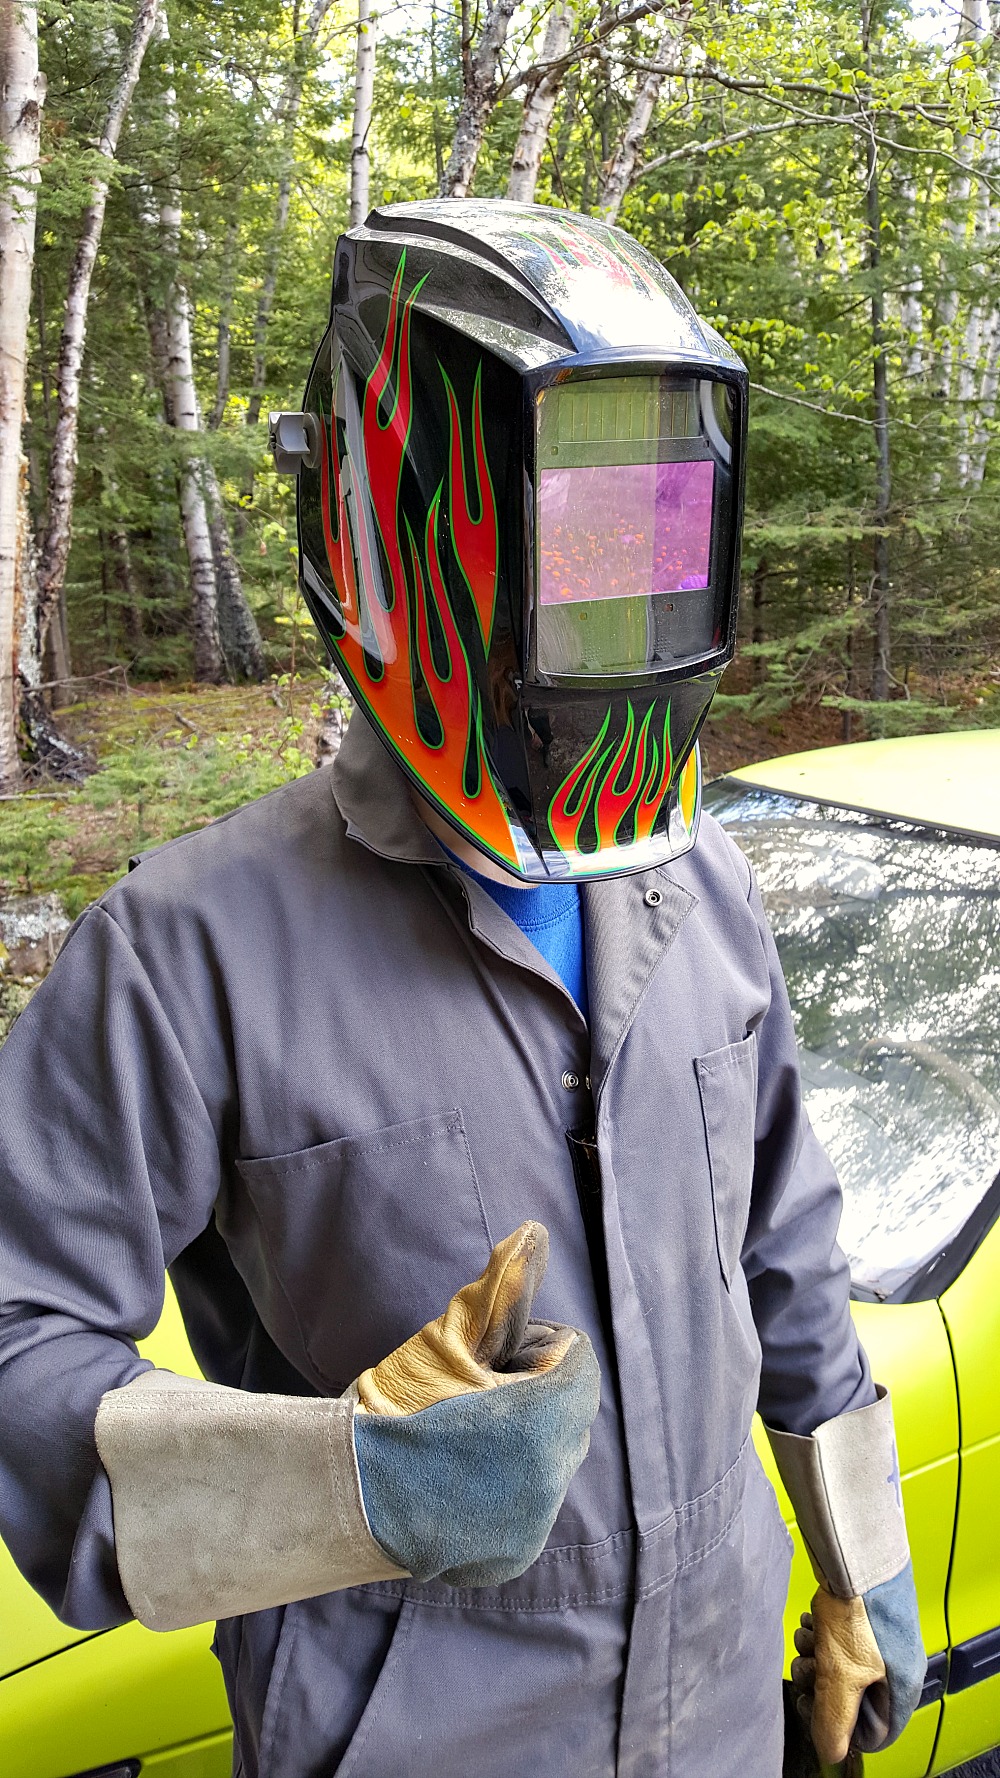
- Welding mask** (the welder came with a cheap-y one, but Hubby had his own)
- Workbench (helps, but something else can be jury-rigged)
- Tape Measure
- Framing Square
- Chalk
- Grinding Disk
- Flapper Disk
- Cutting Disk
- Flame Resistant Coveralls
- Welding Gloves
- Drill and Drill Bit
- 1.25” Wood Screws
- Safety Gasses (for grinding, cutting)
- Face Shield (for grinding, cutting)
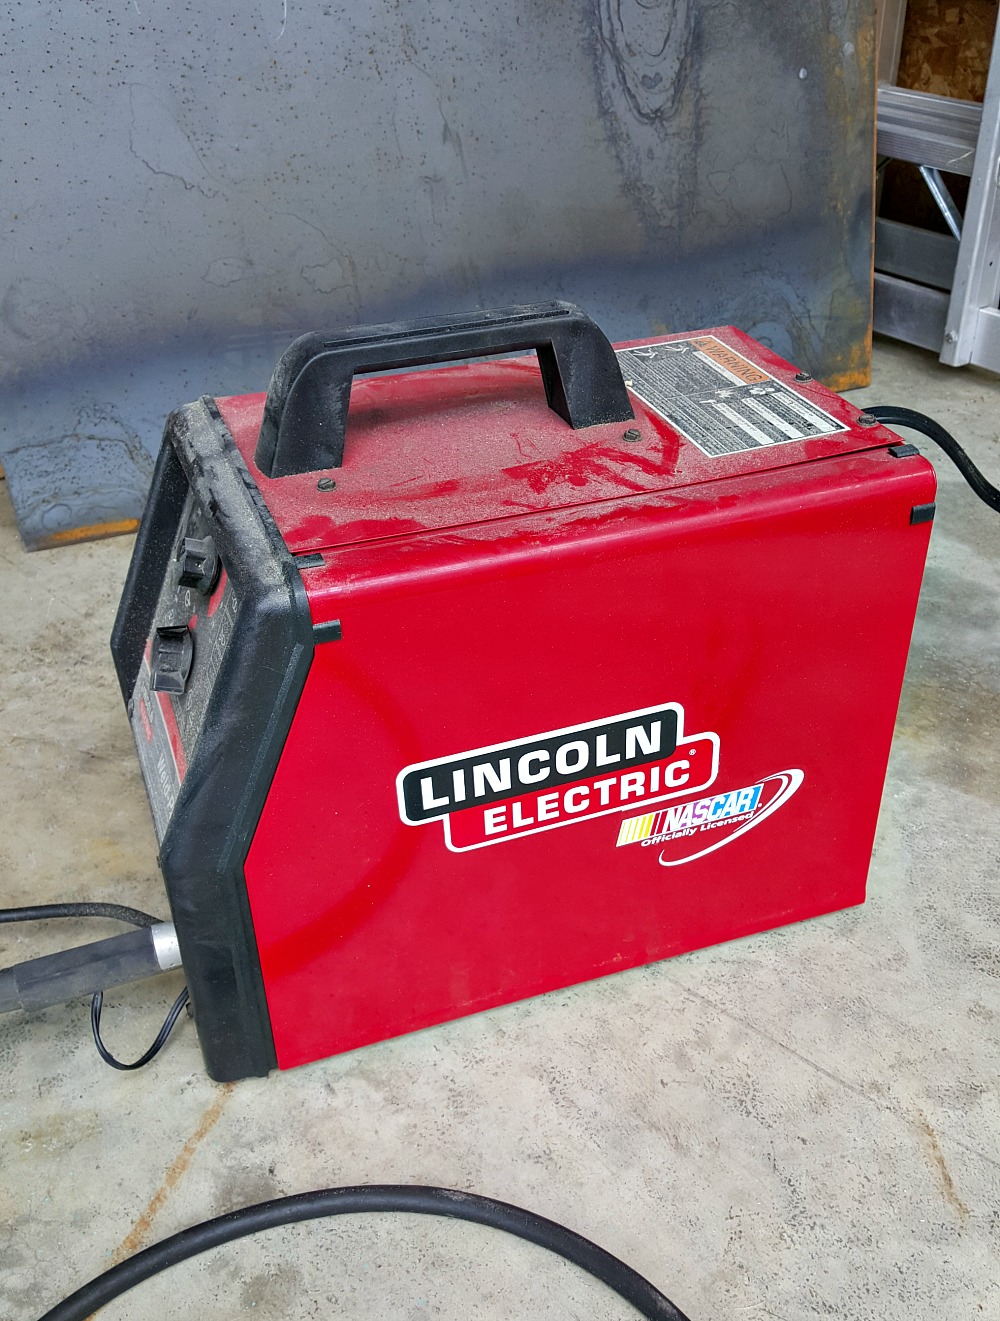
*A Note About the Welder:
For this job the machine we used is a Lincoln Weld-Pak 100. It is a basic flux core wire feed welder that is great for home and hobby use and can plug into your standard 15A 110V outlet. This exact welding machine is no longer produced, but there are many similar ones (like this one). It’s a bit of an investment (this was a gift from my grandpa) but we’ve ended up making a LOT of our own DIY welded furniture and so it’s definitely been worth it! If you think you might get into welding projects, we recommend this.
**A Note About PPE and Safety:
Please note that I have tried my best to link appropriate personal protection equipment and safety gear, but they aren’t the exact brands we have used due to availability. Please do your own research regarding safety equipment and purchase what is appropriate for your DIY welding projects. Be sure to also read all tool instructions. As a final, more specific safety tip: when using a grinder, always wear safety glasses with your face shield. You do not want to see a cutting disk come apart at 11000rpm. Please DIY safely and responsibly!!
Planning + Preparation:
Before diving into making our DIY welded table legs, first we measured the height Hubby wanted for his DIY desk – then we double checked by mocking up a “desk” for him to try. Because the chair we chose for him isn’t height adjustable, it was important that we get this measurement right! Already knowing the design we wanted, we quickly calculated how many lengths of tubing we would need (two, 8 foot lengths were enough and could also – conveniently! – fit into our Versa hatchback).
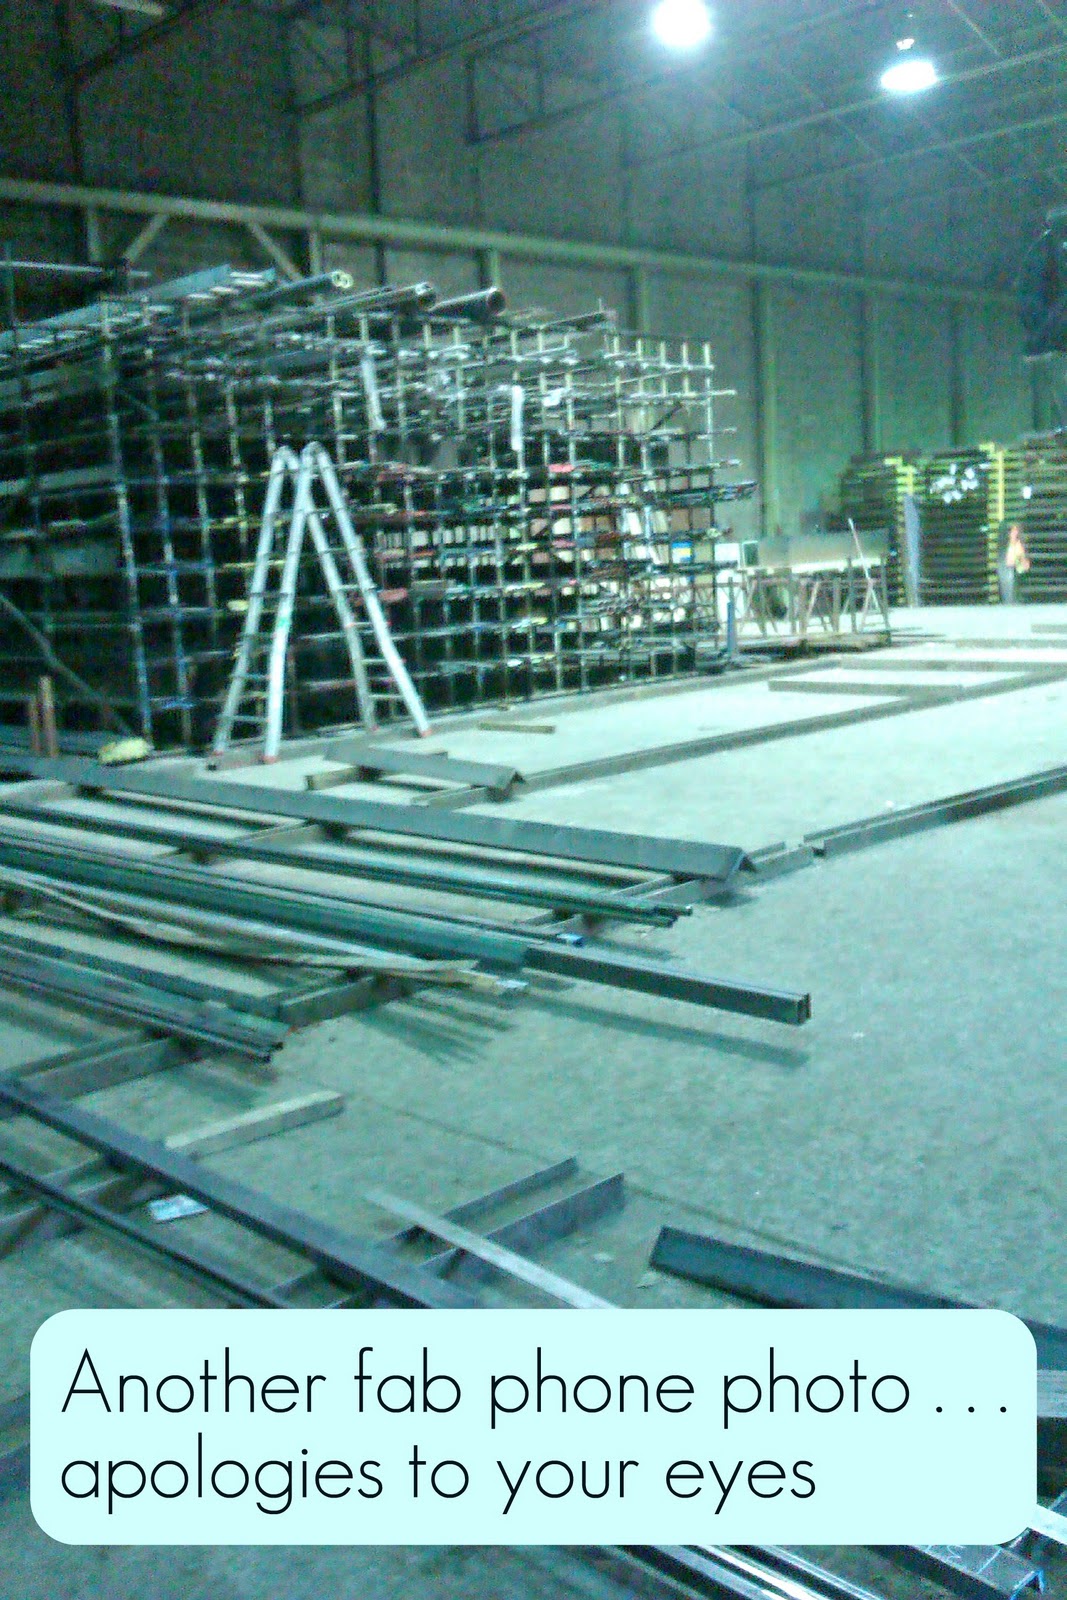
We purchased the metal from a metal supply shop. Turns out, we could have had them do all the cuts there – so definitely call ahead because that could save you some time/work and make this project more accessible for new DIYers. (Sorry for these terrible photos, back then I had the worst cell phone…)
If you don’t own a pick up truck for bringing home lengths of square metal tubing, so what we did: we packed some old sheets to keep the inside of our Versa clean from the grime. Hubby even fashioned little cardboard “ends” to keep the dash from getting scratched. My heart melted when he pulled them out of the hatch at the metal shop. He’s so clever and thoughtful!! One day we’ll own a truck…

Welding Legs – How to Make DIY Welded Table Legs:
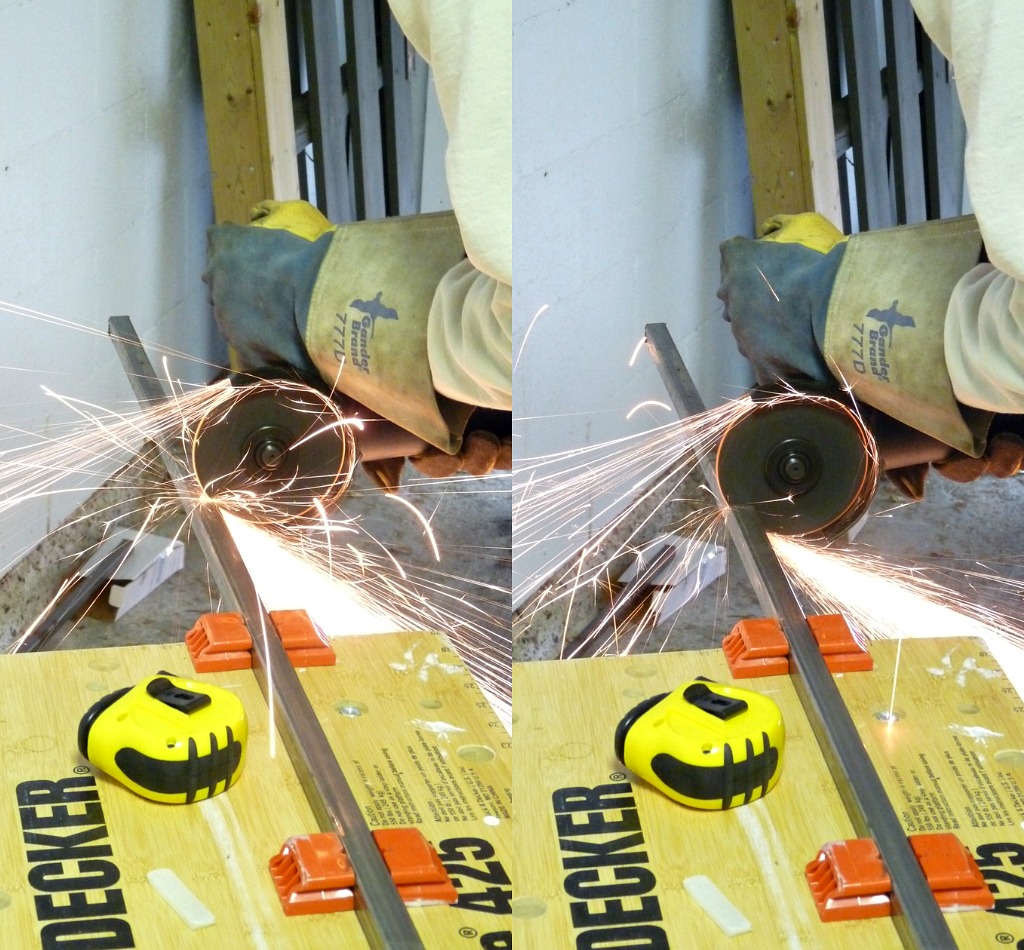
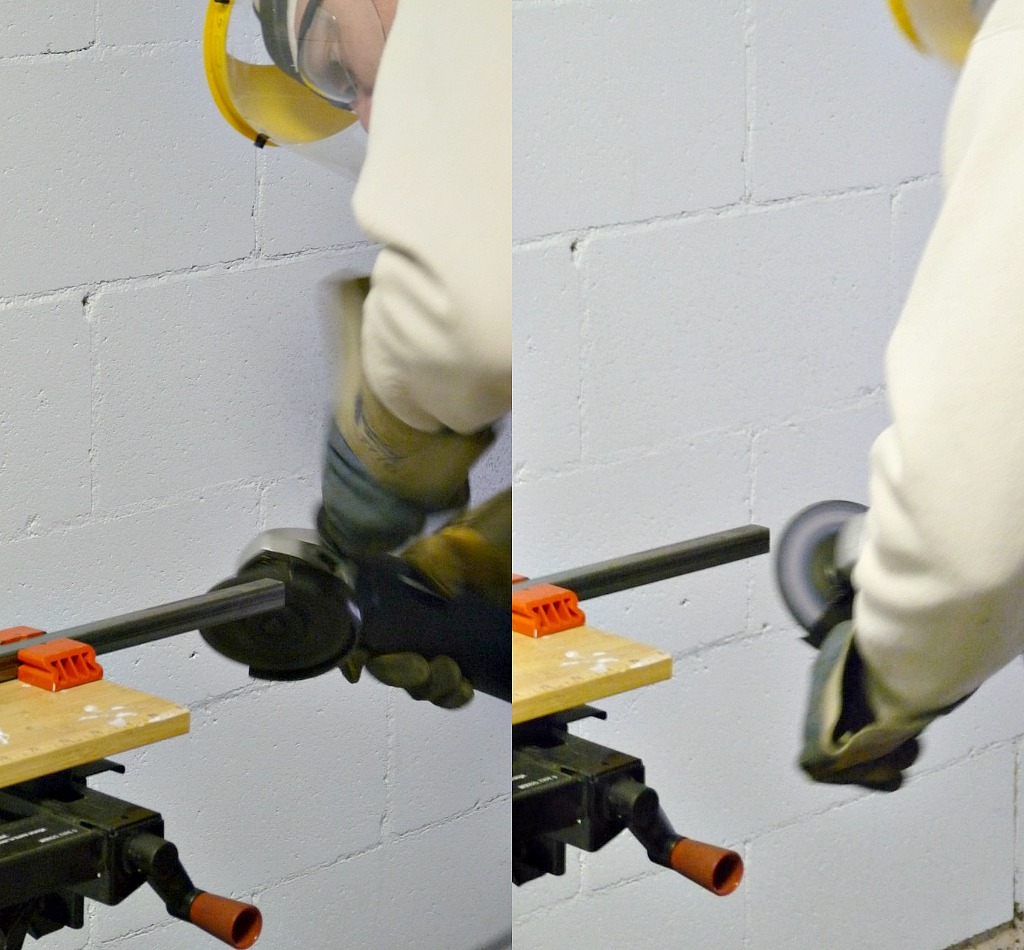
We measured and marked the cuts with chalk. We used a 4.5” angle grinder with cut off disks to cut the lengths needed, and then ground the ends smooth (freshly cut metal can be razor sharp) with a grinding disk. Remember not to use cutting disks for grinding, because cutting disks are not designed for it and it can be very dangerous.
Using a framing square, we laid out the pieces on the garage floor and used the welder to tack them in place. Start with small tack welds, as it allows you to check for square as you work. Also, as a welder heats up the metal, it can distort the shape. The tack welds hold everything in place as you complete all the welding.

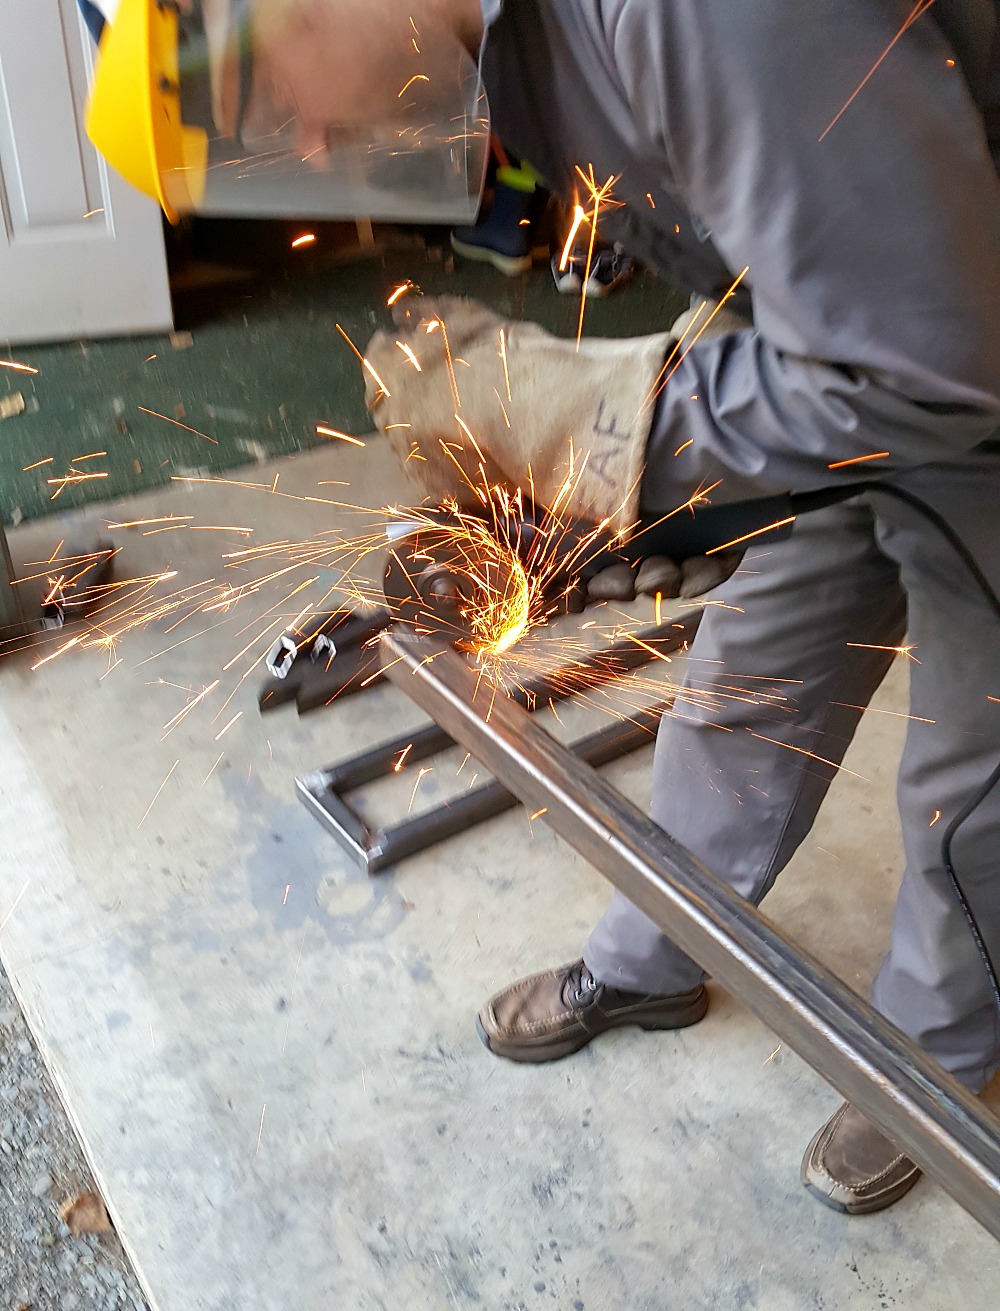
I didn’t photograph the welding process, because at the time Hubby said it could damage my camera…
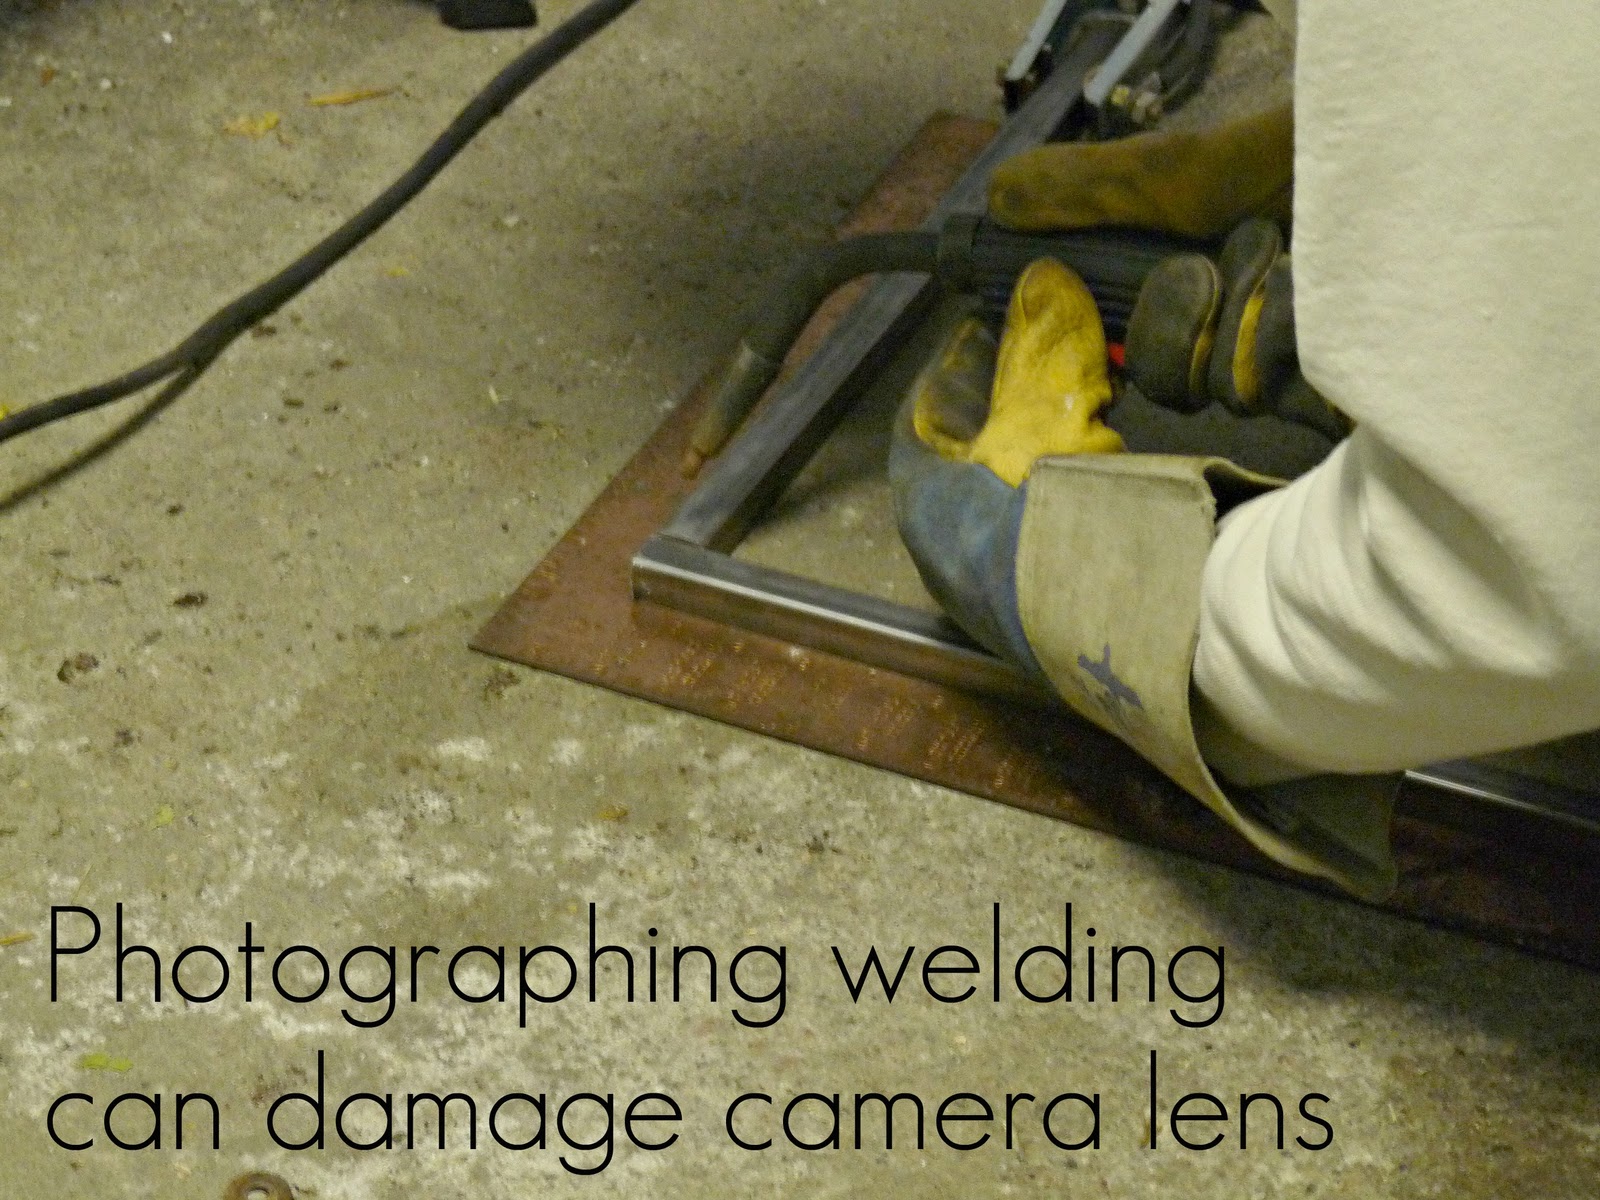
Here’s a snap from another project where I captured the welding process (in case you’ve never seen anything welded before!):

Here’s what the DIY welded desk legs looked like at this stage (you can see the vision coming to life):
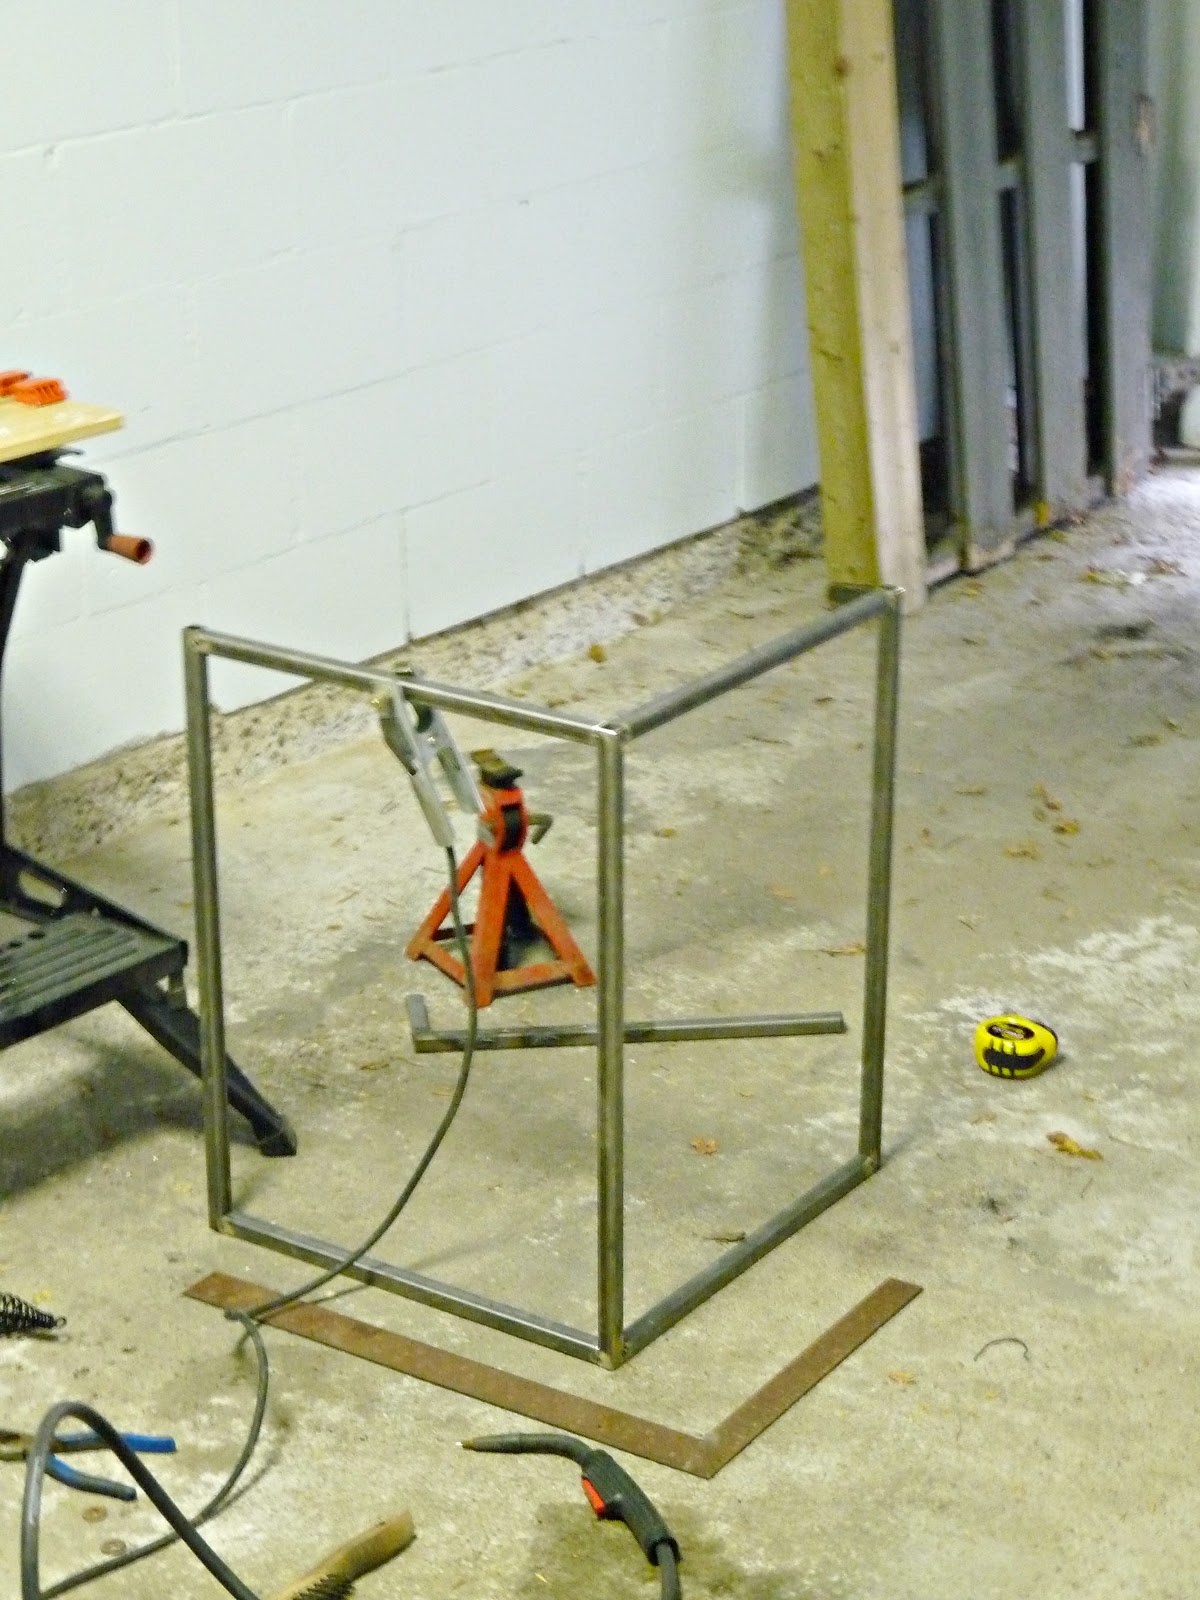
Once the welding was complete, we used the grinding disk to smooth out the welded areas, remove any welding spatter, and level out any welds that were less than perfect. Hubby can weld, but it’s a hobby, he’s not a professional, so cleaning things up a little makes the project look more polished.

Then we brushed on a coat of metal primer and a few coats of white paint (leftover from painting the walls). If we had waited until summer, we could have used spray paint for a smoother finish. I wish I wasn’t always so impatient because I truly think spray paint would do a better job…

How to Affix the DIY Welded Legs to the Desk Surface:
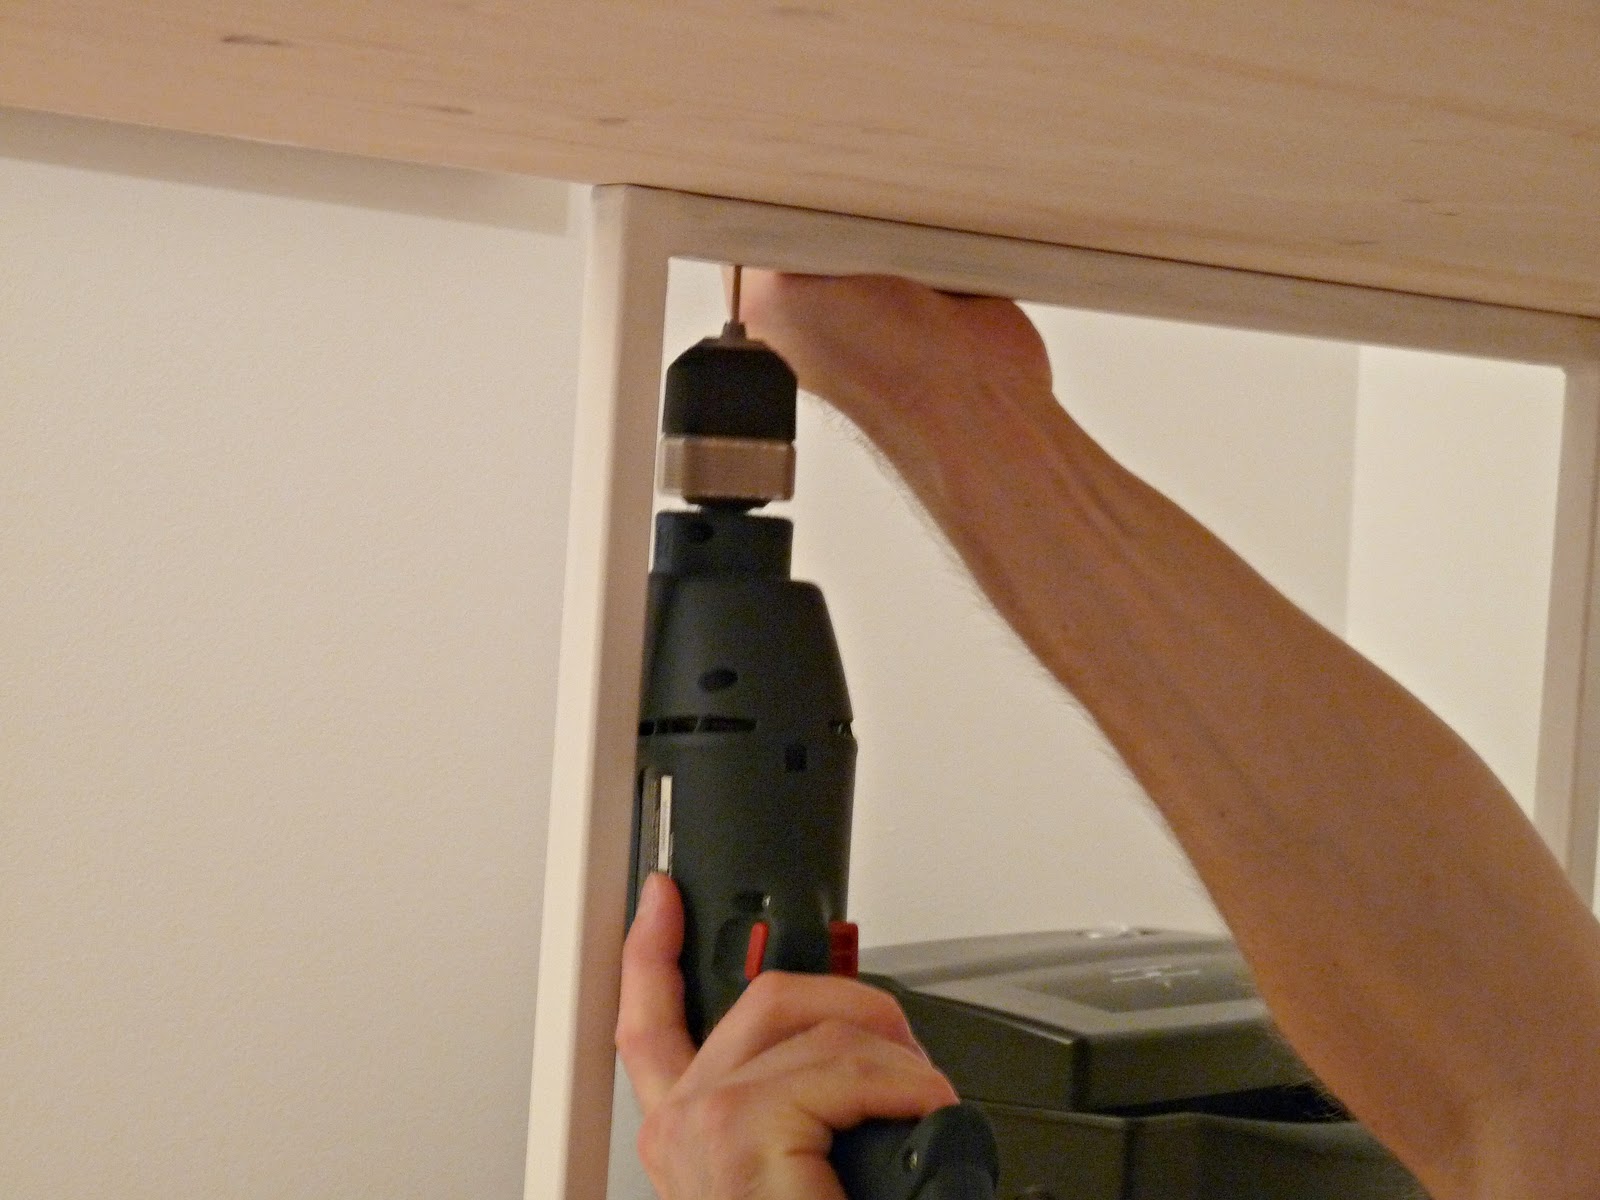
In order to fix the top to the legs, we used 1.25” wood screws. The top is 0.75” and the tubing is 0.75”, so a 1.25” screw can go through the legs and into the top with 0.25” to spare. Drill holes in the tubing that are just large enough for the screw threads to pass through. Pre-drill a smaller hole in the table top from the bottom (ensuring you don’t go all the way through!) to provide a path for the screw and eliminate the chance of cracking the wood. We used four screws per base piece and it seems to be sufficient – you can always add more if you would prefer.
To protect the floor we attached stick-on felt feet to the bottom bar.
Apologies for crummy photos, at the time of this post I had such a poor quality camera and we were worried that photos of the actual welding could ruin the lens. But you’re probably just here for the DIY desk reveal, right?!? See the welded desk 100% COMPLETE here (the varnish has finally cured – yayyyy). Click the link if you’d like to see more of our welding projects. But if this just isn’t your think, here’s a similar style of welded table leg ready to order!

I think hubby needs his own blog!! Wow, that is quite an accomplishment and a very nice looking accomplishment. Can't wait to see the final product.
Hubby DOES need his own blog. But he’s happy just to help me!
Exciting! Great job!! Can't wait to see the completed desk 🙂
I'm whispering this…'major handy hubby envy'fee x
Awww. Your secret is safe with me, Fee 😉
Even though we had to buy a desk due to time restraints…okay, we're procrastinators, I am totally taking notes here. Future dream desk!
I'm sure your purchased desk is lovely, Julia. Hey – we can't DIY everything, right? Check back tomorrow to see our desk complete! (With purchased lamps and chair). Maybe we should swap: you guys DIY us some awesome lamps and we'll whip up another desk!
Thank you so much for making this post about the welded desk and the work progress! I can´t wait till my really gold-handed husband will take his welding class that he is looking forward to, but must postpone because of his working and study schedule. Seeing what you have done with your office area, I can only get another confirmation that being able to do welding for home projects is such a great asset!And you do have a great area to work now – I like the combination of white & black and clean lines.
That's amazing that your husband will be taking a course! Our headboard and side tables (see the townhouse tour tab under my header) are also welded. Once you have the skill (or the Hubby) and the welder, metal furniture is ridiculously inexpensive but makes a huge impact!