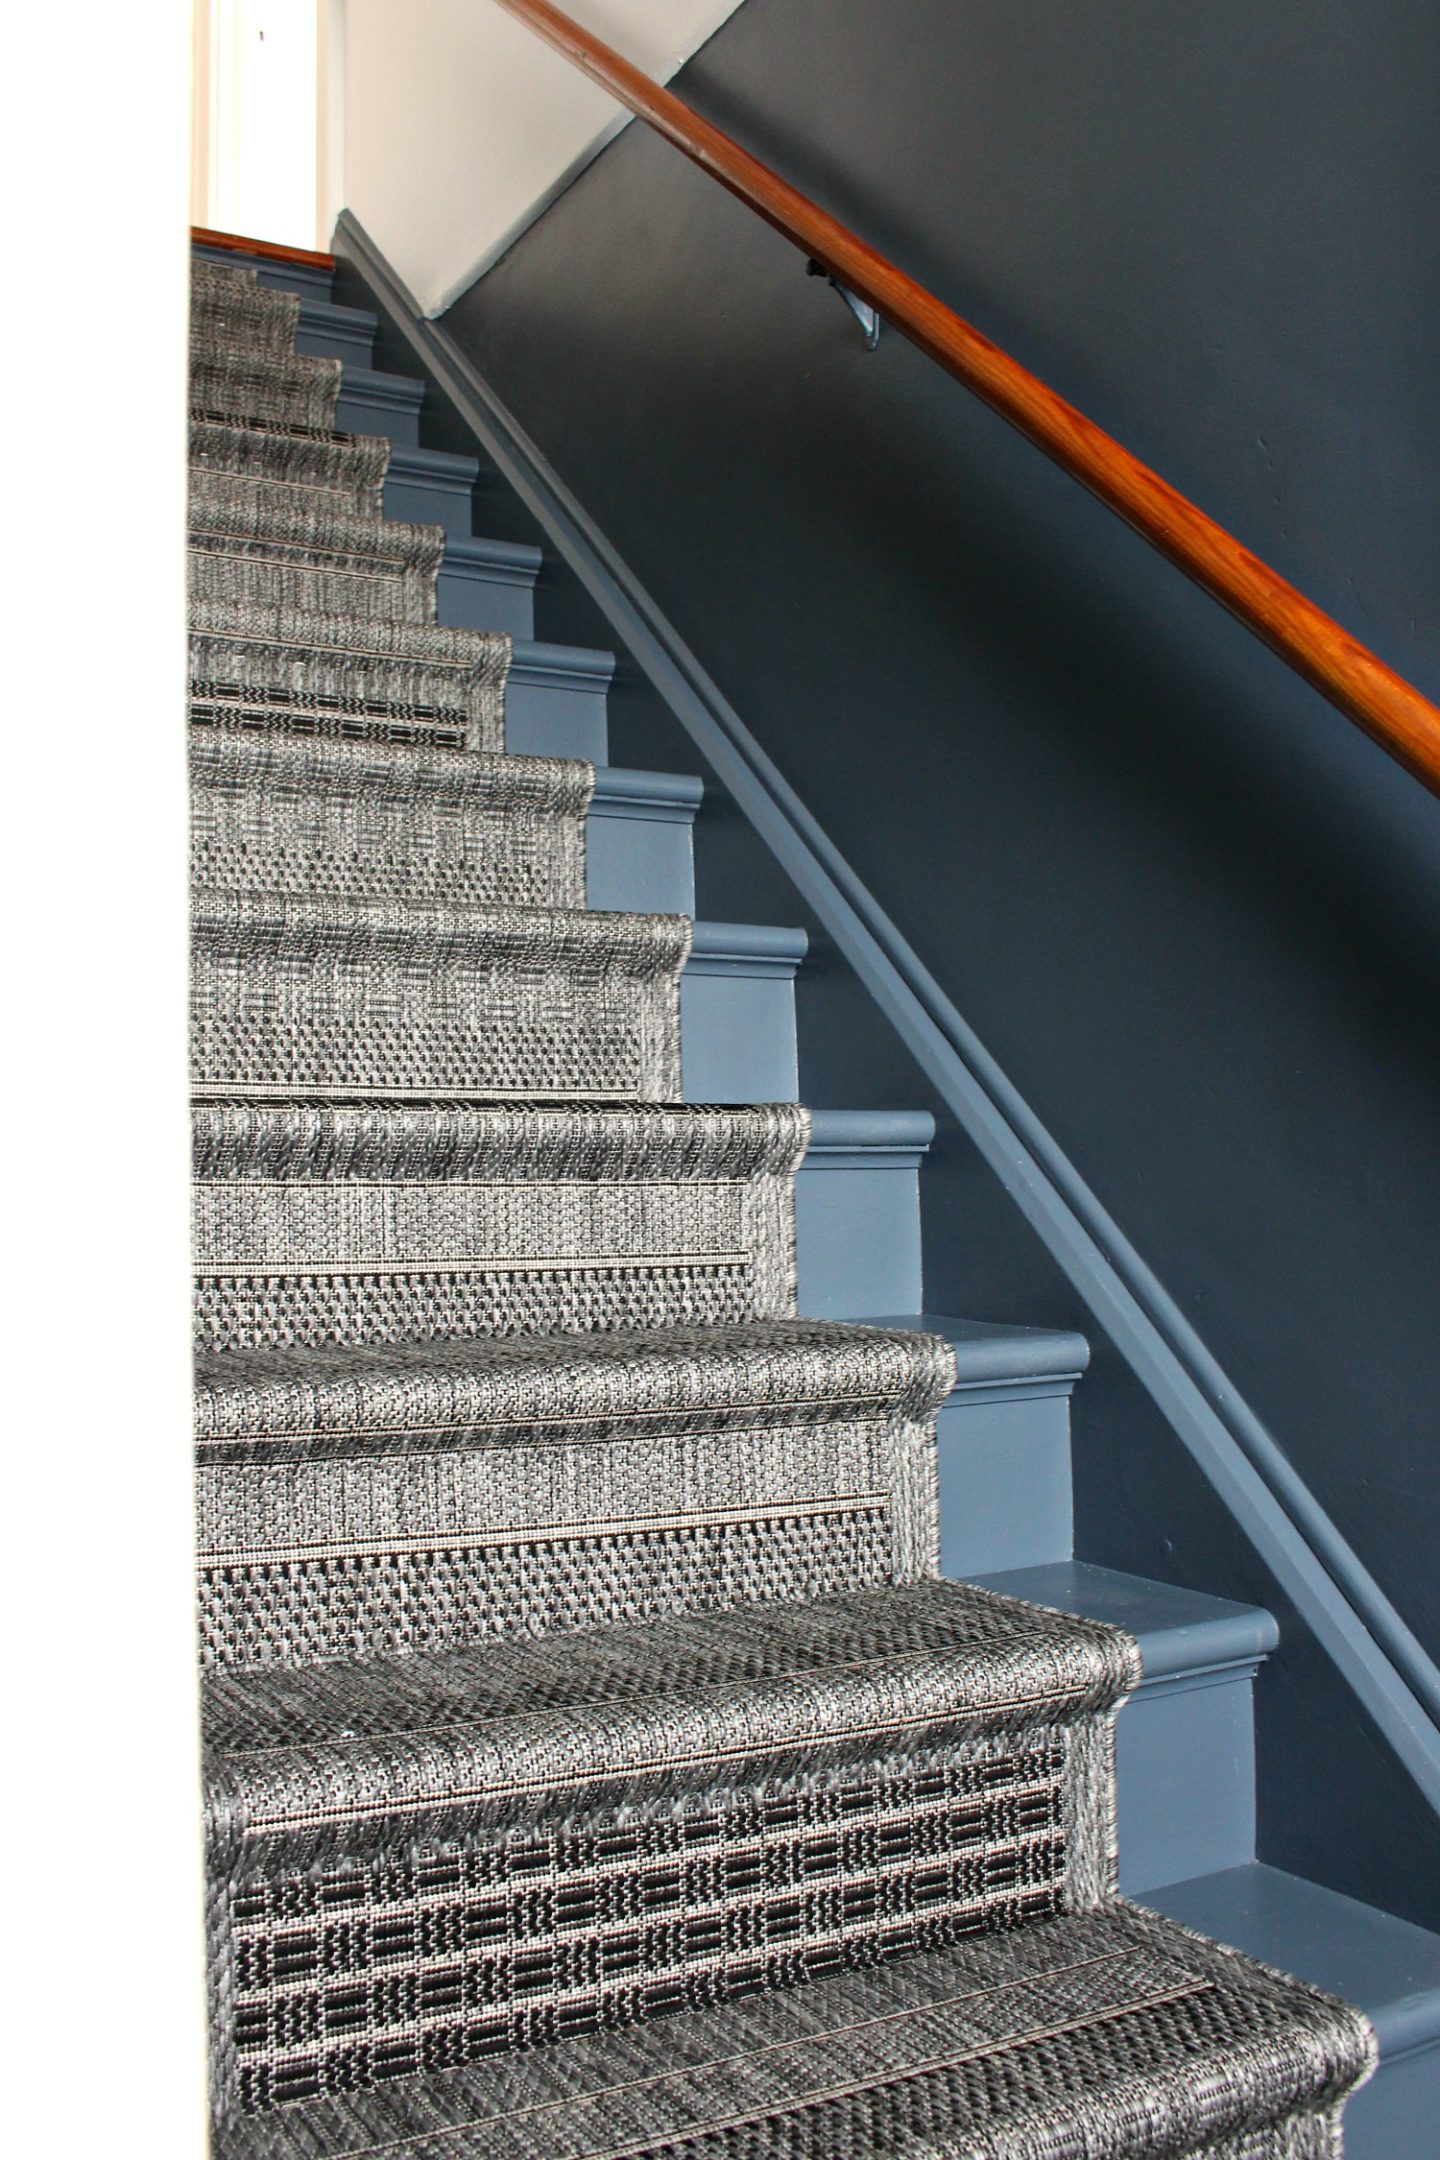
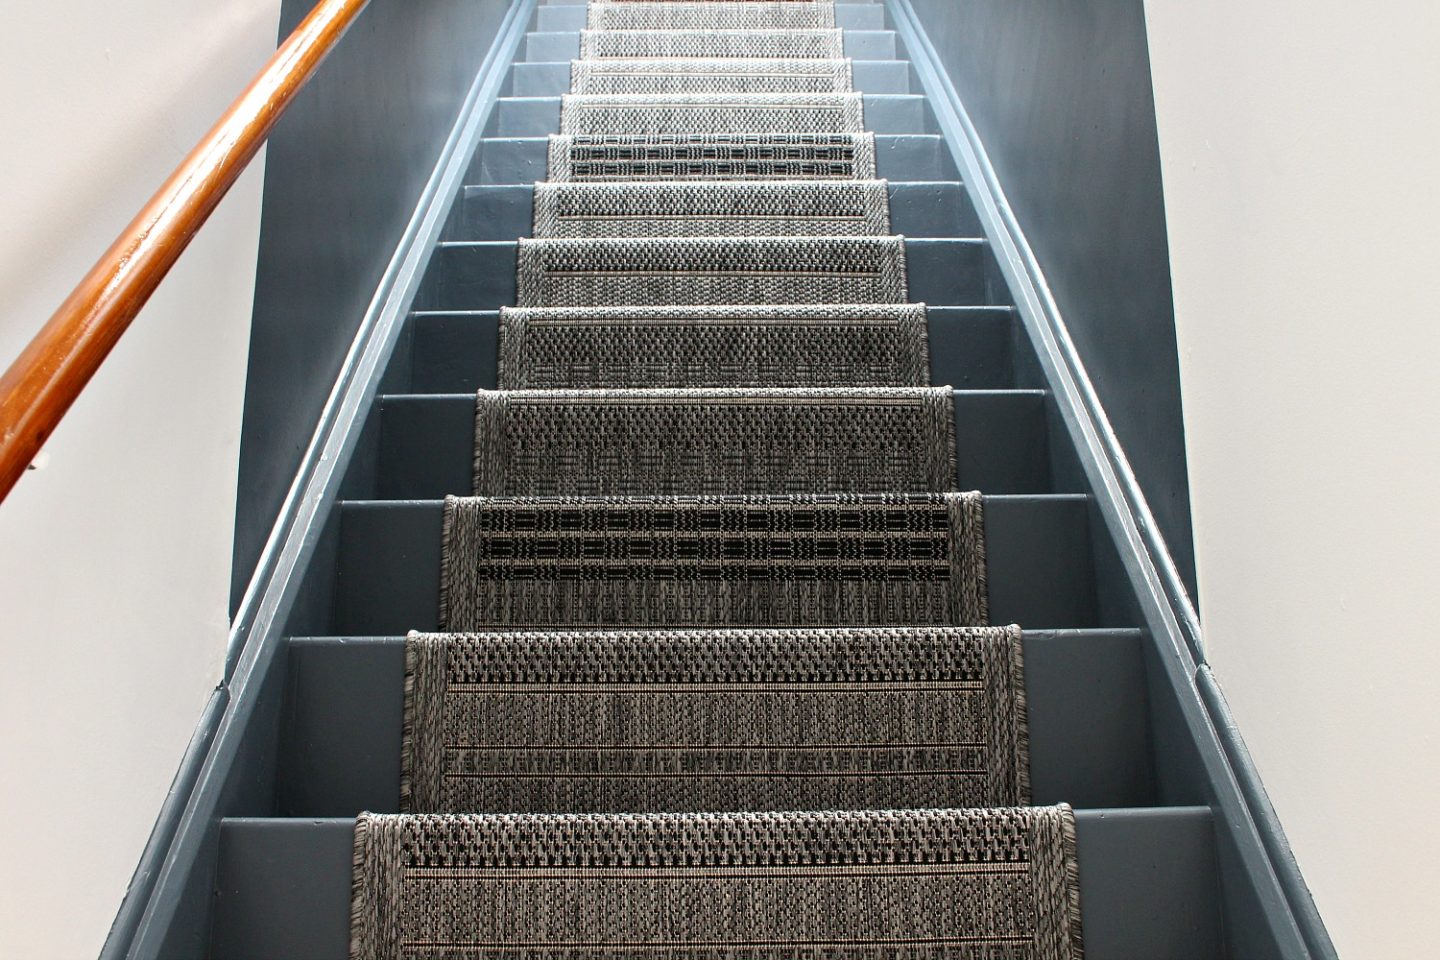
Check out this easy DIY stair runner project – you can quickly make over stairs in an afternoon because I’m sharing my tutorial for how to install a stair runner, and I promise it’s super easy. There are different variations on stair runner installation, but I went with what was quick and simple. It was a super easy DIY project that really made my Mom’s stairwell makeover look polished – and it’s practical too, offering traction on the slippery painted wood steps. She picked out the runner (and her landlord footed the bill – yay!) and the pattern she chose is perfect. It has a cool mid-century vibe, plus the busy grey pattern is great for hiding staples!


Funny story: while we were waiting for the paint to dry after we painted the stairs, my Mom asked, “should I skip the runner?” I said, “NO, we already have it and I worry about you slipping on painted steps”. So I went home for the night and I was scrolling Pinterest when I saw her pins pop into my feed: grey steps without runners. Tons of them. I texted her “you’re putting that damn runner on,” and she sheepishly asked me, “how did you know?” So I messaged her on Pinterest with one of her own pins I had seen. LOL. I’m everywhere. I see all. Especially when you go on a pinning binge and it ends up in my feed.

If she can be bossy about a flapped zipper, I’m going to be bossy about something that keeps her safe. I worry about her.

Here’s a reminder of the before:


Supplies:
- Runner, cut to length (Similar)
- Staple gun (this pneumatic one is AWESOME)
- 1/2″ Staples (T50 from Arrow)
- Two wood blocks for measuring
- Sharp utility knife
- Staple lifter
I used a regular, Tanya-powdered staple gun and also this pneumatic one sent to me by Arrow Fastener awhile ago. This pneumatic one is game changing if you do a lot of stapling. I was actually dreading replacing the fabric on the truck platform we made for Szuka because stapling kills my hands. But this one is awesome – it’s easy to use and never jammed. The only reason I had to use the other kind is that it’s a bit larger and so it wouldn’t fit when I did the staples at the bottom of the riser (darn).

This staple puller is also from Arrow Tools and we lived without one for so long, but it’s honestly just such a neat tool to have. Think about how much easier a paint can is to open with an actual paint can opener vs. a screw driver.

How to Install a Stair Runner:
My first tip is this: cut two wood blocks that fit on either side of the runner. These will act as spacers so you can easily eyeball the stair runner placement – otherwise you need to measure for each step, or risk the runner getting skewed to one side. Measure the gap, cut these out, and you’ll THANK me!

The carpet place advised us to start at the bottom but that just felt so unnatural so we started at the stop. These stairs have trim under the nosing so we just stapled directly under that (you can see in the finished photo below). If you don’t have that trim, you can pull it tighter and staple under the nosing to hide the staples a bit better. Luckily the rug hides them, except in close up photos like these. In real life, you can’t see the staples.


To start, we centered the rug with our handy spacers and then folded over the cut edge of the carpet and stapled it under the nosing:


After starting under the nosing on the first step and stapling, we pulled it tight and stapled at the bottom of the riser, where it meets the tread, and kept pulling it tight and repeating the stapling: under the nosing, at the bottom of the riser, under the nosing, etc. It helped to have hubby pull the carpet (good grip strength!) and I stapled, but this could also be a one-person job.


At the bottom, we used a sharp utility knife to cut the excess off and the turned it under and stapled:

The quarter round was already there so we just worked around the existing trim because it’s a rental and we wanted to spend minimal effort and cash to do this project.

The end result is so beautiful and this carpet has such a fun, mod vibe!


I’m really happy with how it turned out! And most importantly, Mom’s happy too! She’s thrilled we decided to install the stair runner. She made such a beautiful choice, it would have been a shame not to use it.
If you missed the rest of my Mom’s budget-friendly DIY stairwell/entryway makeover, check it out here! It’s such a bold transformation of a small, formerly shabby space, I’m really proud of what we accomplished.


Great article, I am finding it difficult to match a pattern to the stair tread and yours looks like a fantastic match. What was the pattern you choose? I want to try this as a project on my stairs. Thanks.
Author
I’m sorry I don’t have any info on the runner – it was sold on a huge spool at a local carpet place. No name or details, just a hand written price per foot.
Any style of carpet can be used on stairs BUT nylon and wool are the most desirable for runners. Both choices tend to be very durable and offer the most high-end look.
Author
Thanks for the tip!
You don’t seem to have used underlay at all, does the carpet ‘move’ at all now it has been in a few weeks?
Author
It has not budged one millimeter. My Mom still loves it and it is completely held in place. It’s soft underfoot too, I noticed that right away. The place where my Mom bought the carpet didn’t suggest an underlay for this runner – perhaps other kinds do require one because of the construction. If you’re worried, make sure you visit a local carpet shop where the experts can help you choose the perfect runner and determine the additional supplies you need. I can see a really soft, thin runner requiring one… but this was very thick and sturdy. I hope this helps?