Today I’m sharing how to make easy DIY ribbon flowers with this DIY ribbon rose tutorial. Keep reading for the supply list and step-by-step photo instructions – or scroll to the bottom of the post for a video tutorial.
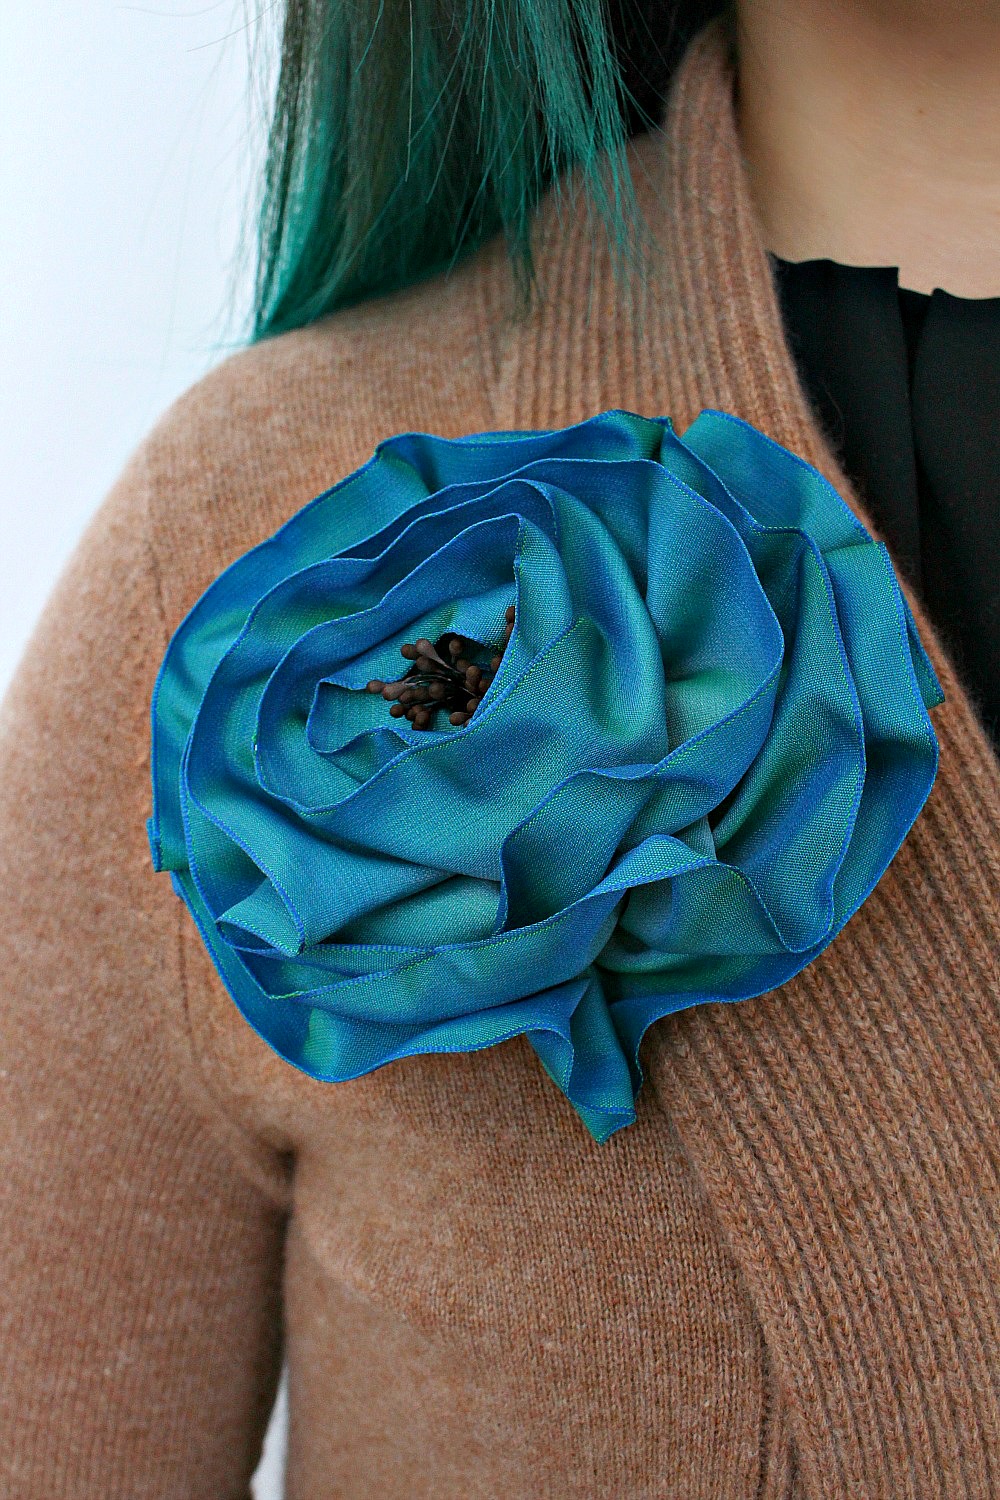

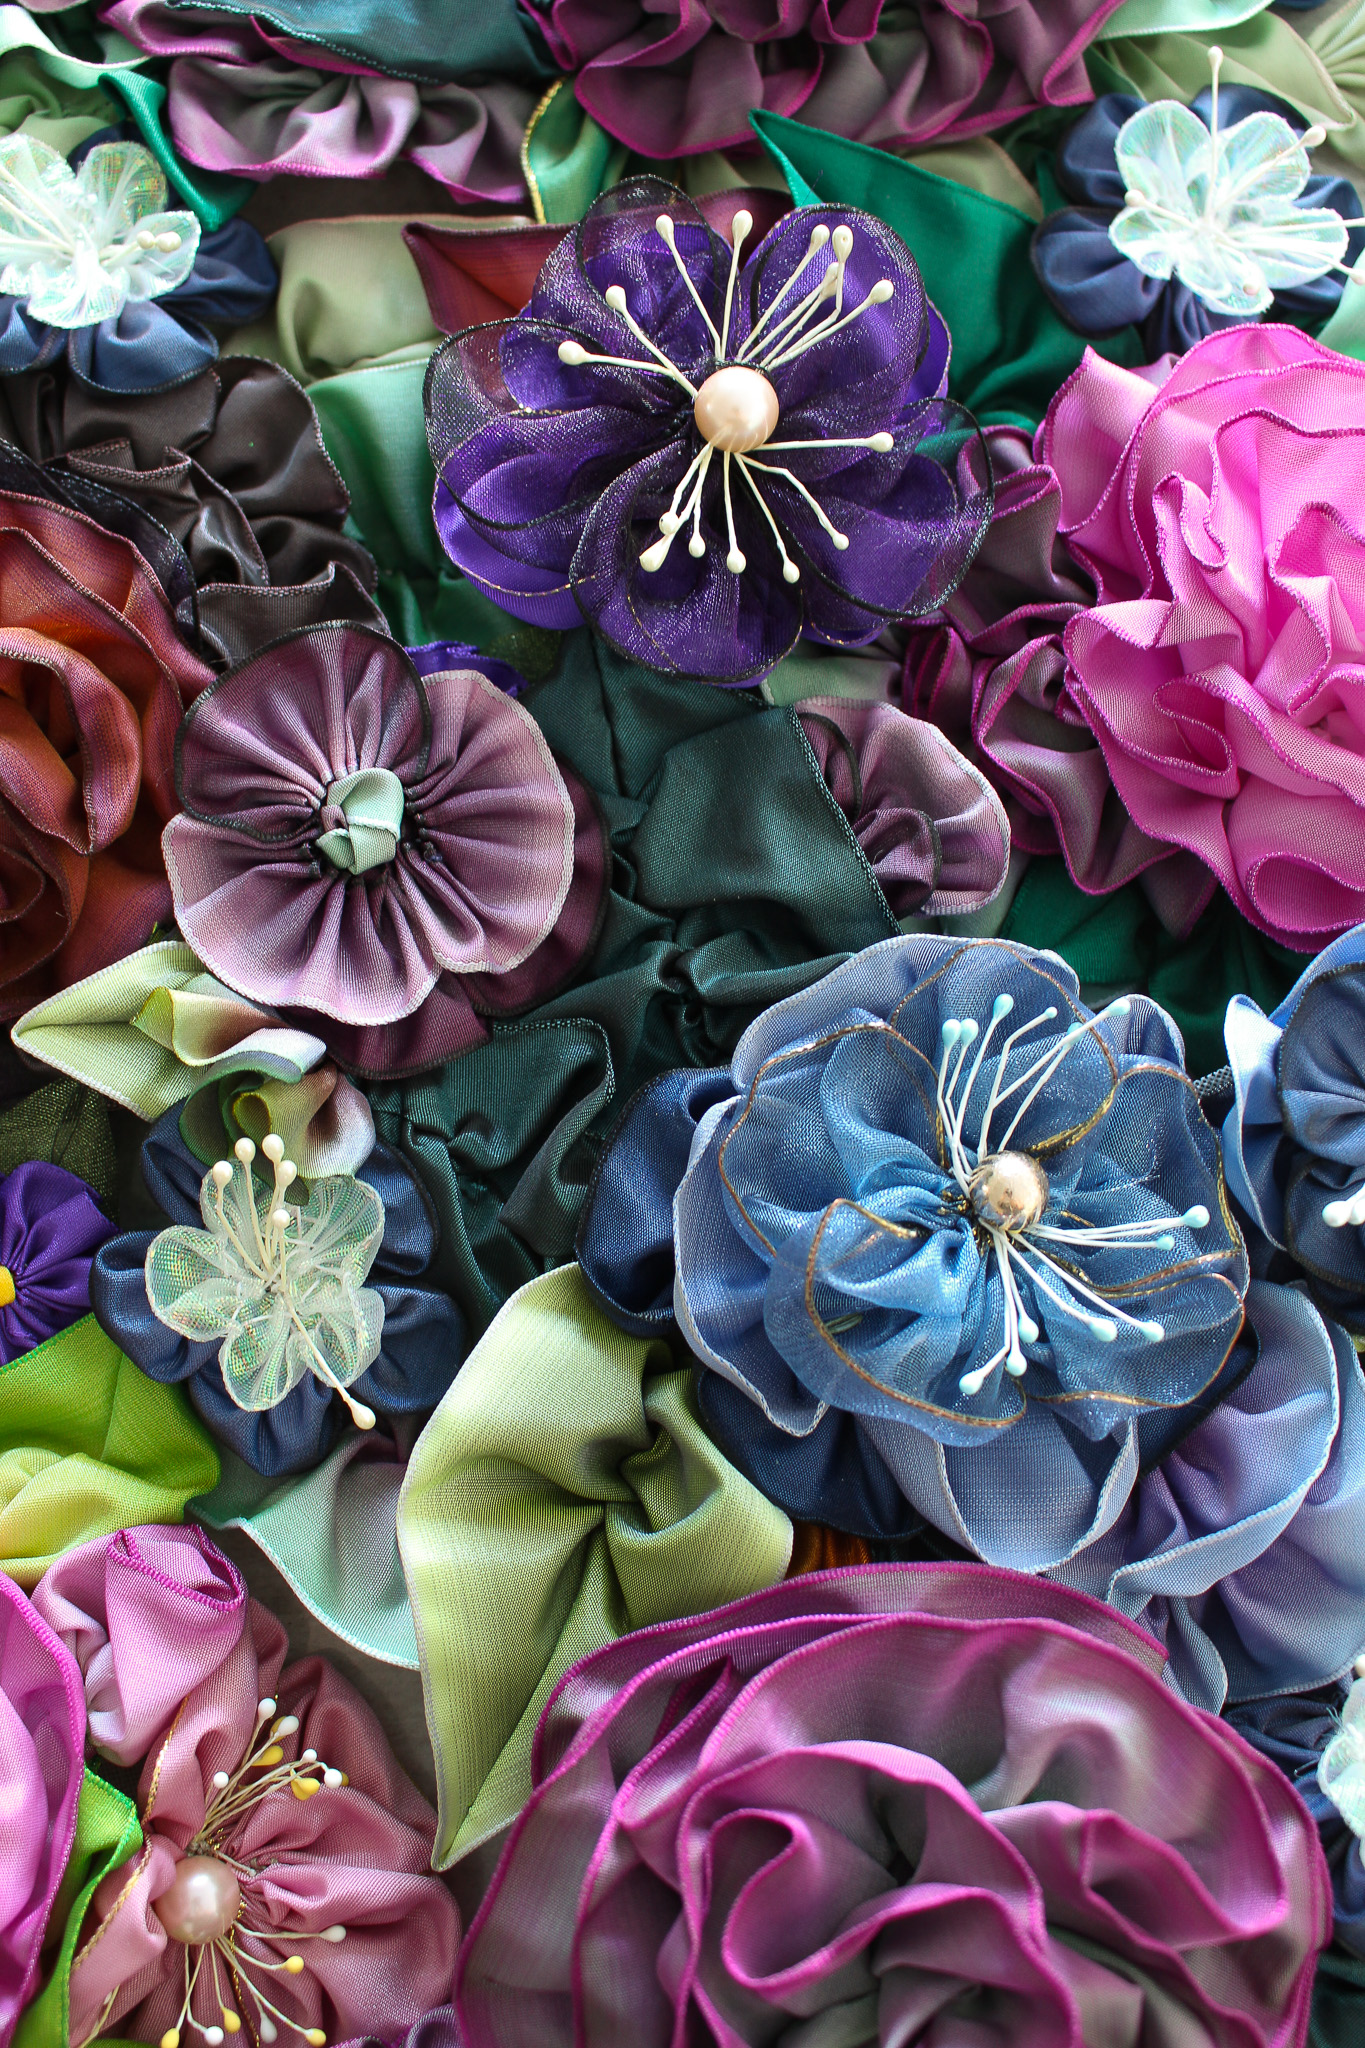
I turned my DIY ribbon flower into a sculptural brooch, but you have to see what my Mom did! She made dozens of these handmade ribbon flowers to adorn a beautiful DIY tree skirt that we whipped up for her Midsummer Night’s Dream Christmas tree theme. If you’re one of the many folks who asked for the how-to, keep reading to learn how to make your own ribbon roses, as an entry into the magical world of DIY ribbon flowers.


Ribbon Flower Ideas – How to Use DIY Ribbon Flowers:
You can use DIY ribbon flowers in a lot of fun, fresh ways – especially during springtime decorating! If you love the idea of making these, but aren’t sure how you’d use them, consider some of the following ideas (and note: if you sew your DIY ribbon flower onto a brooch backing, you don’t need to wear it as a brooch – just use brooch backing to fasten your ribbon flower onto all kinds of things, from gifts to hats and more!)
- Add ribbon flowers to a straw hat or a fancier hat for weddings, etc.
- For wedding season, use DIY ribbon flowers for corsages, boutonnieres – even bouquets!
- Stitch onto a handbag or clutch for a happy burst of color (here’s a rough inspiration).
- Sew onto a grapevine or wire wreath form to create a one-of-a-kind spring wreath.
- Secure onto a gift as a pretty gift topper (especially beautiful for weddings).
- Add a longer ribbon at the back and tie around napkins as a pretty DIY spring napkin ring.
- Create a pretty flower crown for your littles.
- Turn into a brooch, like I did.
- Stitch onto a hair elastic, scrunchy, hair clip or barrette for a fun hair accessory.
- Add a smattering of ribbon flowers to a throw pillow (that’s what I’m planning to make next).

What Do You Need to Make Ribbon Flowers?
If you’re wondering what do you need to make ribbon flowers, the supply list is pretty short: wire edged ribbon, heavy duty thread, hand sewing needle, scissors, and buckram are the basic supplies, but you may also want to add faux stamens and some felt or a pin backing to make the back prettier and easier to affix to things! Here’s a shoppable supply list for DIY ribbon flowers, or click the links below:
- Wire Edged Ribbon (1.5-2″ wide works nicely)
- Carpet Thread (or other heavy duty thread)
- Hand Sewing Needle
- Scissors (to cut through wire and ribbon)
- Faux Stamens (we used red and matte black)
- Buckram or Crinoline
- Felt (optional)
- Pin Backing (if turning into a brooch)
P.S. Here are some more pretty variegated ribbon options: ombre purple/pink; ombre pink/white; ombre pink/green; ombre yellow/white; ombre blue/white;

DIY Ribbon Flower Books:
If you’d like to learn more about ribbon flowers, including how to make different flower shapes, I’d love to share more tutorials but there are also reference guides available to buy. This is one book we have, that’s really inspiring and we also have this book, which I would say is more tutorial-oriented. I don’t own the following books, but this one seems more updated/modern, while this one gets great reviews. There are a LOT of ways to make beautiful ribbon flowers, so I’m warning you now that this can be an engrossing hobby!!
Notes on the Stamens:
You can make these ribbon roses with or without the stamens – they look cute either way. It’s slightly easier to make one without, so I’d recommend trying one with just ribbon and then once you have the hang of it, make another with the stamens.

If you are going to add the stamens, here’s a tip: bunch them together loosely and then loop the thread and needle through, like so, to make it quick and easy to stitch them into place during the ribbon rose construction:

How to Make a DIY Ribbon Rose:
Cut a length of wire edged ribbon. The length will determine how lush the finished rose is; we used about 50 inches of ribbon. Similarly, the width can vary; the ribbons we use range from 1.5-2″ wide. If it’s a variegated ribbon, decided which shade will be the inside/outside of the rose. For the pale aqua one shown below, the white forms the inside of the rose. Fold the end of the ribbon over, toward you, so that it over hangs by about 1/2 an inch:

If using stamens, at this point anchor the stamens by sewing them onto this folded over edge, like so:

Then fold the folded portion of the ribbon in half again, and then once again again, starting to roll toward the left:

Here’s a look at these first steps again, without the stamens, so you can see more clearly:

Rolling the ribbon this way will form the center of the rose, and hide the tail end. Once you’ve started the roll, anchor it onto a piece of buckram with a few stitches. You can secure with a straight pin to keep it in place while you hand stitch the ribbon.


Tuck the tail of the ribbon underneath and make a few more stitches to start the rose shape:

With the center of the rose secured, it’s time to start shaping the rose. The first step is to gather the wire so the ribbon becomes ruffly. This takes some coaxing and you have to work gently. Pull the wire out from the inside edge of the ribbon and start to push the fabric back along the wire, toward the center of the rose.

When you’re done, the wire will look like this:

Now coax the gathered wire around the center of the rose, shaping a loose flower. Fiddle with the arrangement a bit, until it looks perfect (or perfectly imperfect, if you prefer). You can make some folds, here and there, to loosely mimic petals.

Then simply stitch the ribbon onto the buckram to hold the rose shape in place. Don’t worry about messy stitches – they can get hidden at the end:

When you’re done, trim the buckram:

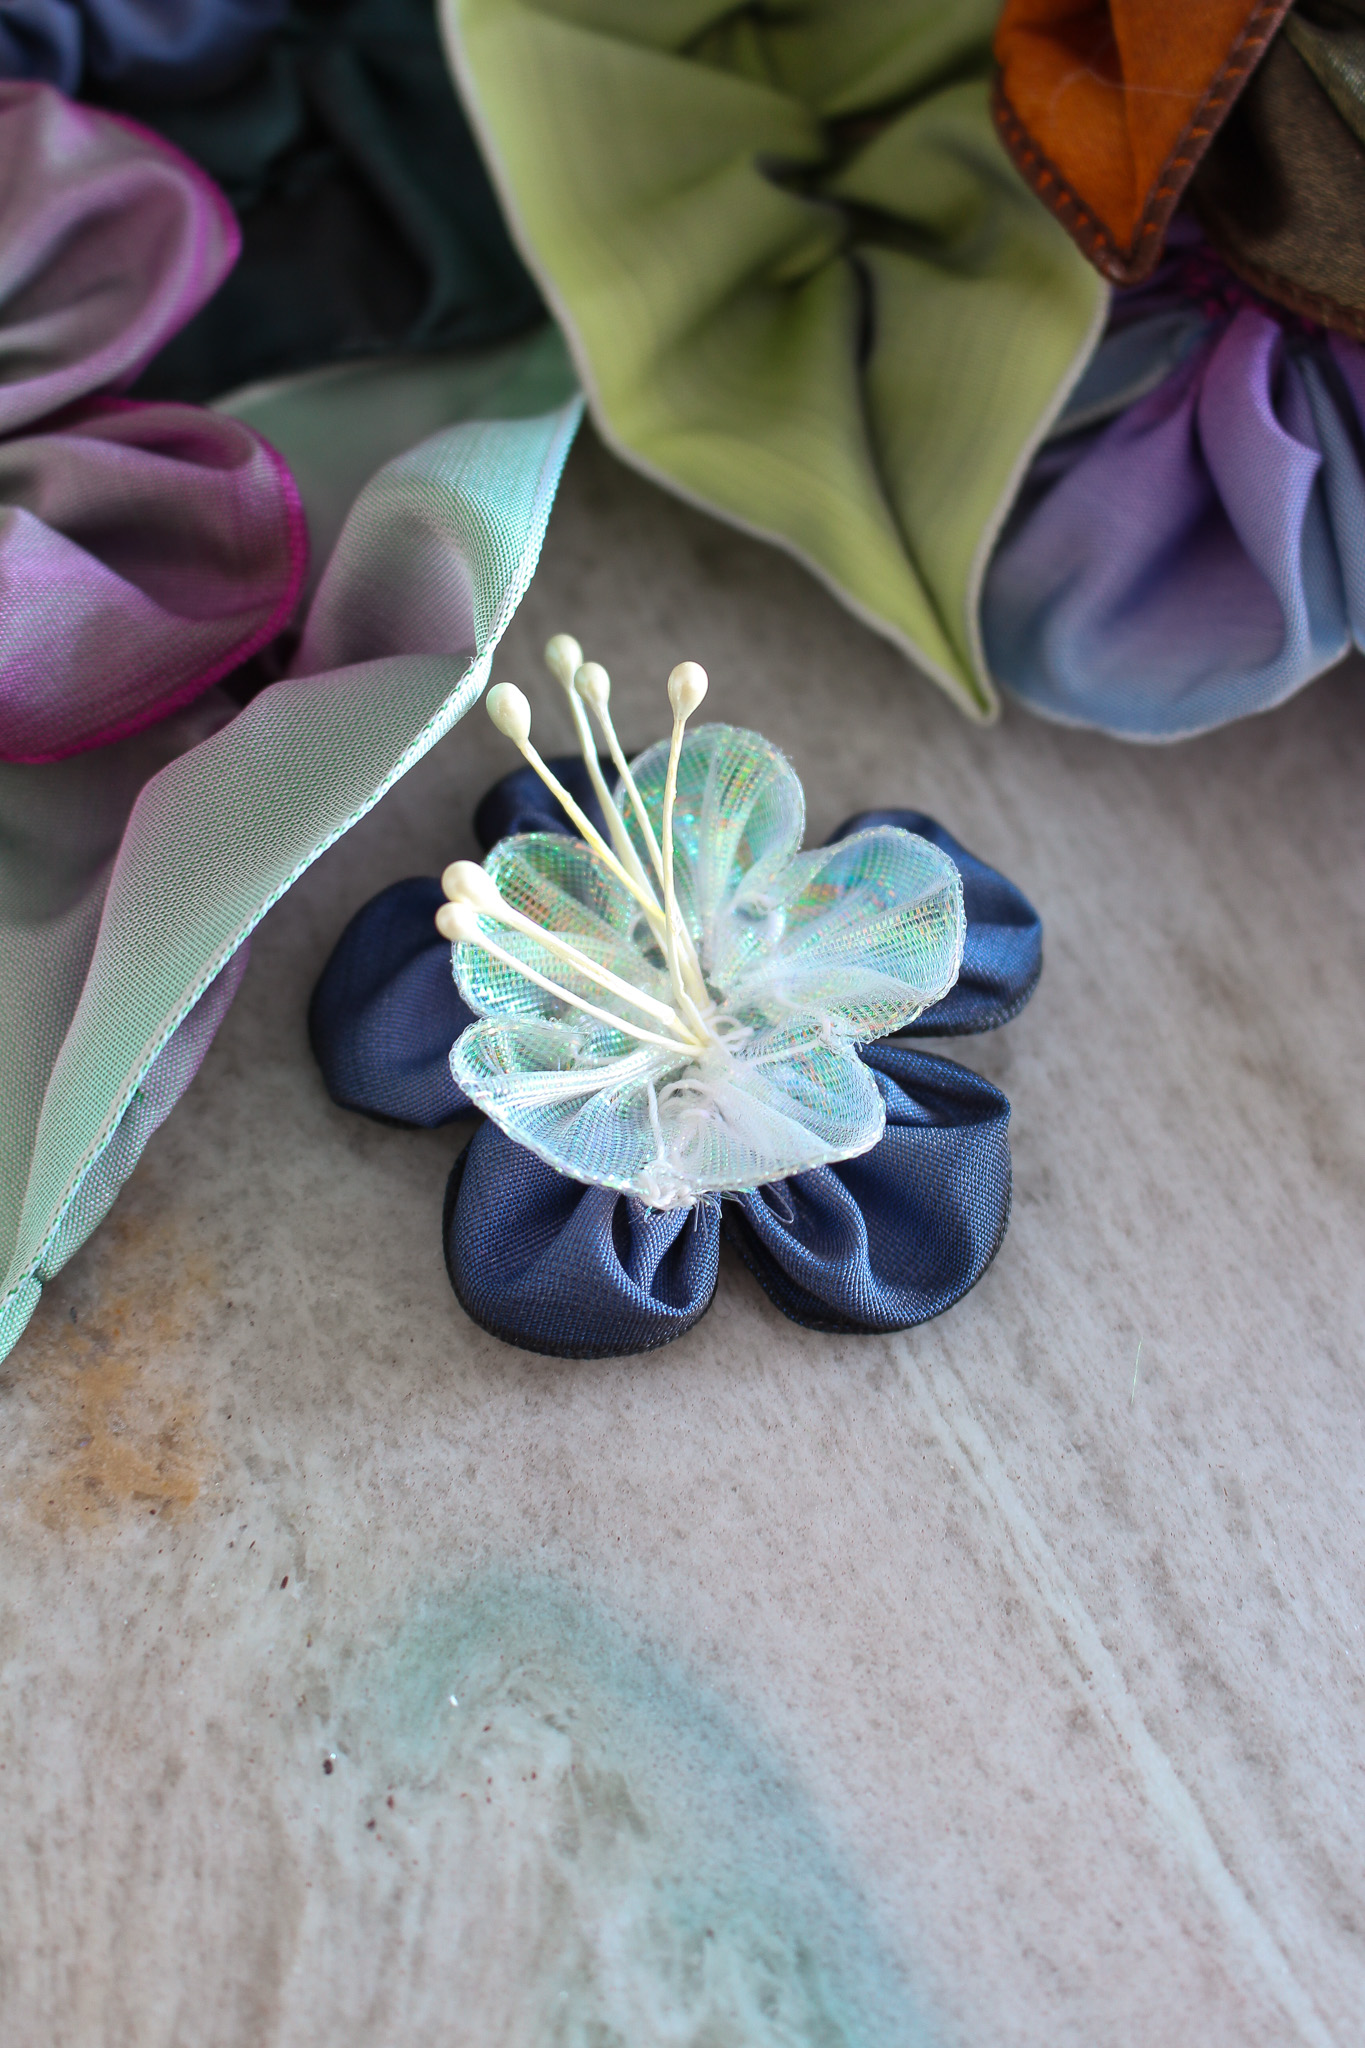
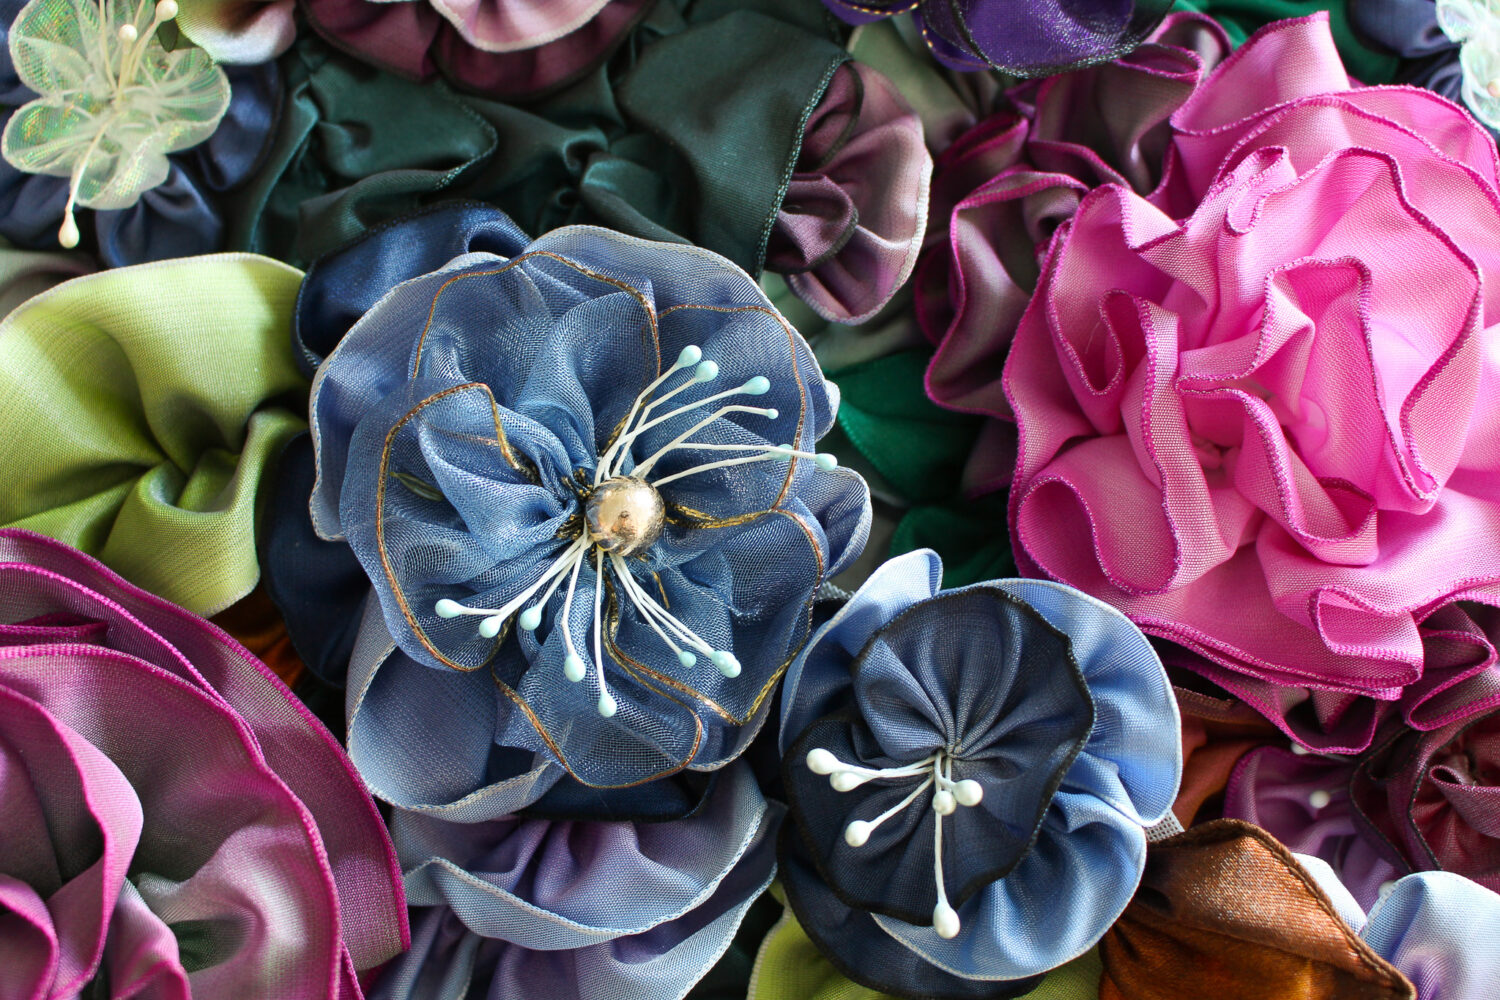
The finished DIY ribbon rose should look like this!

At this point you can stitch the ribbon rose onto whatever you’d like. OR, to make the back prettier, you can stitch on some felt (use a coordinating color if you’d like it to be less visible). At this point, you can also stitch on a brooch backing, which makes it easier to move the flower from surface to surface.

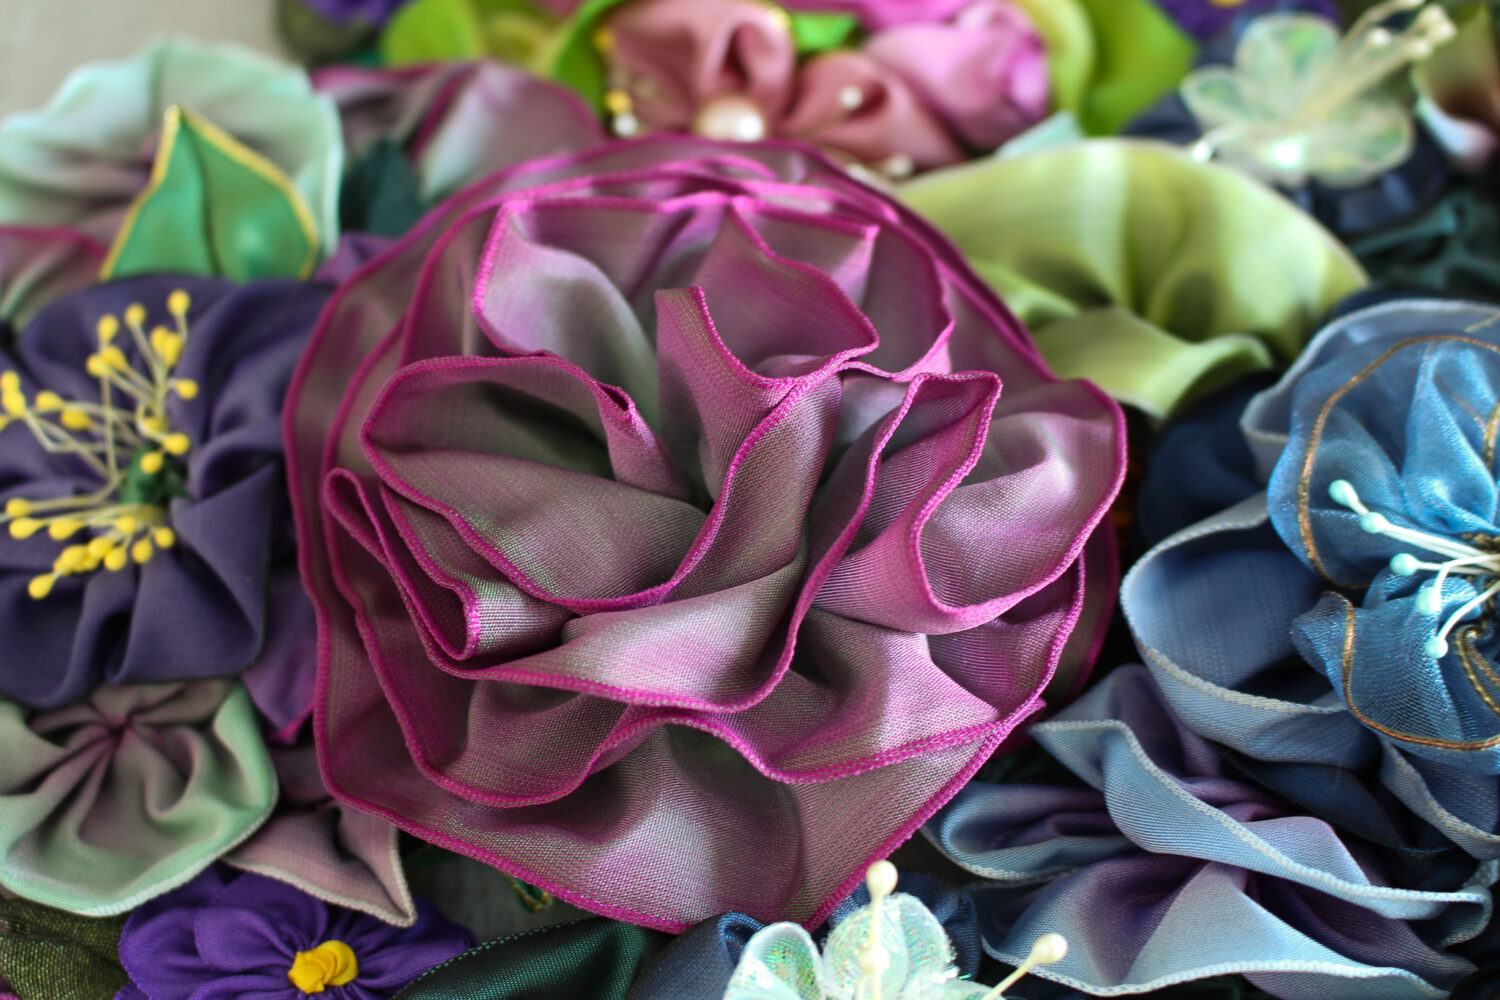
There are so many different varieties of ribbon roses – and other flowers and leaves – but this is my favorite method because it looks so sculptural. Obviously I love the aqua, and the tiny pop of red stamens makes it look so retro.


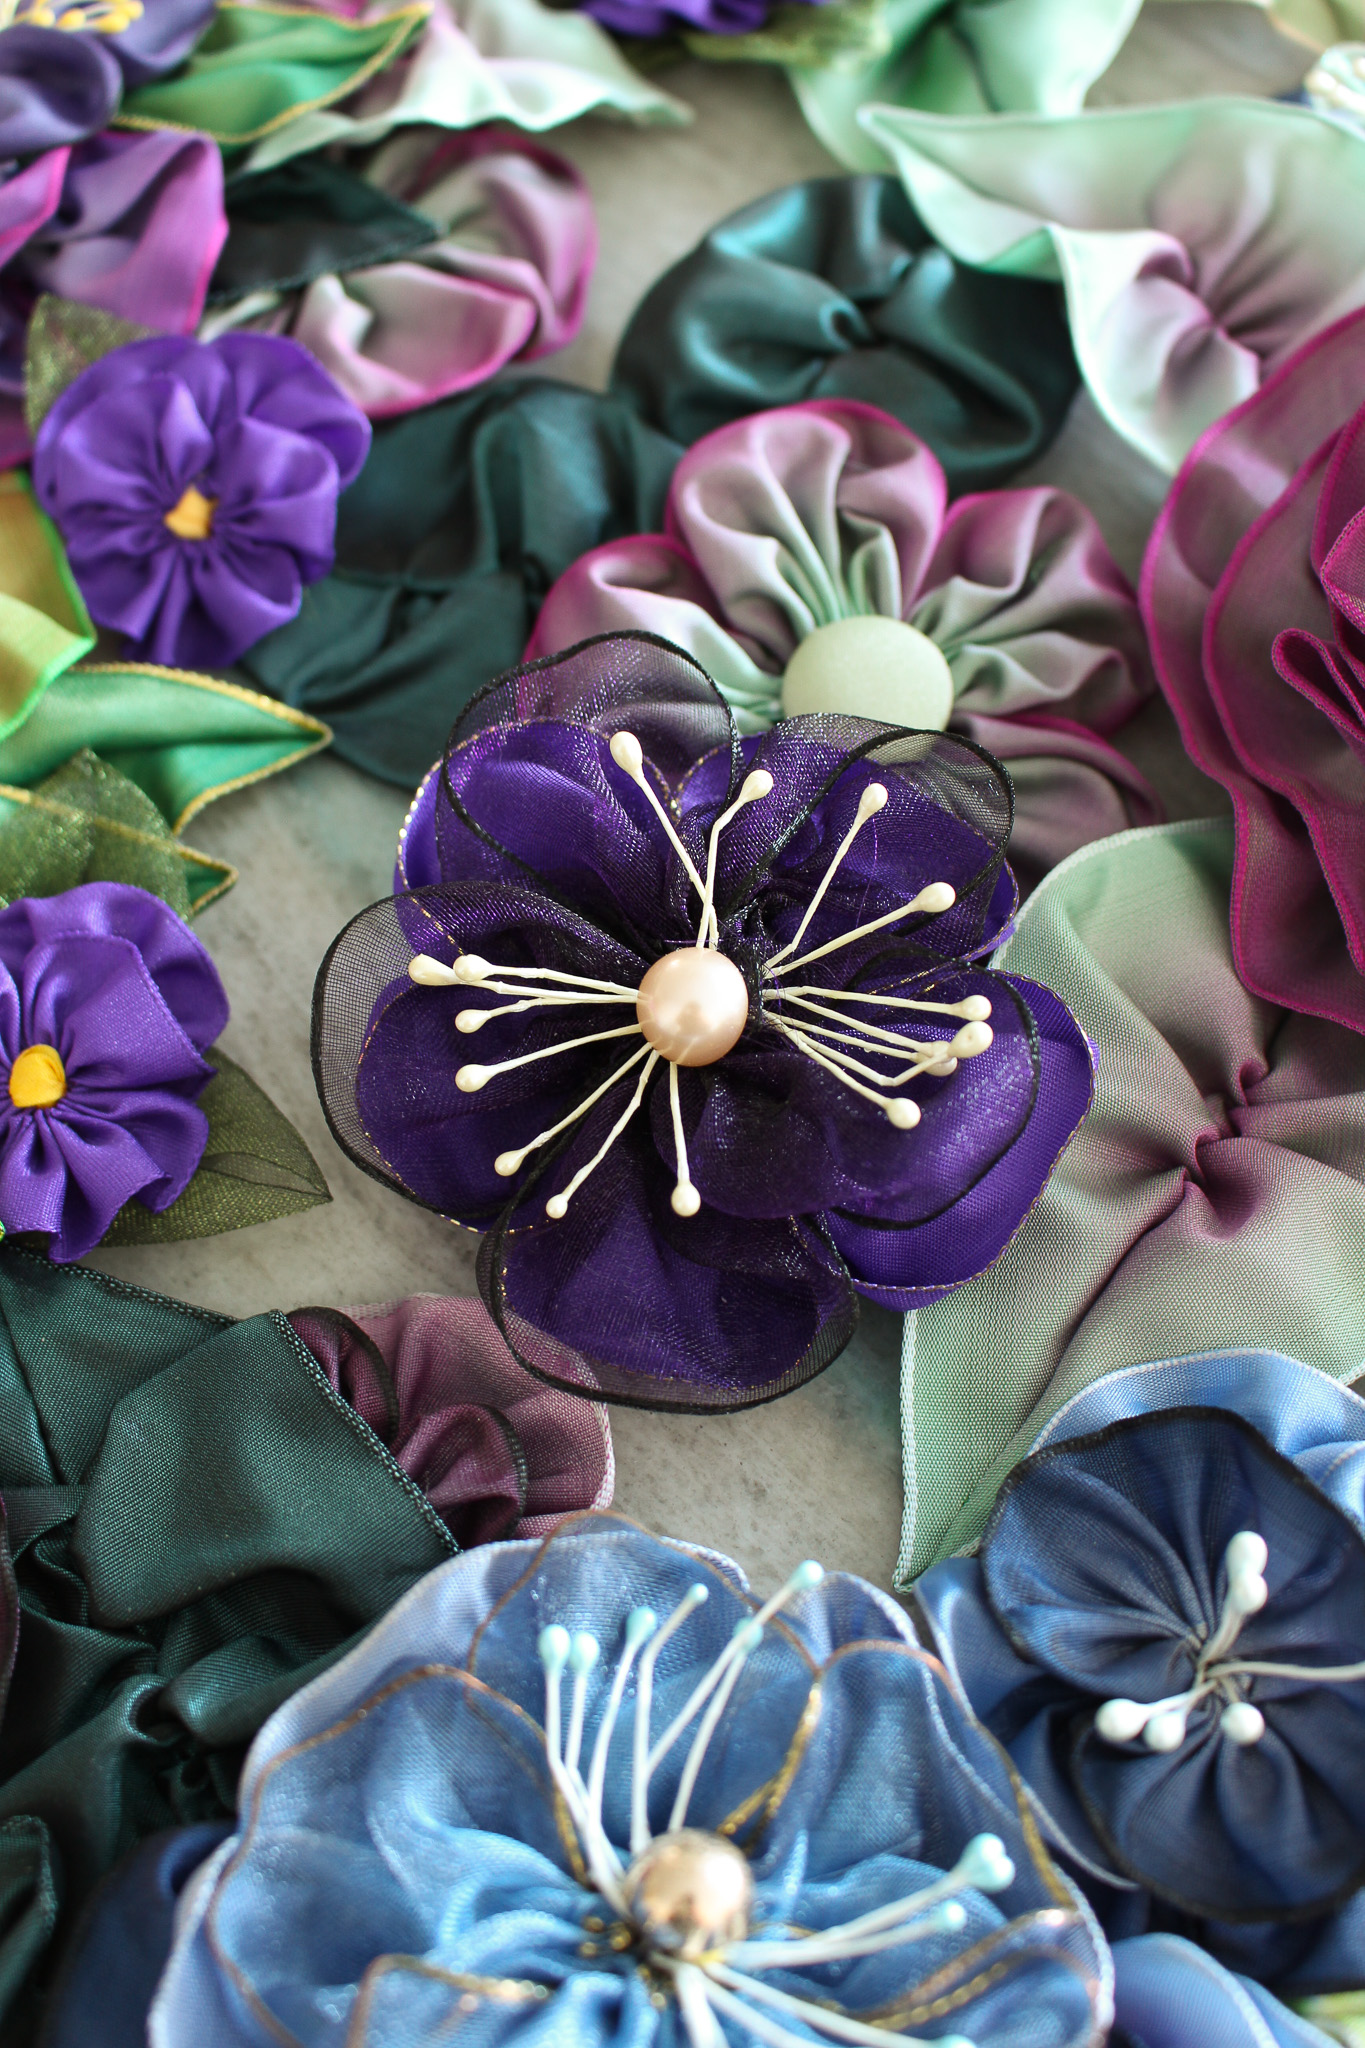
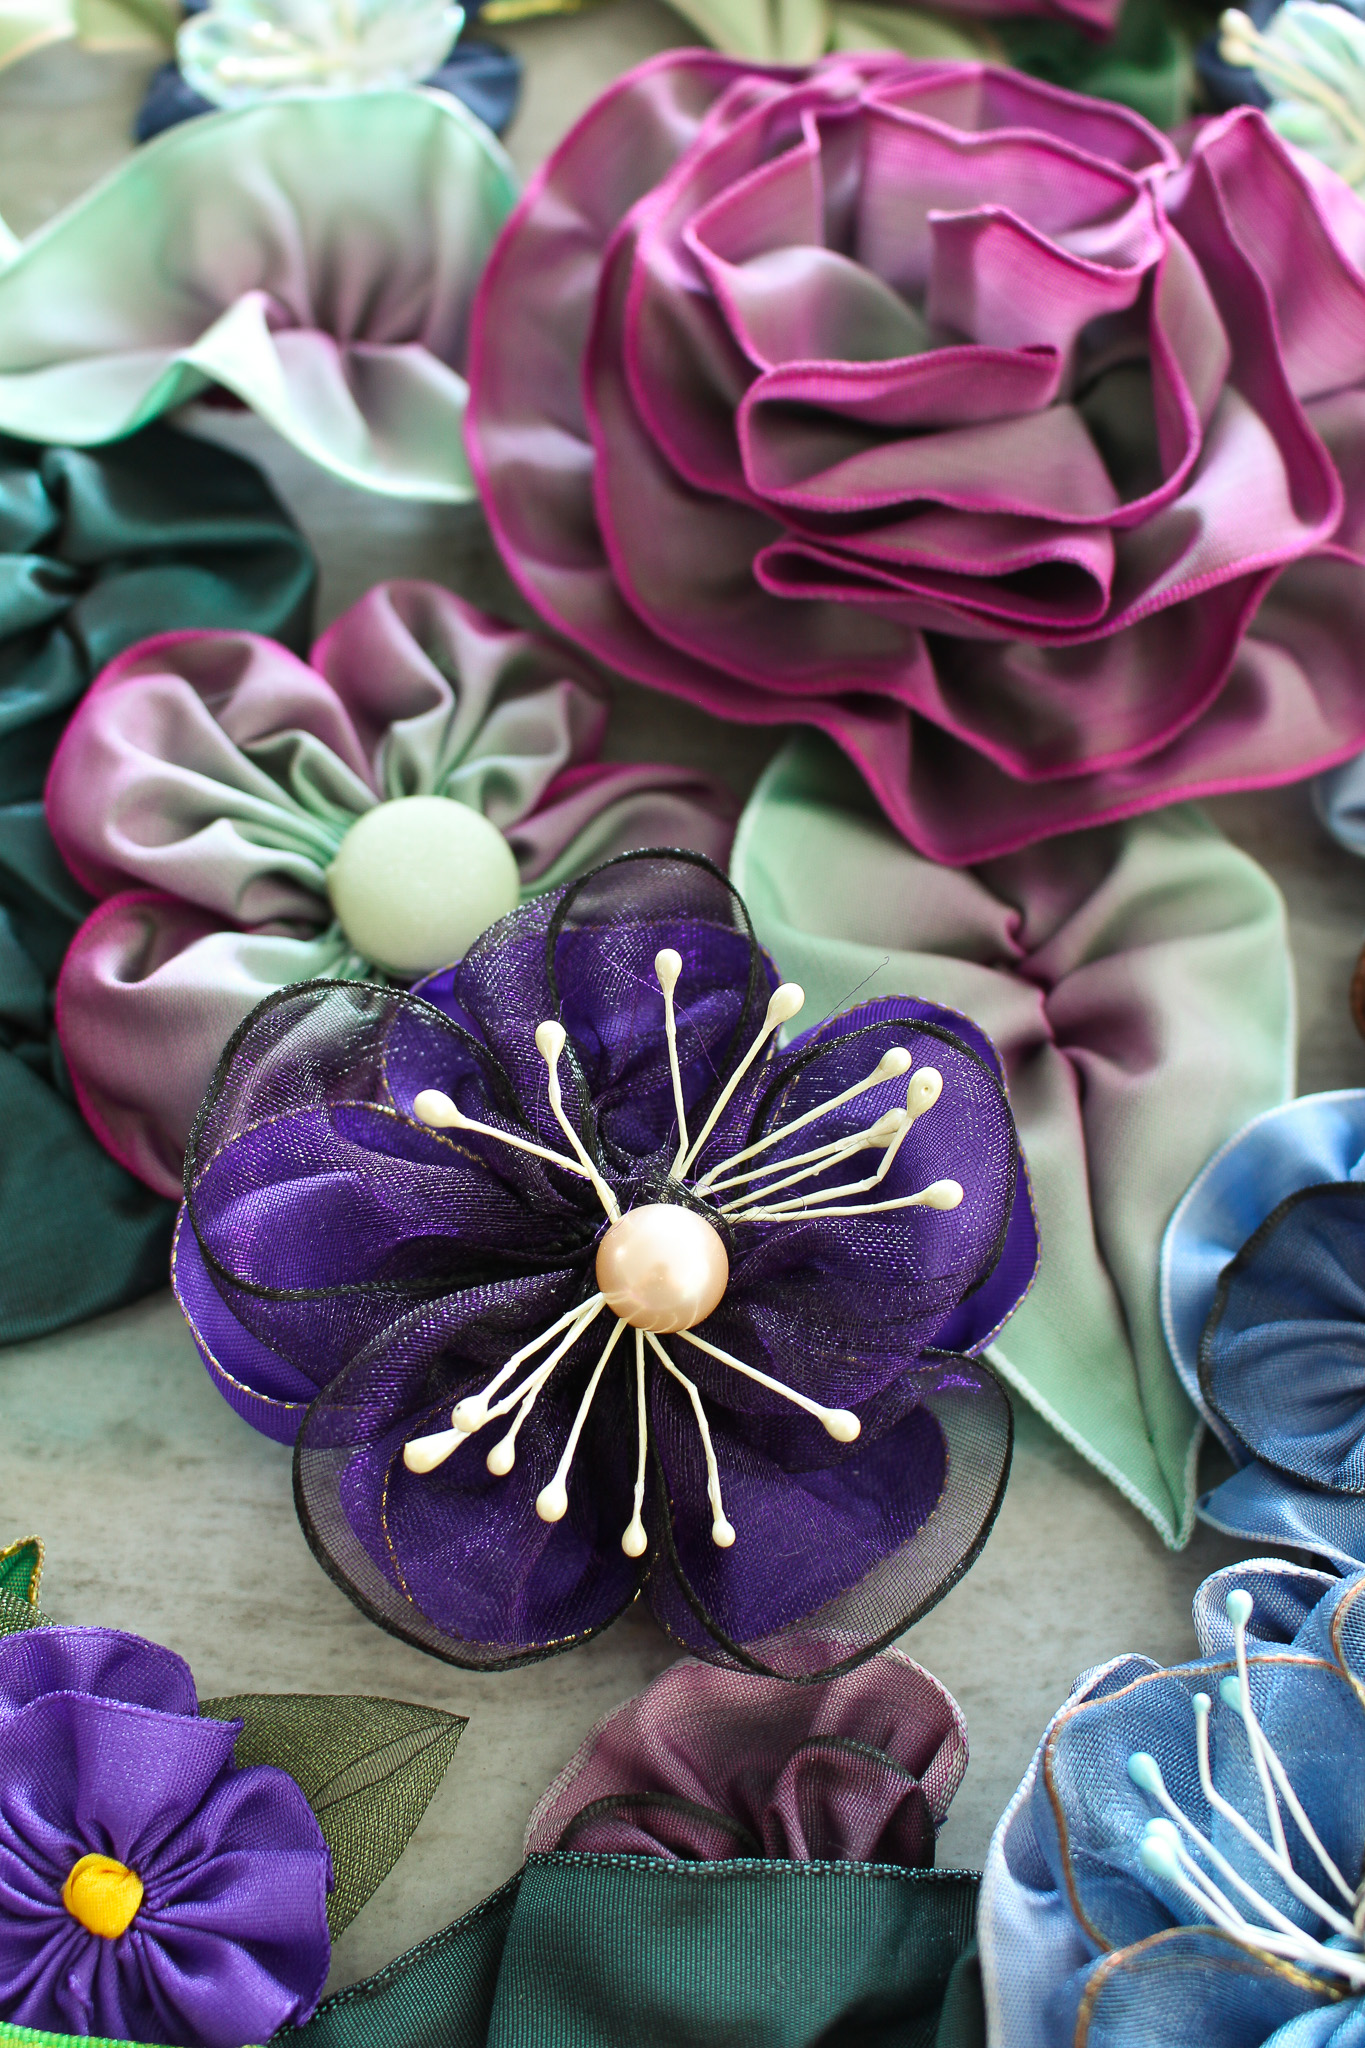
We made a teal version for this tutorial too, with black stamens, which is such a different, moodier and more modern vibe.


To add even more fullness, you can make ribbon leaves too:

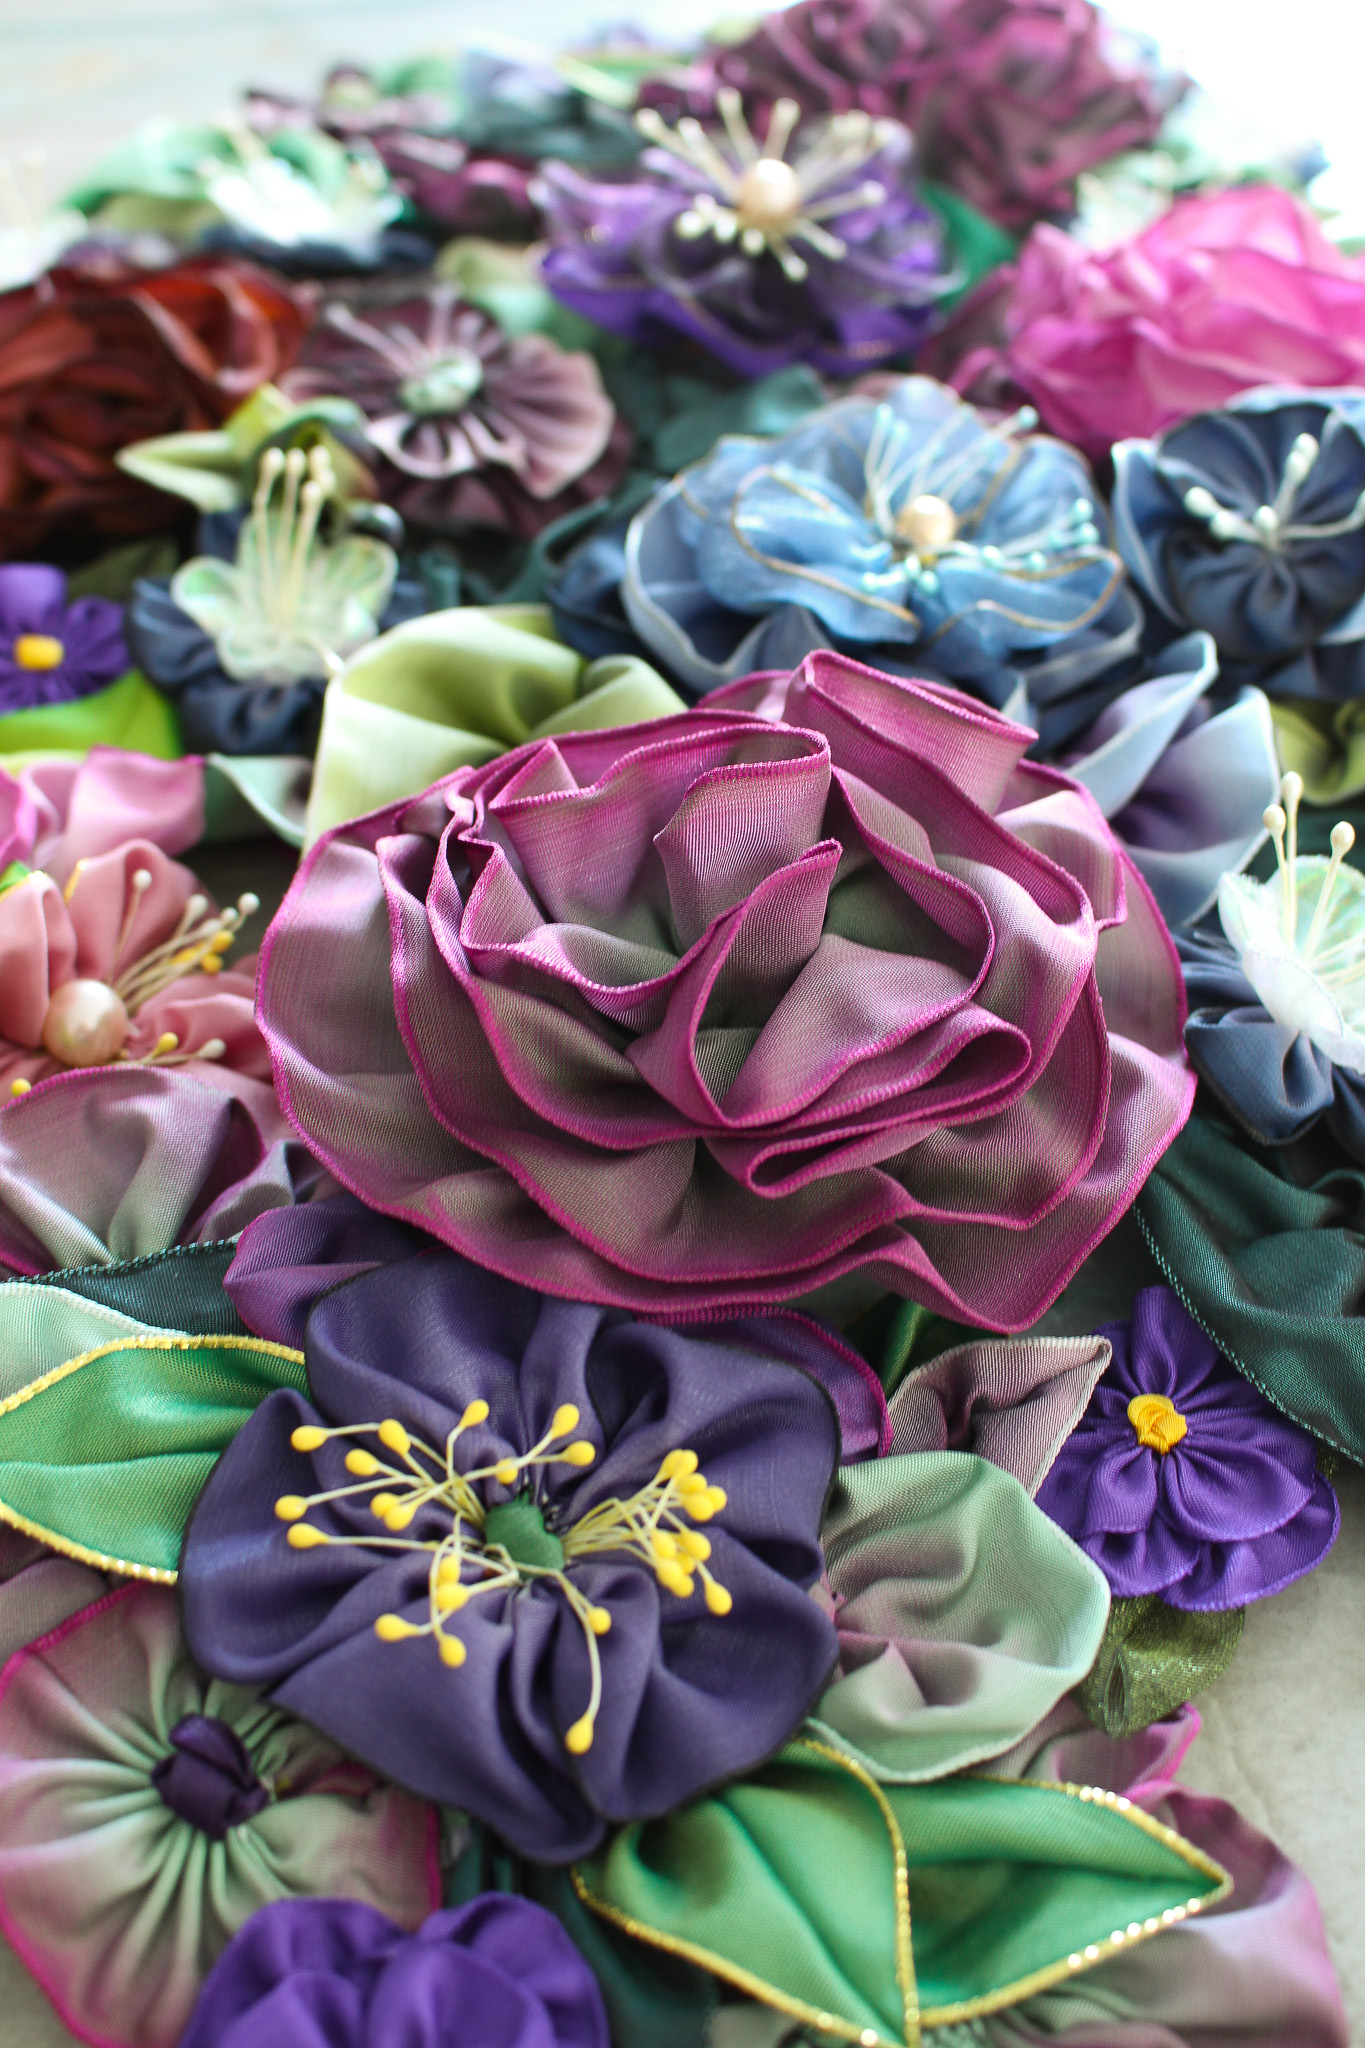
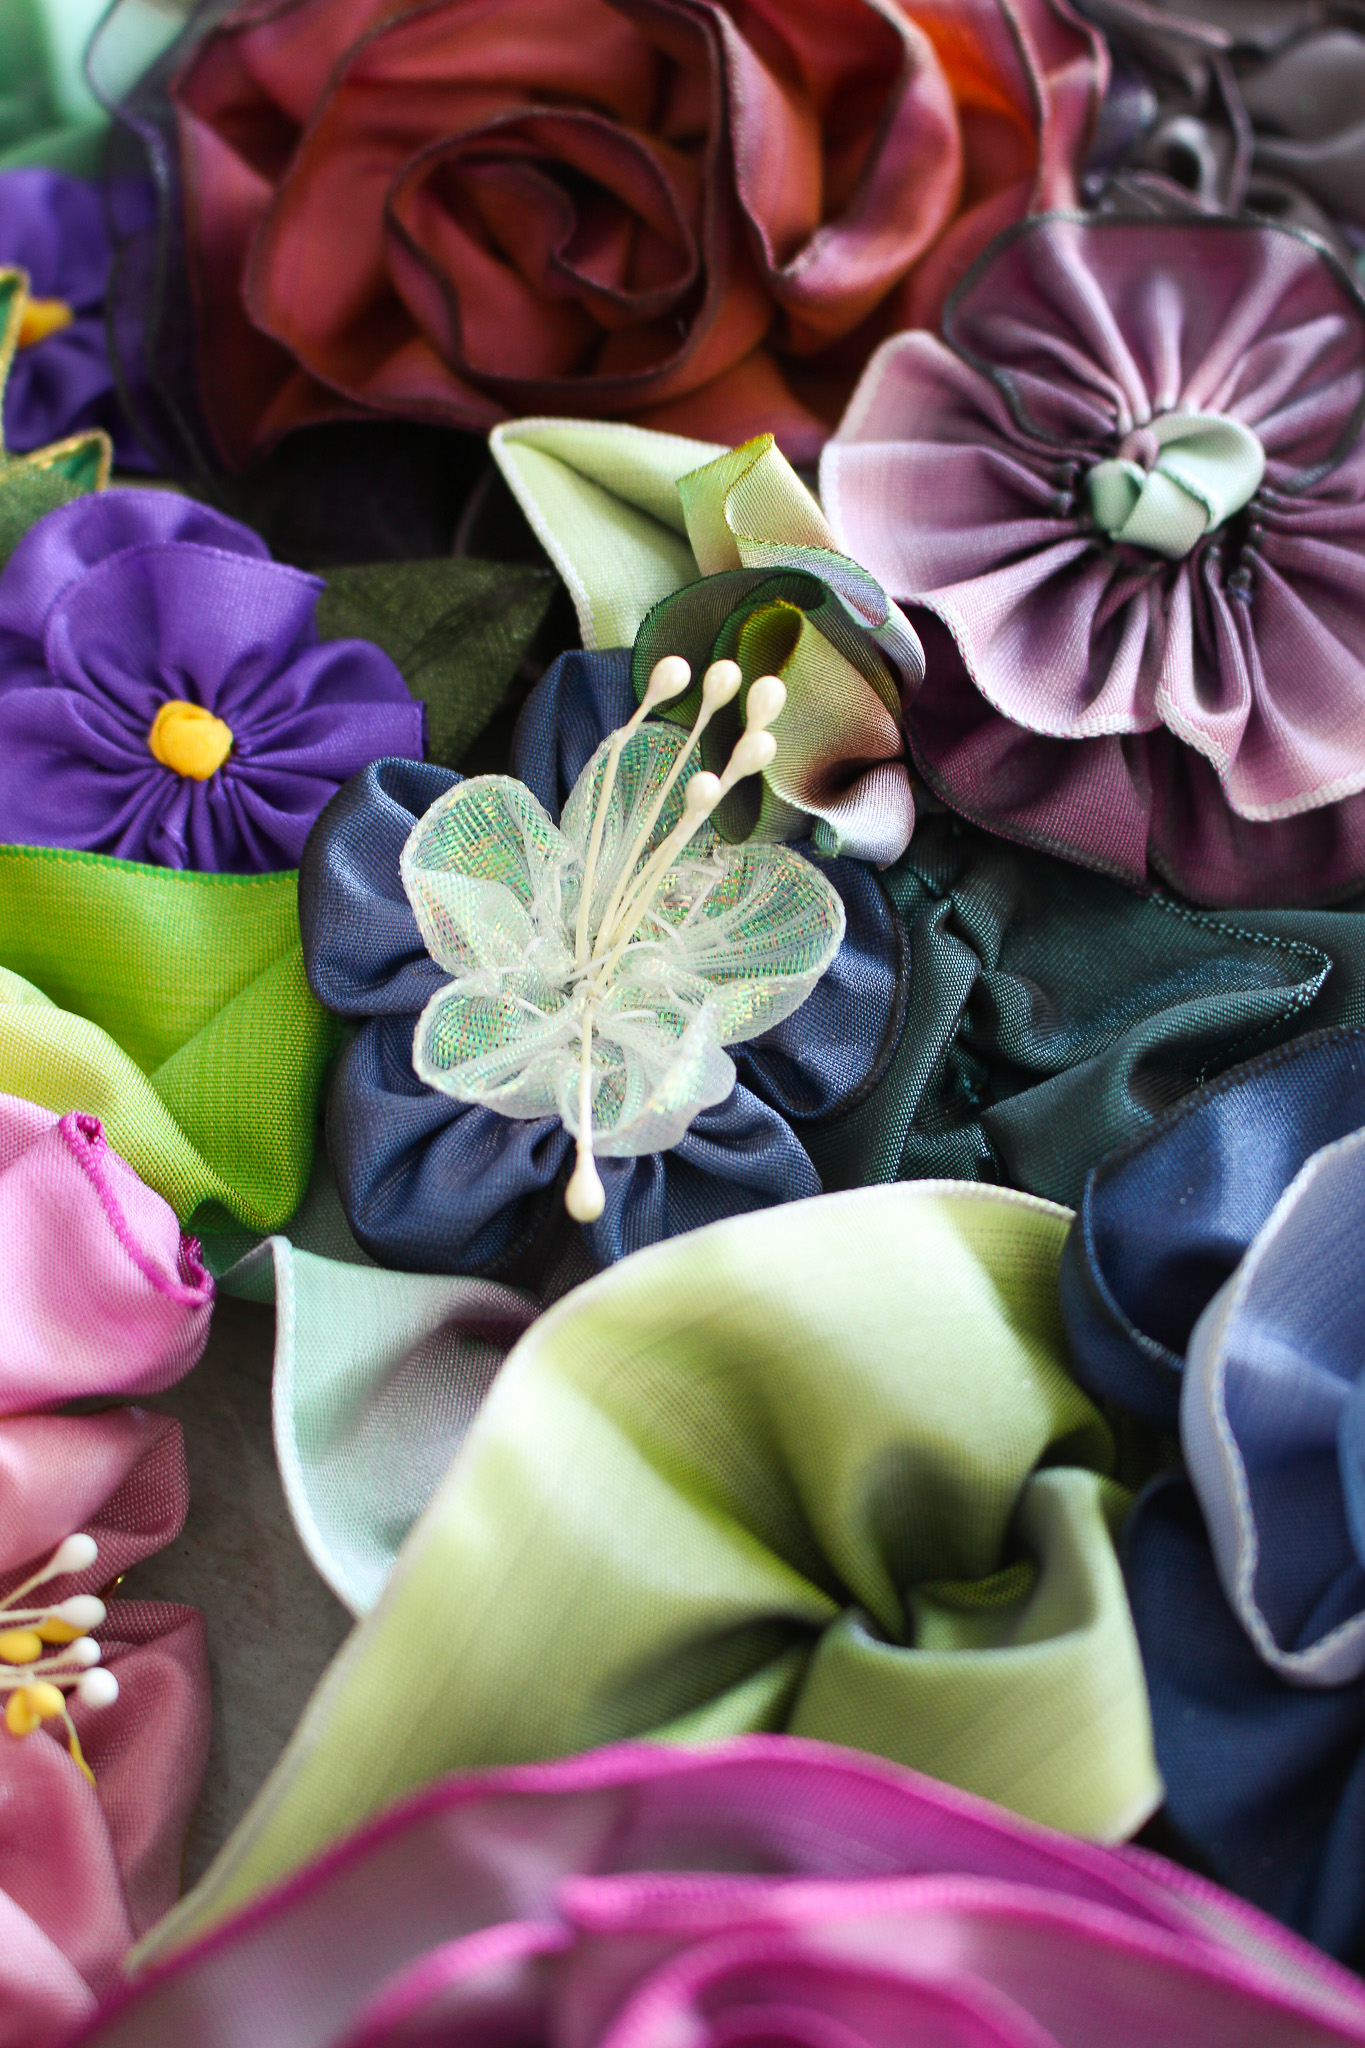
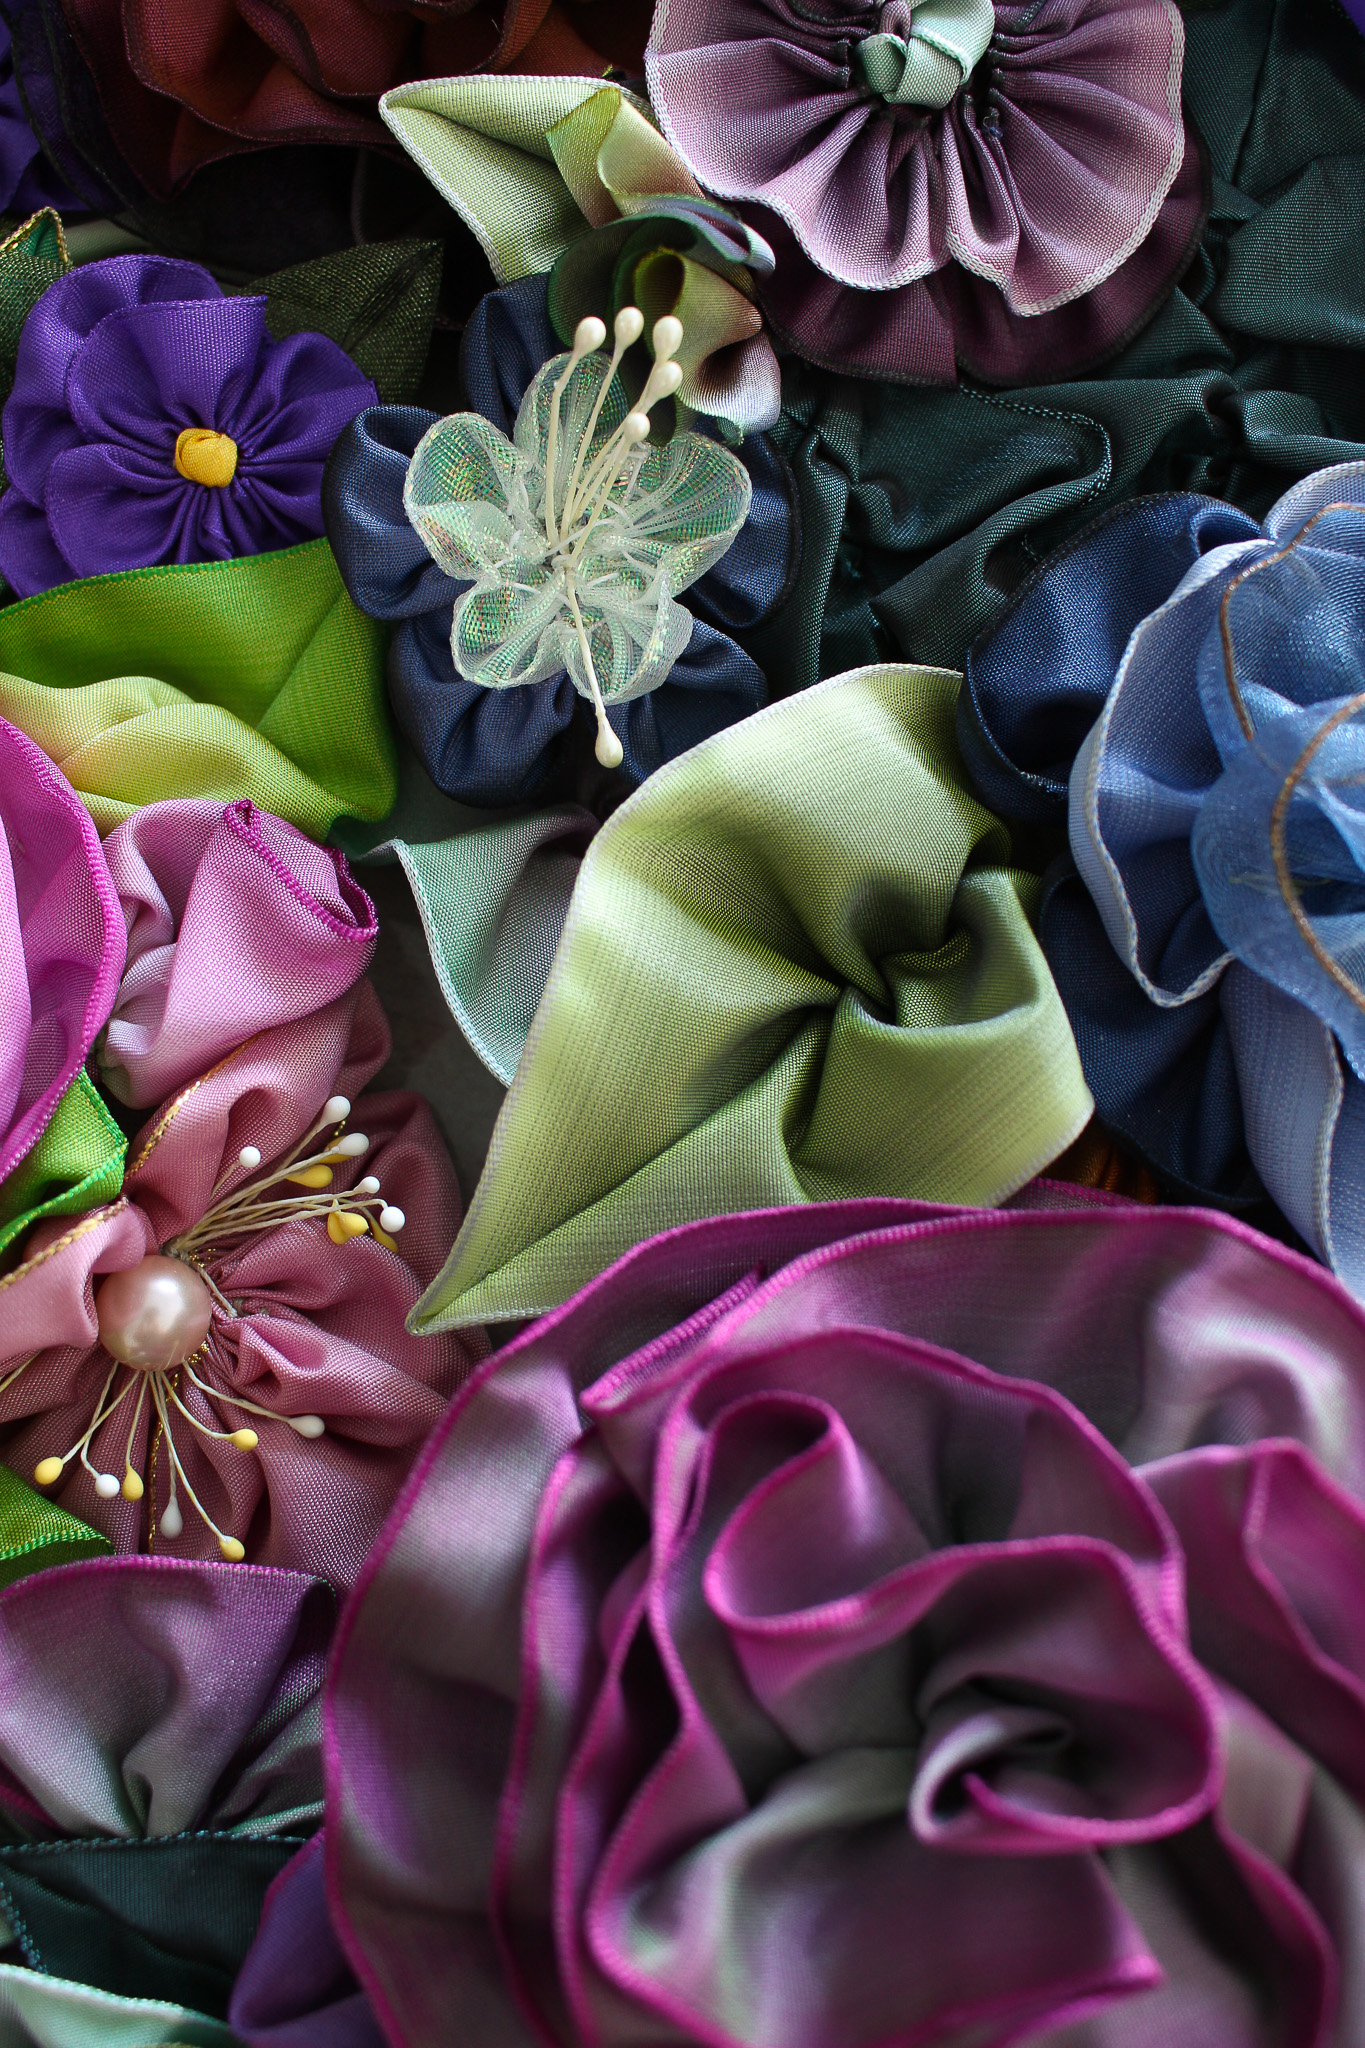
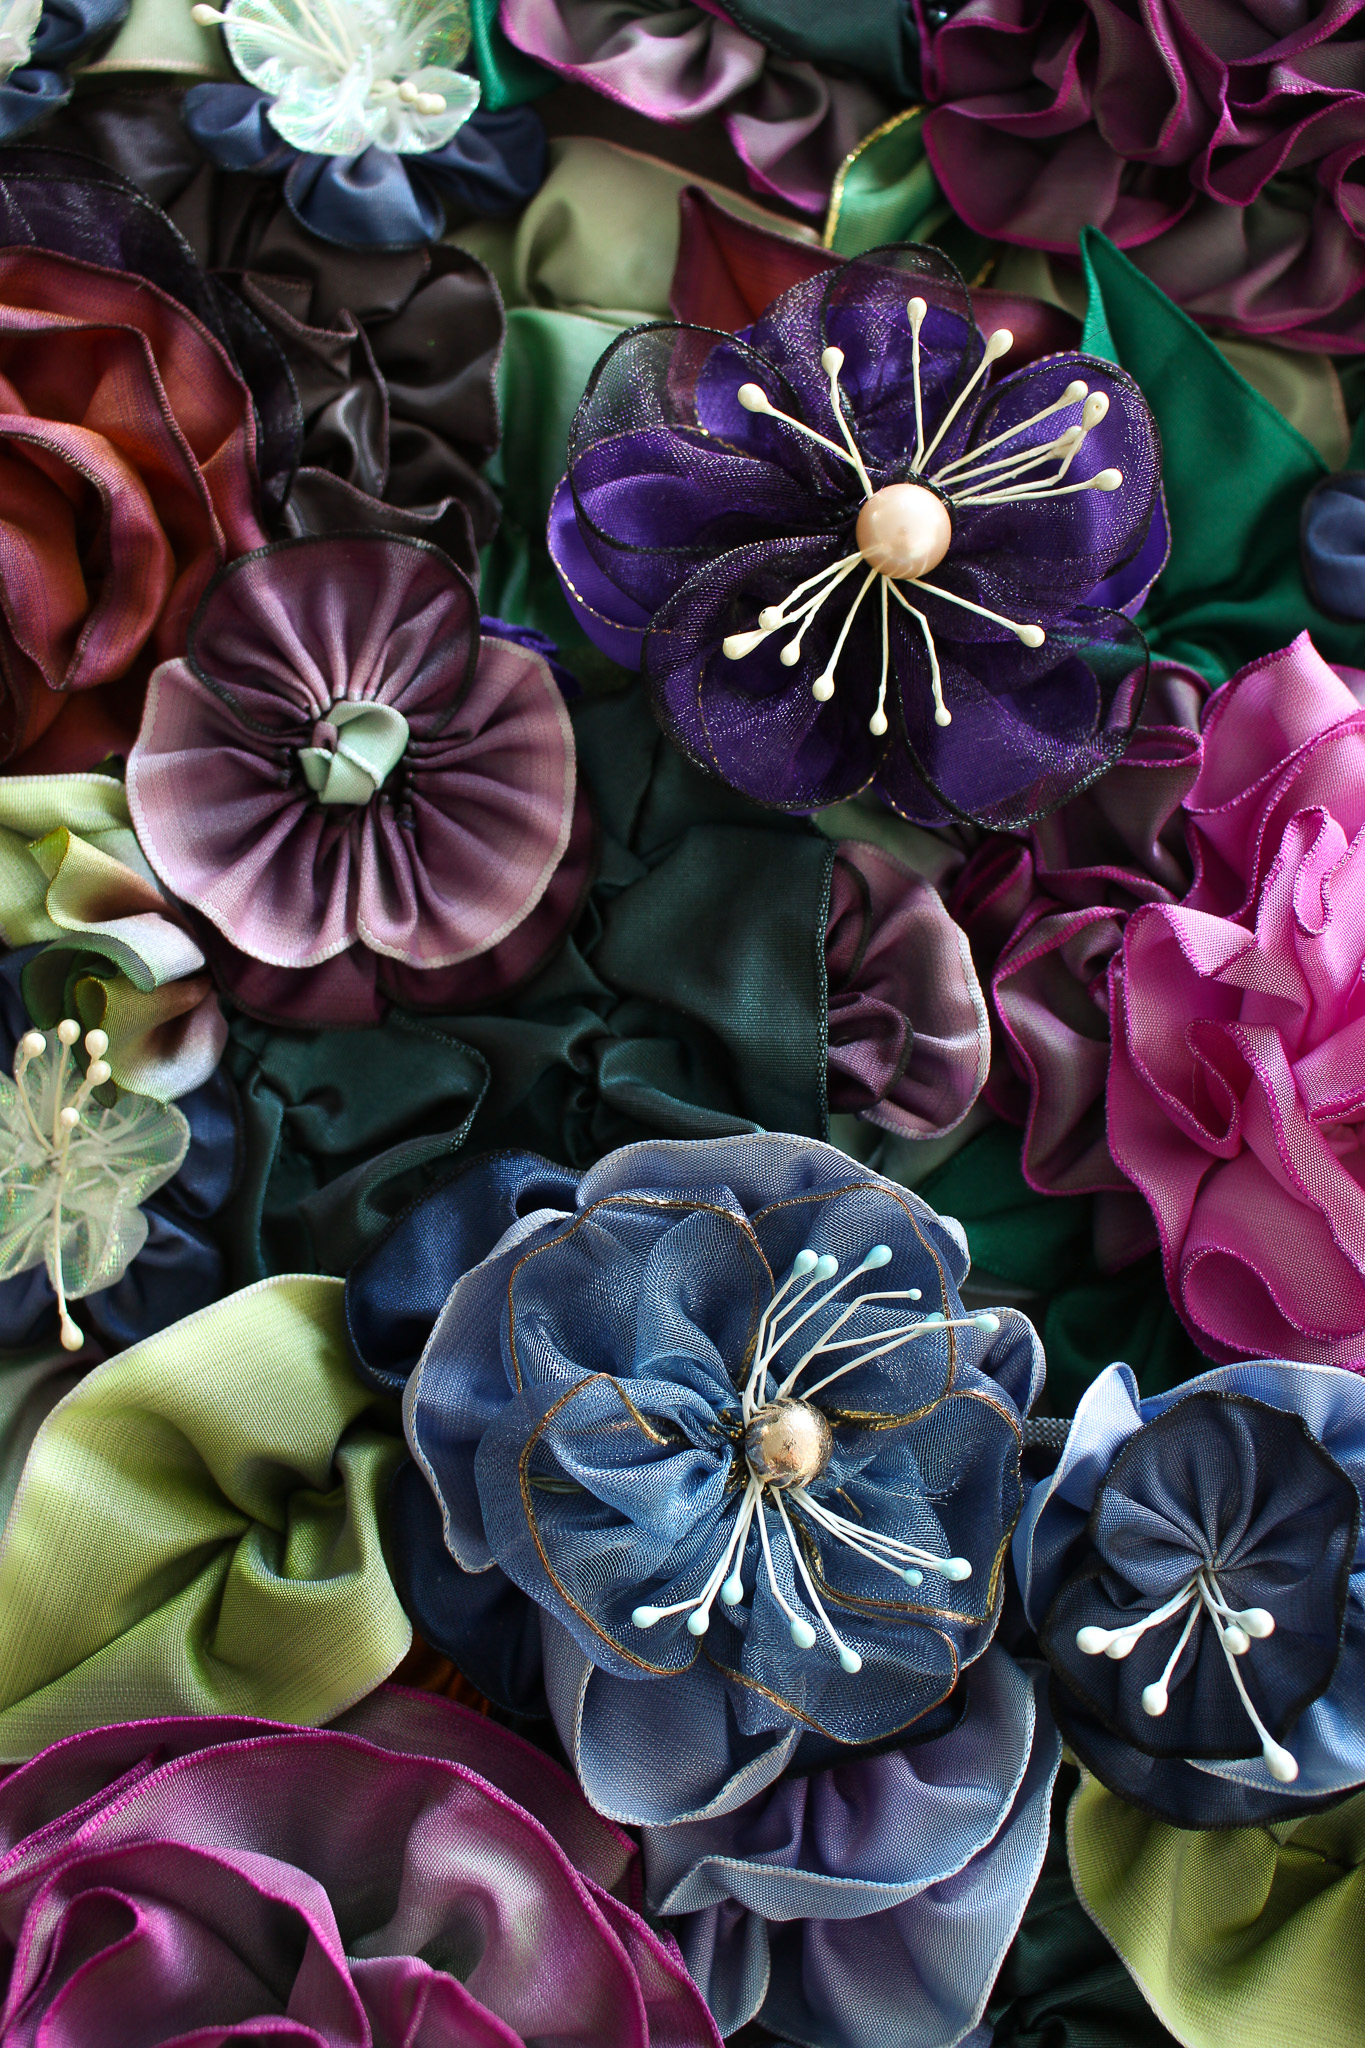
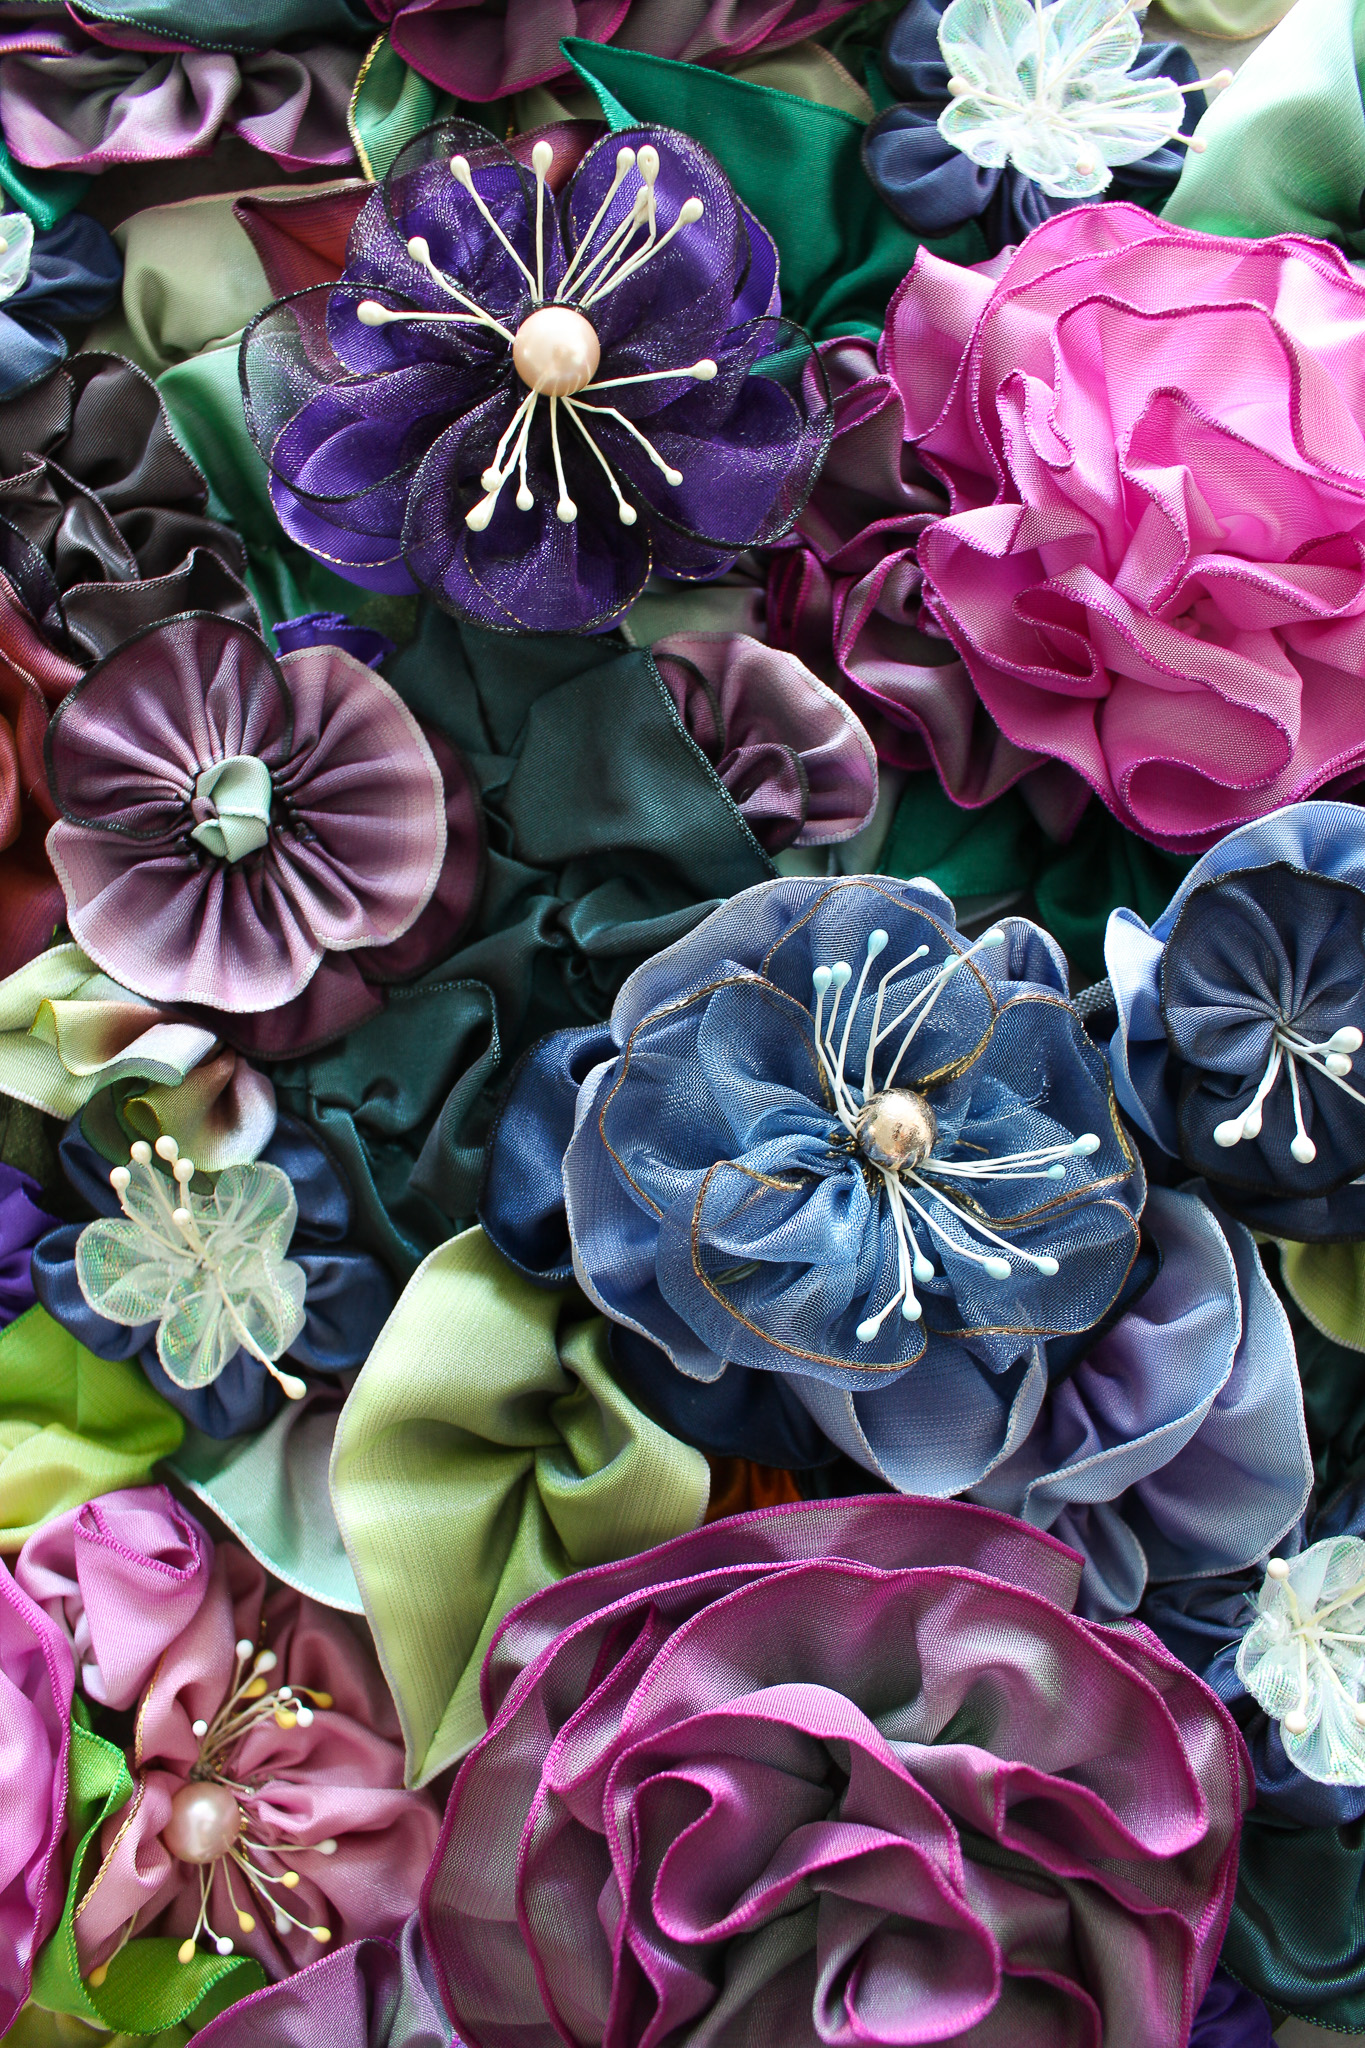
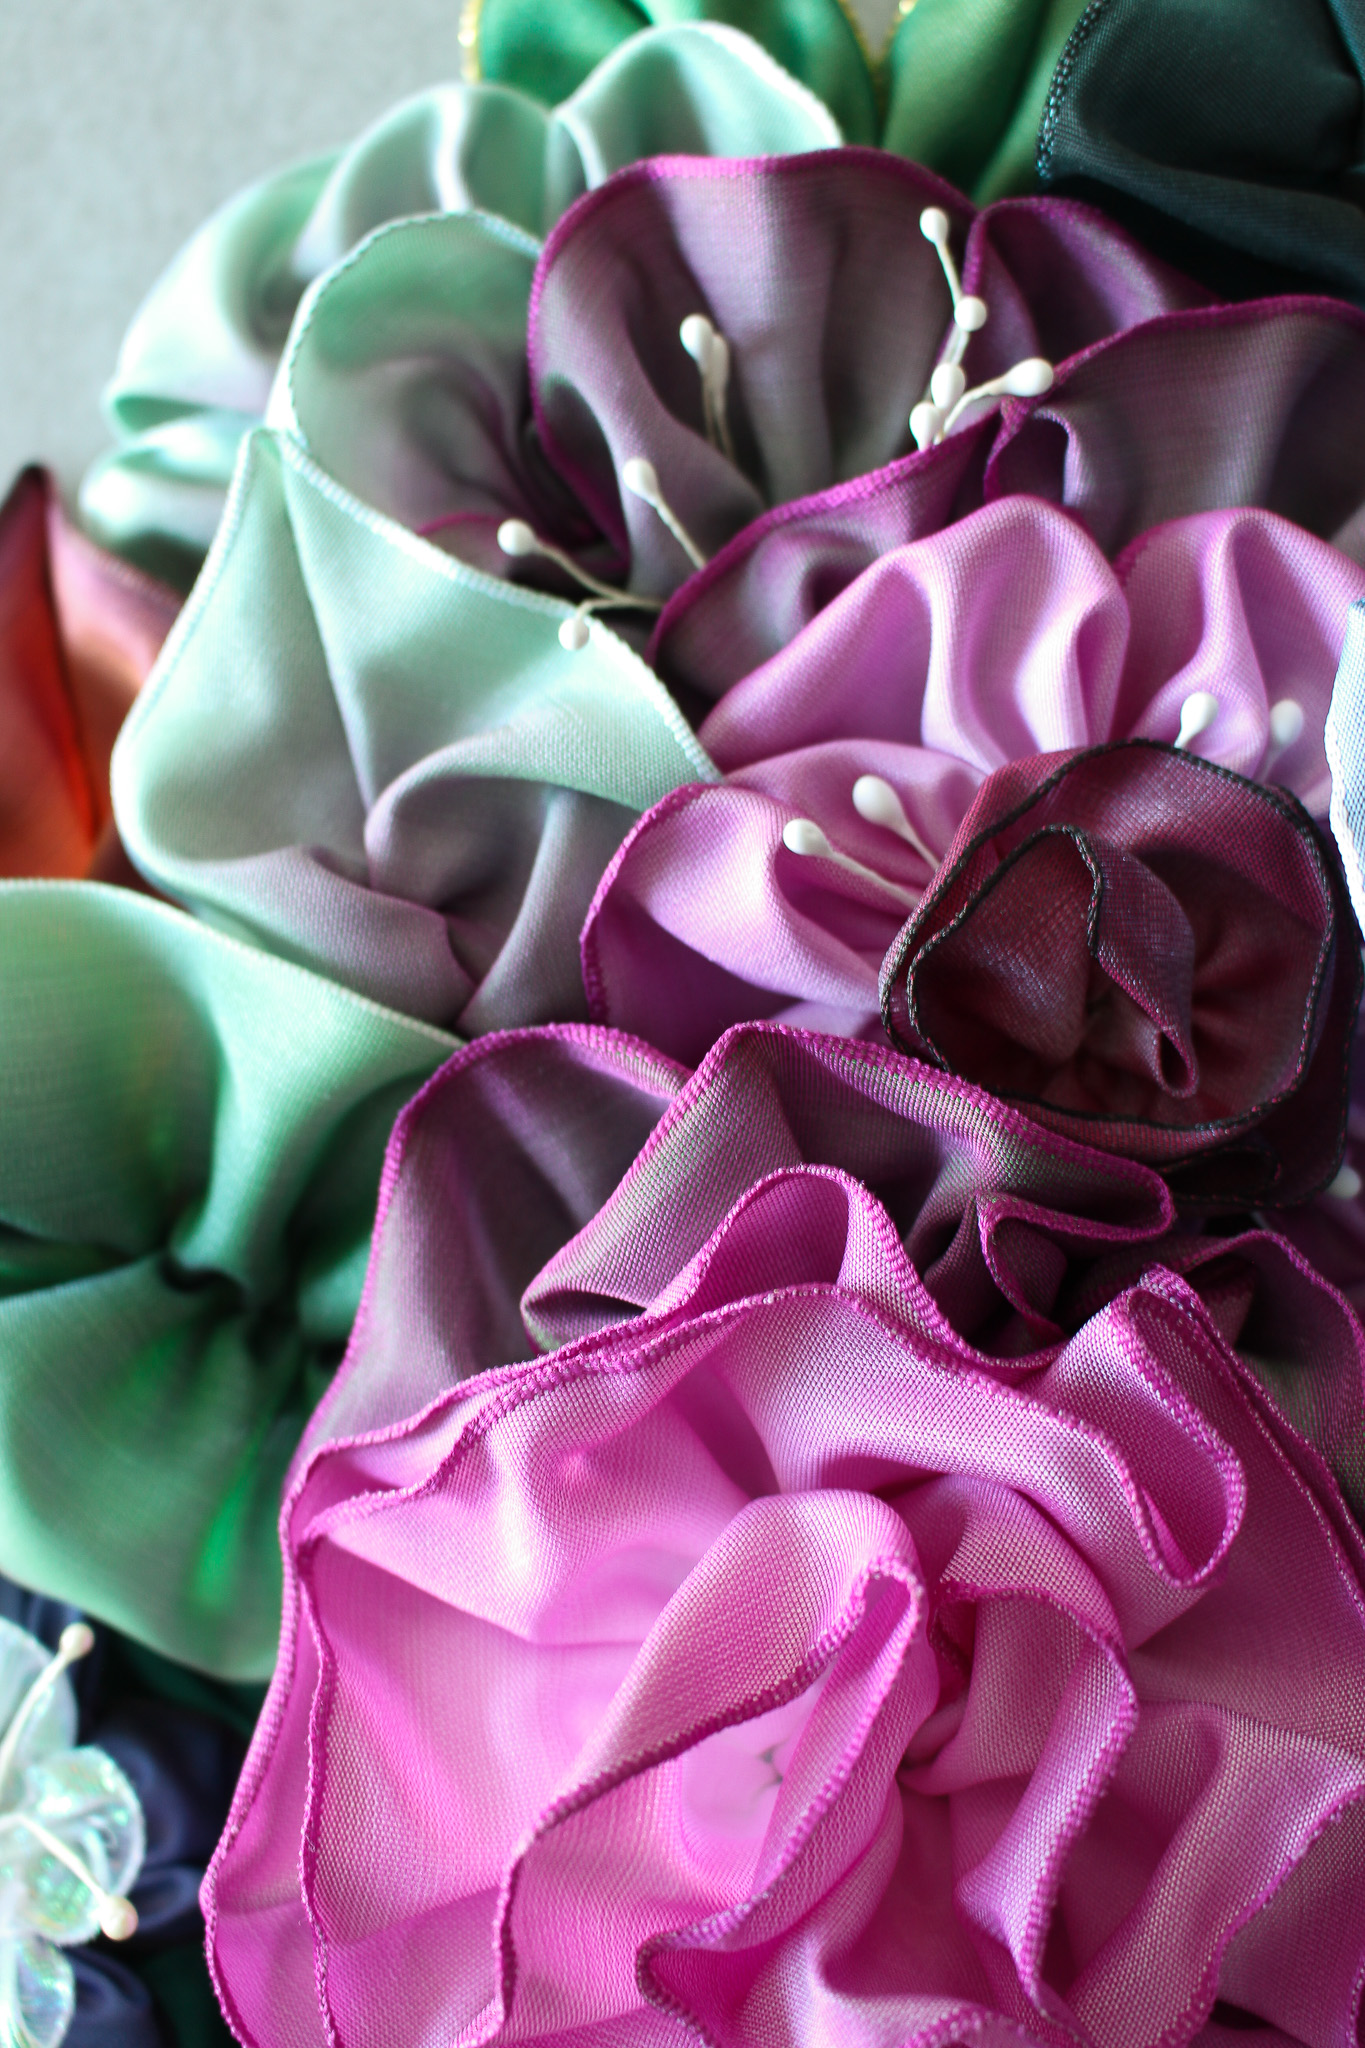
DIY Ribbon Flower Inspiration:
Check out the examples below for more ribbon flowers DIY inspiration! You can really change up the look with the color/style of ribbon you choose, but there are also other shapes and flowers to try – this is just one method. If you’d like to learn more, this is one book we have and we also have this book, which is more tutorial-oriented.


Video Tutorial:
If you’ve prefer to see a video tutorial, you can view it on TikTok, Instagram, or on YouTube:
How to Make a Ribbon Leaf:
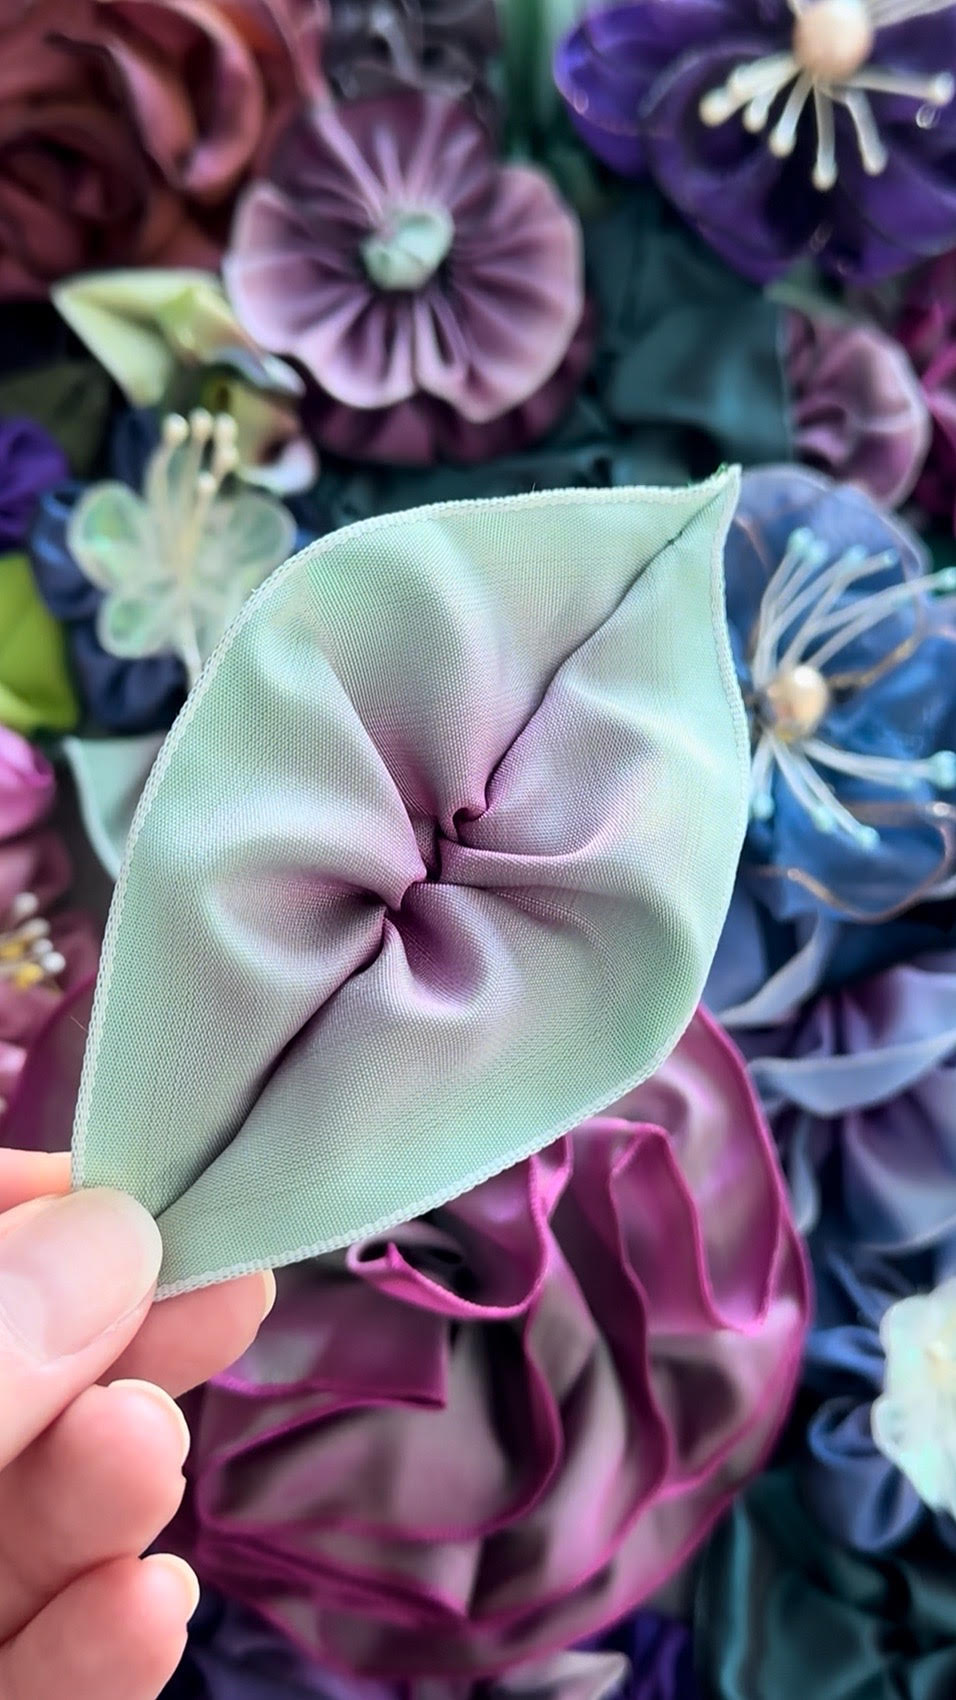
And to learn how to make the matching ribbon leaf, check out the video below:
P.S. Don’t Forget to Pin for Later!

Love these! I remember making roses out of some ivory silk for a corsage and boutonniere for prom. It wasn't ribbon but a narrow strip of silk folded in half. These would be gorgeous added to a sash!
Thanks! Your prom corsage and boutonniere sound so pretty! I'm a sucker for anything silk 🙂
Great tutorial, thanks. I have a few of them (store bought) that have clips on them instead of pins so it's easy to clip on a jacket pocket or lapel, or even a hat or purse. Something to think about if you're to sell them
Thanks! My mom had made some before with clips but I personally preferred the pin back. This is good market research! We'll be sure to do a mix for folks who prefer the clip option. I appreciate the feedback 🙂
Gorgeous – the brooch and your close-up how-to photography!
Thank you! My Mom was so patient and made an excellent hand model 🙂 I'm really having a lot of fun playing with my DSLR camera and projects like these are such great practice.
Too cute, these would also make cute napkin rings. I love turquoise/aqua and red combo, it reminds me of a diner.
I was thinking napkin rings too!!
wow. This ribbon flower is really beautiful. Thanks for your sharing.
This would also look fabulous on a floppy-brimmed hat (think Clara Bow or Mary Pickford)!
It’s one I probably won’t attempt, because manual dexterity is a must.
Ohhhh, why was I not born a starfish or octopus so that the fingers would grow back?!? 😆
Author
That is such an excellent idea! I’m so sorry to have tempted you with a DIY that you cannot do. Maybe someone you know would make some for you and trade for your lovely handmade soap?