I recently went home and attended a wedding, went to a lot of yard sales, and carved out a little time to craft and make these DIY beaded earrings. It was such a lovely visit but now I’m back home and it’s time to show you how to make your own DIY bead earrings. Even if you’re new to making DIY jewelry, you can do this! I don’t even buy special tools, I use my regular old needle nose pliers, lol.

Supplies for DIY Beaded Earring:
- 2 straight pins (a straight pin has a flat end)
- 2 eye pins (an eye pin has a loop at one end)
- 4 Swarovski beads (or whatever you like that sparkles)*
- 2 flat shell beads (coin pearls would also work)
- 6 donut shaped beads
- 2 earrings hooks
- Needle Nose Pliers OR Wire Looping Pliers OR a One Step Looper Tool
I’m just telling you what beads I bought but literally get whatever you like! The technique will be the same.
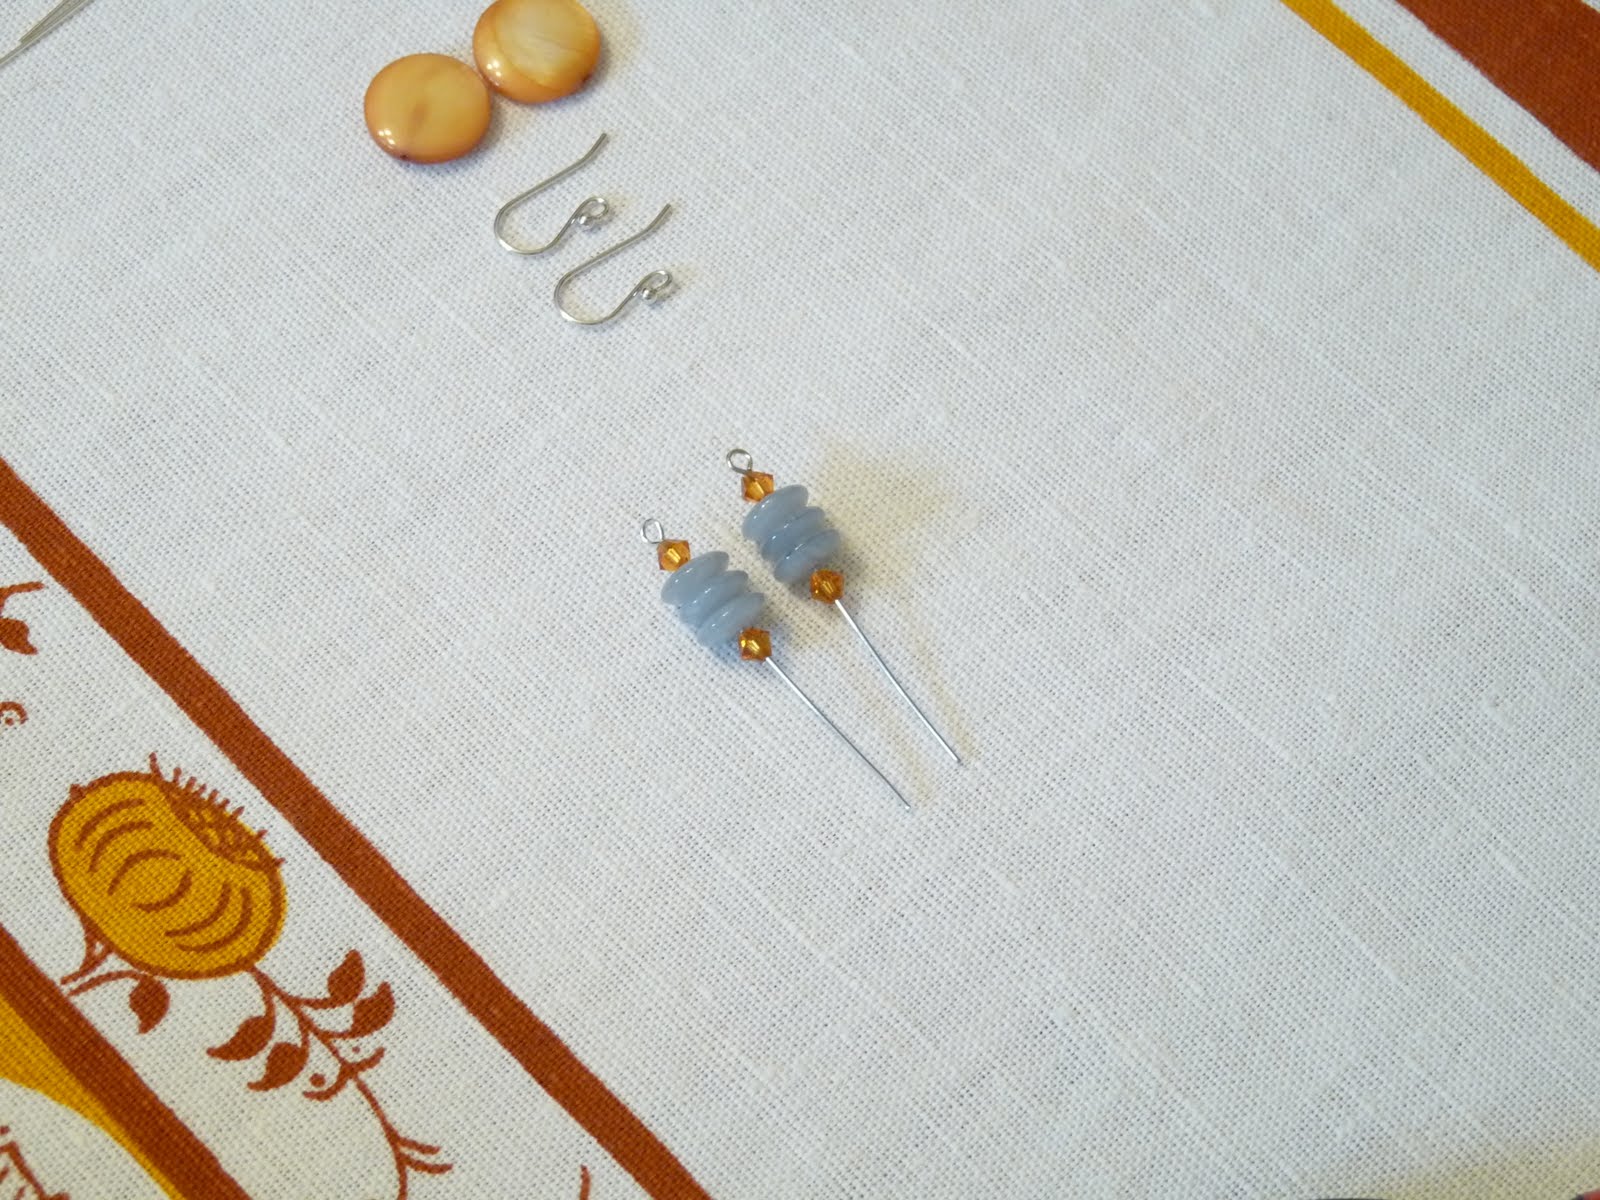
 |
| Supplies. |
Thread the beads for the top section onto the eye pin.

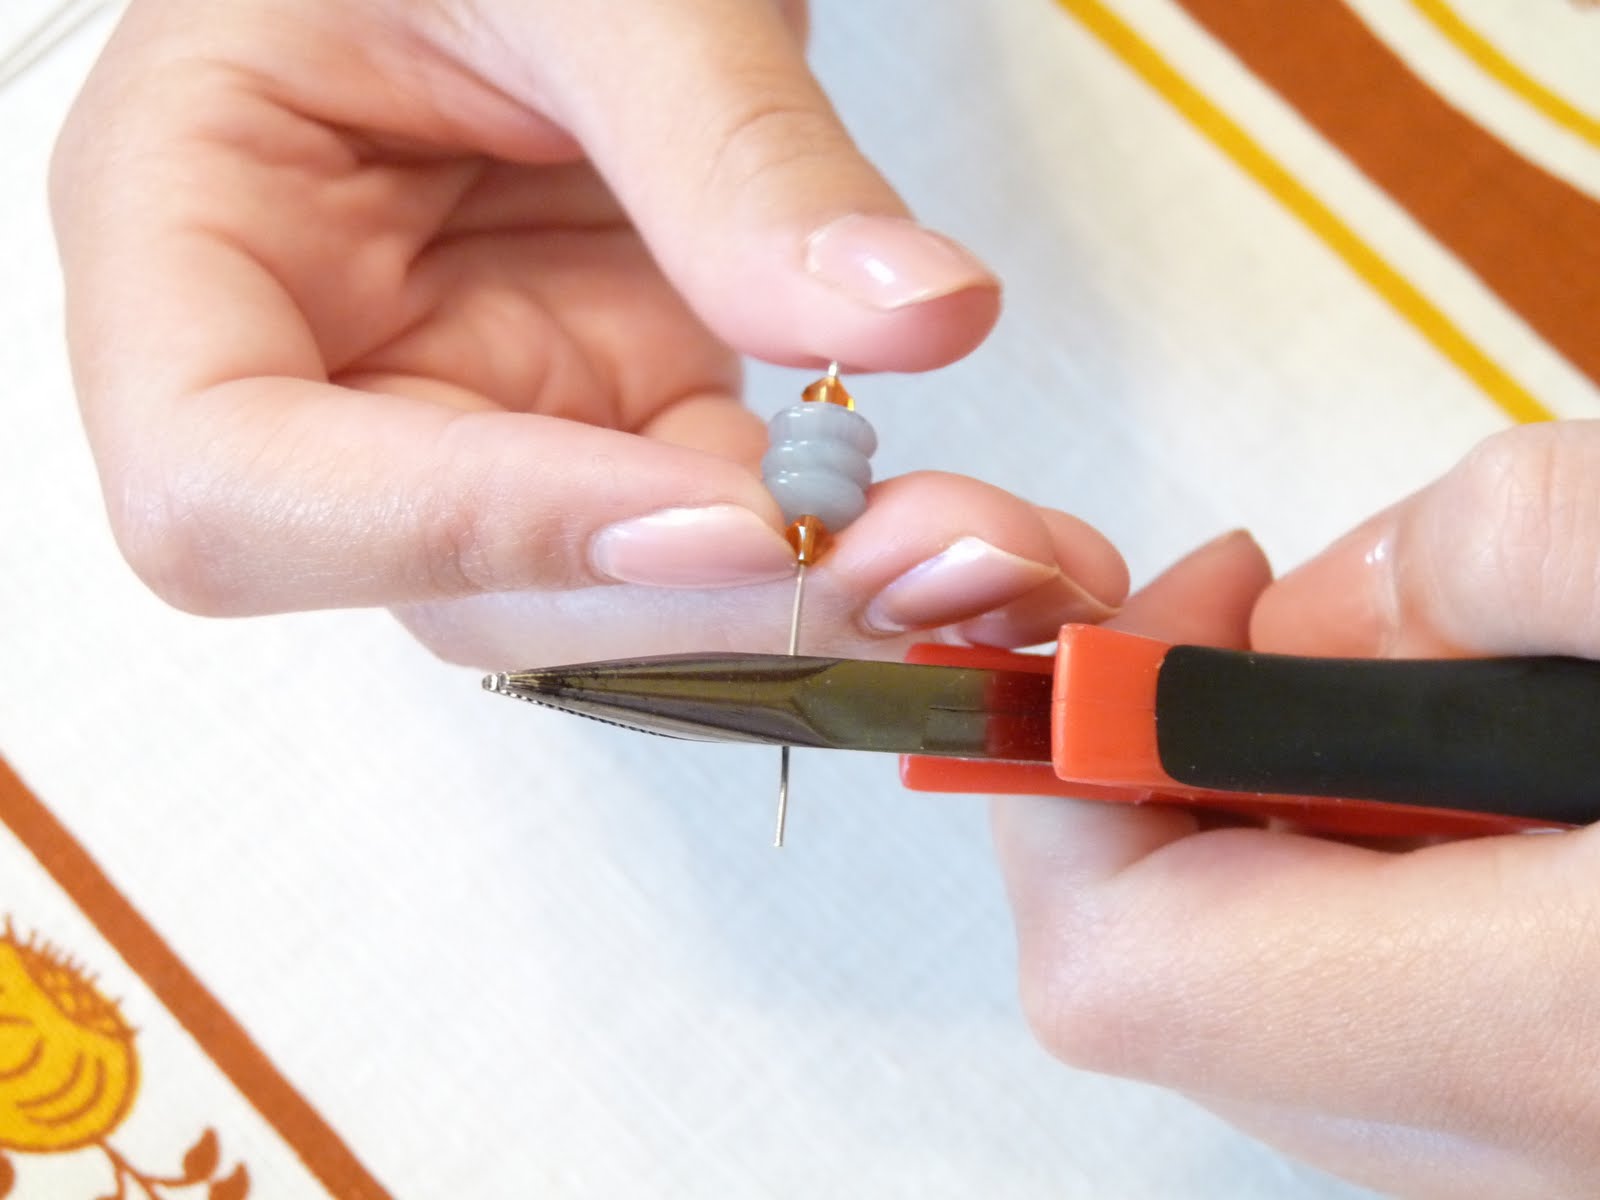
Using wire cutters (or needle-nose pliers), trim the excess wire.
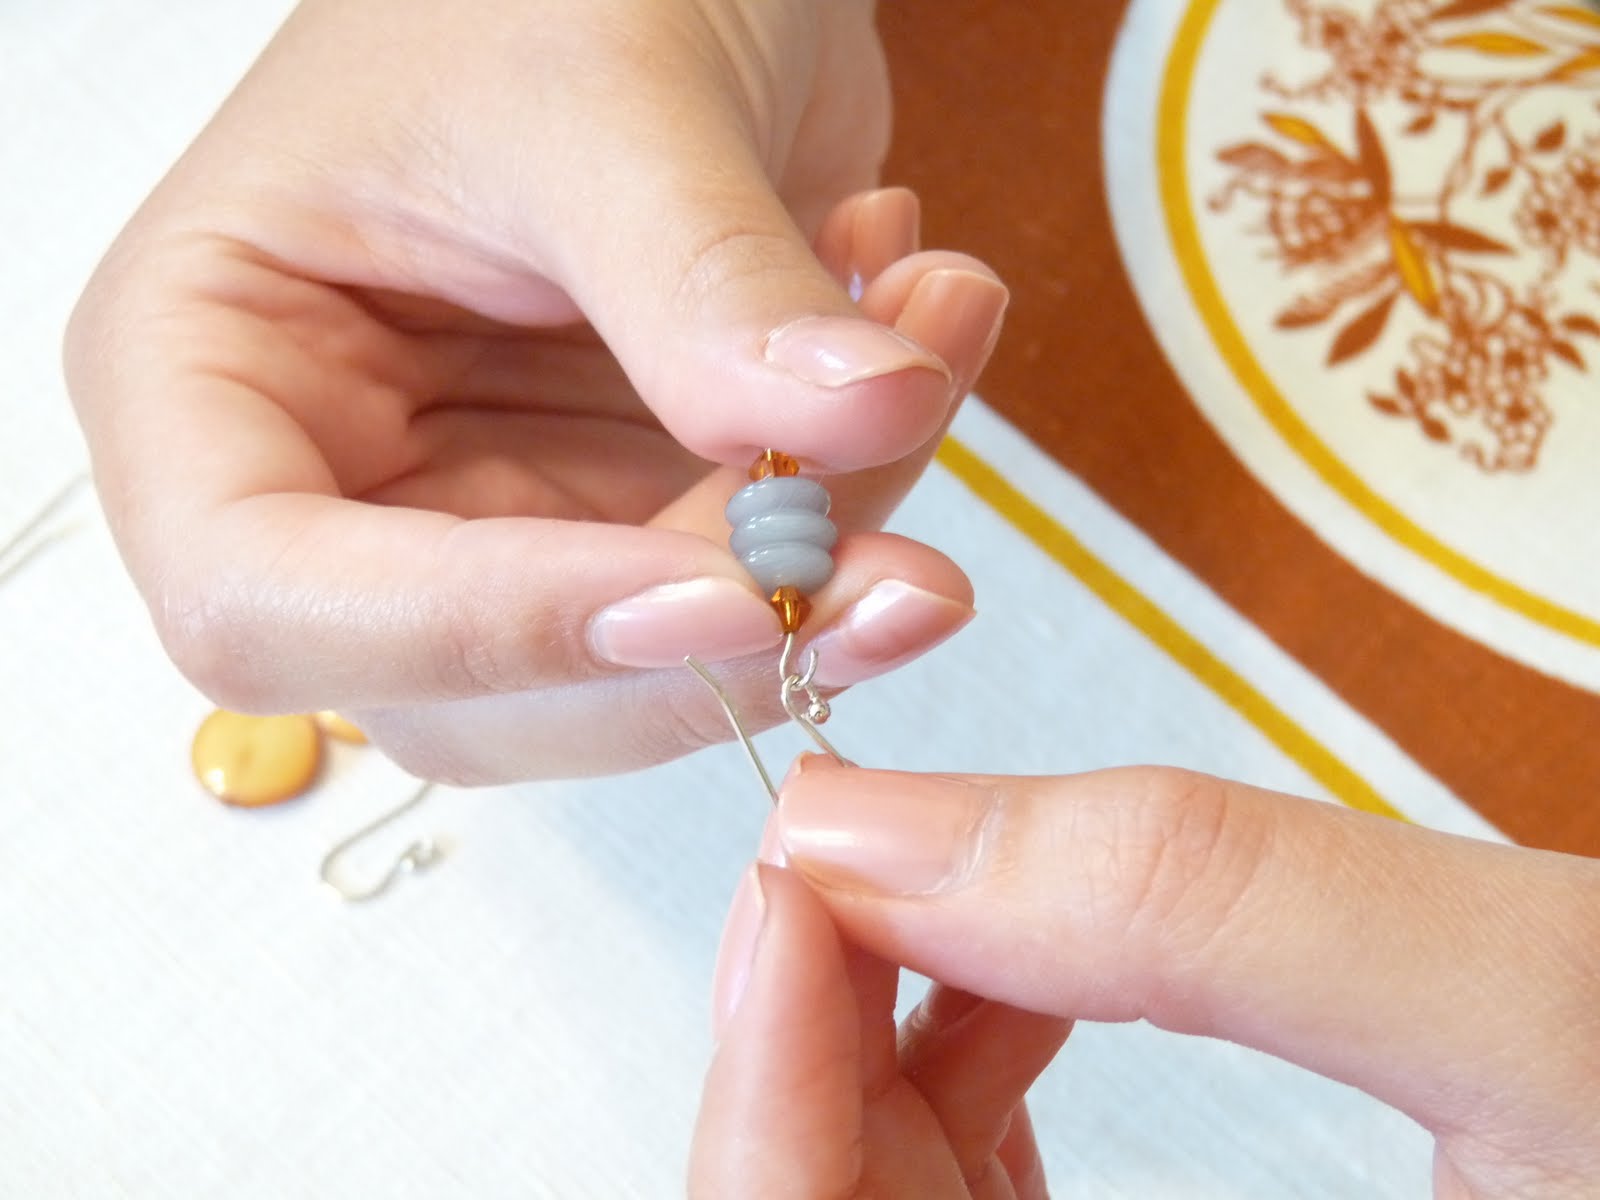
Using needle nose pliers, bend the wire 90 degrees right above the beads. This helps create a nice round loop (see next step) instead of a squashed loop.

Holding the beads firmly in place, gently shape the wire into a circle, working away from the 90 degree angle you just created.

Before closing the loop, hook the eye pin to the earring hook. Once attached, gently close the loop.
Repeat the process for the second part of the earring. Before closing the loop, attach to the first section of the earring.


And that is it! The hardest part is “designing” the earring. I can agonize over bead selection for hours, but the process of assembly is pretty quick and easy.

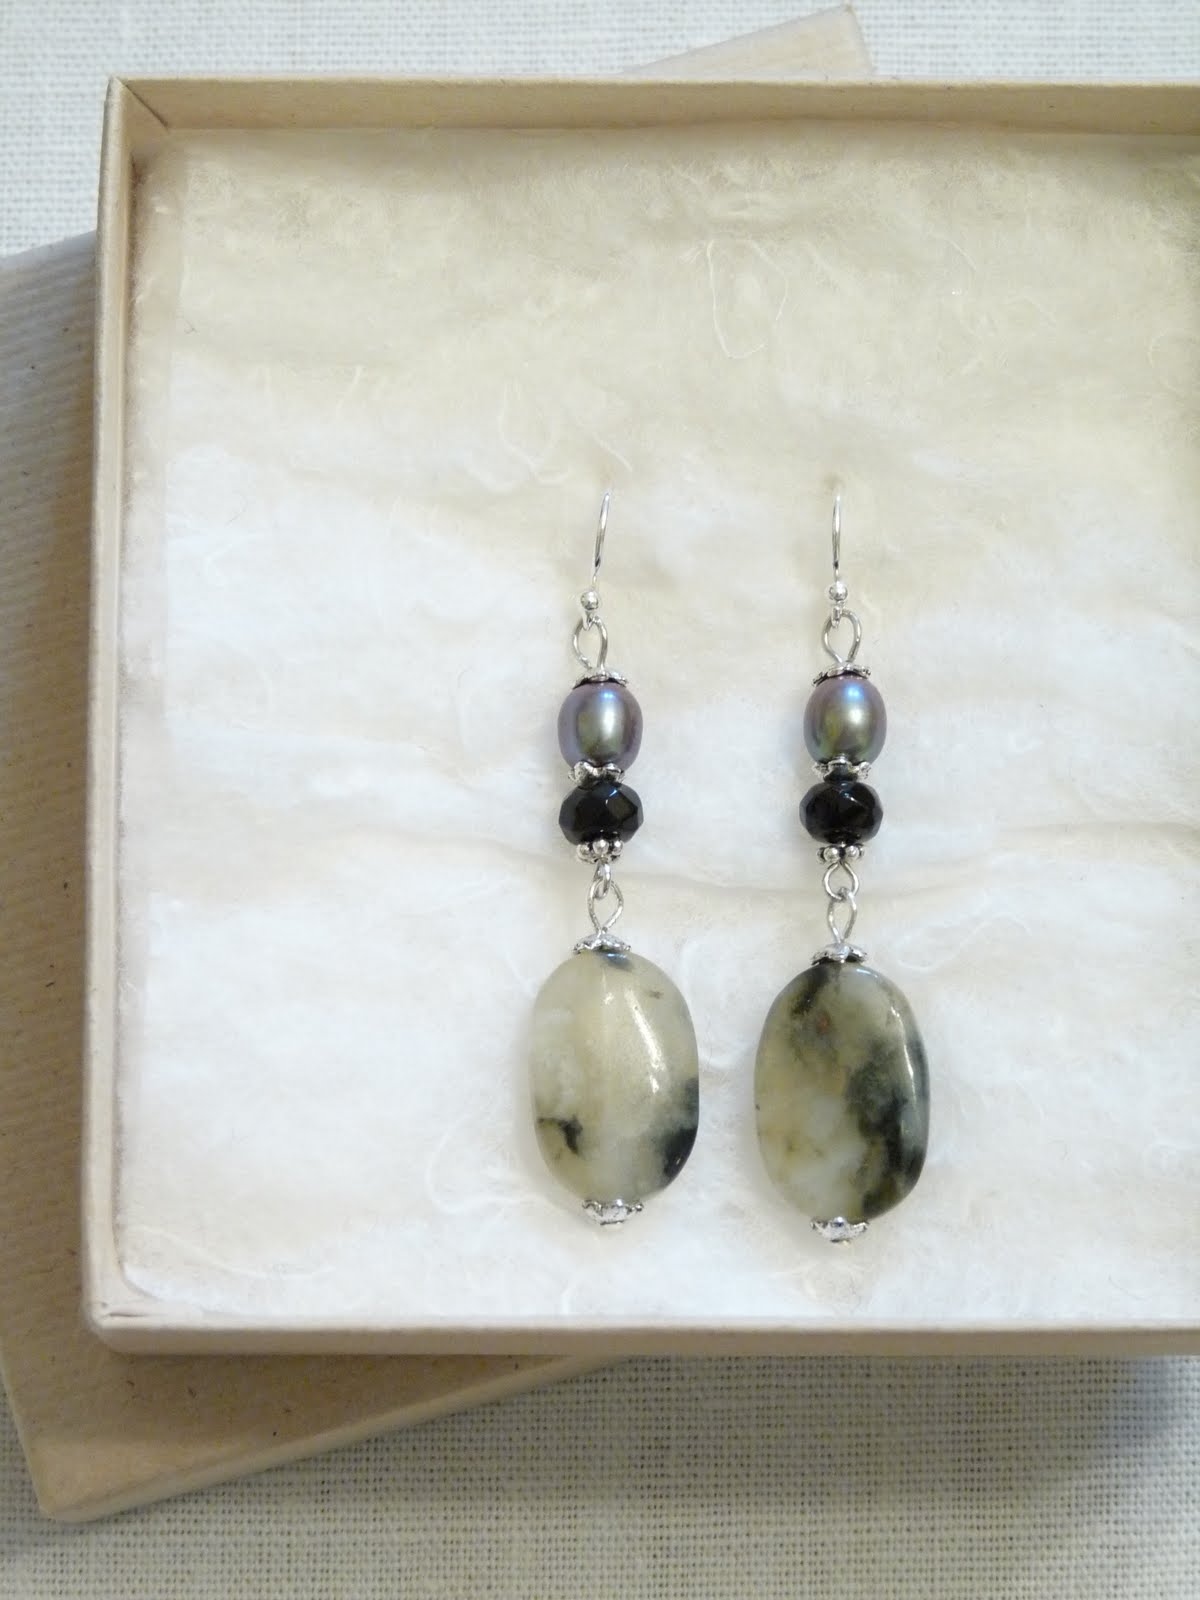
The same technique can be applied to make various styles of earrings. Beads and findings can really change the look. I made a pair for a friend that looks totally different:
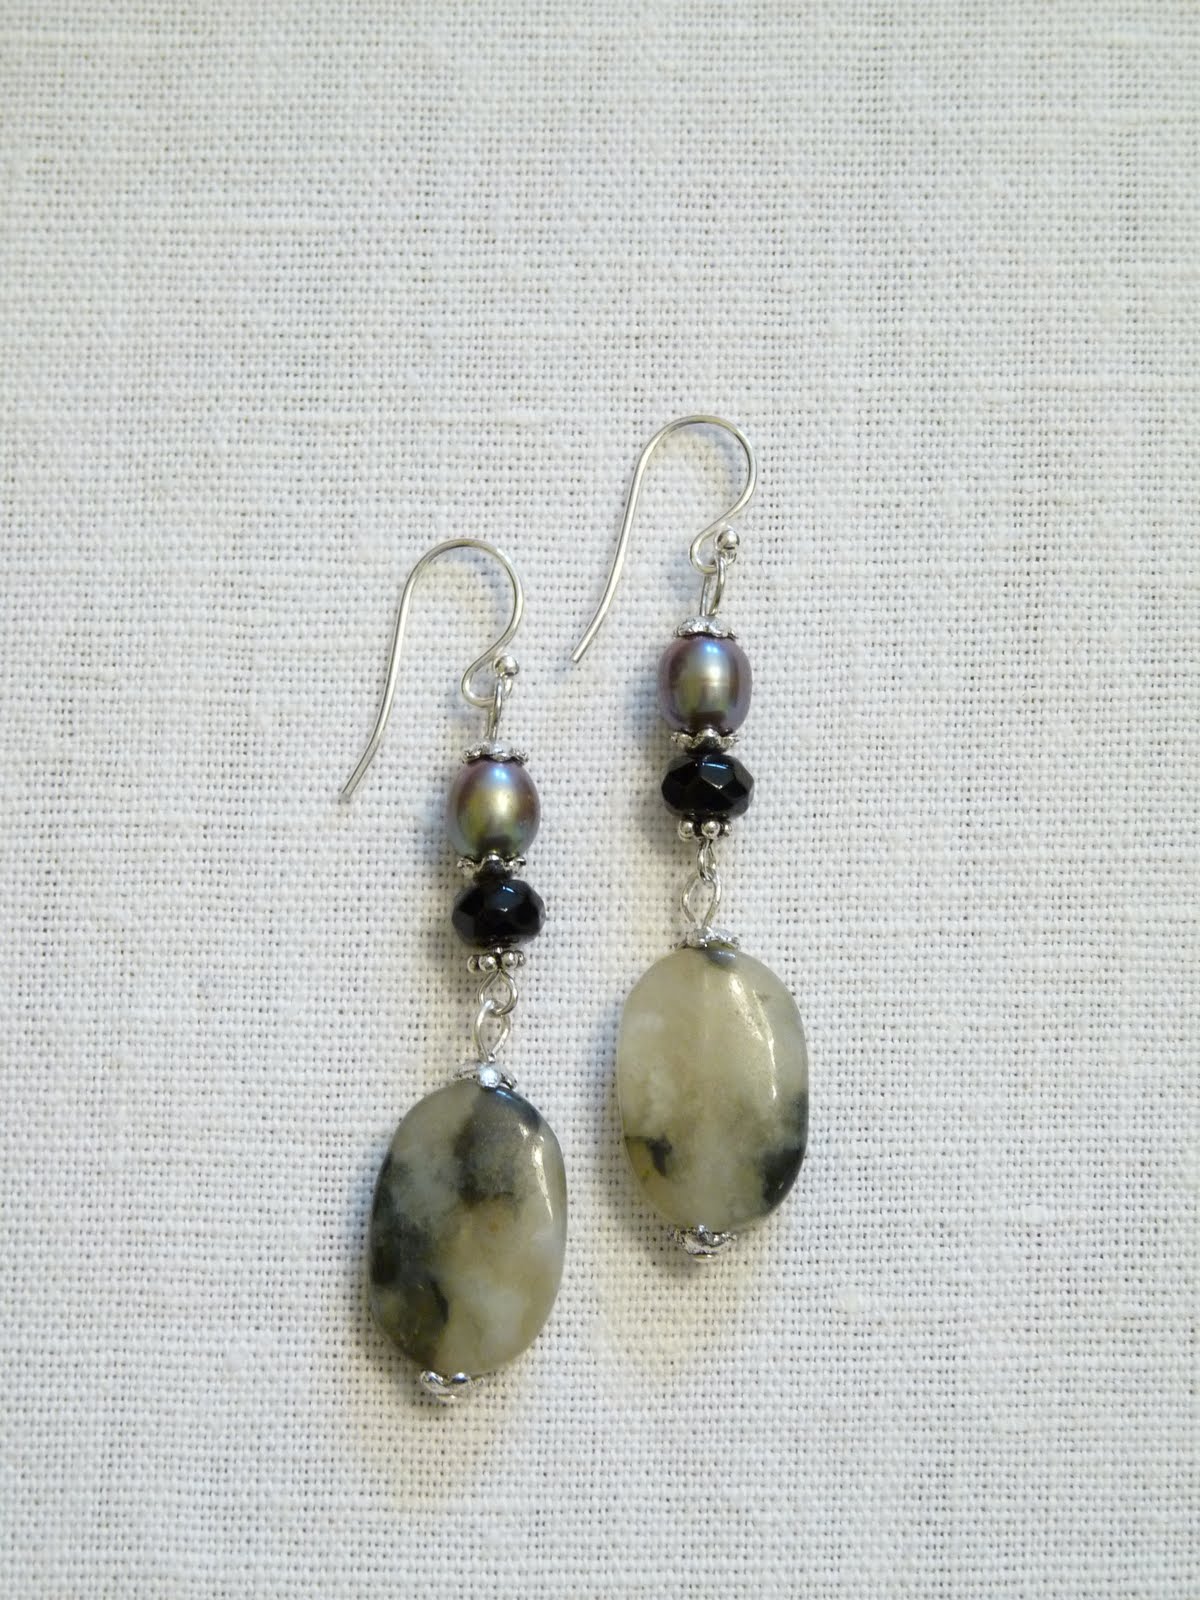
Below is another pair of DIY beaded earrings that I made for myself. I am trying to wear bolder earrings because my hair is so long it hides the dainty styles I previously made, unless I wrangle my hair into a pony-tail.
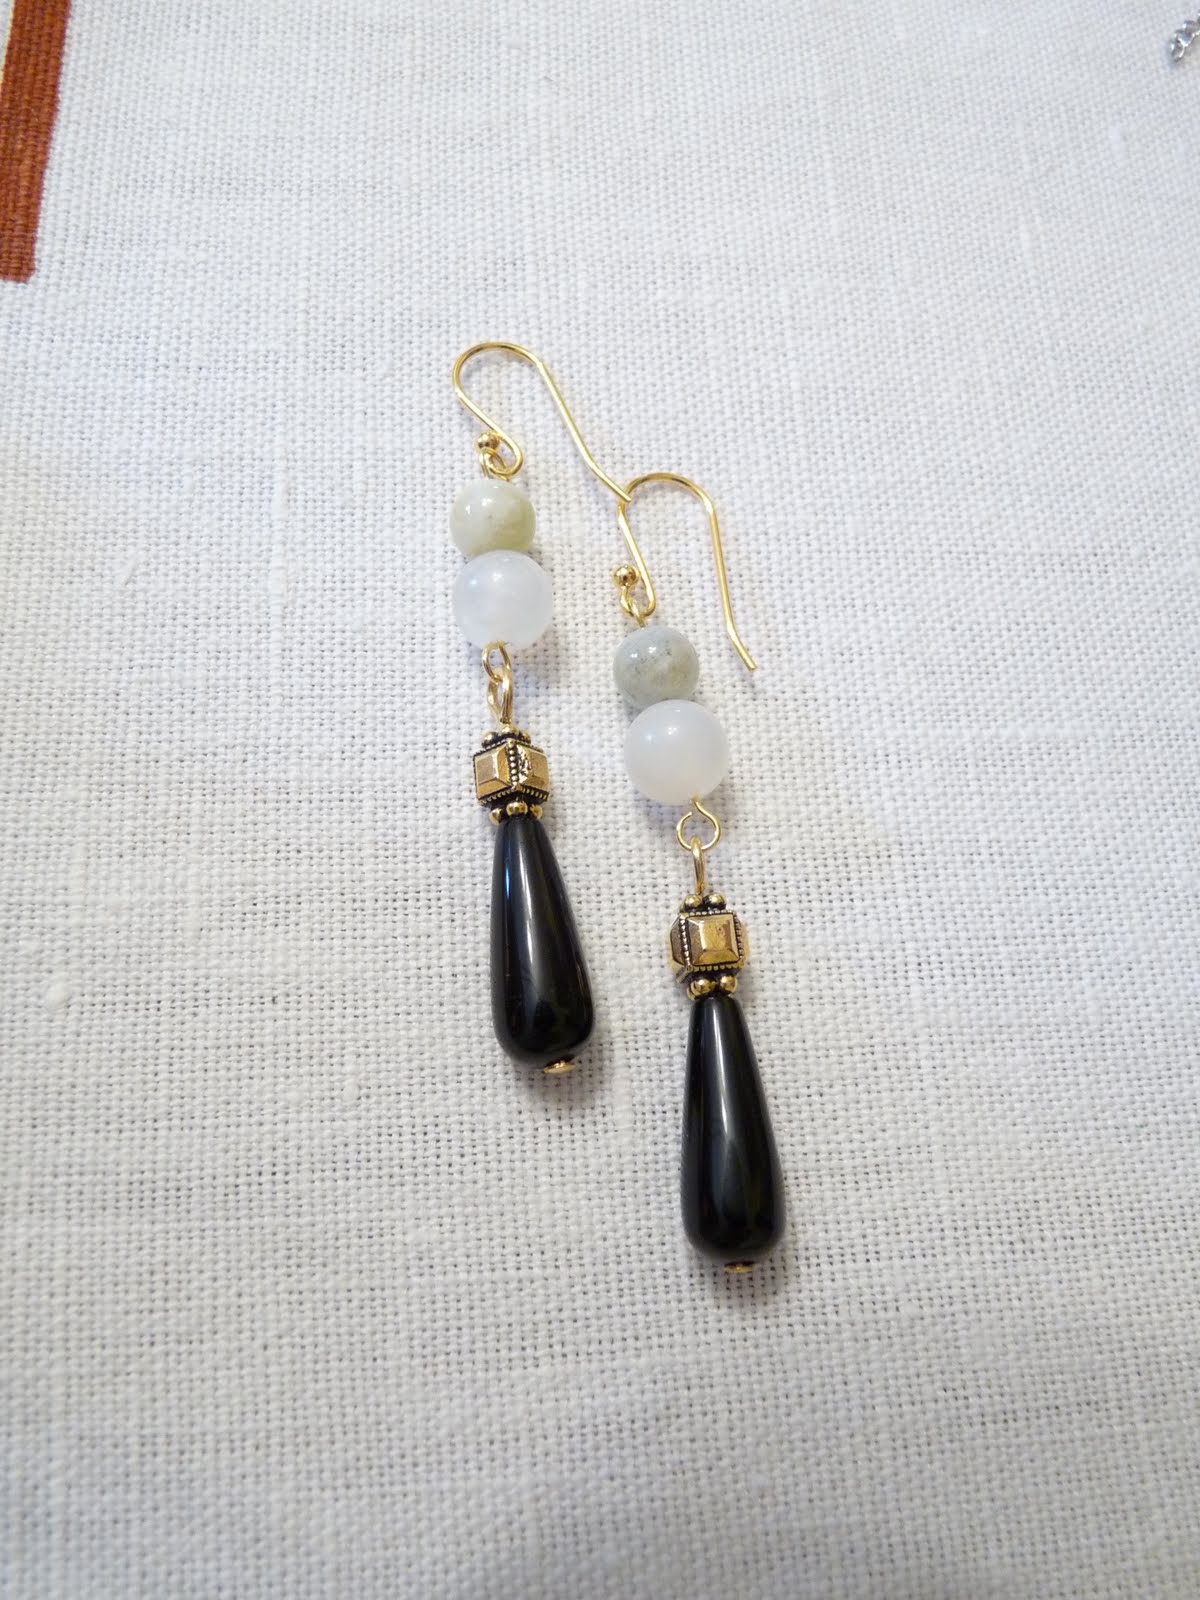
One last tip: try an independent bead shop because you can buy smaller quantities and individual stones. I handpicked many of the stones I used and only bought the two I needed. Sometimes big boxes craft stores demand that you buy a whole string or bag of beads which can be costly if you only need a few.

Wow, that's great! Well done. I love the blue-grey beads.
Thanks! I didn't like the grey at first – I have had the glass beads forever. But they really suited the orange shell, I thought. I'm trying to slowly add a bit more colour to my wardrobe and accessories are the best way!
I love the tutorial. I made a couple of necklaces a while back, but will definitely be trying these earrings. Thanks for the detailed tutorial.
Thanks Beatrice! I made a necklace using this same technique that I plan to blog about this week or next.I would love to see the fabulous jewellery that you whip up! I know it will be something spectacular.
I love this tutorial! Super easy to follow and the teacher couldn't be lovelier.
Awwww. Thanks Lesley! 🙂
WOW!!! I love this, I have been wanting to make earrings and other jewelry for a while now. I have the stuff to do it but it looked like it would take so long. Now you showed how easy it can be and fun!!! I'm so excited to start now, thank you so much for sharing they are all beautiful!!!!
I'm so happy this tutorial for useful for you! I think you'll find that it's really easy and lots of fun. Happy crafting (and if you want to show me what you've made, that would be totally awesome!)
Lovely DIY earrings. Thanks for the tutorial.I shared this article on my site.
Thanks so much!!!
Awesome!! Finally a diy instruction that’s not a crazy YouTube video. Thank You! I look forward to more of your DIY Adventures.
Author
I’m so happy to hear you say that! YouTube has kind of dominated DIYs but I still prefer photos as opposed to 20 minutes of yakking haha