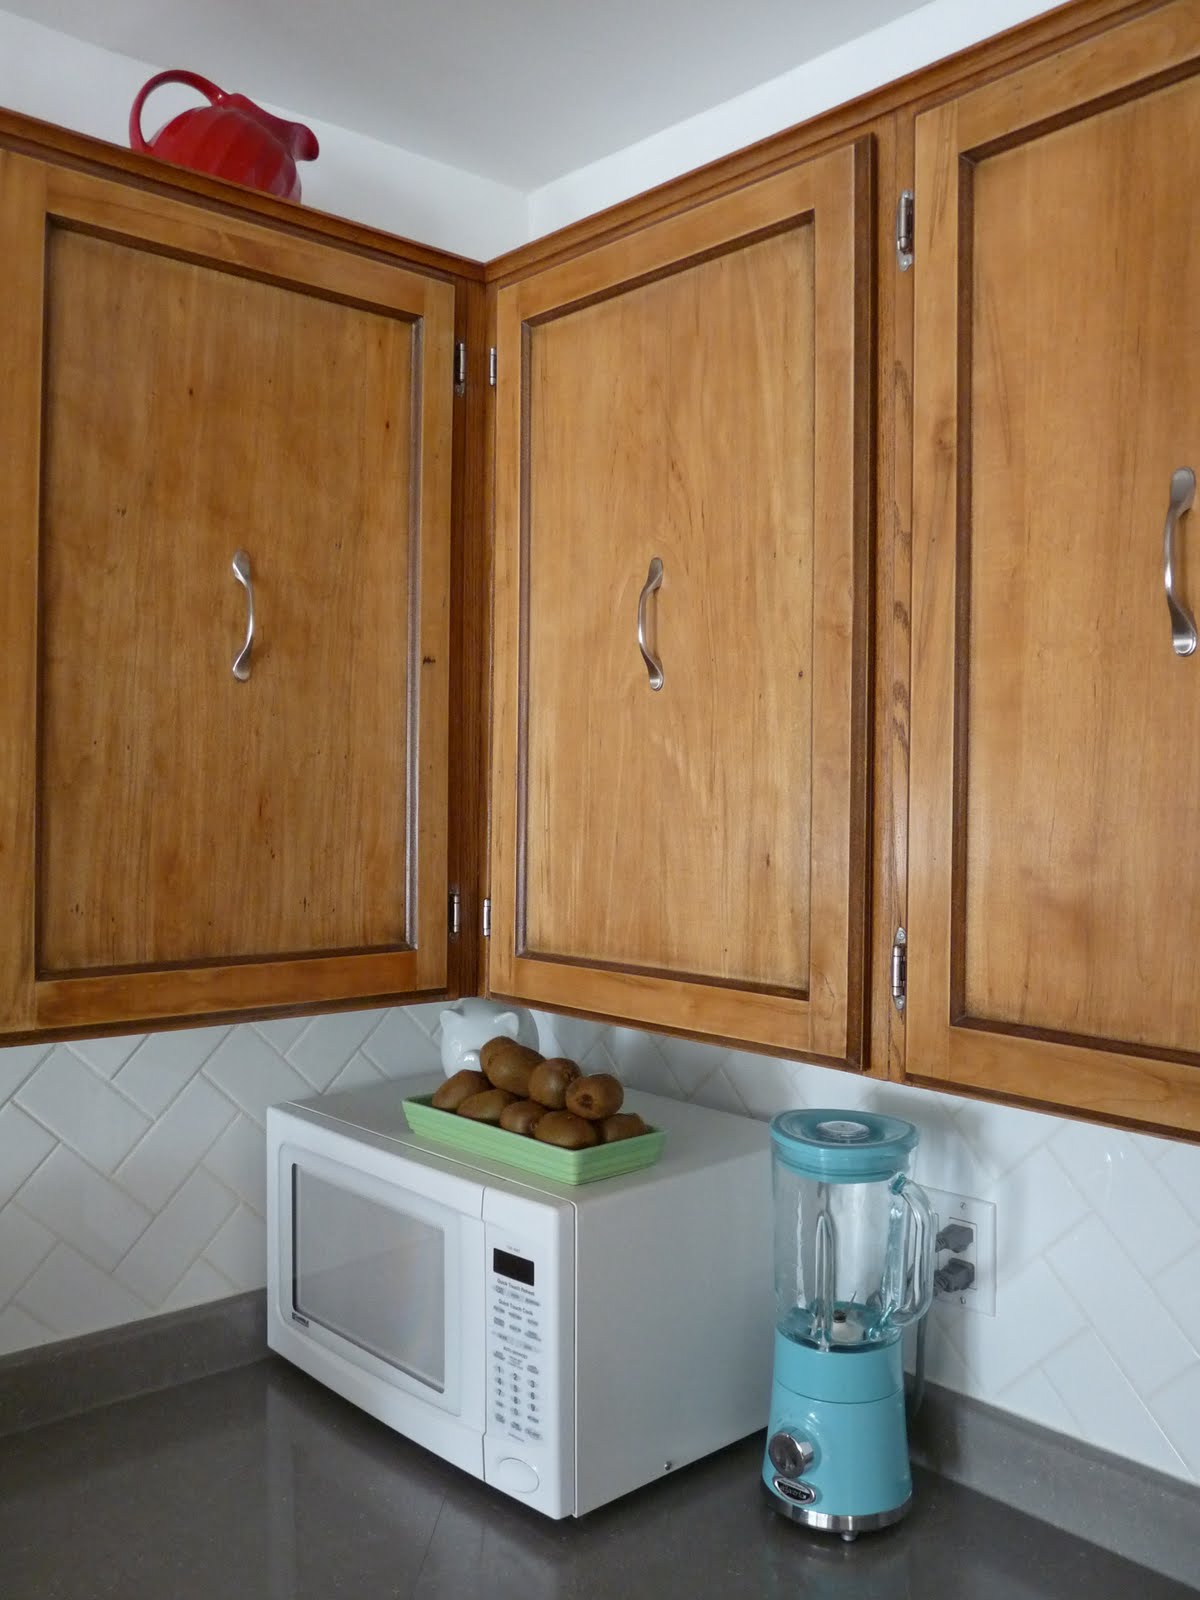
If you’d like to learn how to finish a tile backsplash in a way that hides the raw or cut edges – but wondering how to finish tile edges without bullnose – here’s how to finish tile with metal edging. We recently tiled the kitchen backsplash, creating a pretty herringbone pattern using basic subway tiles:

Why Use Metal Edge to Finish Tile?
Because we didn’t tile the whole wall above the sink, and stopped the tile design on the outer edges of the room (on one side to line up with cabinets, on the other side because the wall there ends), I wanted a nice way to finish the tile. We decided to use metal tile edge to sort of “frame” the tile backsplash. You can find this metal edging in tiling shops and home improvement stores. Metal tile edge comes in different sizes and and metal finishes, so you can find one to match your kitchen design. It’s very subtle – you can barely see it, so it complements a lot of types of tile work. I think it makes a DIY tile job look more professional!

How to Install Tile Edge Trim:
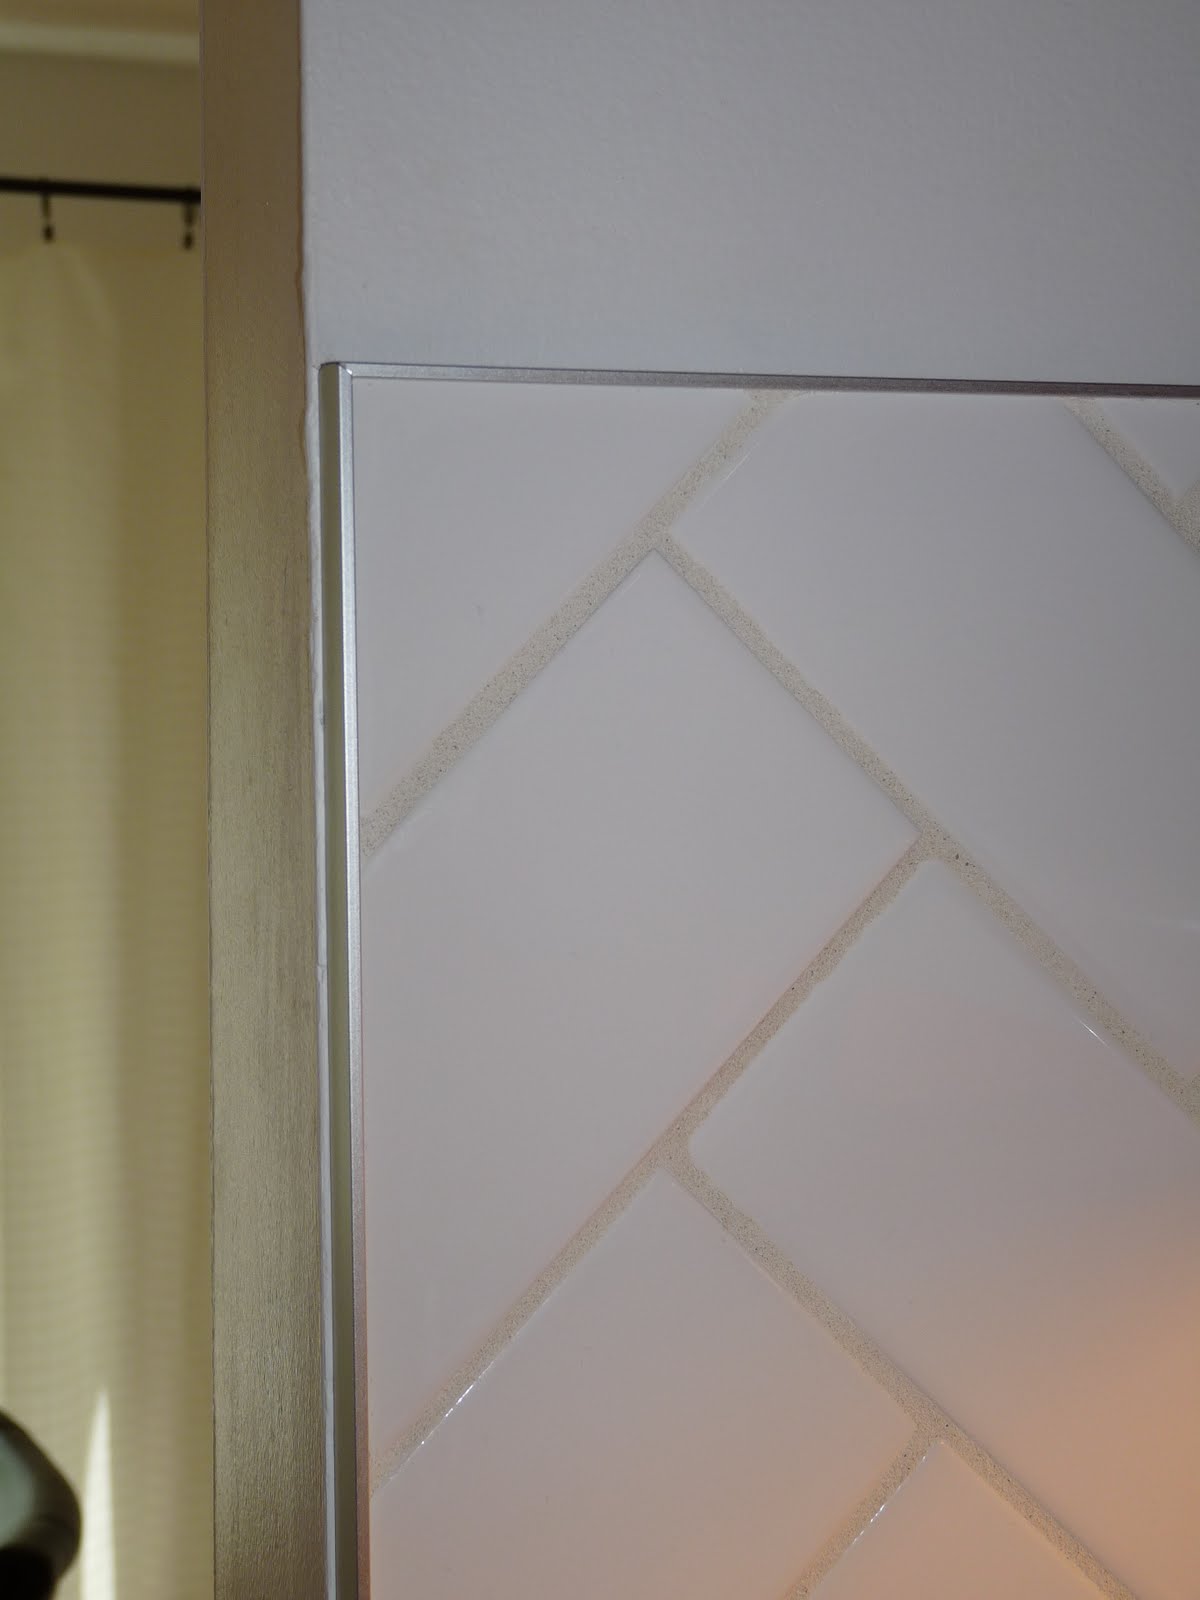
We used schluter brand edging, but there are many different brands making a product like this (here’s an example). Installation was super simple. We figured out where our tiling would stop and affixed the edging to the wall using screws. We used a level to make sure the metal edge wasn’t wonky.


Then we just tiled up to the edges, ensuring a nice tight meeting, and grouted the tile like normal – grouting right up to the metal edge.

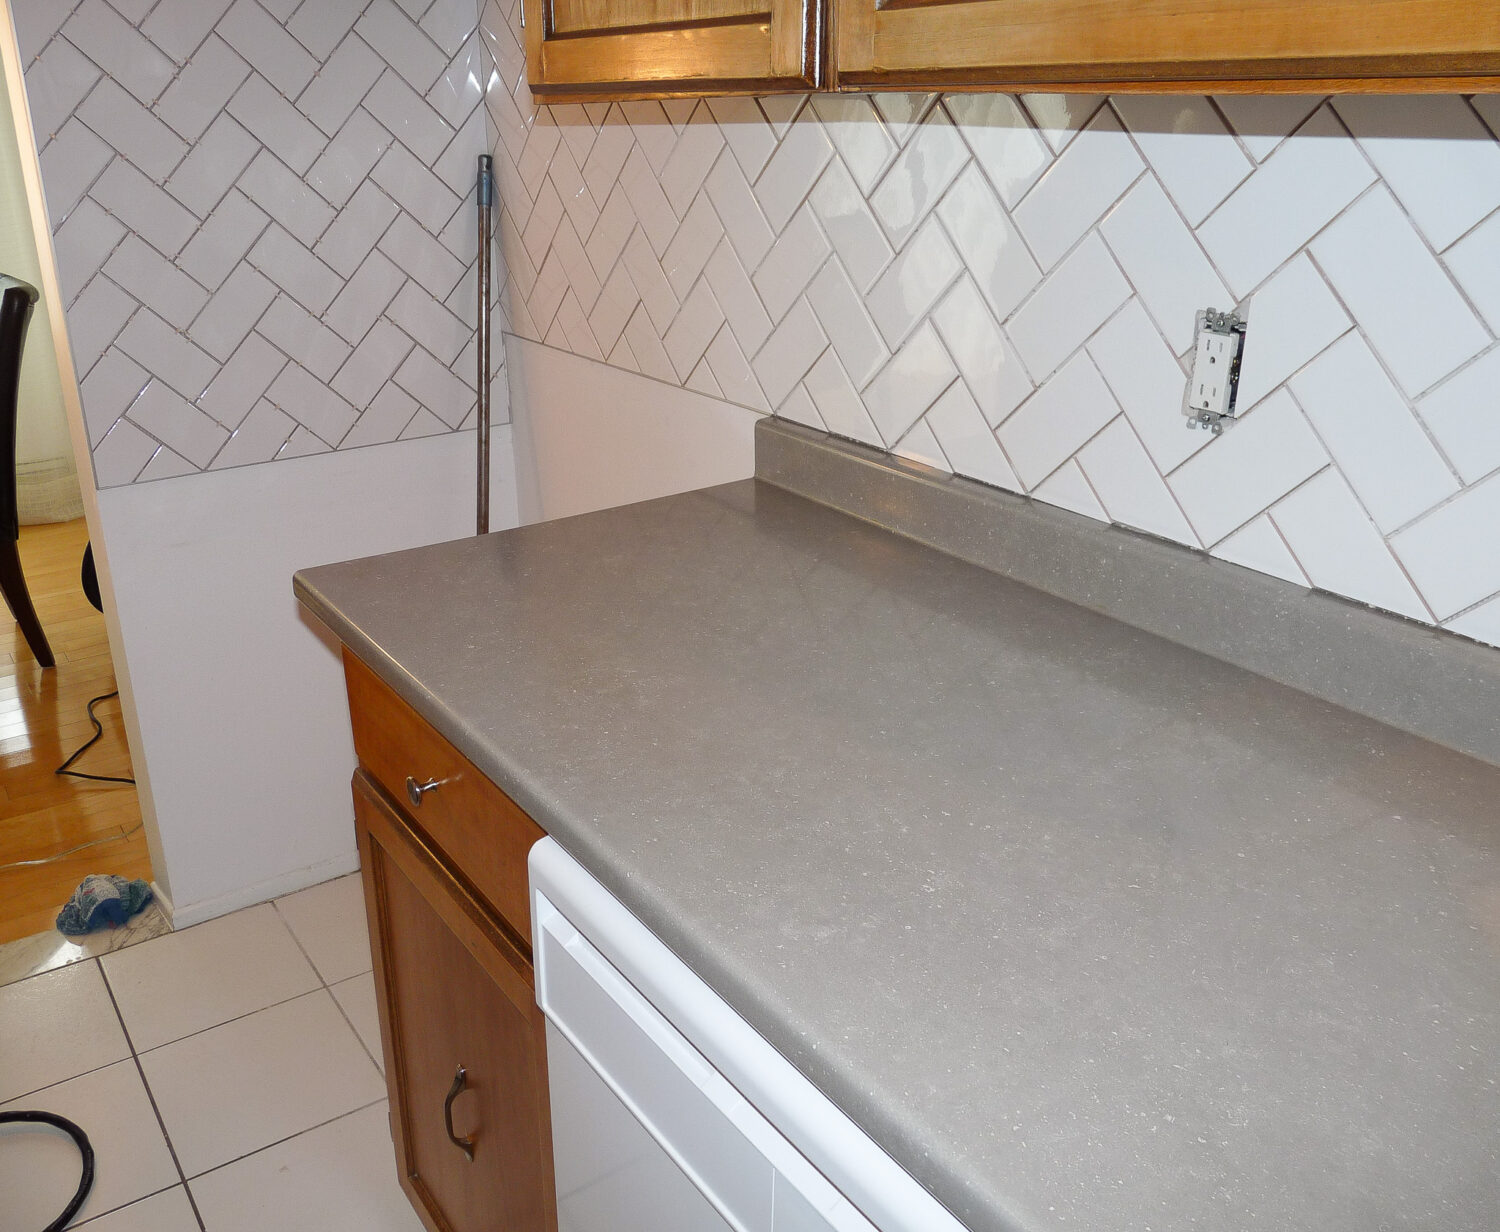
Our edging had a little “lip,” for the tile to slide under, so there are no awkward gaps. We used the edging at the top of the tiling, and also the sides. It created a nice “frame” for the pattern.


Kitchen Backsplash Tiling Progress Photos:
I don’t have a tutorial for how to tile a kitchen backsplash because we were newbies at this! But I thought I’d just share a few progress photos for fun! You can also see more of how the tile edging looks and where we placed it around the tile backsplash.

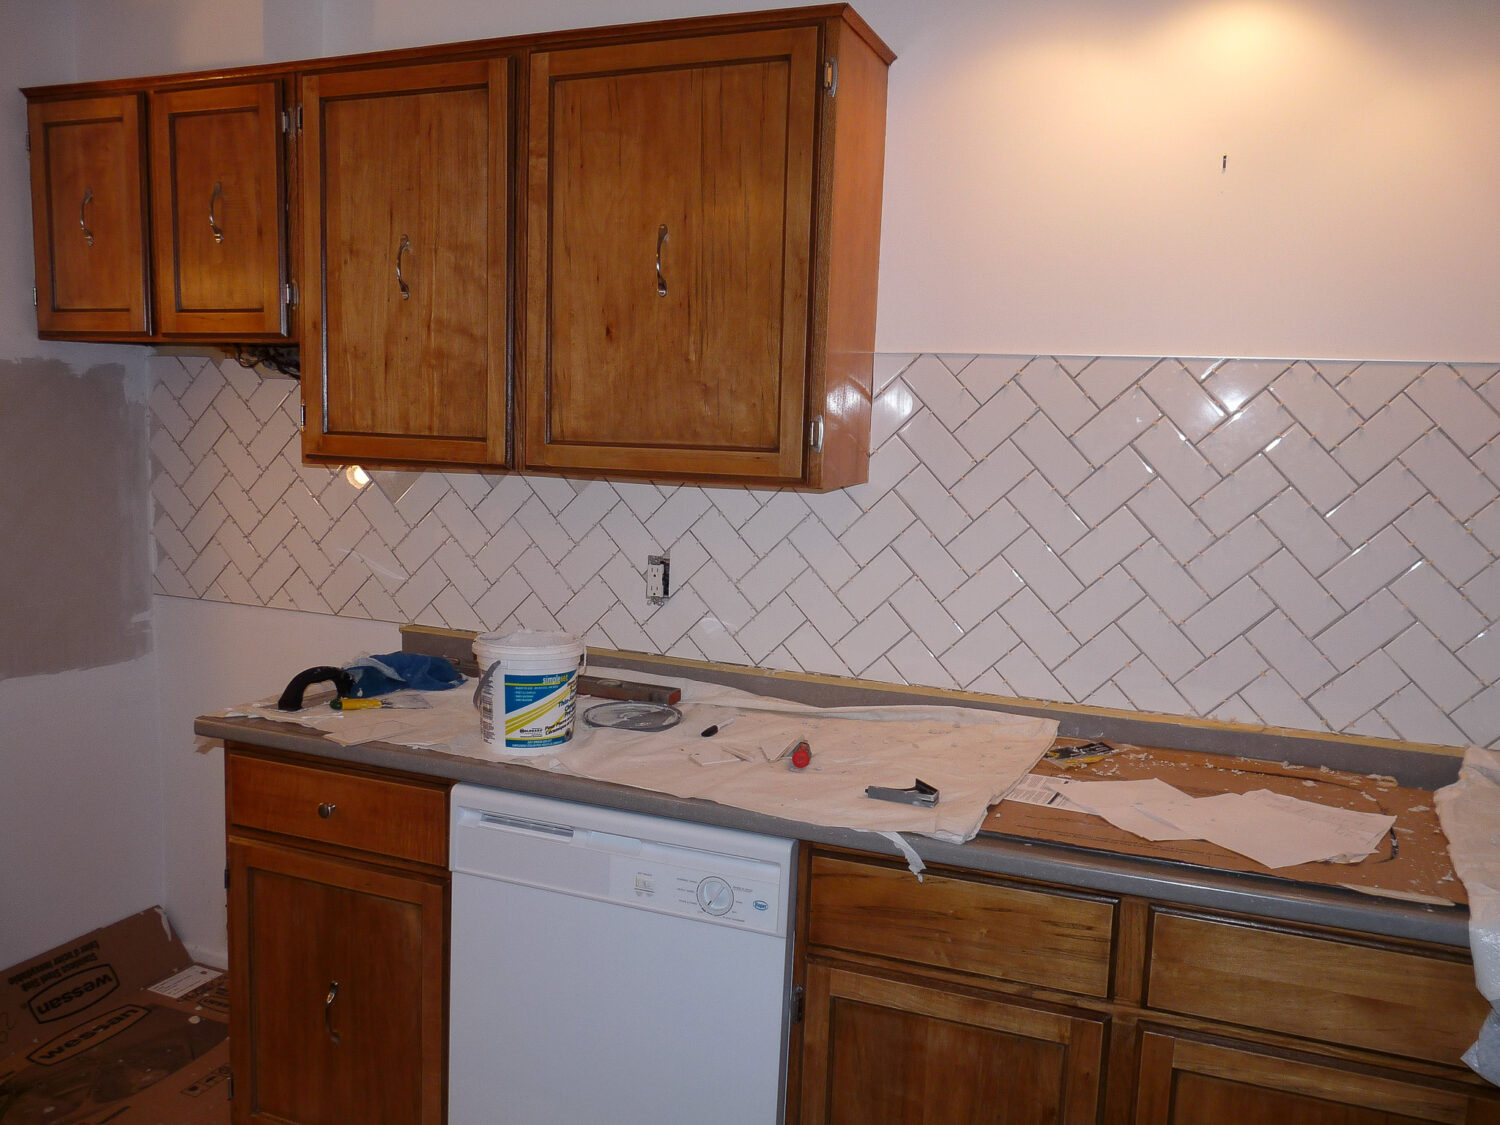
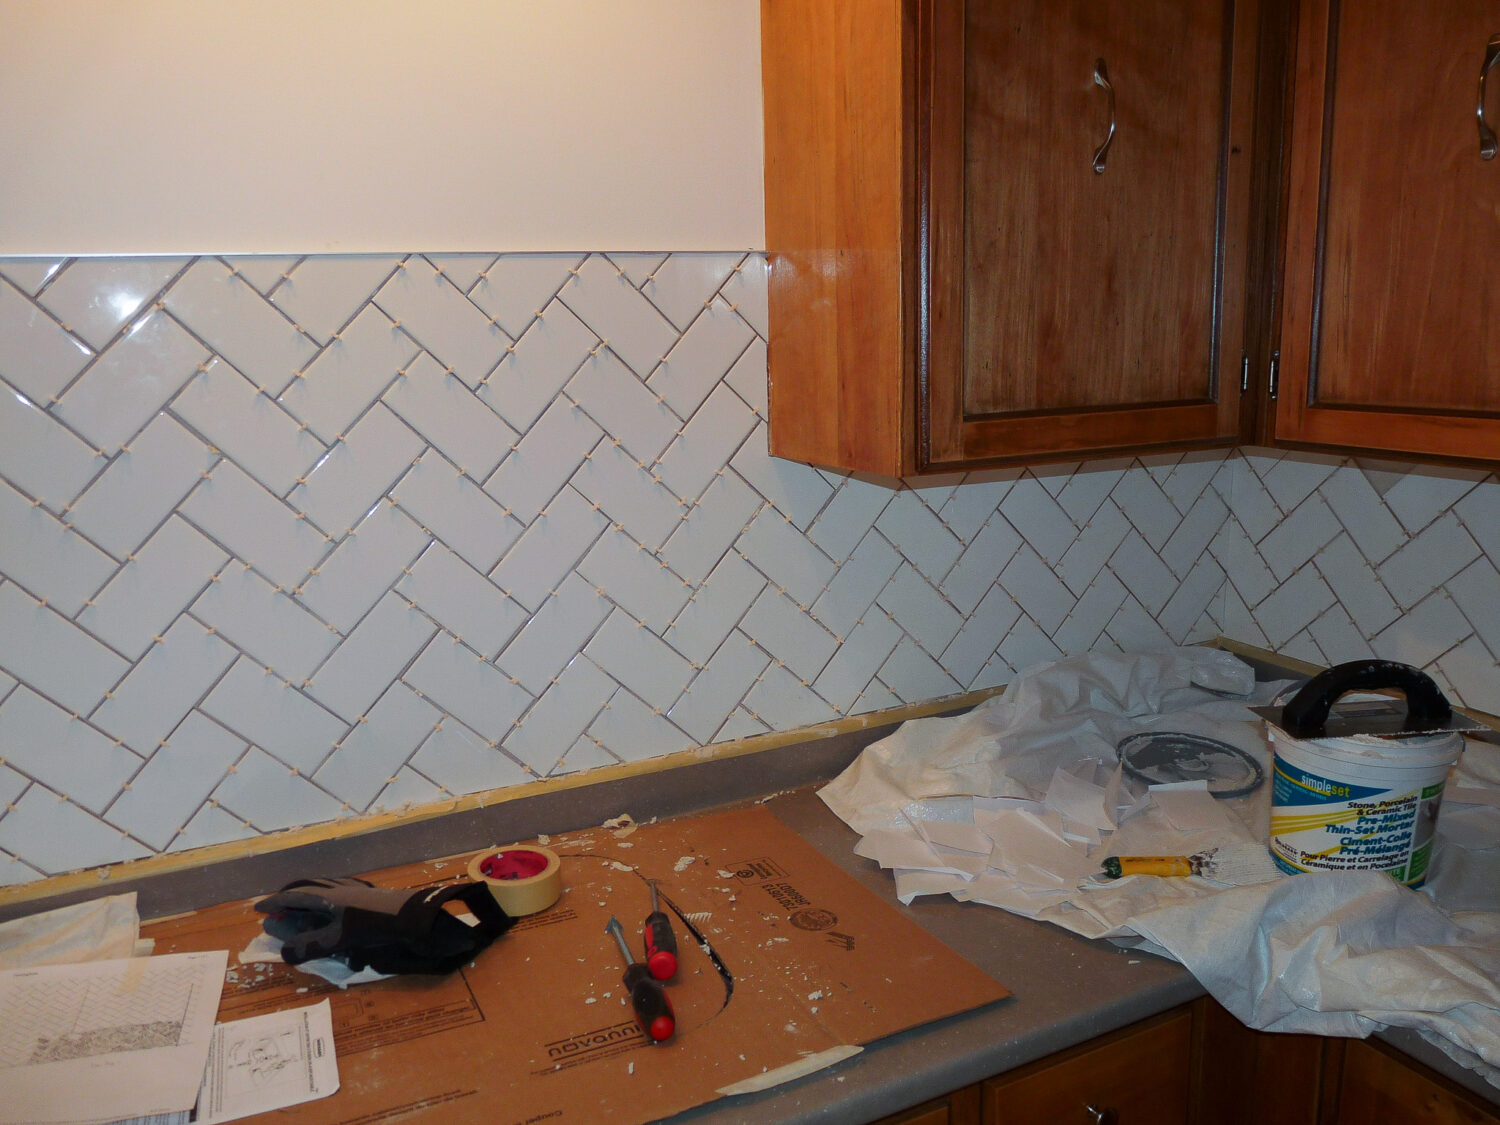
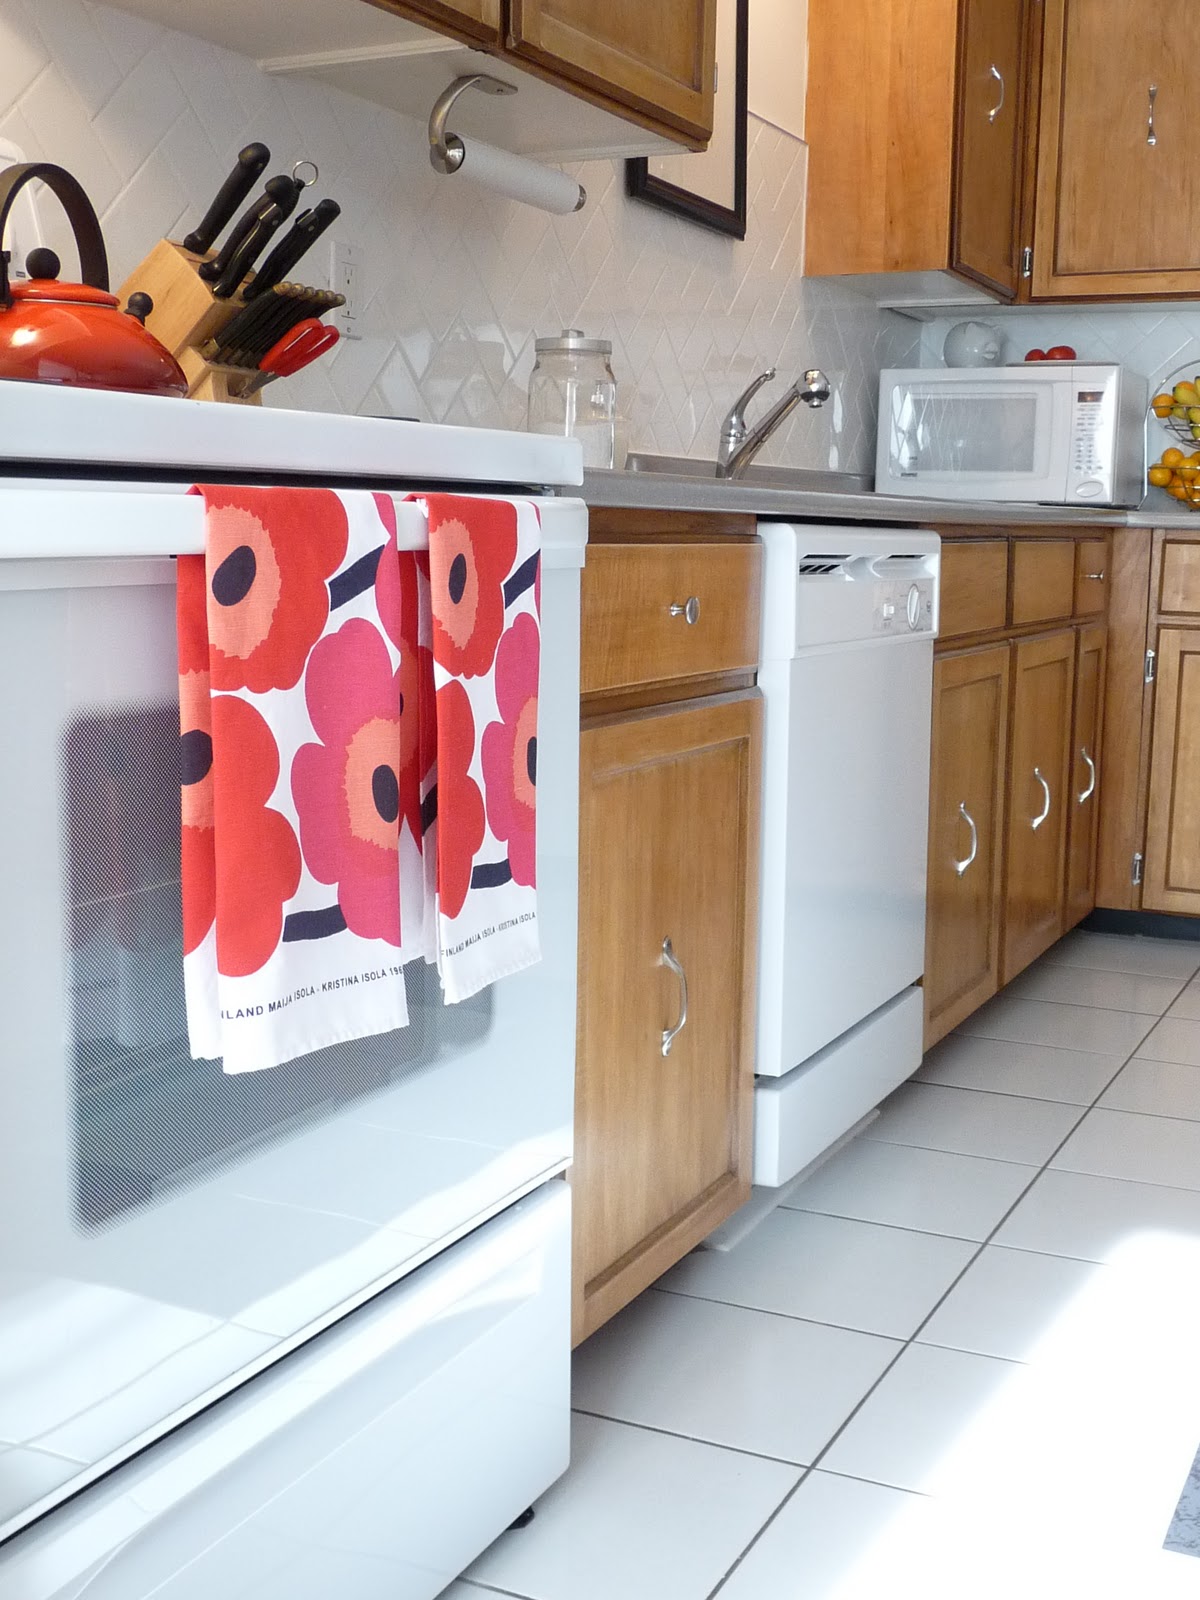
You can see we placed the ceramic tile edging trim all around – at the top, sides, and even bottom of the tile around the stove area. I just think this looks nice and finished:

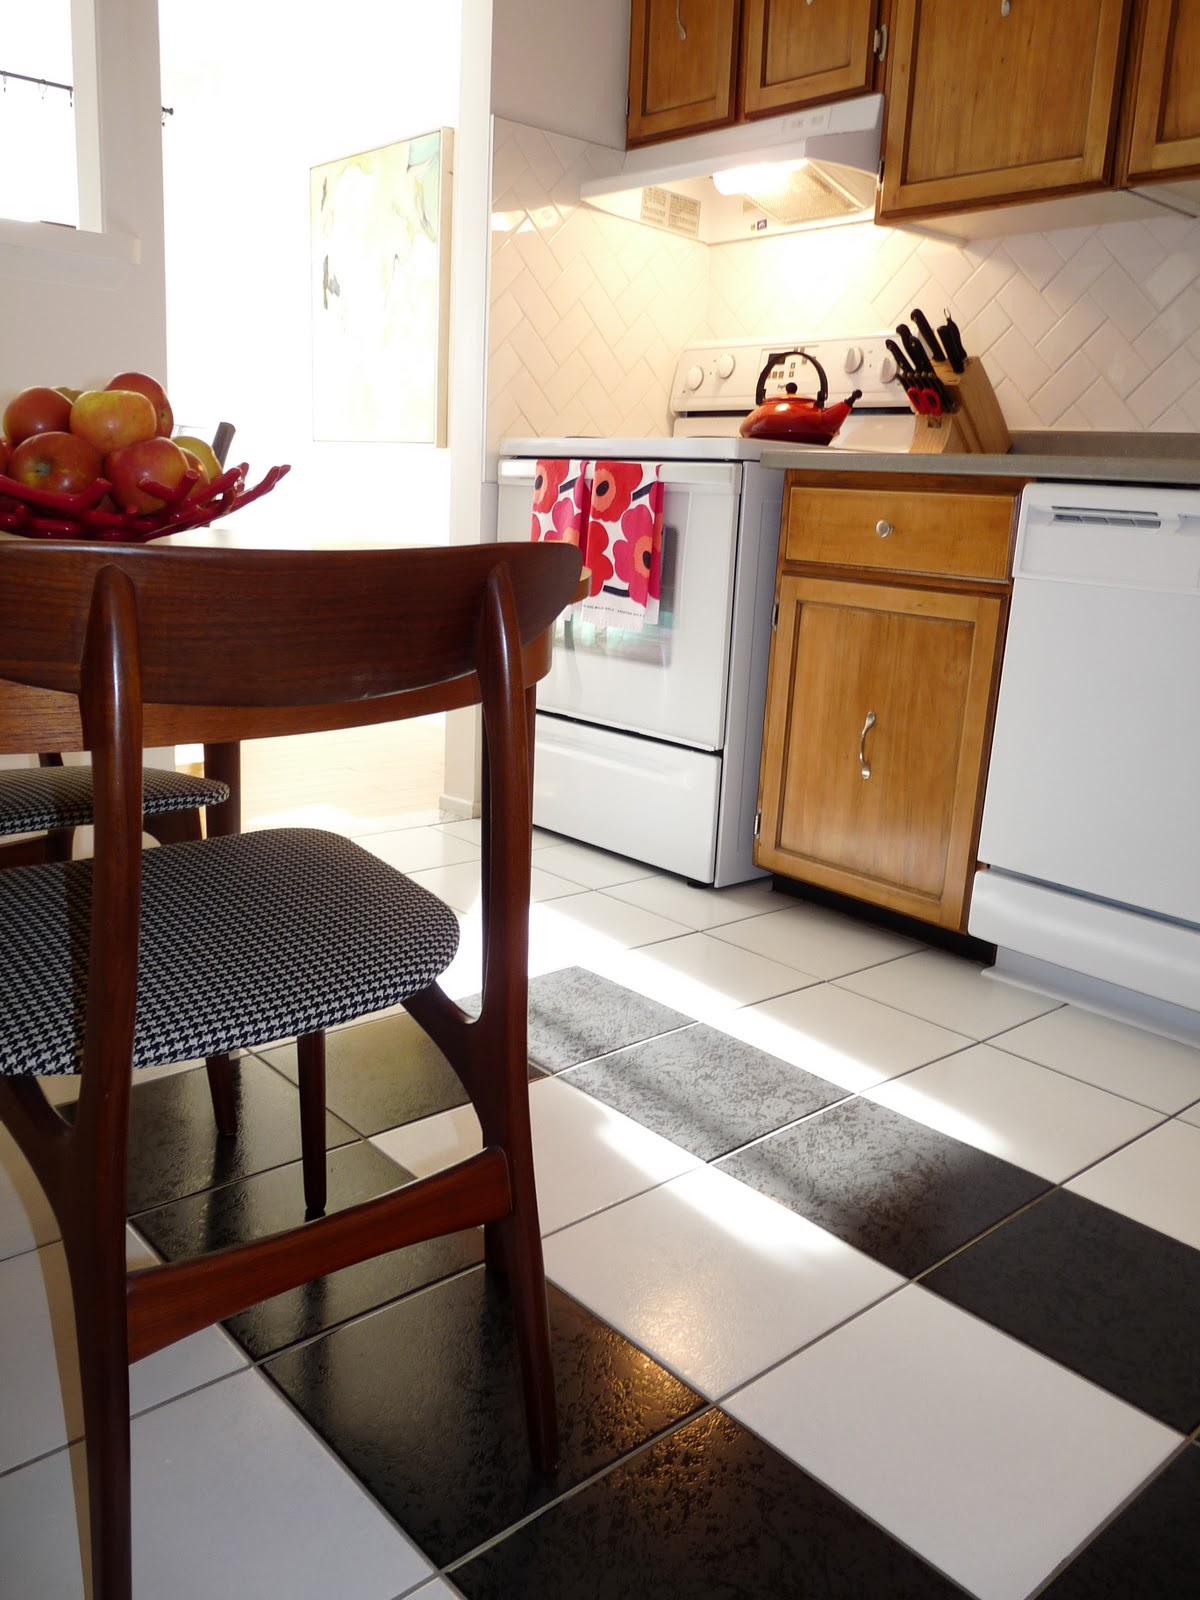
See more of this budget friendly kitchen makeover – along with ideas for how to update a wood kitchen without painting cabinets – by clicking the link.
Hopefully this is helpful to anyone figuring out how to finish off tiling! I like the look of this tile edge finish strip so much, we also had it installed in our bathroom renovation (which we did not tile ourselves):

And here’s another application with a bolder tile backsplash:

P.S. Don’t Forget to Pin for Later!


I just found your blog from a link you posted on apartment therapy, and I just wanted to say that it is awesome and very inspiring.Tina
wonderful finish.. i always wondered what would be a feasible way to round off the rough edges on ceramic tiled walls…need to show this to my folks
I'm so impressed by the beautiful, professional-looking job you did on the tile. That's always been a DIY project I was afraid to tackle. The edging is perfect…simple, clean and subtle.
This is a great idea that I have not read/heard about yet. Thanks for the tip.
Wow, I love that! It gives it such a clean and crisp finish.
Thanks, everyone!Dana: I found tiling way trickier than anyone let on. But I would do it again. I recommend watching some videos – especially for mixing the grout, so you can see the right consistency. And, we were way to ambitious trying this pattern. A small mosaic tile on big sheets would have been a much better first timer's choice.
for some reason, edging had never occurred to me. that looks great, and nice and sleek!
looks great! I'm a big fan of the herringbone pattern for tiles.
Great tiling job! I love the detailed edging you did. It looks so polished. And the herringbone idea is gorgeous! I also love your kitchen table chairs too! 🙂 Thanks so much for stopping by my blog today.
Great info on that detail. It gives it a very modern feel. M.
Love the tile job, and that silver edging looks fantastic. By the way, love the little aqua blender. So cute. What brand is it?
What finish did you use with Schluter strip?
Author
It was so long ago so I don’t remember what they called it but it was a brushed nickel tone. They might have completely different names now…But I always look for a brushed nickel finish.
The blender is by Hamilton Beach. My mom's friend bought it, never used it and sold it to me for $50. I bought it for the exclusive use of making smoothies, but it refuses to blend ice or frozen fruit. So I have an inrtricate system of letting my fruit soften a bit, then blending. But it looks pretty, so it is hard to stay angry at it. Martha Stewart also makes an aqua one and I almost bought it as a replacement, but I bought the hand mixer from the same line instead. And I LOVE the hand mixer, so I'm thinkin' the blender might be good too.
I love the edging. There is something about neat boundaries that make me happy. What a clever solution to unfinished tile! Congrats!
Your kitchen is looking so good! The edging is a great touch.