I am so excited to share how we built this DIY front step – with welded legs!

But first, I have a super embarrassing story for you. As a DIY blogger, I should be ashamed!
When we bought this lakehouse, we drove a small black hatchback. We eyed up the house’s carport and large garage (it looks like a two car in photos, but it’s two car lengths deep) and, although we agreed we’d miss the attached garage we had in the townhouse, we were happy there was a garage at all – and the carport was a nice bonus.
Fast forward a few months and we bought our Ram 2500 truck and plunked on some roof lights and… it wouldn’t fit in the garage! Oops. Well, we figured the garage was pretty far from the house anyway so we’d park in the carport. Ha! Too wide for the carport!
We parked outside for a winter, maybe two? It was terribly inconvenient and now my winters are blurring together.
Eventually we realized that the truck would fit in the carport if the concrete step wasn’t in the way, so we decided to remove it and build a narrower step which would afford us the extra space to fit the truck in (although we could still only open the doors on the one side, lol).
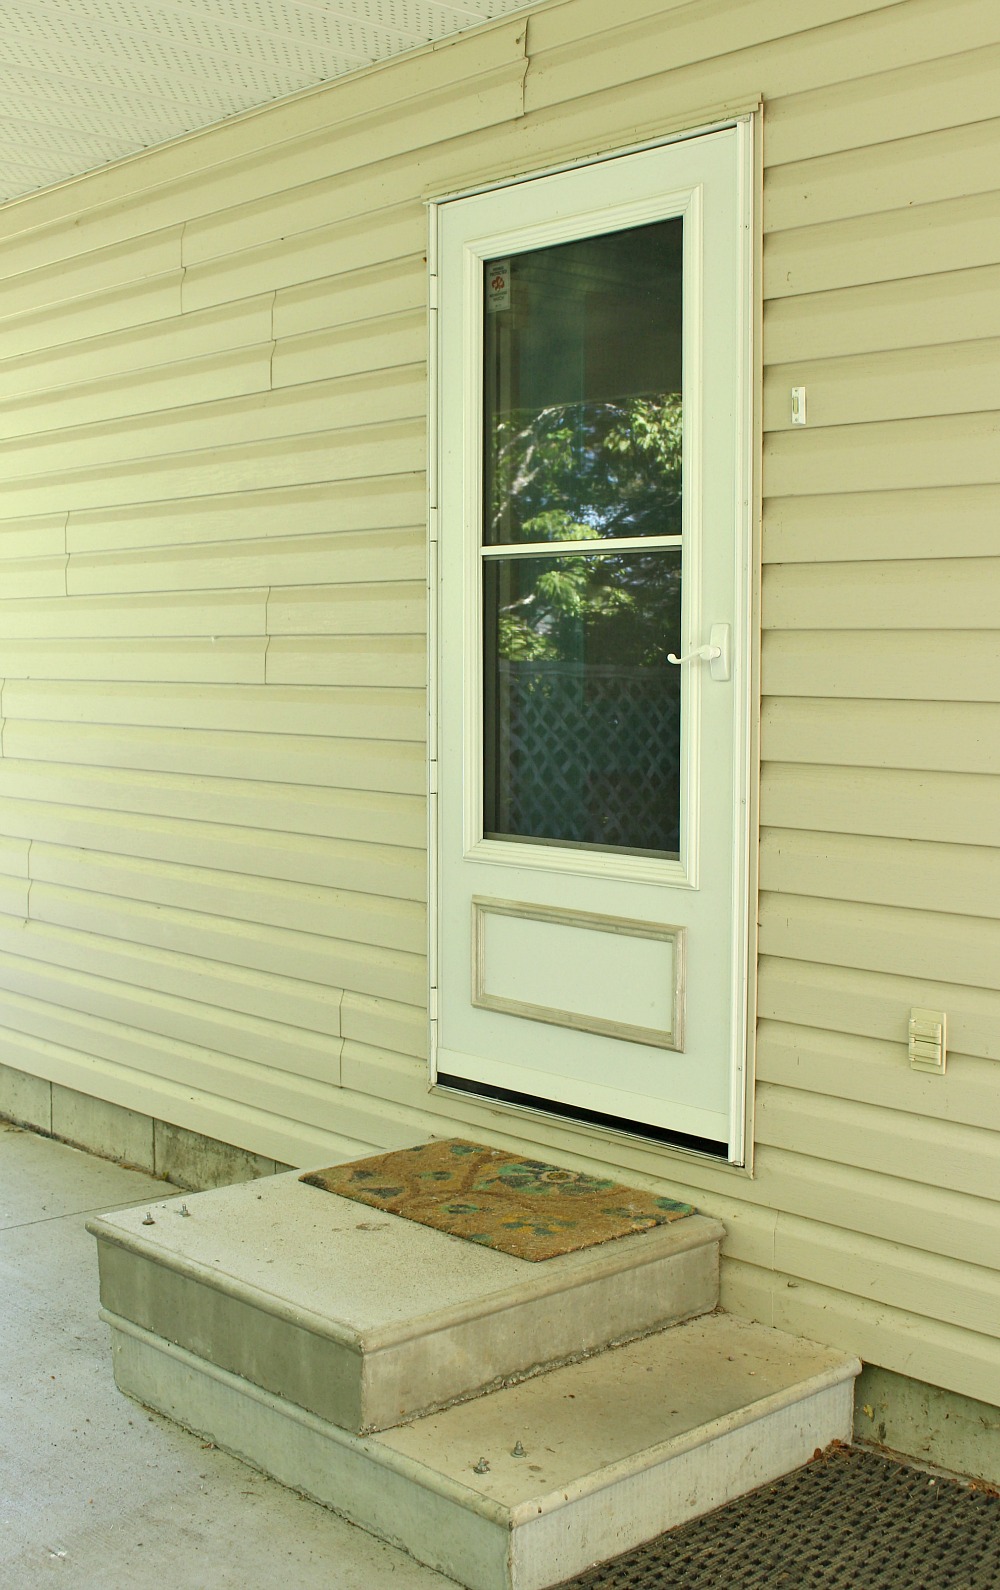 |
| Before |
You know I hate decor/renovating waste, so I was thrilled that my father-in-law had a use for the concrete step. He happily took it, and gave us his old step until we made our new DIY front step.
 |
| One Step Forward (haha), Two Steps Back |
Well, we got so bogged down in planning super complicated designs (poured concrete with our own form and fancy details and tile and blah blah blah), that winter snuck up on us and we didn’t make our new step at all! Hubby’s Dad laughed at us every time he saw that his old step was still in place.
See? Pretty embarrassing!
Especially because this year’s warmer months almost slipped by again, but we vowed to FINALLY finish that damn DIY front step! On the bright side, the extra year helped us decided we weren’t really that smitten with concrete. I had actually grown to love the weathered wood step Hubby’s Dad lent us so we created a bright, shiny new wood front step with a welded base, which we hope will weather to a lovely grey.

This is Project #2 in my grand scheme to test out untreated cedar and copper, inspired by my roof/siding combo (Project #1 was our cedar bench with welded base, if you missed it).


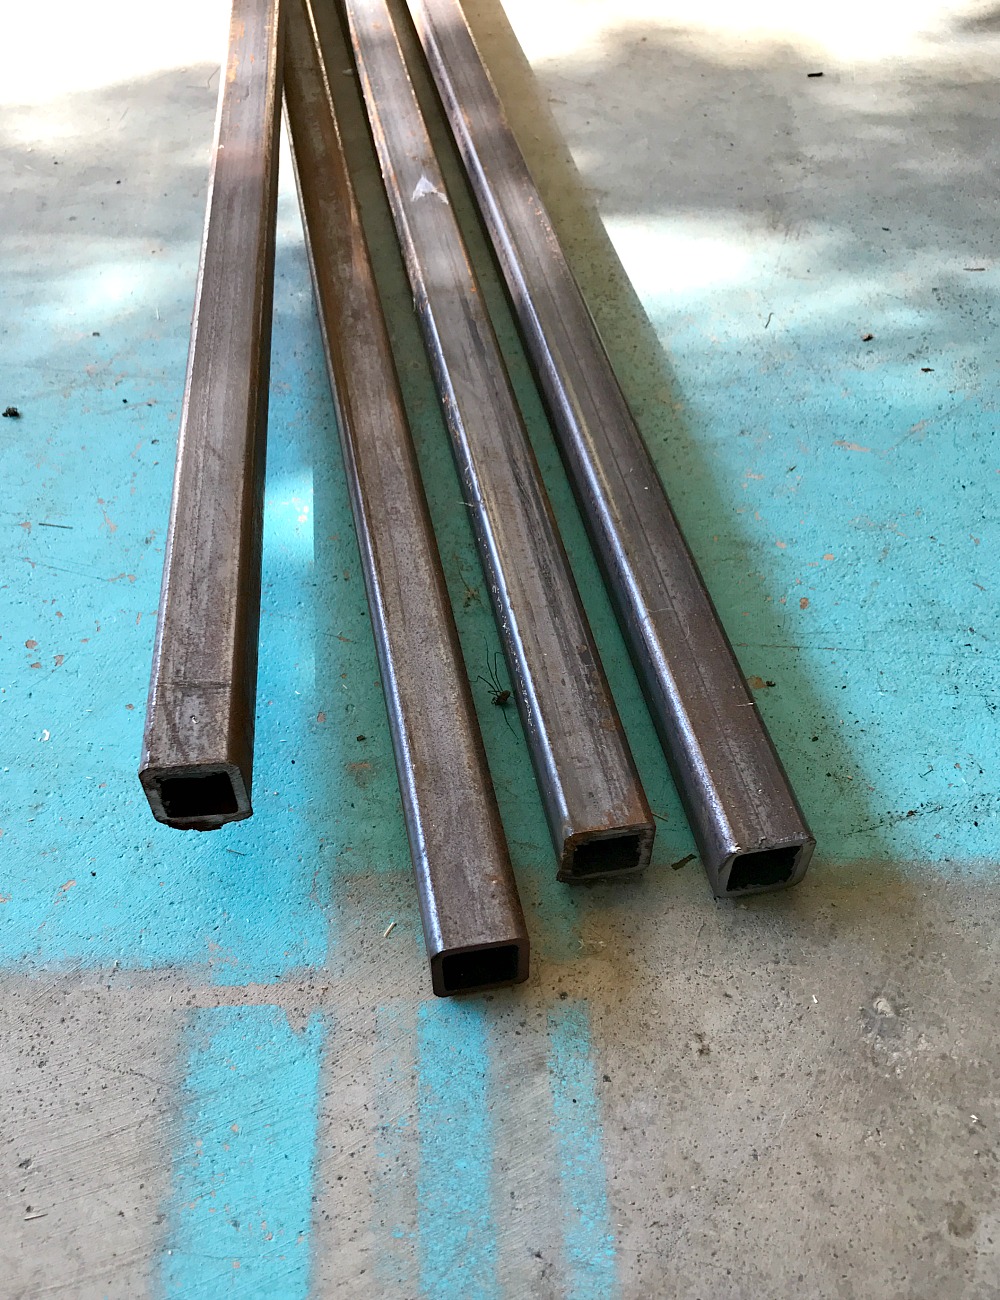
For this project, we opted for a simple cubed design and our metal of choice: square metal tubing.

(Don’t mind the horrific spider).
Supplies for Our DIY Front Step:
- 4.5″ Angle Grinder
- Grinding Disk
- Flapper Disk
- Cutting Disk
- 1″ Square Metal Tubing
- Welding Magnets
- Steel Step Drill Bit
- Flux Core Wire Feed Welder
- Rust-Oleum Spray Paint Copper
- Untreated cedar 2×4’s

How to Weld the Step Base:
The basic process is the same as our other welded projects (like the welded bed frame and welded desk we’ve made). We sketched out our design and took some measurements before creating a cut list. It just makes shopping for supplies so much easier. With everything purchased, we started by cutting out the pieces.
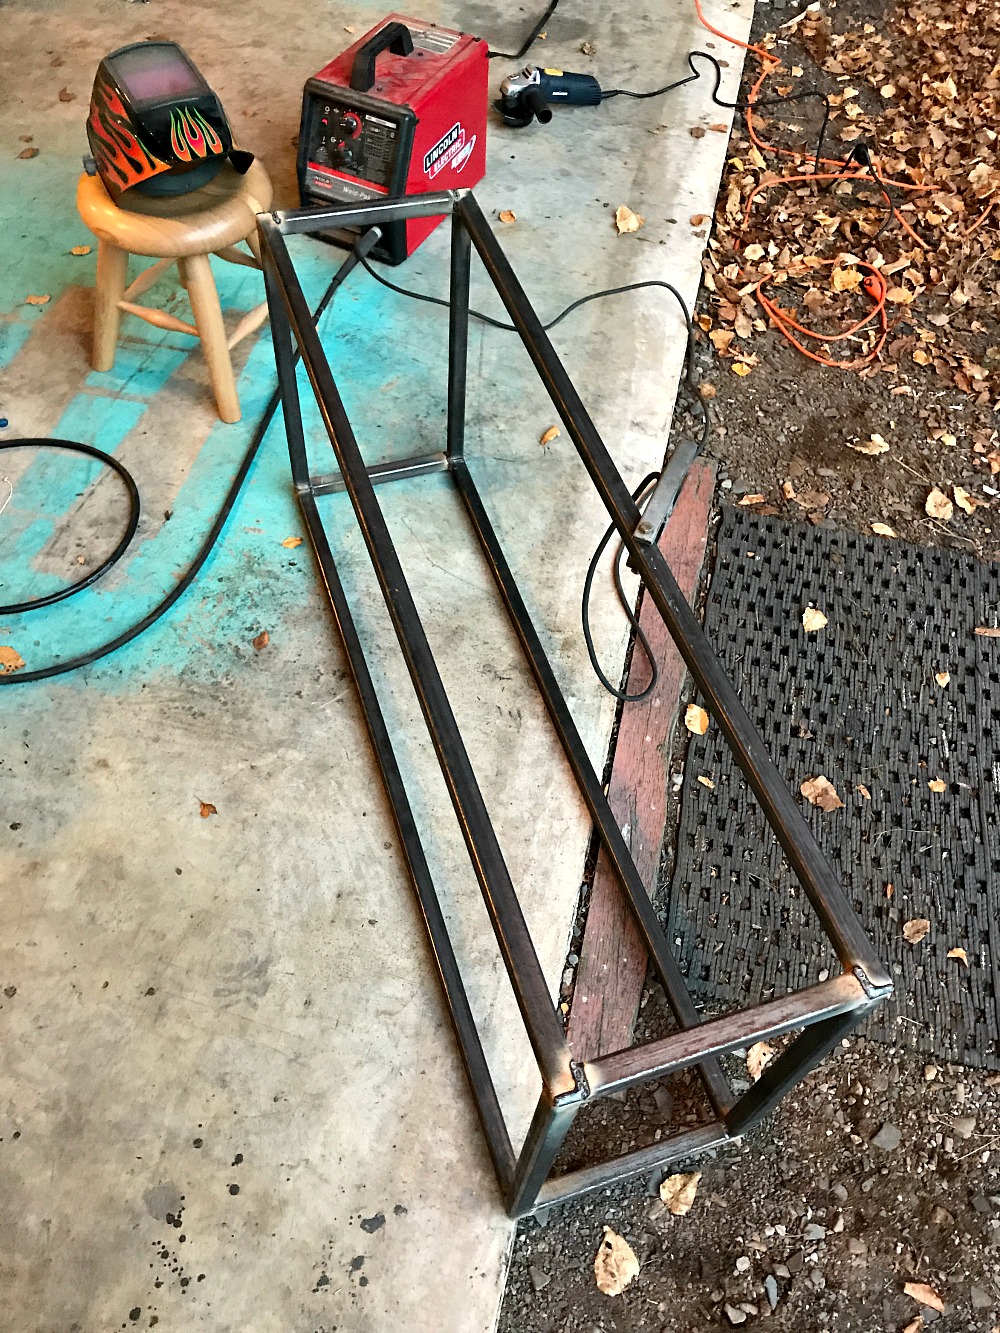
We laid out the framework – measuring it to make sure it’s square! – before tack welding it together. Hubby opted to weld the bottom frames first and then attach them together with the upright legs. The welding magnets help immensely here – they were such a great purchase!
Once everything was tacked in place and squareness was verified, Hubby went ahead and completed all the welds.
Here’s the step base, before grinding:
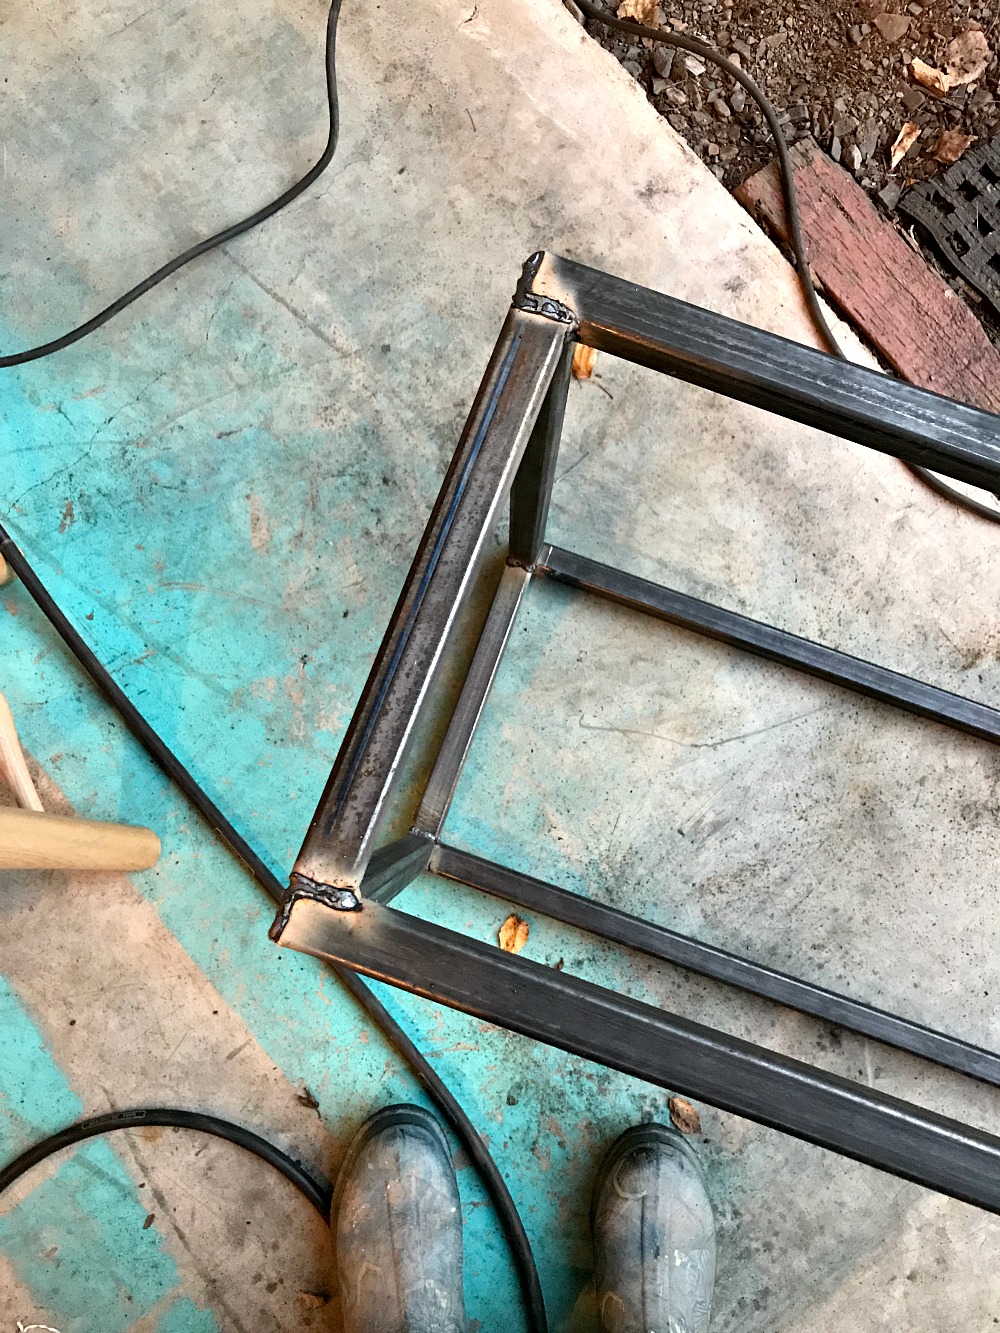
Using the angle grinder, he removed any weld spatter and smoothed out the welds.
And, voila! Such smooth corners:


With the welding and grinding done, I painted the metal the same copper as our DIY bench and DIY firepit. This is quickly becoming my favorite paint, not just because I love the color, but because it’s also so much more forgiving than other spray paint – even other Rust-Oleum products! I’ve watched sags and drips magically level out with this paint and the dry time is so much less fussy. I have been using this high heat enamel for so many different projects, I just love it. UPDATE: still love the color, perfect for BBQs, but after a couple of years, it’s just not providing the rust protection I need – I’ll be repainting with another Rust-Oleum protect geared toward rust protection.

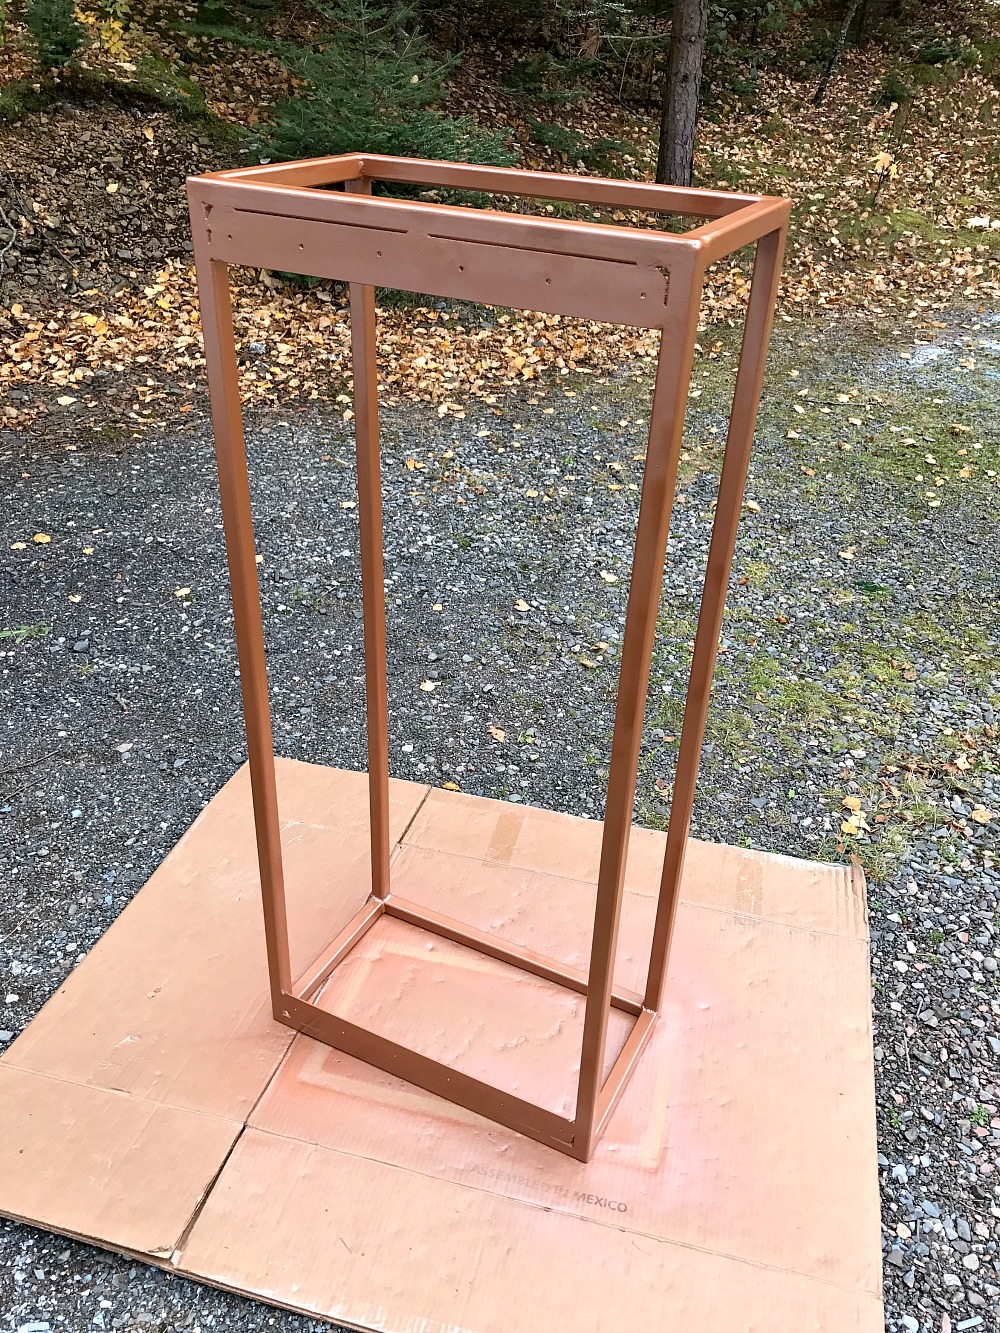

Can you see the tabs Hubby added? Technically, you could drill through the square metal tubing, but these made it so easy to affix the wood step, which is just 2x4s glued together with waterproof wood glue.

All we did to prep them was to give them a light sand because we’re going to let nature take its course and give them a nice grey, weathered finish – I hope. But you can use an deck finish on your DIY front step – something intended to for exterior use and to be walked on.
You can see we upgraded the storm door too, to help showcase the new front door better. But, if I’m being honest, the wind off Lake Superior grabbed the old one and whipped it against the house, beating it mercilessly, so we were kind of forced to make this update – and we chose one with a better latch!

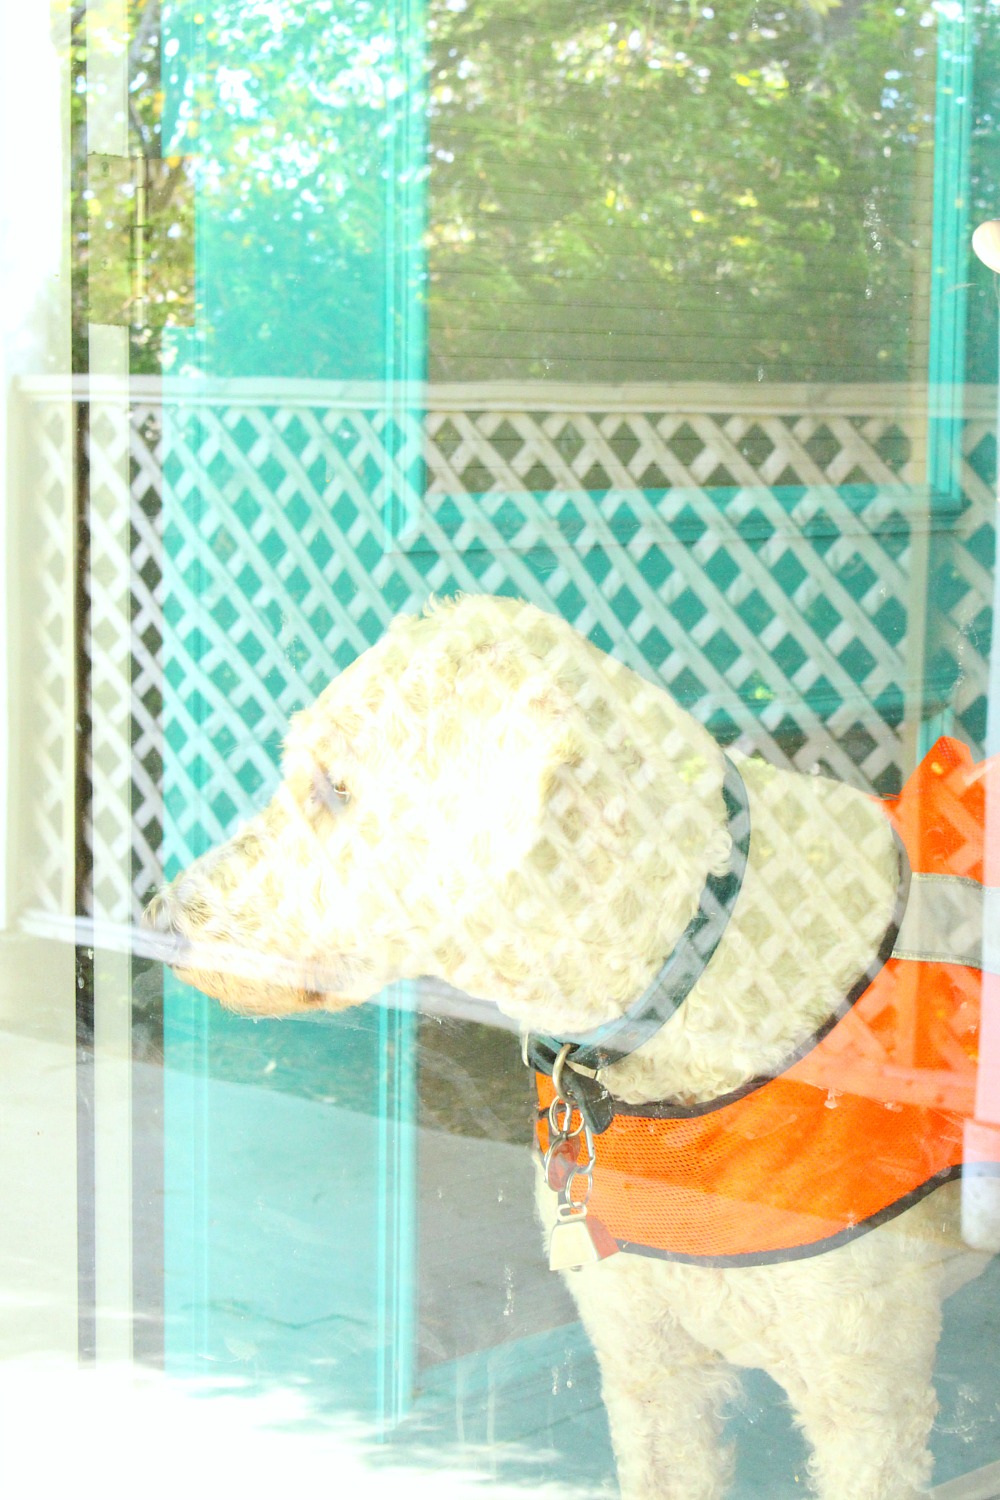
A certain someone loves the new view for guarding the house:
The best part of finally finishing our DIY front step is that I can use the “Go Away” door mat I bought at HomeSense years ago – I had been saving it for the new front step! It works too, because a package that required a signature was just left quietly beside the step, even though I was home to sign for it…


Excellent…. I might have to stock up! This one is even more direct.
I know my front door is devoid of planters and embellishment and other blogger necessities, but honestly there’s no room! With our massive truck parked in here and the dogs bursting out the door, any kind of decor would just slow us down (and get knocked over, for sure).
But check out that “Before” and “After” – even without tchotchkes, just replacing the storm door and building a new DIY front step makes such an improvement. While you’re at it, picture it with new wood siding too…
|
| Before |
|
| After |
Did you notice how sparkling clean the concrete is? I found a pressure washer in our garage and spent three days CLEANING ALL THE THINGS.
Check out our other welded projects by clicking here.
P.S. Don’t Forget to Pin for Later!


This is so cute! Great design.
Thank you! It definitely took long enough, lol, but I'm so happy with it and it just makes our door look so much more put together.
I just describe those long-time projects as well incubated. See, you needed that time to figure out the perfect solution!
Love that description! I’m strangely rewarded for my procrastination so often in life, lol.