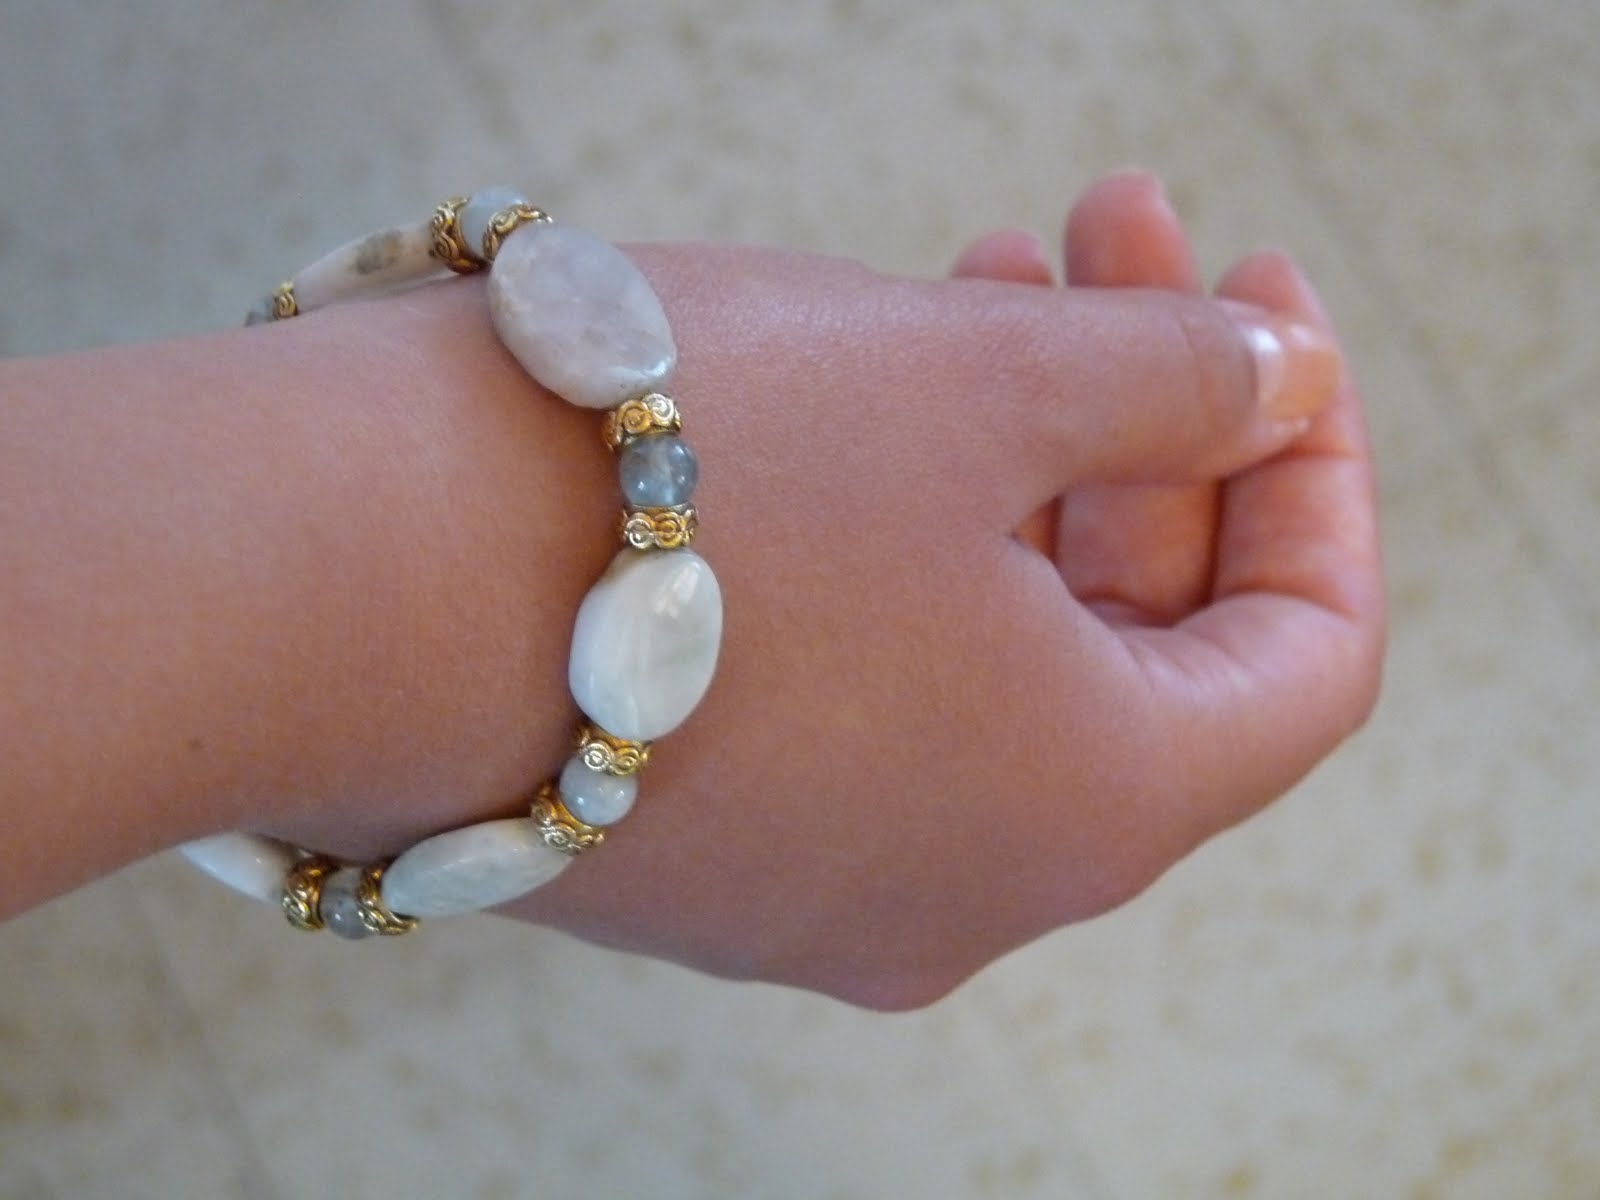
When I showed you the felted wool bead necklace I made, I was asked to share a tutorial for how to string beads and add a clasp. If you’d like to make your own DIY bead necklaces or DIY beaded bracelets, here is a simple bead stringing tutorial, including how to use crimp beads and crimp pliers. As an example to demonstrate, I’m showing you how to make a stone bead bracelet:
Supplies:
- Bead Stringing Wire (a soft, coated wire; beadalon is what I use – make sure the diameter/gauge is right for your beads)
- Crimp Beads (this pack has different sizes, which is handy)
- Crimp Bead Cover (like this or this; optional – I did not use here)
- Crimp Pliers
- Clasp and Jump Ring
- Beads to String
- Metal Spacers (optional – I used them between the stone beads in this project)
- A Large Needle – if you’re stringing felt balls, NOT required for beads with drilled holes
A Closer Look at Crimp Pliers:
I used to just use regular pliers to squash flat my crimp beads, but then I invested in crimp pliers and they make the end result so much more polished looking. There are two sections to the crimp pliers:
- Half circle across from half circle (top)
- Half circle across from two smaller half circles (bottom).
 |
| Crimp pliers |
 |
| See the two sections? One with just a half circle on opposite sides, the other with a half circle across from two half circles. |
 |
| Crimp beads – they come in different styles/metal tones |
How to Use Crimp Pliers:
Use the part of the pliers closest to the handle (half circle across from two half circles) and gently squeeze the crimp bead. The crimp pliers will smoosh the crimp bead into a figure eight (next photo).

 |
| Crimp bead squished into figure eight. |
Then use the second part of the pliers (half circle across from half circle) to create a “C’ from the two loops of the figure eight. Gently squeeze to close the newly formed “C”. This will lock the wires in place. At this point you can also cover the crimp with a special crimp bead cover (like this or this). I did not use a crimp cover for this project.


How to Make a Beaded Bracelet or Necklace:
First, cut a length of coated beading wire. Then thread a clasp onto the beading wire, an inch or so from the end. Hold the tail end of the wire in line with the longer length of the wire. Then slide the crimp onto both ends of the wire, thereby “trapping” the clasp in a loop, like this:

Slide the crimp down, as close to the clasp as possible. Following the steps, outlined above, for using crimp pliers, lock the crimp bead in place just below the clasp:

Here is the crimp bead closed.

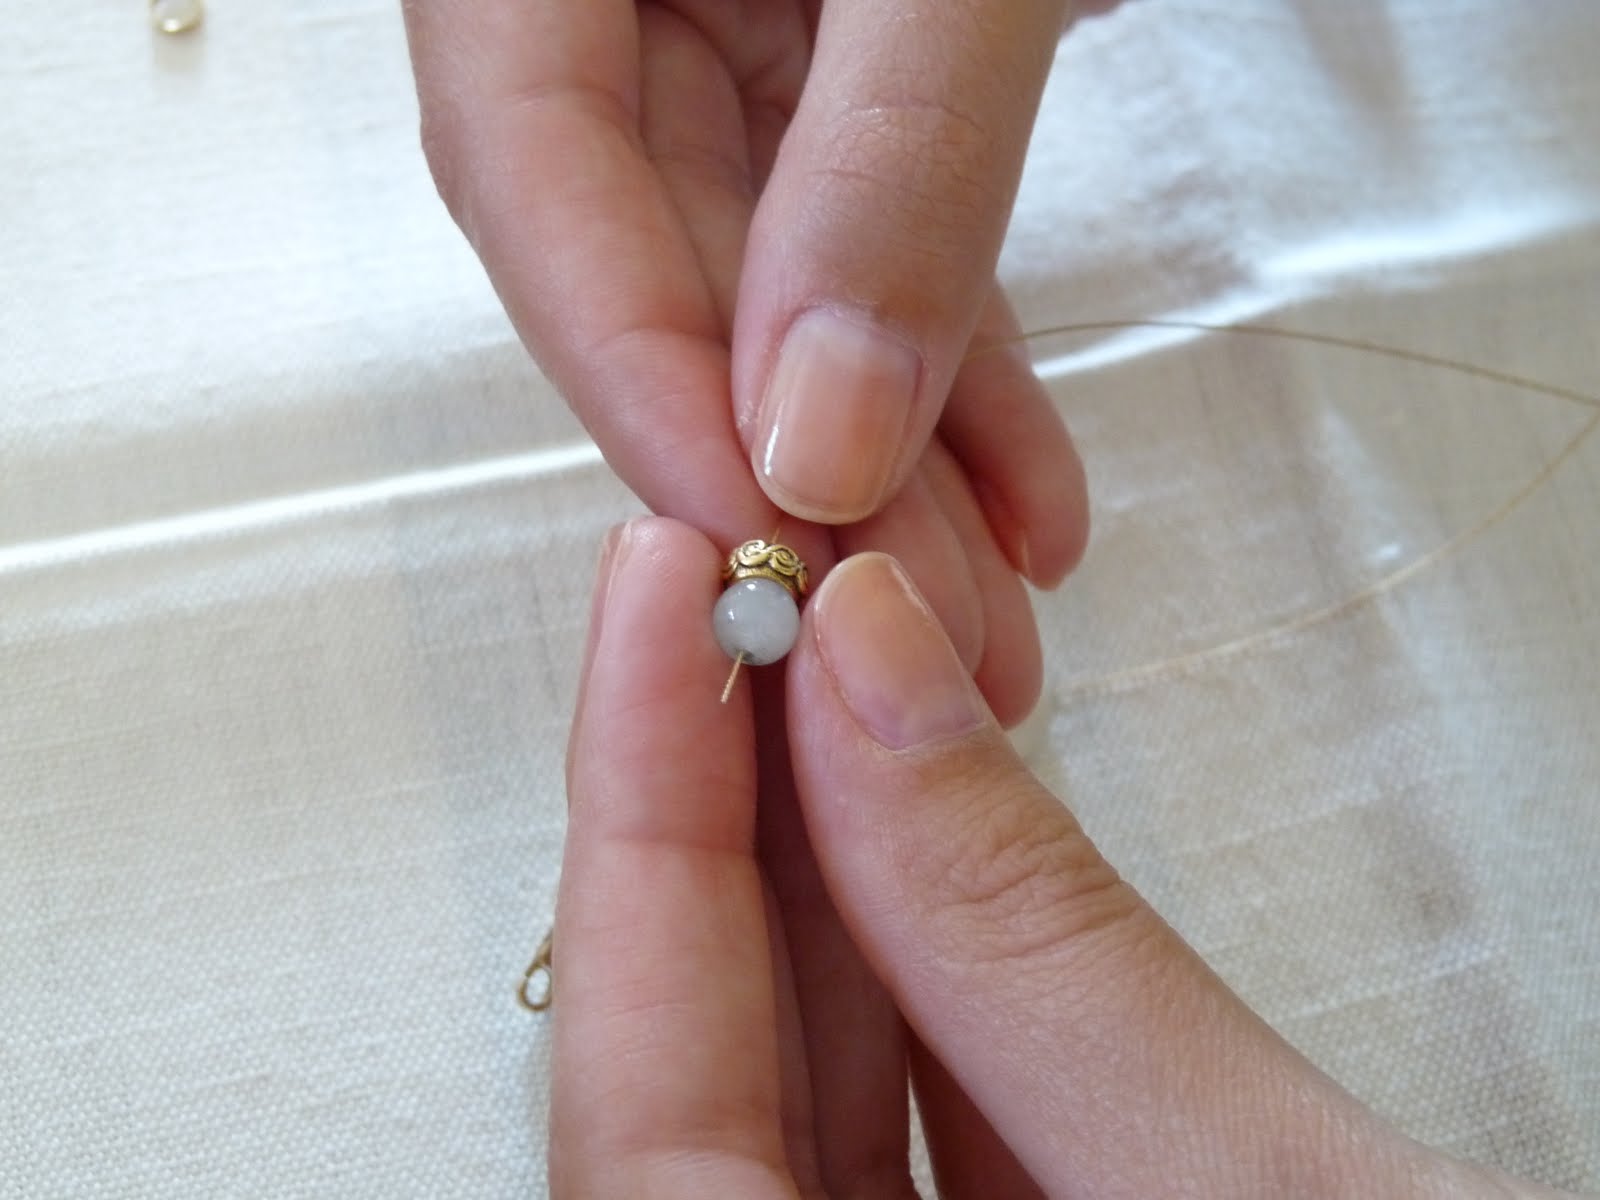
Then proceed with stringing on beads. If you are stringing felted wool beads, thread the coated beading wire through a large needle first. You will need a needle to pierce your densely felted balls. But if you’re using beads with a hole, you’ll find the coated beading wire is rigid enough to easily thread beads without a needle:
After stringing on all of the beads, slide on another crimp bead. Then string the wire through a split ring (or whatever the other end of your clasp is). Then thread the wire back through the crimp bead and a few other beads:


Then pull the wire nice and tight and repeat the crimp closing procedure. Trim the excess wire and that’s it! That’s how to string beads and add a clasp to your handmade jewelry project. With these simple steps, you’ve now made a beautiful DIY beaded bracelet or DIY beaded necklace with a clasp.
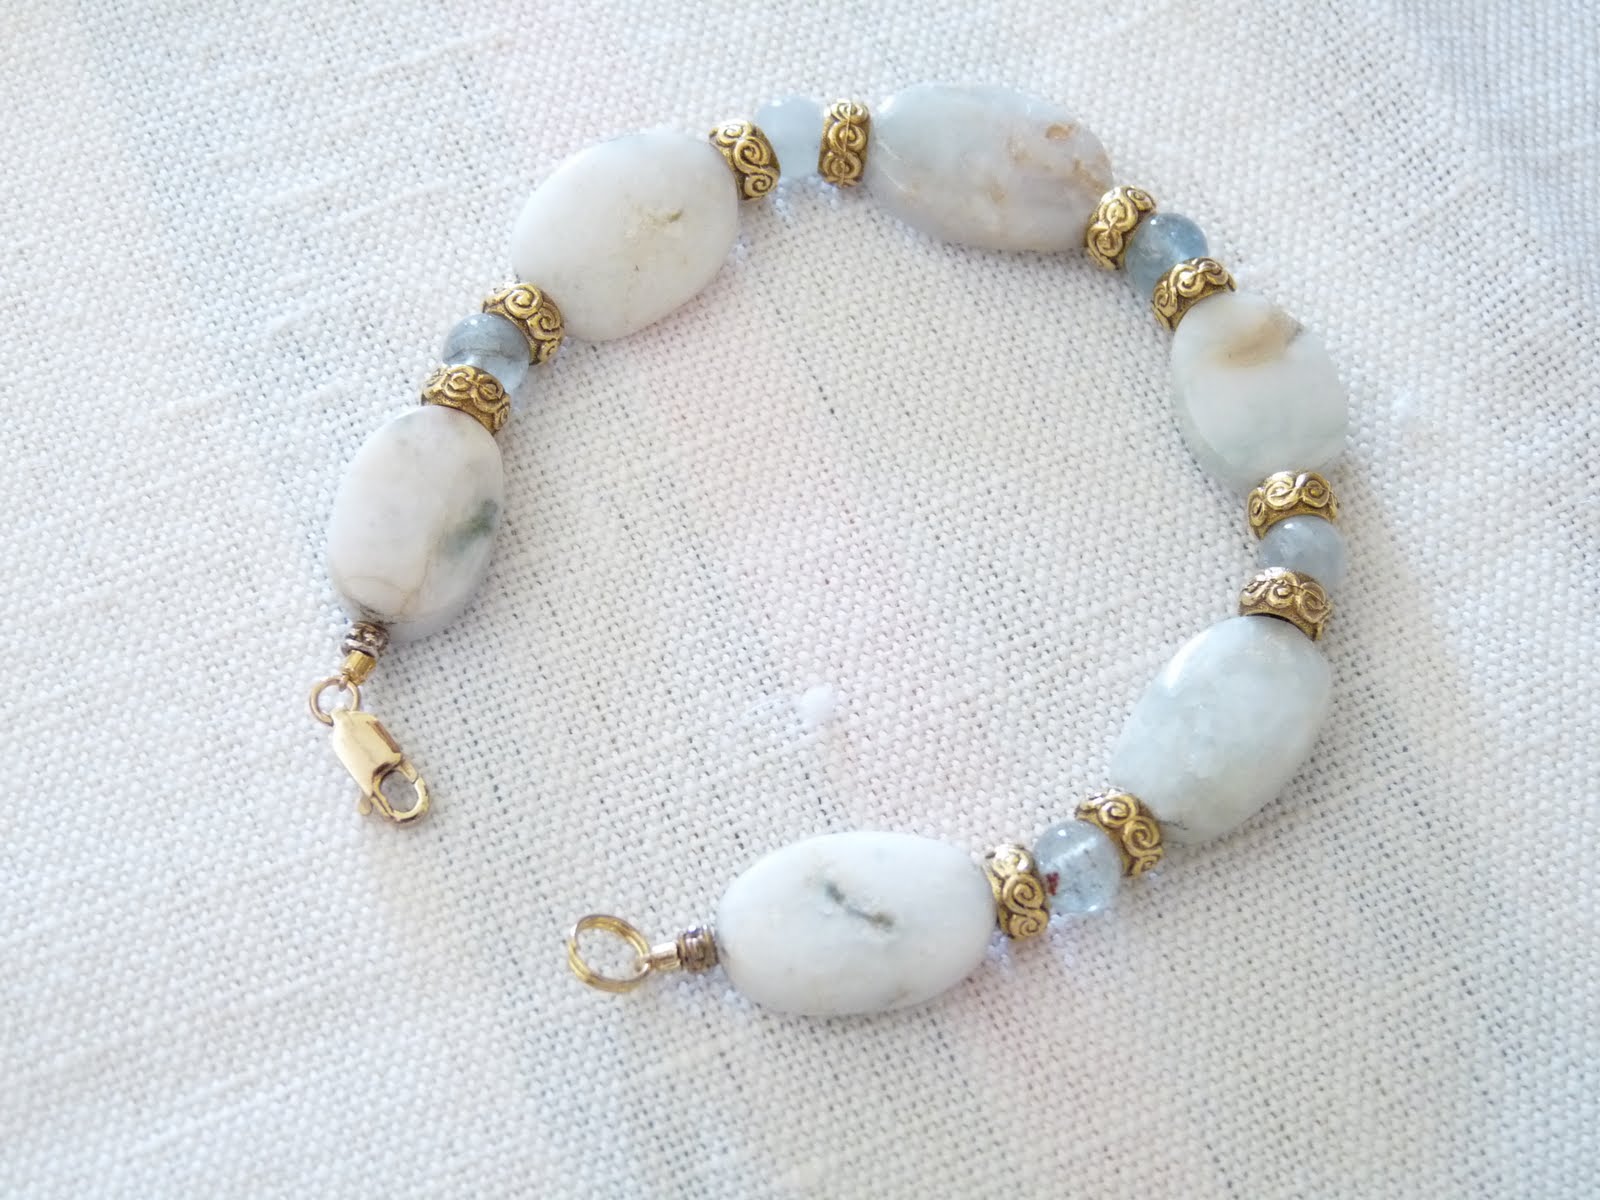
|
| Voila! |

More DIY Jewelry Making Tutorials:
If you’d like some more DIY beaded jewelry ideas or other DIY jewelry inspiration, check out these projects.
- DIY Agate Slice Necklace
- DIY Beaded Earrings
- DIY Bead + Chain Necklace
- DIY Gemstone Tassel Necklace
- DIY Shell Casing Necklace
- DIY Knotted Cord Bracelet
- DIY Ribbon Flower Brooch
- DIY Felt Ball Ring

Awww so pretty! I have that same crimping tool and I don't know how I ever functioned without it. It's the best!
i'm laughing because i'm constantly making something, getting bored with it and re-making. oh and the hair (previous post) looks great too…
great tutorial. very specific. thanks!
Very pretty! And great tutorial. Easy to follow. 🙂
So happy you found it helpful!
Why do my crimp beads eventually break, causing the whole piece to fall apart (of course)?
Good question! I have only had a few break on me over the years and I think I know why. If they have been bent too many times the metal can get fatigued. When I'm closing one, if it doesn't go right the first time, I discard and grab a new one. Also, there are different levels in quality and cheaper, weaker metal can give away more easily. I recommend finding a local bead shop and speaking to someone about getting good quality crimps. Other than poor quality or metal fatigue, the only other time I have had one break is if I had a super heavy necklace with heavy beads – I think the weight of the necklace just strained it too much. But that only happened once. Hope this helps 🙂