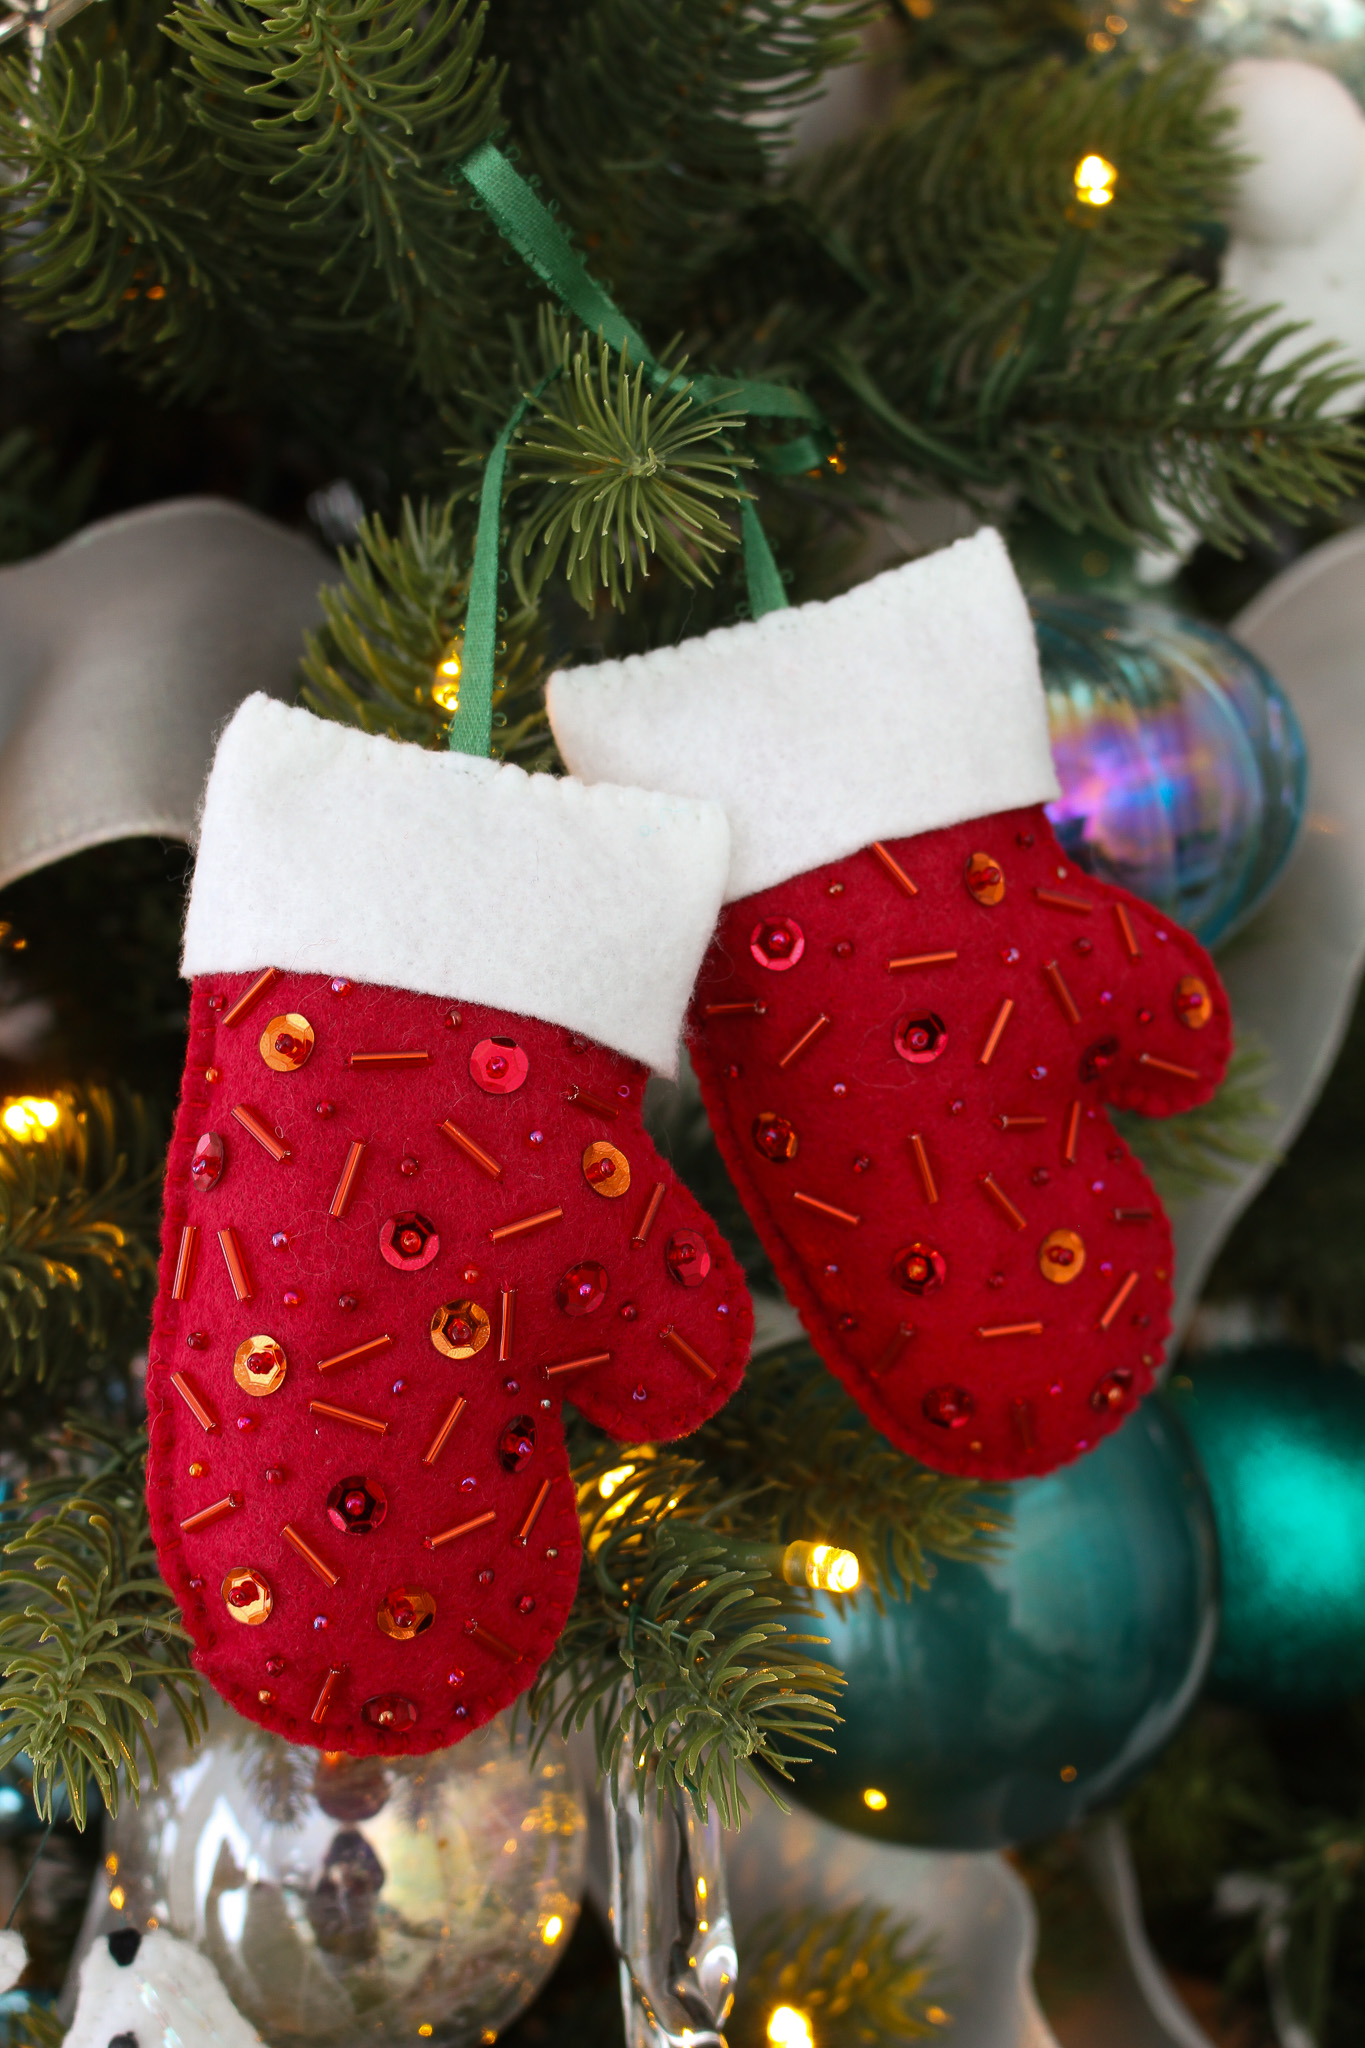
If you have my second batch DIY felt cookie ornament pattern set, which includes a stocking, mitten, and star shape, I wanted to show you how to re-purpose that pattern to make this DIY Mittens on a String Felt Ornament:

Below is the original way the pattern was designed to be used (and here’s how to make DIY felt cookie ornaments). For this mitten felt ornament, you don’t need to print or use the icing piece from the template – just the two “cookie colored” templates. Then add a little rectangle of contrasting felt (5.5″ L x 1.25″ W) to make a mitten “cuff”.

Pattern Usage Rights:
Please note: this pattern is copyright protected and is for your PERSONAL USE ONLY. It is not licensed to be shared online, used for commercial purposes, or sold.
How to Use My Ornament Pattern:
This pattern is a digital download, available to use immediately. It’s scaled to 8.5 x 11″ and can be printed with any printer onto any paper, cut out, and traced. Alternatively, you can purchase Gypsy Quilter Freezer Paper OR Stick N Stitch Self Adhesive Wash Away Stabilizer. You can then print the pattern onto either material and follow the manufacturer’s instructions. Here’s a rundown of each method:
- Printer Paper: Print the pattern onto any printer paper, cut out the shapes, and then trace them onto your felt with a thin sharpie. Cut out the felt shapes.
- Freezer Paper: Print the pattern onto freezer paper, cut out the shapes, iron them onto the felt and then cut out around the template. Remove the freezer paper. Benefit: it’s a steadier process than simply tracing and you don’t need to draw on the felt.
- Wash Away Stabilizer: Print the pattern onto stabilizer, roughly cut out the shapes, then stick them onto the felt. Then dissolve the stabilizer with water and let the felt dry.
For this pattern, because I haven’t marked any spots for beading (unlike my other felt ornament patterns), you could definitely use the freezer paper! It’s normally not my preference as a recommendation, because of how I design my patterns, but for this one it would work better than the stabilizer.
Supplies:
- Mitten pattern
- Soft colorful felt (I bought the brand linked and it’s lovely, but it’s not what I’m using here – I’m just using inexpensive craft store felt)
- Soft white felt
- Sequins & Beads (the kit I linked is a cute start)
- Beading Needle
- Hand Sewing Needle
- Hand Quilting Thread (this is the kind/brand I use, comes in different quantities and colors)
- Thin fabric ribbon
- Freezer Paper
- Poly-fill (or other stuffing/batting of your choice)
- Iron/Ironing Board
- Stuffing Tool (optional)
Find more felt ornament supplies here! But please note that you do NOT need to purchase everything on this list. For example: you can skip beading or add embroidered details instead, if you have those supplies already. Repurpose stuffing from old pillows or use felt/fabric scraps to stuff the ornaments. Stick to a sharpie for tracing and use that same sharpie to stuff the ornaments, if you don’t want to purchase the stick on stabilizer or stuffing tool. You can make these felt ornaments with very minimal supplies. I’ve linked everything I’ve used, but don’t feel pressured to buy it all – or buy it all at once. Making DIY felt animal ornaments CAN be a very economical craft.
Video Tutorial for DIY Mittens on a String Felt Ornament:
Usually my DIY felt ornament tutorials have step by step photos, but this time I’m sharing a video! If you’ve followed any of my DIY felt ornament tutorials, you’ll recognize all of the familiar steps but this time stitching on the cuff is a bit new. Keep scrolling for written instructions to supplement this DIY felt ornament video tutorial:
How to Make DIY Mittens on a String Felt Ornament :
- Print out a mitten template onto freezer paper.
- Cut out shape inside the lines (if using my pattern).
- Iron onto felt (freezer paper can be reused, so you only need to print one set of shapes).
- Cut out 4 sets of mitten shapes (front and back, for two mittens).
- Stitch on beads and sequins.
- Cut a length of ribbon approximately 11″ L.
- Sew together each mitten, using a blanket stitch, leaving the top open.
- Stuff the felt mitten with poly-fill, using a stuffing tool to push the stuffing into the mitten thumb if needed.
- Finish sewing each mitten closed, but attach one end of the ribbon as you do.
- Cut a piece of felt 5.5″ L x 1.25″ W (if using my mitten template).
- Wrap the felt around the “cuff” of the stuffed mitten and whip stitch along the seam.
- When sewing the second cuff to the second mitten, you may want to flip the mitten shape.
- Sew along the top of each felt strip with a blanket stitch.
Here’s what the mitten cuff looks like at the back (although there really isn’t a front and back, which is why I beaded both sides):


How to Sew Ribbon into Felt Ornaments:
If you’d like to see a closer look at how to sew ribbon into felt ornaments (you can use this same method to sew in a loop for hanging or a single end of ribbon for these mitten ornaments), check out the video below:
How to Hang Ornaments with Ribbon:
You can leave the ribbon long and loop it over branches, or tie in a cute bow to keep the mittens closer together. You could also hang these in the center of a Christmas wreath or add bells and loop around a door knob for a little Christmas cheer.


Another Felt Cookie Pattern Remix – DIY Beaded Felt Stocking Ornament:
Here’s another similar idea for re-using my pattern set: a decorated DIY felt stocking ornament! Like with the mitten, I printed the larger cookie shapes (not the icing) and traced onto felt. This time I only beaded one side. Then, as I sewed it together after stuffing, I affixed a ribbon loop in the corner. I added a white felt “cuff” the same way as shown above, but this time I stitched on bugle beads and seed beads first!

Here’s a look at the back of the felt stocking ornament:


Let me know which felt cookie ornament “remix” is your favorite! I hope this inspires you on your felt ornament making journey. I am so grateful that my felt ornament patterns have been downloaded so much and enjoyed by so many – I’m so excited to show you fresh ways to use them, so you can get the most mileage from my felt ornament templates. I’m also looking forward to continuing to share new designs and DIY felt ornament tutorials with you!

